Physical Address
304 North Cardinal St.
Dorchester Center, MA 02124
Physical Address
304 North Cardinal St.
Dorchester Center, MA 02124

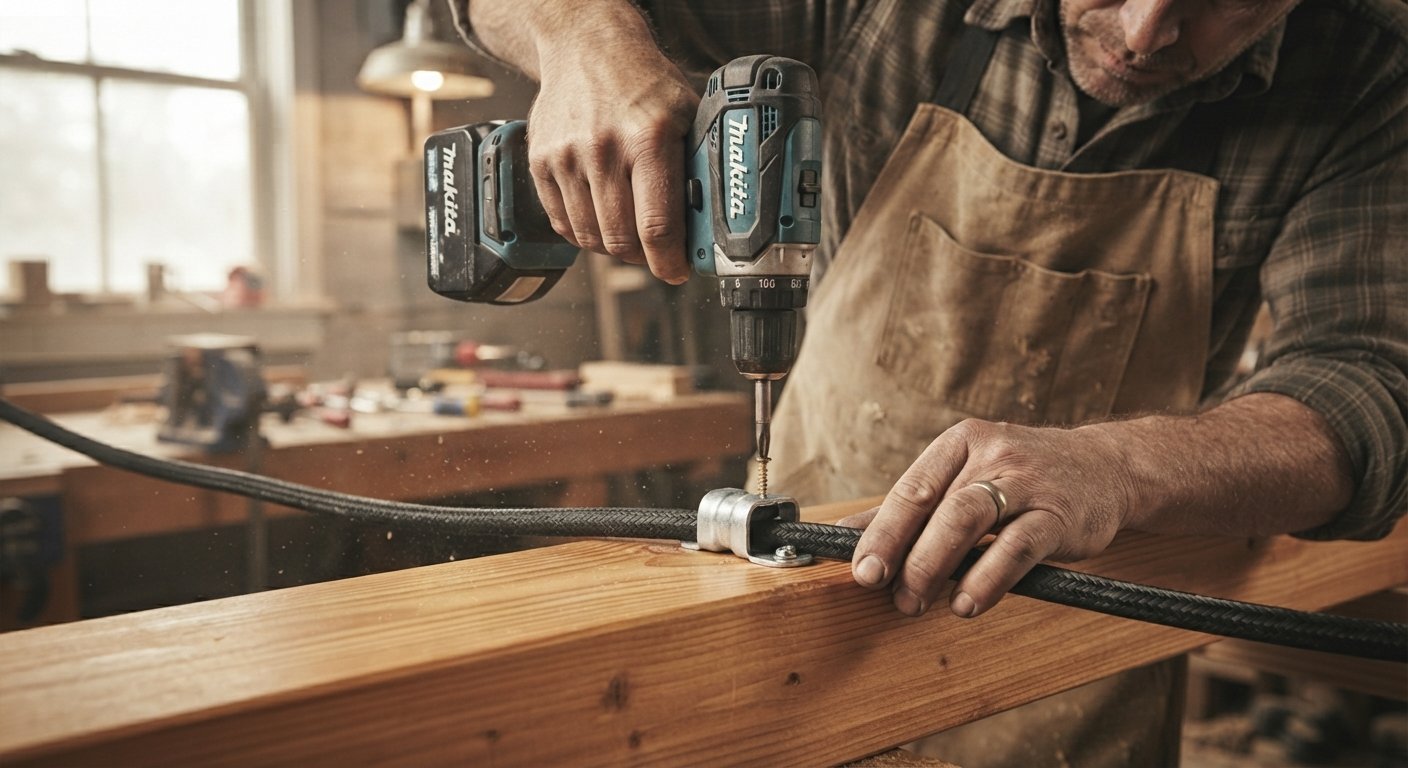
If you have ever dealt with loose wires hanging behind a desk, rattling under a car hood, or sagging along a garage wall, you already know why cable management matters. Learning how to use a cable clamp is one of the simplest ways to keep cables organized, protected, and safe from damage. Whether you are wiring a home theater system, securing wires in an engine bay, or mounting cables along a wall, a cable clamp gives you a clean and lasting hold without much effort.
This guide walks you through everything you need to know, from picking the right clamp to installing it correctly on different surfaces. By the end, you will be able to handle almost any cable clamping job with confidence.
And if you are also working with thicker lines or outdoor rigging, you might want to bookmark this related resource: How to Use Rope Clamps – A Step-by-Step Guide for Beginners. Rope clamps work on a similar principle but are built for heavier duty applications like securing ropes on boats, trailers, or tie-down systems. Once you understand how a cable clamp works, picking up rope clamp basics becomes much easier.
A cable clamp is a small hardware piece designed to hold one or more cables in place against a surface. It usually consists of a body that wraps around the cable and a base that gets screwed, nailed, or bolted down. Unlike tape or ties, a clamp gives you a permanent and adjustable mounting point, which makes it a favorite among electricians, mechanics, and DIY enthusiasts.
Cable clamps come in various shapes and sizes, and the material often depends on the job. Some are made from soft plastic for light indoor wiring, while others are built from heavy steel for outdoor or industrial use. The main idea behind every clamp, no matter the style, is to stop cables from moving, rubbing, or getting damaged over time.
Cable clamps show up in more places than most people realize. Here are some common situations where they come in handy.
Home wiring projects. Homeowners use clamps to route electrical wires along walls, ceilings, or through conduit systems in a neat and safe way.
Automotive work. Mechanics rely on clamps to keep wiring harnesses away from hot engine parts and moving components.
Office and home cable management. Anyone tired of a tangled mess under a desk can use plastic clamps to organize charging cables, HDMI cords, and power strips.
Industrial and outdoor setups. Larger metal clamps hold thick cables in place on machinery, fences, or exterior walls where weather resistance matters.
Marine and boating applications. Stainless steel clamps are often chosen here because they resist rust and hold up against saltwater exposure.
In short, if a cable or wire needs to stay put and stay protected, there is likely a clamp designed for that exact purpose.
Installing a cable clamp might look simple, but doing it right the first time saves you from redoing the job later. Follow these steps for a clean and secure setup.
Start by picking a clamp that matches your cable’s diameter and the environment it will be used in. A clamp that is too tight can pinch and damage the cable’s insulation, while one that is too loose will let the cable slide around. Check the packaging for size ranges, and always leave a small amount of wiggle room rather than squeezing the cable too tightly.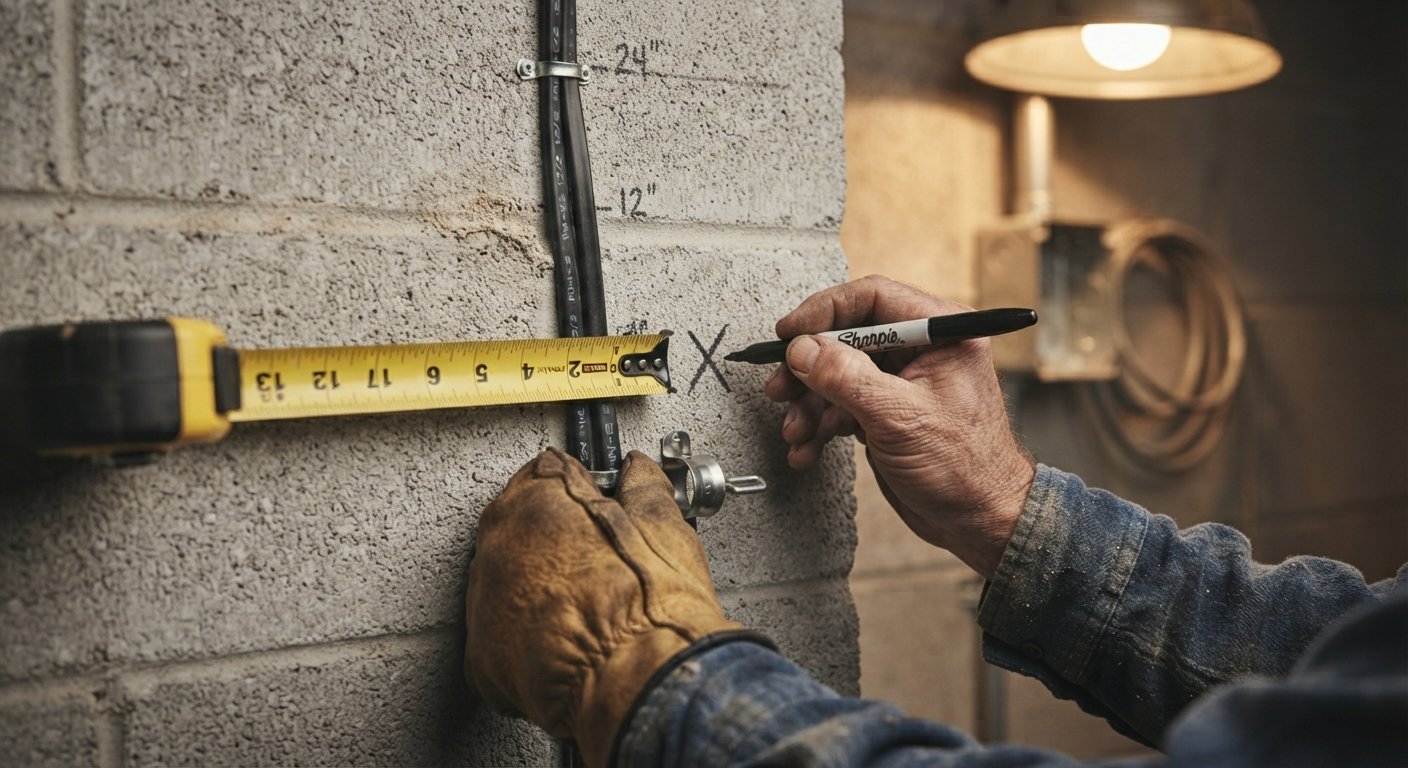
Before drilling or screwing anything, measure the cable bundle and mark where you want the clamp to sit. Spacing matters here. For most home and office setups, placing a clamp every 12 to 18 inches along a run keeps the cable steady without using more hardware than necessary.
Hold the clamp against the surface and slide the cable through the opening. Make sure the cable sits centered and is not twisted or bent at a sharp angle. A slight curve is fine, but sharp bends can weaken the cable over months of use.
Depending on the clamp type, you will either screw it into wood or drywall, bolt it onto metal, or use an adhesive backing for lightweight setups. Tighten just enough to hold the cable firmly without crushing it. If you are working with electrical wiring, double check that the mounting screws are not close enough to pierce the cable jacket.
Once installed, give the cable a gentle tug to check that it does not slip out. It should feel snug but not restricted. If the clamp shifts or the cable pulls through, tighten the screw further or switch to a slightly smaller clamp size.
Not all clamps work the same way, and knowing the differences helps you pick the right one for each job.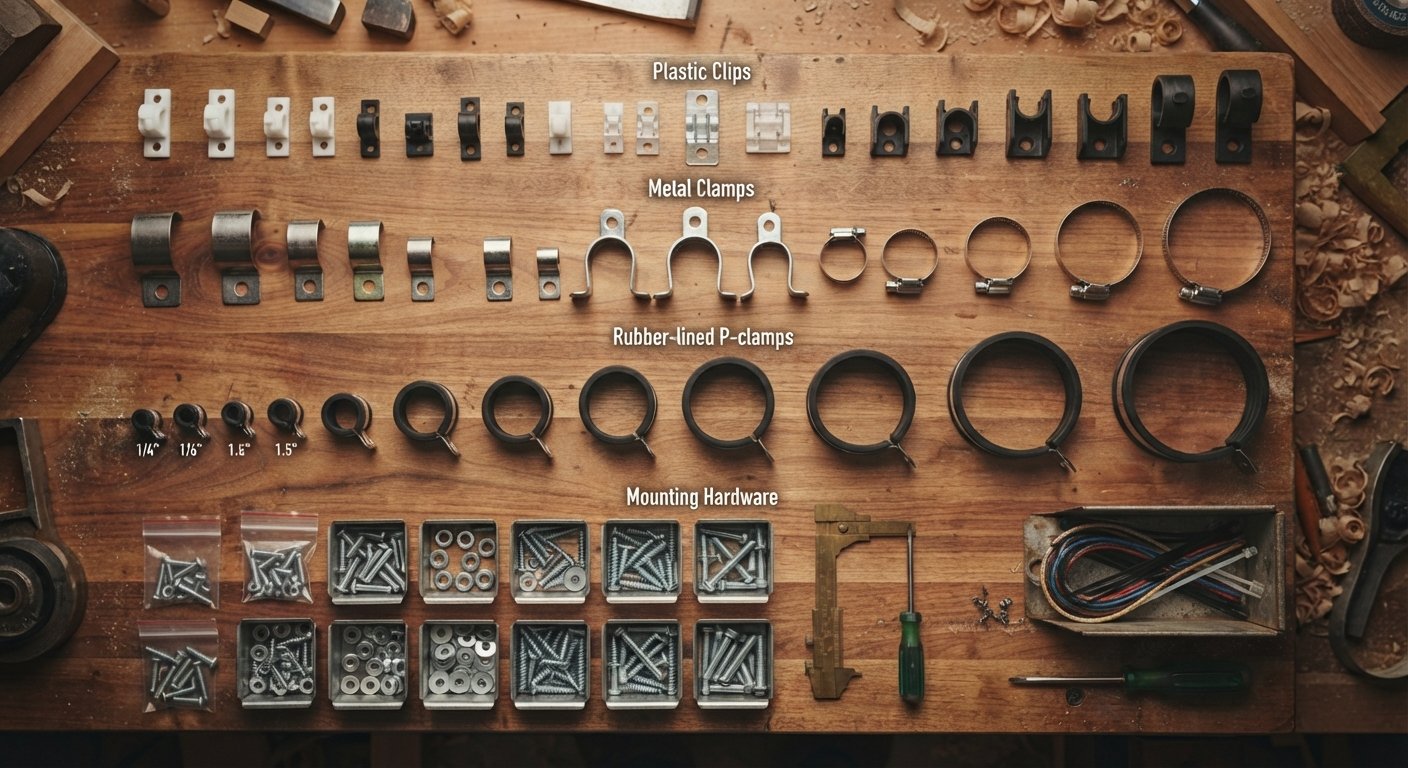
These are lightweight, affordable, and great for indoor use where heavy load bearing is not a concern. They usually snap or screw onto a surface and work well for low voltage wiring, computer cables, or home entertainment setups. Plastic clamps are easy to cut or trim if you need a custom fit.
Metal clamps, often made of galvanized steel or aluminum, are built for strength and durability. They handle thicker cables and resist wear better than plastic in outdoor or industrial environments. These are common in construction sites and manufacturing facilities where cables face constant movement or exposure to the elements.
Shaped like the letter P, these clamps have a rubber or cushioned lining inside a metal loop. The cushioning protects the cable from vibration damage, which makes P-clamps a top choice for automotive and aerospace wiring where movement and heat are constant factors.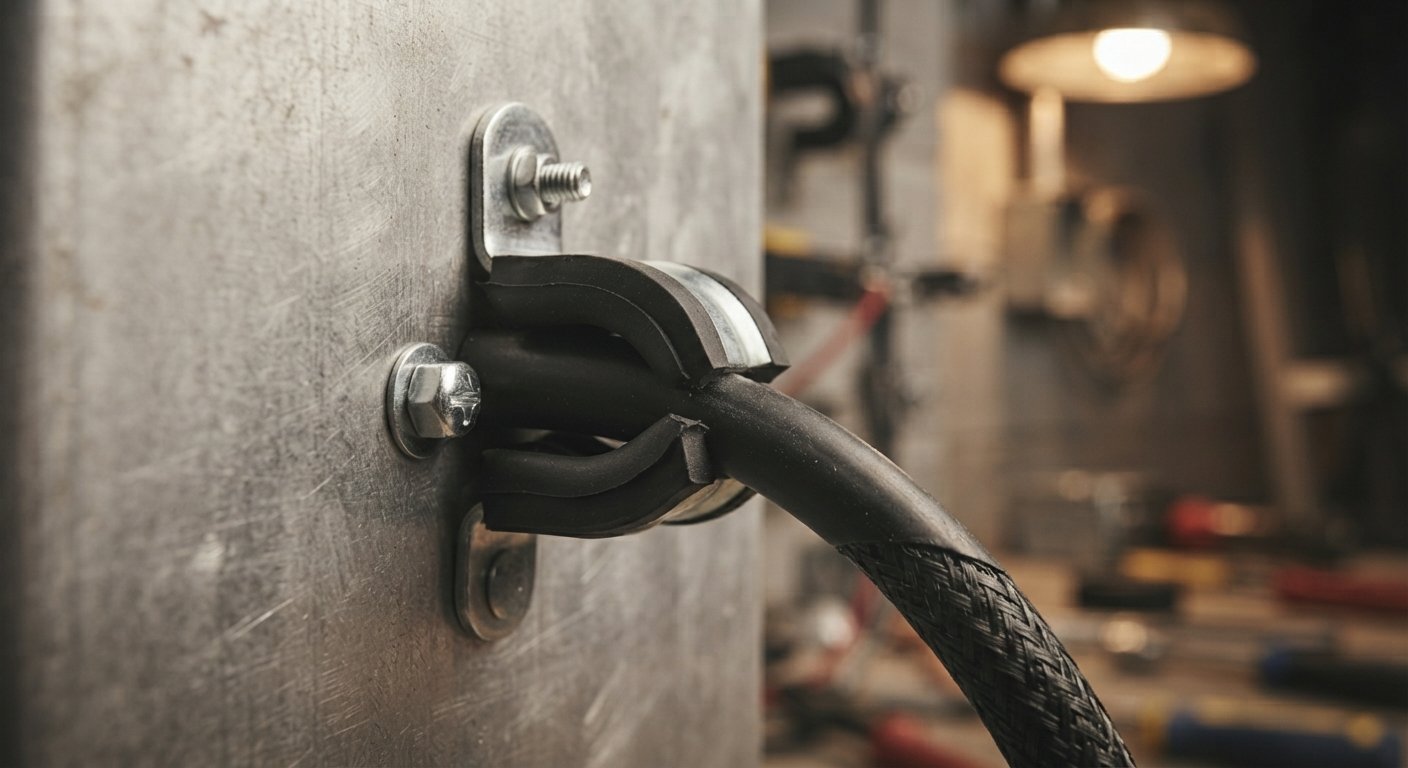
These clamps attach directly with a screw through the center or side, offering a very secure hold. They are ideal for permanent installations like securing conduit runs along a garage wall or mounting cables to a metal frame.
Good cable management is not just about looks, it also extends the life of your cables and reduces safety hazards. Start by grouping cables of similar type and length together before clamping them. This keeps the bundle from becoming too thick for a single clamp size.
Route the cables along the shortest and safest path possible, avoiding areas with heavy foot traffic or exposure to heat sources. Use clamps at regular intervals so the cable does not sag between mounting points. For desks and home offices, small adhesive-backed clamps work well since they avoid drilling into furniture.
Labeling cables before clamping them down is also a smart habit. It saves time later if you ever need to trace a specific wire without unclamping the entire run.
Picking the correct clamp comes down to a few key factors.
Cable diameter. Always match the clamp size to the cable or bundle thickness. Manufacturers usually list a size range on the packaging.
Material and environment. Indoor light duty tasks are fine with plastic, while outdoor or high vibration areas call for metal or cushioned clamps.
Load and movement. If the cable will be handled often or moved around, look for clamps with a secure locking mechanism rather than a simple snap fit.
Mounting surface. Wood, drywall, metal, and concrete each require different screws or anchors, so check compatibility before buying.
Taking a few extra minutes to match the clamp to the job prevents wasted trips back to the hardware store.
Cable clamps are not one-size-fits-all when it comes to surfaces, and the mounting method changes depending on what you are attaching them to.
Wood surfaces are the easiest to work with. A simple wood screw through the clamp base holds firmly in most cases.
Drywall needs a bit more care since screws alone will not hold much weight. Use plastic wall anchors first, then screw the clamp into the anchor for a stronger grip.
Metal surfaces often require self-tapping screws or, for heavier setups, nuts and bolts through pre-drilled holes.
Concrete or brick calls for masonry anchors. Drill a pilot hole with a masonry bit, insert the anchor, then screw the clamp in place.
Matching the clamp and hardware to the surface avoids loose fittings that can fail over time, especially in areas with vibration or temperature changes.
Electrical wiring demands extra attention to safety. Always turn off power at the breaker before working near any live wiring. Choose clamps rated for electrical use, since these are designed to avoid damaging wire insulation.
Space clamps evenly along the wire run, generally every few feet, to prevent sagging that could stress the connections at either end. Avoid placing clamps too close to outlets, junction boxes, or panels where wires need some flexibility.
If the wiring passes through areas prone to moisture, such as basements or exterior walls, choose weatherproof clamps designed to resist corrosion. It is also worth checking local electrical codes, since some regions have specific requirements for wire support spacing and clamp materials.
Even a simple task like clamping a cable can go wrong if you rush through it. Here are mistakes worth watching for.
Using the wrong size clamp. A clamp too small will pinch the cable, while one too large lets it slide and rattle.
Overtightening the screw. This can crush the cable’s outer jacket and eventually cause internal damage or shorts.
Skipping proper spacing. Placing clamps too far apart causes sagging, which puts strain on the entire cable run.
Ignoring the mounting surface. Using the wrong screw or anchor type leads to clamps pulling loose over time.
Forgetting about heat sources. Placing plastic clamps too close to engines, exhaust pipes, or heaters can cause them to melt or weaken.
Avoiding these small errors makes a big difference in how long your cable setup lasts.
Both cable clamps and cable ties are common cable management tools, but they serve slightly different purposes. Cable ties, often called zip ties, are quick to use and great for bundling cables together temporarily or for light duty jobs. They are cheap and easy to replace, but they are not meant to bear much weight or handle repeated movement.
Cable clamps, on the other hand, offer a sturdier and more permanent hold. They attach directly to a surface, which makes them better suited for situations where cables need to stay fixed in one spot over a long period, such as wiring along a wall or securing cables in a vehicle.
If you need a fast, temporary fix, a tie will usually do the job. But for anything that needs to stay secure through vibration, movement, or years of use, a clamp is the more reliable choice.
A few extra tips can help your installation hold up better over time.
Always leave a little slack in the cable rather than pulling it perfectly tight, since cables can expand or contract slightly with temperature changes. Check clamps periodically, especially in outdoor or high vibration settings, to make sure none have loosened. When working with multiple cables in one clamp, keep them bundled evenly so the load is spread out rather than concentrated on one side.
If you are unsure about spacing or clamp count for a longer run, it is better to use one extra clamp than to risk sagging. And always keep a small stock of spare clamps and screws on hand, since replacing a worn or cracked clamp is much easier than dealing with a damaged cable later.
Knowing how to use a cable clamp properly can save you time, protect your cables, and keep any space looking clean and organized. From choosing the right size and material to installing it correctly on the right surface, each step plays a role in how well your setup holds up over time. Whether you are managing home office cables, working on a car, or handling electrical wiring, the right clamp and a careful installation process make all the difference.
If you found this guide helpful, take a look at the related guide on rope clamps to expand your cable and rope securing skills even further. A little know-how goes a long way toward safer, neater, and longer lasting installations.
What is the difference between a cable clamp and a cable clip?
A cable clamp usually offers a stronger and more adjustable hold, often with a screw mechanism, while a cable clip is typically a simpler snap-in piece meant for lighter loads.
Can I use plastic cable clamps outdoors?
Standard plastic clamps are not ideal for long term outdoor use since sunlight and temperature changes can make them brittle. Look for UV-resistant or weatherproof plastic clamps instead.
How many cable clamps do I need for a long wire run?
As a general rule, space clamps every 12 to 18 inches for smaller cables and closer together for heavier or thicker cables to prevent sagging.
Do cable clamps work on concrete walls?
Yes, but you will need masonry anchors along with the clamp screws to get a secure hold in concrete or brick surfaces.
Is it safe to use metal cable clamps on electrical wiring?
Metal clamps can be used for electrical wiring as long as they are rated for that purpose and do not have sharp edges that could damage the wire insulation.
What size cable clamp should I buy?
Measure the diameter of your cable or cable bundle first, then choose a clamp with a size range that matches, leaving a little room rather than a tight squeeze.
Can cable clamps be reused after removal?
In most cases yes, as long as the clamp is not cracked, bent, or worn out. Always inspect a clamp before reusing it on a new installation.