Physical Address
304 North Cardinal St.
Dorchester Center, MA 02124
Physical Address
304 North Cardinal St.
Dorchester Center, MA 02124
Setting up a router correctly starts with choosing the right bit, securing it properly and dialing in the exact bit height for your cut. Using setup blocks and gauge tools removes the guesswork and makes every cut accurate and clean.
Setting up a router doesn’t have to be a frustrating guessing game. Whether you’re cutting a clean chamfer, shaping a round over or routing precise joinery, getting your router dialed in correctly is what separates a clean result from a wasted piece of wood.
If you’ve ever made test cut after test cut trying to nail the right bit height, you’re not alone. It’s one of the most common pain points for both beginner and experienced woodworkers. The good news? A few smart habits and simple shop-made tools can change all of that.
This guide walks you through everything you need to know about how to setup your router from understanding the different types of wood routers to practical router setup tricks that professionals use every day. You’ll also learn how setting up a router bit properly can make your work faster, cleaner, and far more repeatable.
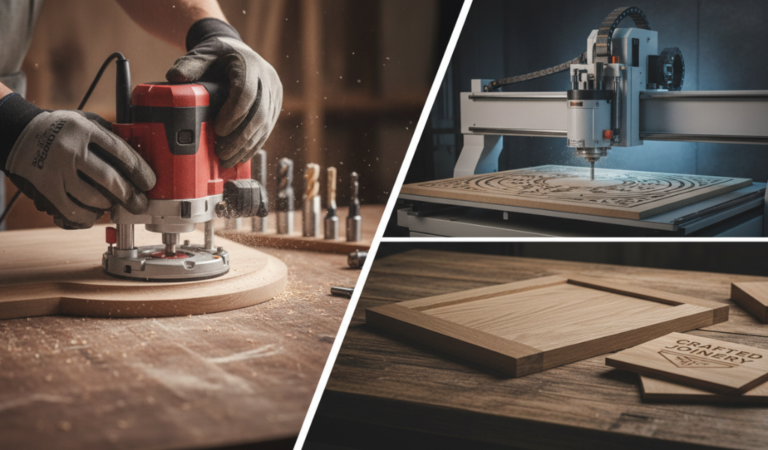
A wood router is a power tool used to hollow out, shape, or cut precise grooves and profiles in wood. It spins a cutting bit at high speed, allowing it to slice through wood smoothly and consistently.
Routers are incredibly versatile. You can use them freehand for decorative edges or mount them in a router table for more controlled, repeatable cuts. Either way, the setup process is what determines the quality of your final result.
Before diving into setup, it helps to know which type of router you’re working with. Different types of wood routers have different strengths, and your setup process can vary slightly depending on your machine.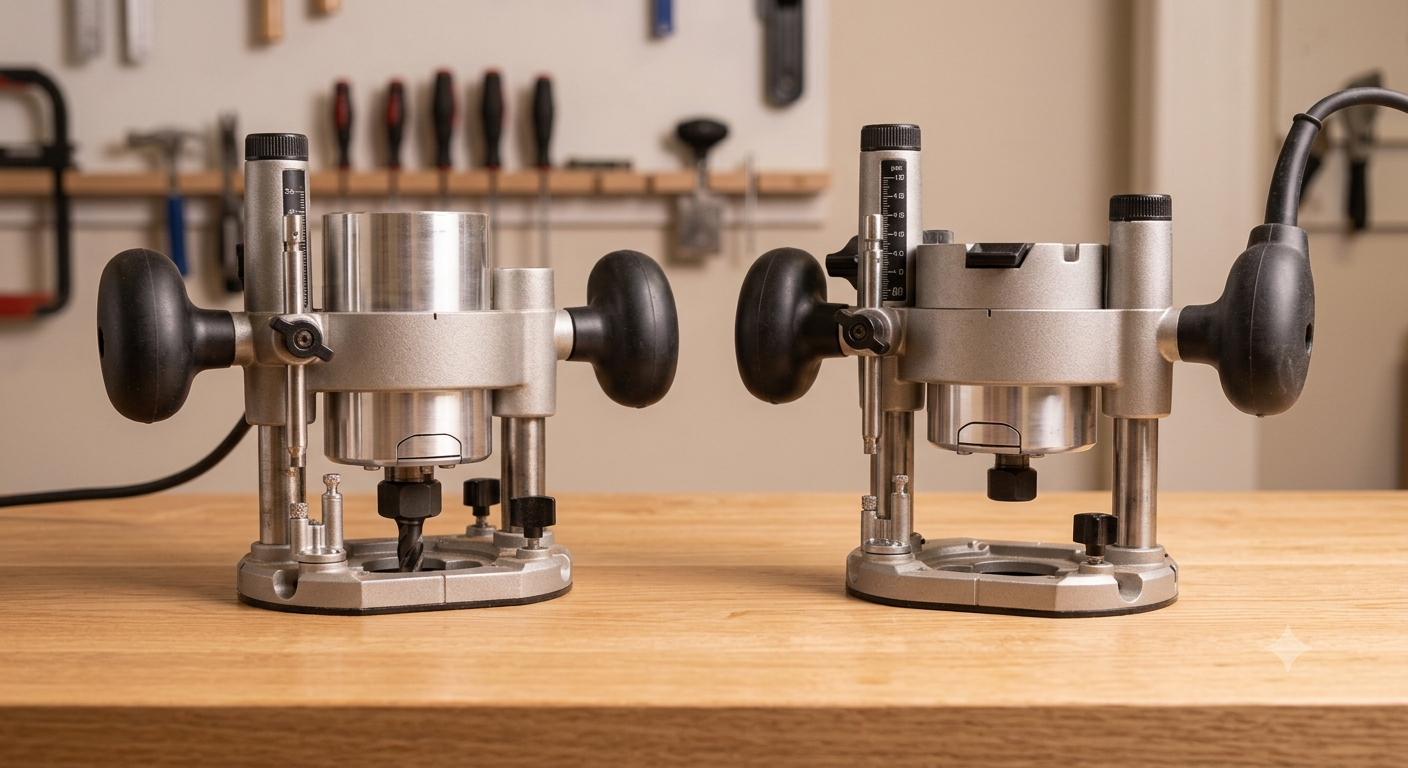
This is the most common type for beginners. The motor sits at a fixed depth, which you set before you start. Fixed-base routers are great for edge work and router table use because they’re stable and easy to control.
A plunge router lets you lower the bit into the material while the tool is running. This makes it ideal for stopped cuts, mortises, and interior routing where you need to start your cut in the middle of the wood rather than from an edge.
Many manufacturers sell combo kits that include both a fixed base and a plunge base for the same motor. This gives you flexibility without buying two separate tools, and it’s a great investment if you do a variety of routing tasks.
A CNC (Computer Numerical Control) router automates the cutting process using digital designs. While these are more advanced and typically used in production or professional settings, the core setup principles especially bit height and feed rate still apply.
Router bits come in dozens of profiles, and each one has its own setup considerations. Here are the most common ones you’ll encounter:
Each of these requires a slightly different approach when setting up a router bit. Understanding the profile you’re working with is the first step toward a clean, accurate cut.
Router Safety Tips Before Setup
Before installing or adjusting any router bit, take a few simple safety precautions. Spending a minute on safety can prevent damaged workpieces, broken bits, or serious injuries.
This is the core of the process. Proper bit setup eliminates wasted material, reduces tear-out, and keeps your work consistent from piece to piece.
Start by matching the bit to your task. Using the wrong profile even if it’s close will give you a result that needs rework. Check the bit for any signs of dullness or damage before installing it.
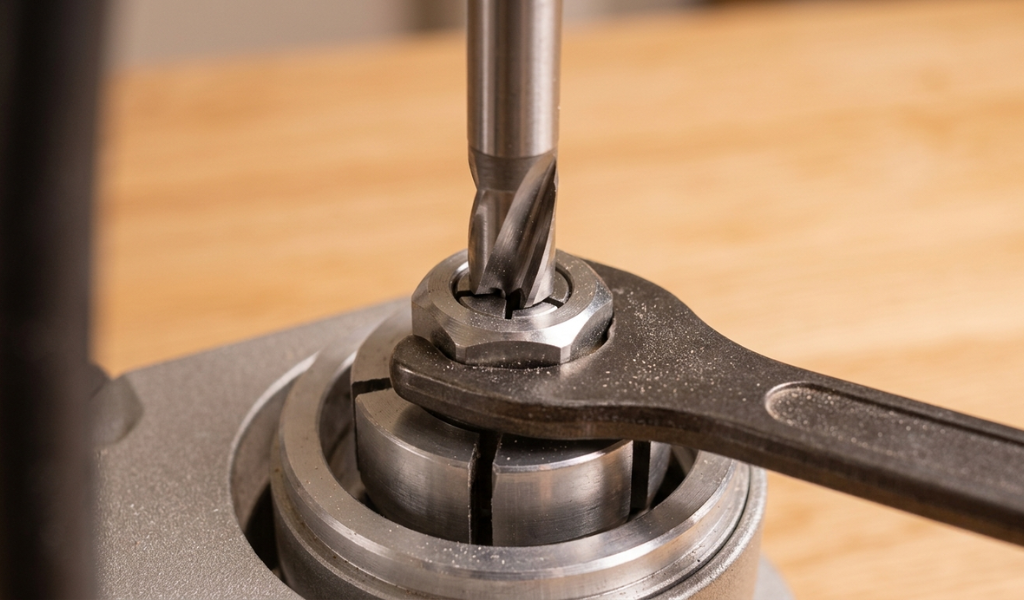
Insert the bit shank into the collet so that at least three-quarters of the shank is seated inside. Never bottom out the bit completely, leave a small gap so the collet can clamp down evenly. Tighten the collet nut firmly, but don’t overtighten to the point where you damage the shank.
This is where most people run into trouble. Bit height controls the size and shape of your cut, and even a small error here can ruin a workpiece.
For many bits, you can use a ruler or a setup gauge to dial in the height before making a cut. Hold a ruler flat across the router table opening and raise the bit until it touches the ruler at the desired height. For profile bits like chamfers and round overs, this method works well as a starting point before your test cut.
Always rout a test cut in scrap wood before moving to your actual workpiece. This lets you confirm the height, check the profile, and make any fine adjustments without risking your good material.
Once you’re happy with the test cut, lock your depth adjustment and don’t touch it until the job is done. If you’re using a fixed-base router, double-check that the locking mechanism is fully engaged.
Here’s where experience really pays off. These router setup tricks are used by professional woodworkers to speed up their workflow and make bit changes far less painful.
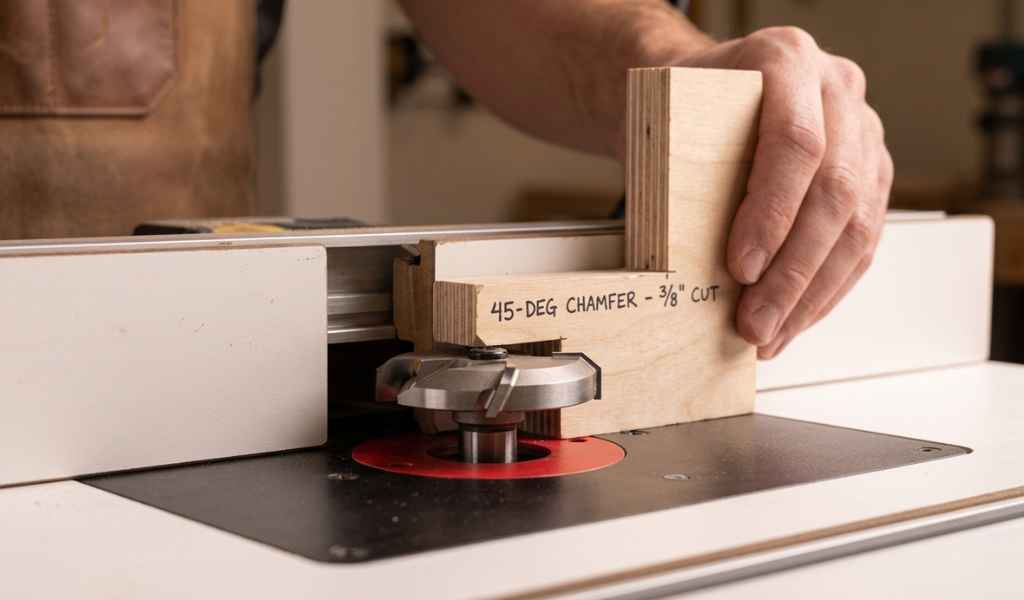
One of the best habits you can develop is routing your finished profile into a small scrap block once you’ve nailed the setting. Label that block with the bit name and the cut size, then keep it in your shop.
The next time you need to use the router and that same bit, pull out the block, hold it next to the bit, and adjust until the profile matches. You’ll skip most of the test cuts and get to work much faster.
This trick is especially useful for chamfer bits. Chamfers don’t have clean reference points like a straight bit does, which makes height-setting frustrating. A labeled setup block solves that problem almost completely.
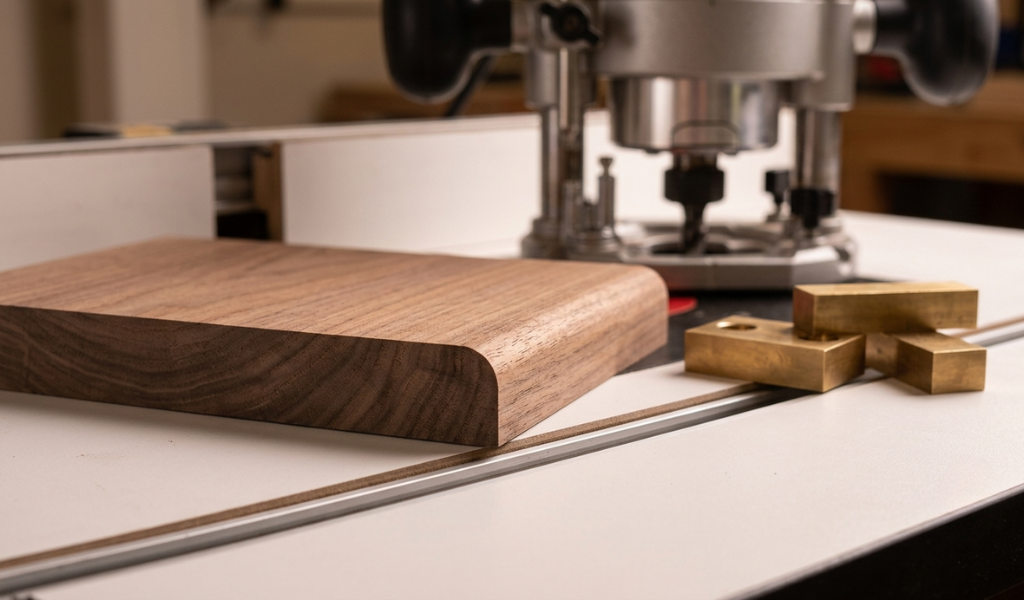
Roundover bits are another common headache. Set the bit too high, and you’ll get a small ridge at the shoulder of the profile. Getting rid of that ridge without ruining the roundover shape takes time you don’t want to spend.
The fix is simple: raise the bit slowly until the outermost edge of the cutting profile just barely touches a ruler held flat across the table opening. This gives you a starting point that typically results in a clean shoulder on the first or second test cut.
Even when working with profile bits that have a bearing, using your router table fence alongside the bearing gives you better control over the workpiece. The key is making sure the fence face is perfectly flush with the outside of the bearing.
To do this, lay a straightedge across the fence and adjust until it sits flat against the bearing without any gap. Lock the fence in place, and you now have two contact points guiding the wood—much more stable than the bearing alone.
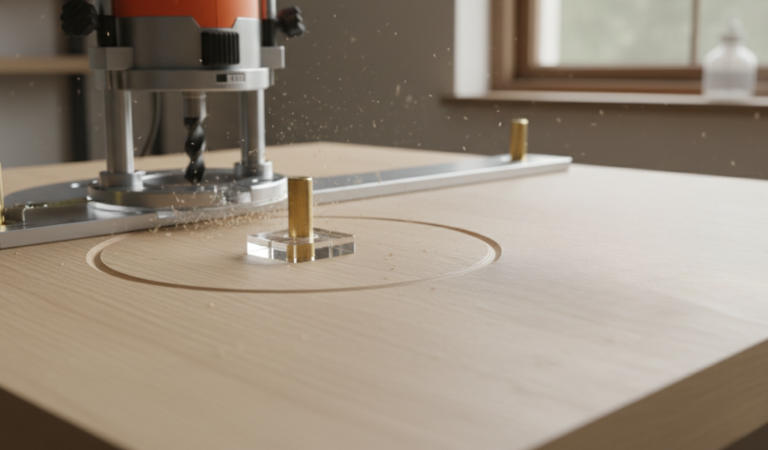
A setup gauge is a small block usually made from MDF with screws set at different heights. When you need to set your bit to a specific depth, you lower or raise the bit until it just touches the top of the appropriate screw. The screw head gives you a solid, repeatable reference point.
Using brass screws is important here. Steel screws can chip carbide cutting edges if they make unexpected contact during setup. Brass is softer and won’t damage your bits.
A router jig is a guide that helps you repeat the same cut accurately across multiple pieces. Jigs are especially valuable for joinery work things like mortises, box joints, or routed hinge recesses where every piece needs to match.
Building a basic router jig comes down to a few steps:
A well-made router jig turns complex, hard-to-repeat cuts into a simple, consistent process. Once built, a good jig can last for years and pays for itself the first time it saves you from a ruined workpiece.
Even experienced woodworkers fall into some of these traps. Knowing what to watch for makes it easier to avoid them.
Learning how to setup your router properly is one of the highest-value skills you can build as a woodworker. The time you invest upfront—making setup blocks, building simple jigs, calibrating your bit height carefully—pays back with every single cut.
The router setup tricks covered here aren’t complicated. They’re just consistent habits that remove guesswork from the process. Once you start using setup blocks for your chamfer and roundover bits, building gauges for your joinery bits, and using the fence alongside your bearing bits, you’ll find that routing becomes one of the most satisfying parts of any project rather than the most stressful.
Start with one or two of these habits in your next session, and build from there. Your cuts will be cleaner, your setup times shorter, and your confidence at the router table much higher.
Insert the bit shank into the collet so at least three-quarters of the shank is inside the collet. Leave a small gap at the bottom so the collet can clamp down properly. Tighten the collet nut firmly by hand, then use the wrench to secure it fully. Never bottom out the bit, as this prevents the collet from gripping evenly.
Use a setup block, a small piece of scrap wood with the finished profile already routed into it. Hold the block next to the bit and raise or lower the bit until the profile matches. For a new setup, start with a ruler or shop-made gauge to get close, then confirm with a single test cut in scrap before routing your actual piece.
The main types are fixed-base, plunge, and combo routers. For beginners, a fixed-base router is the easiest to start with because the depth is locked before you begin cutting, making it more stable and predictable. A combo kit gives you the most flexibility if you want both options in one package.
A ridge on a roundover cut usually means the bit is set slightly too high. Lower the bit gradually in small increments until the outermost edge of the bit’s cutting profile just lines up with the surface of the table. Make a fresh test cut after each adjustment until the ridge disappears.
A router jig is a guide or template that helps you make the same cut repeatedly and accurately. You should use one any time you need to repeat a cut across multiple pieces hinge recesses, mortises, box joints, or any other joinery that requires consistency. A good jig eliminates setup time on repeat cuts and makes matching pieces far easier.
Tear-out is usually caused by routing against the wood grain or feeding the workpiece too quickly. To minimize it, route in the direction of the grain wherever possible, keep your bits sharp, and use a consistent, moderate feed rate. On end grain, making a light scoring pass before the full-depth cut can also reduce tear-out significantly.