Physical Address
304 North Cardinal St.
Dorchester Center, MA 02124
Physical Address
304 North Cardinal St.
Dorchester Center, MA 02124

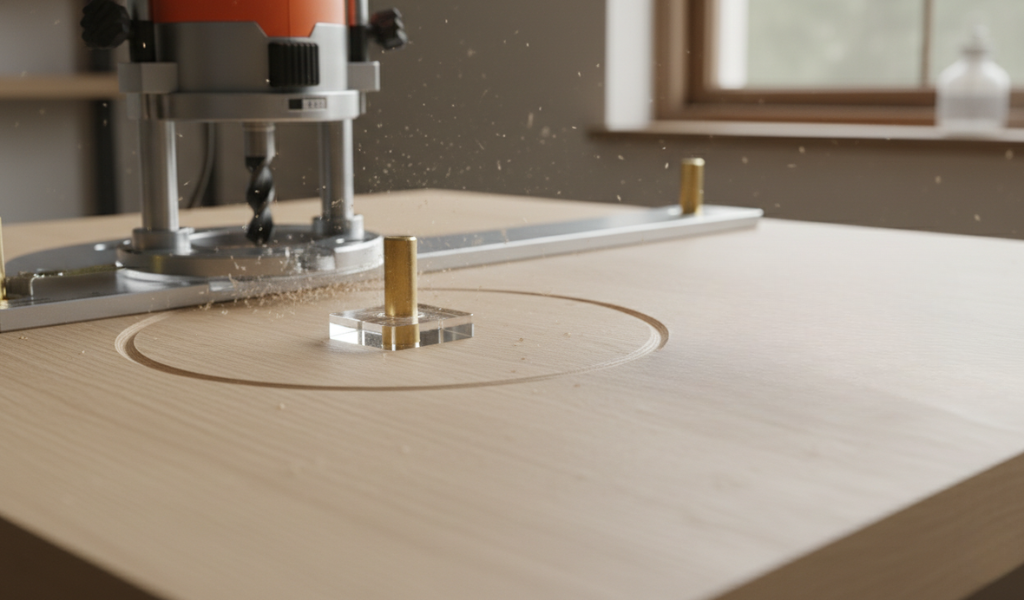
If you have ever tried to cut a perfect circle using a jigsaw or a bandsaw, you know the frustration of “close but not quite.” No matter how steady your hand is, those minor wobbles always seem to show up once the finish is applied. This is exactly where a router jig for cutting circles becomes one of the most useful tools in your workshop.
A router is naturally designed to follow a path, and when you pair it with a well-built jig, you transform it into a precision compass capable of cutting smooth, accurate arcs every time. Whether you are making a round tabletop, a speaker cutout, or a decorative arch, using a router jig is the professional way to get the job done. In this guide, we will walk through how to build, calibrate, and use a router jig for cutting circles to help you make cleaner, more accurate circular cuts.
What Is a Router Jig for Cutting Circles?
A router jig for cutting circles is a guide attachment that lets a router spin around a fixed center point to cut accurate circles, rings, and arcs in wood, MDF, plastic, or similar materials.
Most woodworking power tools love straight lines. Table saws, jointers, and planers are all built on the philosophy of the “straight edge.” When a project demands a curve, many hobbyists reach for a handheld saw, but even with a lot of sanding, the results can look amateur.
A jig for cutting circles—often called a trammel—changes the game. Instead of relying on your eye-hand coordination, you are relying on a fixed pivot point. This ensures that every millimeter of the edge is an equal distance from the center. It’s the difference between a rough-looking project and one with clean, professional results.
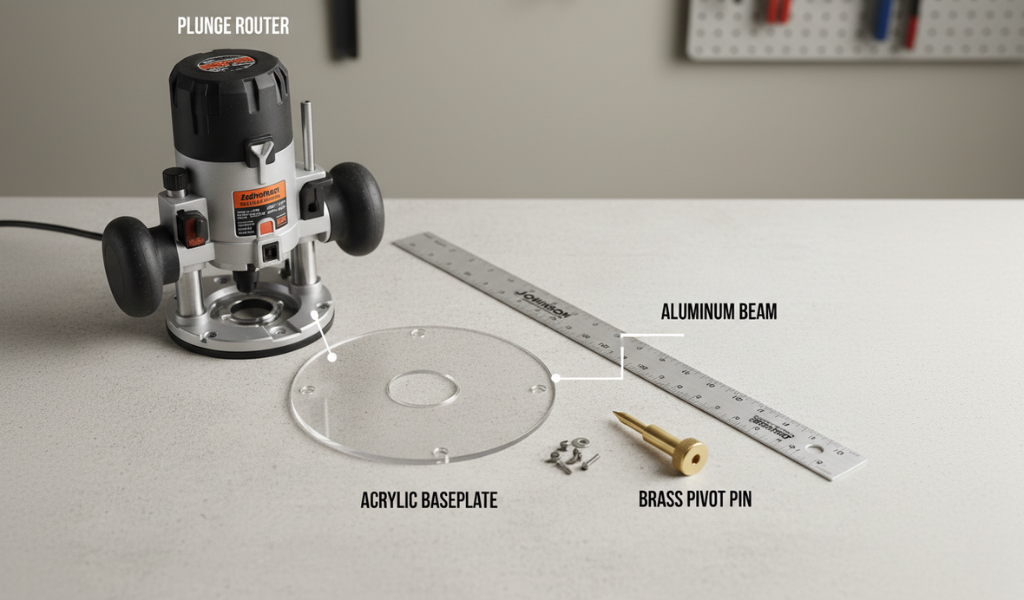
A basic router jig can be as simple as a scrap piece of plywood with a hole in it. However, if you want consistent results for various sizes, you need something a bit more sophisticated. A high-quality jig usually consists of three main parts:
You don’t need to spend a fortune on a store-bought version. Building a router jig for cutting circles is a great weekend project.
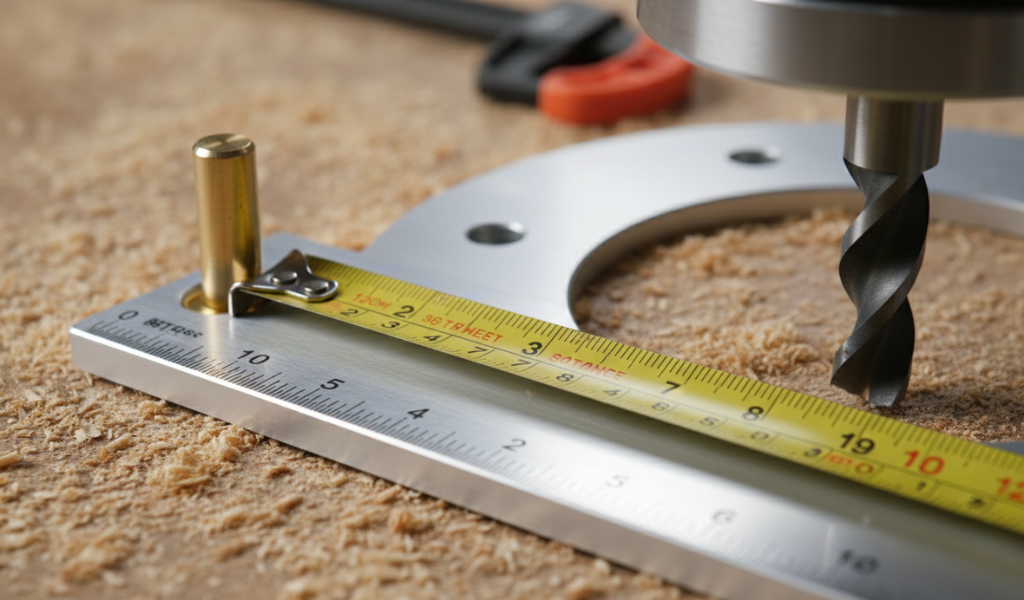
Accuracy is the soul of a jig for cutting circles. If your jig says 10 inches, but the circle comes out 10 and 1/8th, your joints won’t fit.
To calibrate your router jig, you must account for the thickness of the bit. If you are cutting the outside of a circle (like a tabletop), the measurement is taken from the pivot pin to the inside edge of the bit. If you are cutting a hole (like for a sink), you measure to the outside edge of the bit.
Expert Insight: I always recommend dedicating a specific bit—like a 1/2″ straight or up-spiral bit—to your jig. Calibrate the ruler markings to that specific bit. If you swap to a different diameter bit later, your ruler markings will be off!
Once your jig is ready, it’s time to make some sawdust. Follow these steps for a clean, safe cut.
Mark the center of your circle on the bottom side of your wood. Drill a small hole that matches your pivot pin. Note: If you don’t want a hole in your finished piece, you can hot-glue a small “pivot block” of scrap wood to the center and drill into that instead.
Never cut a circle directly on your workbench! Place a sheet of MDF or rigid foam insulation under your workpiece. This allows the router bit to pass through the wood and slightly into the base without damaging anything.
Using a plunge router is a big advantage here. Set your depth to about 1/4″. Start the router, plunge into the wood, and sweep the jig in a counter-clockwise direction.
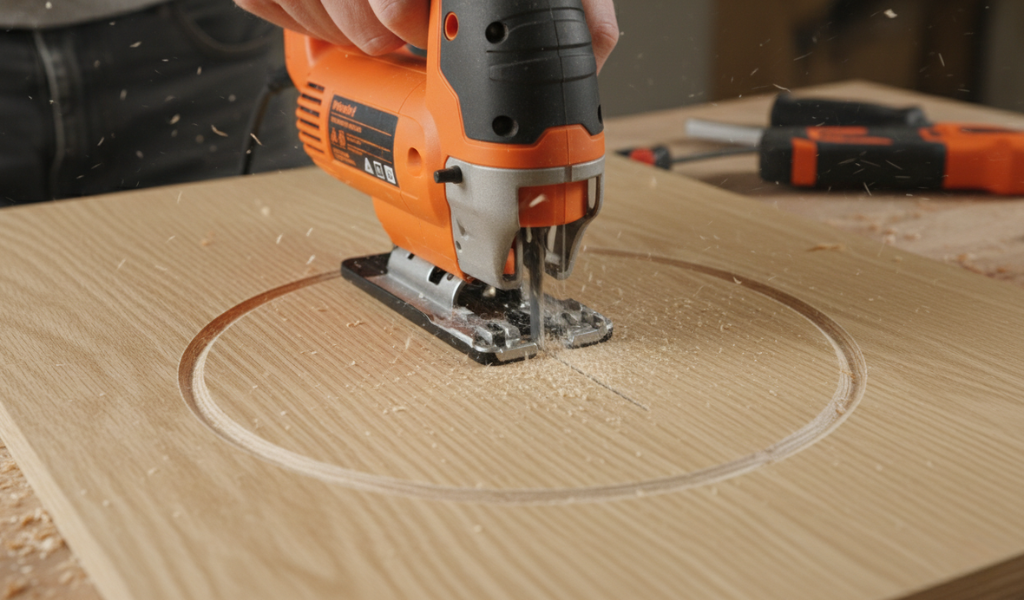
Routing through 1.5-inch thick oak creates a large amount of dust and wear on your bit. After your first shallow pass with the router jig, take the jig off. Know how to use a jigsaw and cut out the circle, staying about 1/16″ inside the groove you just made.
Put the router and jig back on. Now, the router only has to trim away a tiny bit of wood to leave a smooth clean edge. This prevents the motor from straining and keeps your bit from burning the wood.
When cutting circles, the physics are a bit different than straight routing.
Once you master the basic , you can start getting creative.

Creating Rings: To make a hollow ring, you simply perform two cuts from the same center point. Cut the larger outer circle first, then adjust the jig to a smaller radius and cut the inner circle. Just remember to secure the “ring” part with tape so it doesn’t fly off when the final cut is completed.
Cutting Arcs: If you are building a crib or a decorative doorway, you don’t need a full circle. You can use the same jig to swing an arc. Simply mark your start and stop points on the wood and carefully plunge and lift the router at those marks.
Conclusion
A router jig for cutting circles is one of the most useful tools for woodworkers. It removes the stress of trying to follow a line and replaces it with the consistent accuracy of a pivot.
Next time your project calls for a curve, don’t reach for the sandpaper to fix a bad jigsaw cut. Reach for your router, set up your jig, and enjoy making a clean, accurate circle. Happy woodworking!