Physical Address
304 North Cardinal St.
Dorchester Center, MA 02124
Physical Address
304 North Cardinal St.
Dorchester Center, MA 02124

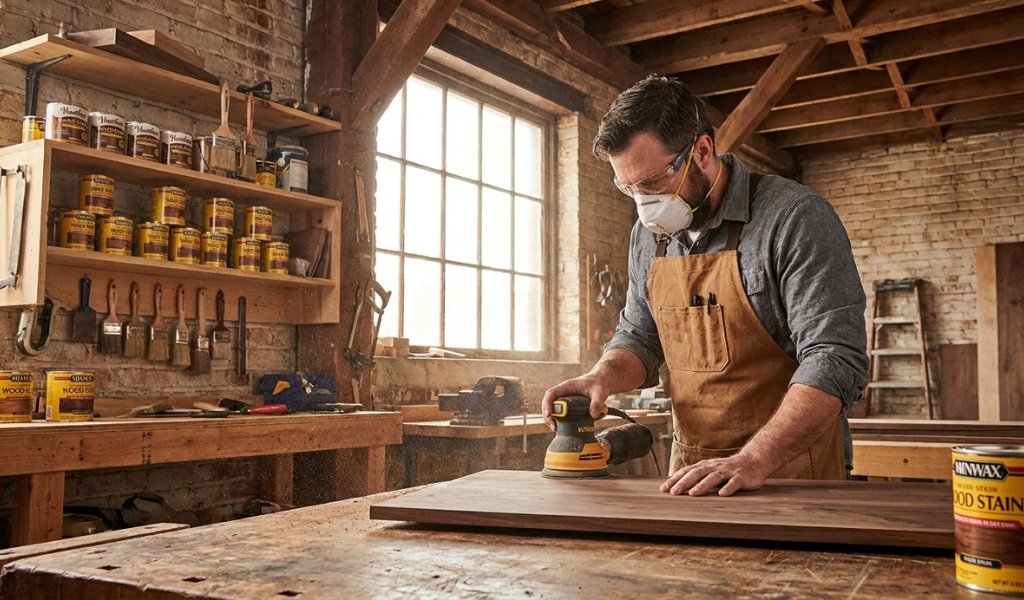
Sanding and staining wood go hand in hand but the relationship between the two is more nuanced than most people realize. Sand too aggressively and you’ll strip color unevenly. Sand too little and your topcoat won’t adhere properly. Get it right, and you end up with a professional-looking finish that’s smooth, consistent, and built to last.
Whether you’re stripping a stained surface back to raw wood, smoothing between coats, or prepping for a fresh application of stain, understanding how sanding interacts with wood stain is fundamental. If you’re newer to the process, it helps to first build a solid foundation. Our complete guide to sanding covers the core techniques, grit progressions, and tool choices that apply across all wood projects.
This guide takes that foundation and applies it specifically to stained wood. You’ll learn when to sand already-stained surfaces, how to remove stain effectively, which sandpaper grits suit each stage of the job, and how to avoid the blotchy patches and sanding scratches that derail otherwise solid prep work. Each section is built around practical decisions, not theory so you can work through your project with confidence from start to finish.
Before you pick up a piece of sandpaper, it’s worth understanding what’s actually happening when you sand a stained wood surface. Stain behaves differently from paint or a surface coating; it penetrates the pores of the wood rather than sitting on top. That changes how sanding affects it.
Yes, you can sand already stained wood but the reason you’re doing it determines everything about how you approach it.
There are two common scenarios. The first is light sanding between coats of finish, where you’re not trying to remove the stain at all. A quick pass with fine-grit sandpaper (320–400 grit) smooths out raised grain, dust nibs, or brush marks after the first sealer coat dries, without disturbing the stain color underneath. The second scenario is more involved: sanding to remove or alter the stain itself, which requires working down through the stained surface layer to reach raw wood.
Sanding a stained surface is also a legitimate first step when you need to change the color of a stained piece, prep it for a fresh coat of stain, or correct a blotchy or uneven application. In these cases, you’re removing material, not just smoothing it.
One important caveat: on plywood or veneered surfaces, the decorative layer can be extremely thin. Aggressive sanding on these materials risks cutting through the veneer entirely so always start with a finer grit and check your progress frequently before committing to a coarser approach.
Stain color is directly tied to how deeply the stain penetrates the wood and how evenly it’s absorbed across the surface. Sanding disrupts both.
When you sand a stained surface, you’re physically removing the wood fibers that hold the stain pigment. The more material you remove, the lighter the color becomes. Uneven sanding more pressure in some spots than others creates areas where the stain is lighter or darker, which becomes immediately visible once a new coat of stain or finish is applied.
This is especially relevant on softwood species like pine, which absorb stain unevenly even under ideal conditions. The density variations between early wood (the lighter, softer rings) and late wood (the darker, denser rings) mean those two zones accept stain differently. Add uneven sanding on top of that, and you’re working against yourself from the start.
For best results, always sand in the direction of the wood grain and maintain consistent pressure throughout. Even small changes in how hard you’re pressing can affect the final stain color across the surface.
Removing stain from wood through sanding is a systematic process. Rushing it or skipping steps leads to an uneven surface that’s harder to re-stain cleanly than the original. Work through each stage deliberately and you’ll bring the wood back to raw, ready to accept stain on your terms.
Start by understanding what you’re dealing with. On most wood species, standard oil-based or water-based stains penetrate only the surface layer of wood fibers typically 1/32 to 1/16 of an inch. Gel stains, which sit more on the surface, are often easier to remove. Deeply penetrating stains on open-grained hardwoods like oak or ash can reach further into the pores of the wood and may require more aggressive sanding to fully clear.
Do a quick test on an inconspicuous area: sand a small patch with 80 grit and wipe off the dust. If the wood underneath looks clean and uniformly raw, standard removal sanding will work. If the color persists deep in the grain, you may need to spend more time at the coarser end of the grit range before progressing.
On pieces where you only want to lighten the stain rather than remove it entirely, targeted sanding with 120 grit can reduce color intensity without taking the surface all the way back to raw wood. Test the color on a piece of the same wood species first to confirm the result before committing.
For full stain removal, start with 60–80 grit sandpaper. This range removes material efficiently without the risk of gouging that comes with very coarse grits. On a random orbital sander, 80 grit is usually the right starting point for most stained surfaces aggressive enough to cut through the stained layer, controlled enough to avoid damage.
For small or detailed areas, hand sanding with an 80 grit sheet wrapped around a sanding block gives you better control than a power tool. Always sand in the direction of the grain of the wood cross-grain scratches at this stage will be extremely difficult to remove later and will show through any subsequent stain application.
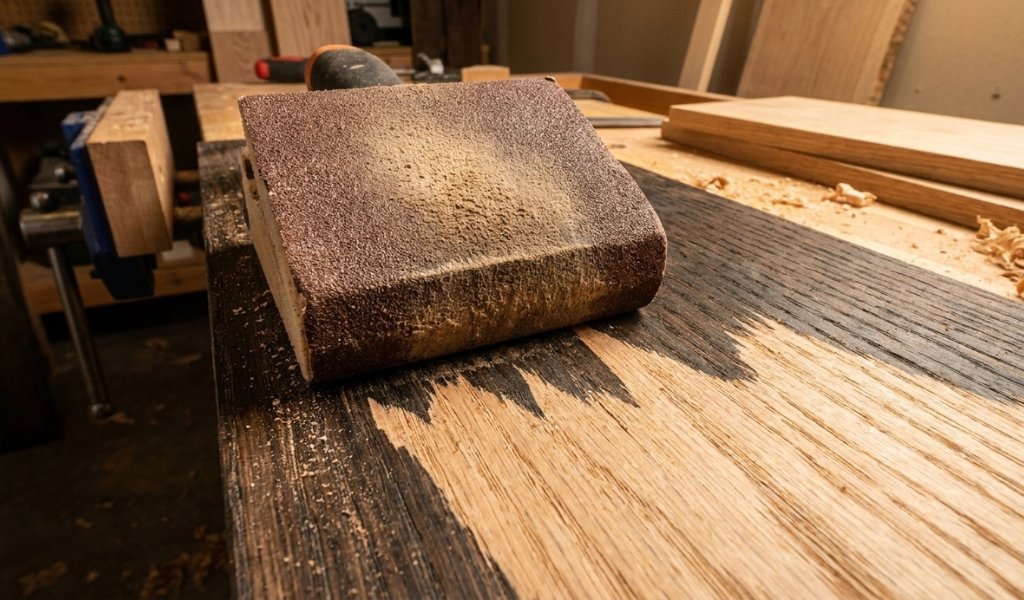
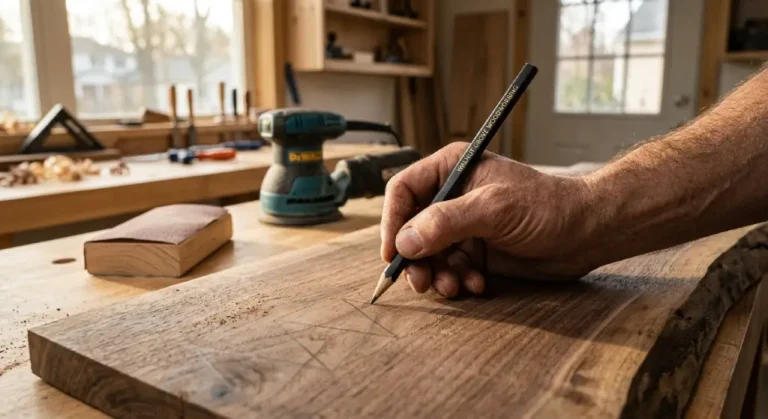
Work the surface methodically in sections. Use a pencil line drawn across the surface to track your progress: once the line disappears, you’ve covered that area evenly at the current grit.
Once the stain is removed, the surface will have scratches from the coarse grit. These need to be worked out before the wood is ready to accept stain again. Progress through 100 grit, then 120 grit, then 150 grit each pass erasing the marks left by the previous one.
Finish with 180 or 220 grit sandpaper for final sanding. At this stage, the goal is a smooth, uniform surface free from visible scratch patterns. Wipe the surface with a tack cloth to remove all dust, then inspect under raking light (a light held at a low angle to the surface) to confirm no deep scratches remain.
The wood is now ready to prep and stain. If you’re working with a wood species prone to blotching like pine, cherry, or maple this is the point to apply a pre-stain wood conditioner before you apply the stain.
Sanding between coats is a different job from stain removal. The goal here is not to remove material but to prepare a stained surface for the next layer. Getting this stage right is the difference between a finish that looks hand-crafted and one that looks rough or amateurish.
Sanding fresh stain is almost always a mistake. Stain that hasn’t dried completely will smear, lift unevenly, and clog your sandpaper immediately. Worse, the moisture still present in undried stain can raise the wood grain further, creating a rougher surface than you started with.
There’s a specific window where sanding makes sense: after the stain has dried completely and before the topcoat goes on. At this point, a very light pass with 220 grit can smooth any raised grain without disturbing the stain color. The key word is light; you’re not trying to remove anything, just knock down texture.
If your stain dried with visible raised grain or minor roughness, a quick pass with fine-grit sandpaper before sealing is good practice. If the surface dried smooth, skip it and move straight to your topcoat.
Allow the wood to dry completely before sanding. Drying times vary based on the stain type, the wood species, and your shop conditions but as a general guide, oil-based stains typically need 24 hours, while water-based stains may be ready in 2–4 hours under good airflow and moderate temperature.
When in doubt, wait longer. A stain that feels dry to the touch may still have solvent trapped deeper in the pores of the wood. Sanding too early pulls partially cured stain back to the surface, creating smears and uneven color that are difficult to correct.
Humidity matters too. High humidity slows drying significantly. If your shop is humid, extend your wait time accordingly and ensure adequate ventilation before you sand the wood.
Once the stain has dried completely, preparing the stained surface for a topcoat is straightforward. Lightly sand the surface with 220 grit sandpaper just enough to knock down any raised grain or dust that settled during drying. This creates a mechanical bond for the sealer or topcoat without removing meaningful stain color.
After sanding, wipe off excess dust with a tack cloth. For water-based topcoats, a slightly damp microfiber cloth is also effective. Make sure the surface is completely clean before applying your finish. Any remaining dust will embed in the first coat and show in the final result.
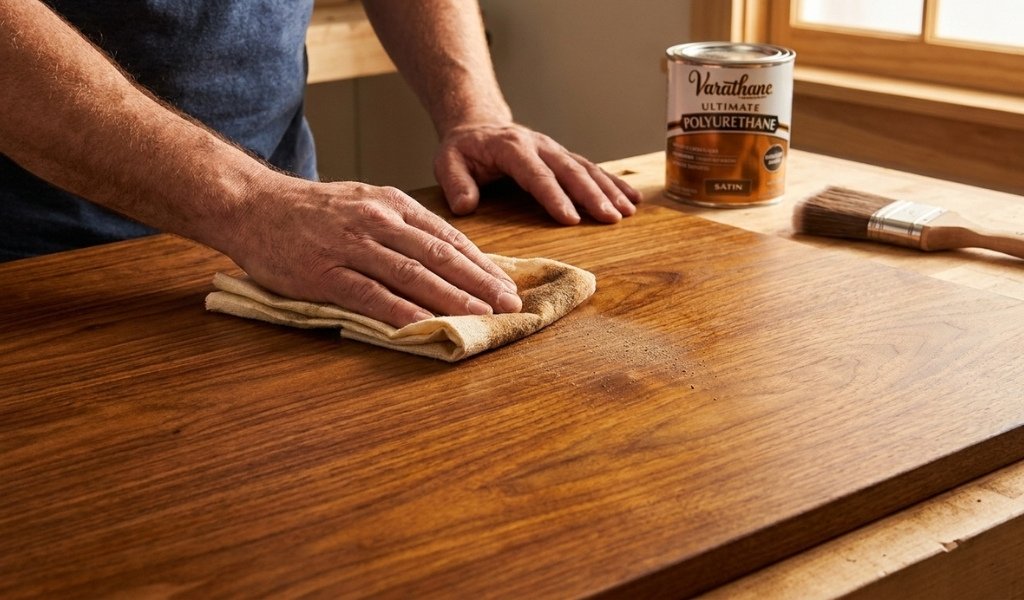
If you’re applying an oil-based topcoat over a stained surface, mineral spirits can be used to clean the wood surface and remove sanding residue without raising the grain again. Allow it to flash off fully before applying the finish.
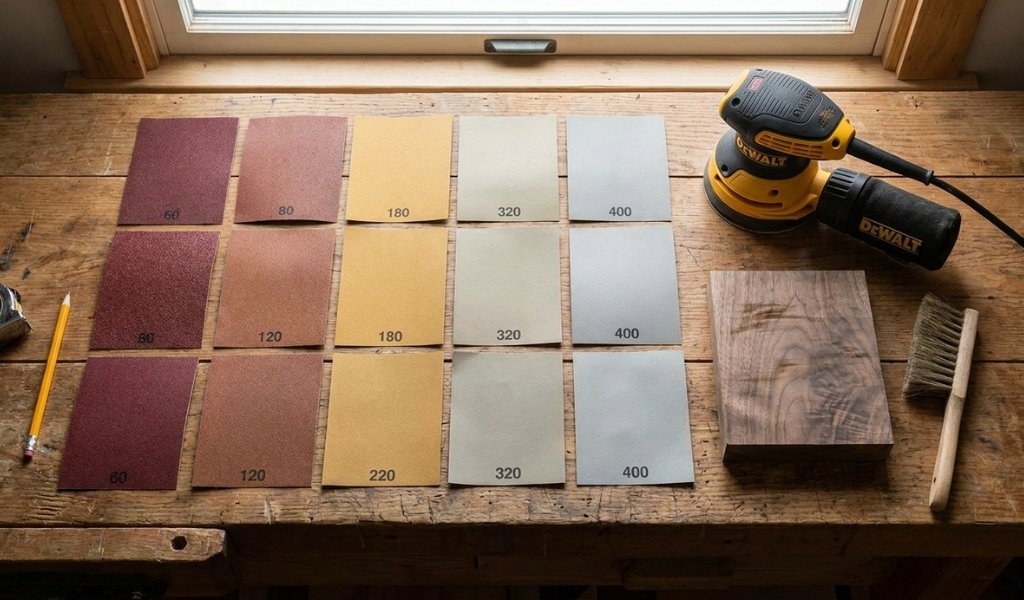
The tools you use and the grits you choose directly determine your results. Using the wrong sandpaper at the wrong stage doesn’t just slow you down it creates problems that take significantly more work to fix.
Here’s a practical breakdown of how to match your grit to the job at hand on stained wood:
Always progress through grits in sequence. Jumping from 80 grit directly to 220 grit leaves scratch marks that the finer paper isn’t designed to remove efficiently and those marks will show through your stain.
Sanding scratches and blotchy patches are the two most common problems when working with stained wood, and both are preventable with good technique.
Sanding scratches come from cross-grain movement or from skipping grit stages. Always sand in the direction of the wood grain specifically, in the direction of the grain of the wood and never skip more than one grit step in your progression. If you’re using an orbital sander, finish with a light hand-sanding pass along the grain at your final grit to eliminate any residual swirl pattern left by the machine.
Blotchy patches typically result from uneven stain absorption, which sanding can either fix or make worse depending on how it’s done. On wood species that absorb stain unevenly like pine, maple, birch, or other softwood and closed-grain hardwood species applying a Minwax® Pre-Stain Wood Conditioner before staining helps even out absorption. Apply the conditioner, allow it to penetrate for 5 to 15 minutes, then wipe off excess conditioner and start staining while the surface is still slightly tacky. This gives you a more even stain and a more professional-looking result.
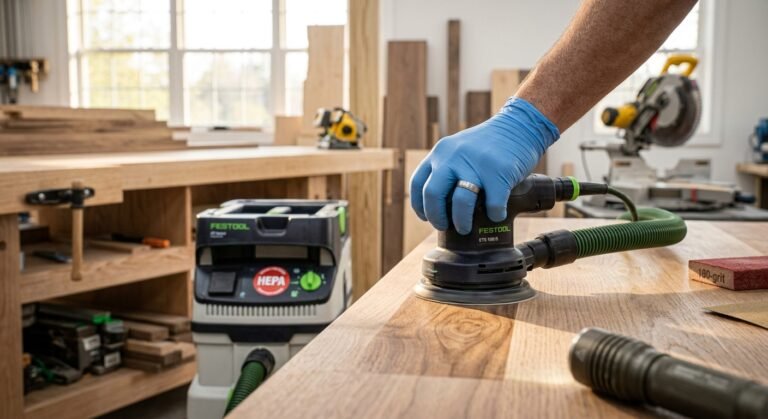
On large flat surfaces, an orbital sander paired with a dust collection system keeps the surface clean and your sanding consistent. On smaller or detailed pieces, hand sanding gives you more control. A staining pad or a brush works well for applying the stain after sanding, depending on the viscosity of your product and the wood surface texture.
Yes. Sanding already stained wood is common practice whether you’re smoothing raised grain before a topcoat, lightening the stain color, or removing the stain entirely to refinish the surface. The approach depends on your goal: use fine-grit sandpaper (220 grit) for light smoothing between coats, or start with 80 grit and work progressively through finer grits if you need to remove the stain and return to raw wood.
Yes, you can sand a stain out of wood in most cases. Because stain penetrates the wood rather than sitting on top, you need to physically remove the stained wood fibers through sanding. Start with 60–80 grit sandpaper to cut through the stained layer, then progress through 100, 120, and 150 grit before finishing with 180–220 grit to restore a smooth, raw surface. Always sand in the direction of the grain and check your progress frequently, especially on thin veneers or plywood.
Allow the stain to dry completely before sanding at minimum, 24 hours for oil-based stains and 2–4 hours for water-based stains under good conditions. High humidity or poor airflow will extend these times. Sanding before the stain has dried fully risks smearing the stain, clogging your sandpaper, and creating an uneven stained surface that’s difficult to correct.
The right grit depends on what you’re doing. To prep bare wood before you apply the stain, finish sanding with 180–220 grit sandpaper. To remove an existing stain, start with 60–80 grit and work up through finer grits to 220. To lightly sand between a dried stain coat and a clear topcoat, use 220 grit. For smoothing between topcoat layers on a stained surface, use 320–400 grit.
Yes proper sanding before staining is essential for best results. Sanding opens the pores of the wood, removes surface contamination, and creates a uniform texture that lets the stain penetrate evenly. Without it, stain absorbs unevenly, highlighting scratches and creating blotchy patches. Always sand the wood progressively through the grits, finishing at 180–220 grit before applying stain. On woods prone to blotchiness, follow final sanding with a pre-stain wood conditioner to help the wood absorb stain evenly.