Physical Address
304 North Cardinal St.
Dorchester Center, MA 02124
Physical Address
304 North Cardinal St.
Dorchester Center, MA 02124
Cutting tiles by hand takes skill, patience, and a lot of practice. If you’ve ever struggled with uneven edges or cracked porcelain, you already know how frustrating the manual approach can be. Learning how to use an electric tile cutter properly can change all of that—giving you cleaner cuts, faster results, and far less waste on the job.
Whether you’re a DIY enthusiast tackling a bathroom renovation or a professional tiler working with dense stone materials, an electric tile cutter is one of those tools that pays for itself quickly. This guide walks you through everything you need to know—from understanding what a tile cutter actually is, to choosing the right type, to making your first cut with confidence.
A tile cutter is a tool designed specifically to cut ceramic, porcelain, stone, or glass tiles to a desired size or shape. Tiles rarely fit perfectly into a space straight out of the box, so cutting them down is a standard part of almost every tiling job—whether you’re working on a floor, wall, or backsplash.
There are two main categories: manual tile cutters and electric tile cutters. Manual cutters score the surface of the tile with a carbide wheel, then apply pressure to snap it along that scored line. They’re quiet, dust-free, and quick for straight cuts on thinner materials. Electric cutters, on the other hand, use a diamond-tipped blade and water to slice through the tile. They handle a much wider range of materials and thicknesses, with greater precision.
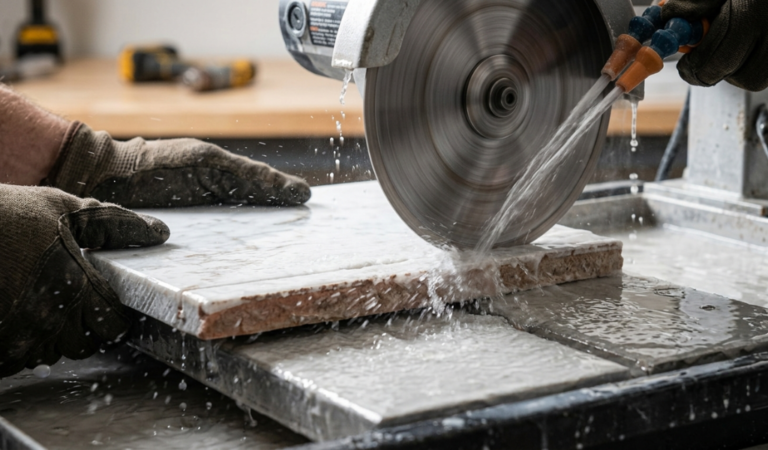
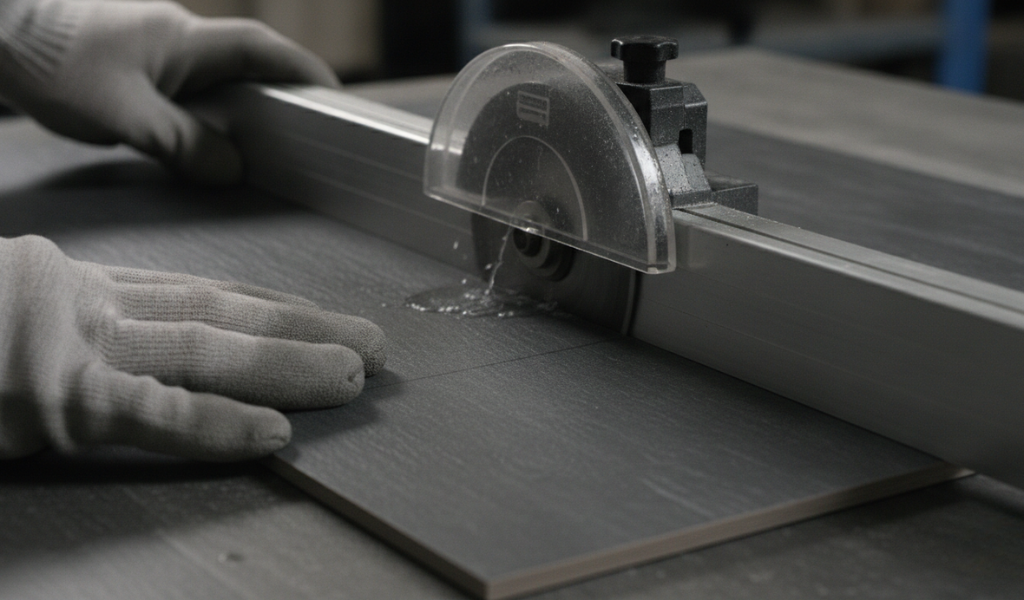
An electric tile cutter—sometimes called a wet saw or tile wet saw—is a power tool that uses a motorized, diamond-coated blade to cut through hard materials like porcelain, slate, natural stone, and thick ceramic. Most models use water to cool the blade during cutting, which reduces friction, prevents overheating, and keeps dust to a minimum.
The water system is one of the key differences between electric and manual cutters. While a manual cutter produces no slurry or mess from water, it also can’t handle the toughest tile materials without chipping or cracking them. Electric cutters sacrifice some convenience for much greater cutting power and accuracy.
Electric tile cutters range from compact, portable handheld models to large bench-mounted workstations. The right one depends on your project size, tile type, and how frequently you’ll be using it.
This is one of the most common questions for anyone starting a tiling project. The honest answer: both tools have a place, and knowing when to use each one saves you time and money.
Use an electric tile cutter when:
Use a manual tile cutter when:
In short: for tough materials and complex cuts, go electric. For speed and simplicity on standard ceramic, a manual cutter does the job well.
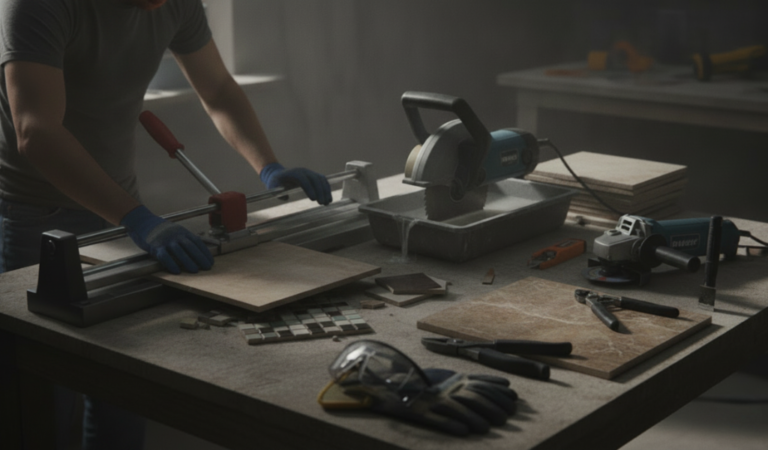
Before you start cutting, you need to know which type of electric tile cutter you’re working with. There are three main types, each suited to different tasks.
Portable cutters are compact, lightweight, and easy to move around a job site. They’re a popular choice for repairs, small renovations, or situations where you need to cut tiles close to where they’ll be installed. Because of their size, they’re also easier to set up and store.
These machines work well for cutting squares and shaping tiles around corners, window frames, or doorways. One key advantage is that you can bring the tool to the tile rather than carrying tiles to a fixed workstation. That said, they sacrifice some power compared to larger machines—so they’re not ideal for cutting through very thick or very hard materials.
Moving-table cutters function a bit like a miniature conveyor system. The tile is placed on a flat surface that slides along rails or tracks, feeding the tile into a fixed blade. This setup is particularly efficient for handling thicker materials and high-volume cutting, since the motion is smooth and consistent.
The trade-off is versatility. Moving-table cutters aren’t well-suited for standard ceramic tiles, as the cutting action can compromise precision on softer materials. They work best with dense, heavy tiles where a steady, consistent feed is more important than flexibility.
Moving-head cutters flip the logic of the moving-table design. Instead of moving the tile into the blade, the blade head slides along a guide rail to meet the tile. This design offers excellent precision—particularly useful when cutting ceramic tiles that require a clean, accurate finish.
If you’re considering a moving-head cutter, pay attention to whether it includes a mitre saw function. For tile-only work, a mitre saw adds unnecessary complexity. Mitre-saw variants are better suited to cutting natural stone or building materials, or when you need to make a variety of cut angles on the same job.
The steps below apply broadly to most electric tile cutters. Always refer to your specific model’s manual for any machine-specific setup instructions.
Place the cutter on a flat, stable surface. This is non-negotiable—any wobble in your workstation will show up in your cuts. If you’re using a bench-mounted model, make sure it’s secured properly before switching anything on.
Check the water reservoir if your machine uses a wet-cutting system. Fill it to the recommended level. Dry cutting with a wet saw can damage the blade quickly and create excessive dust.

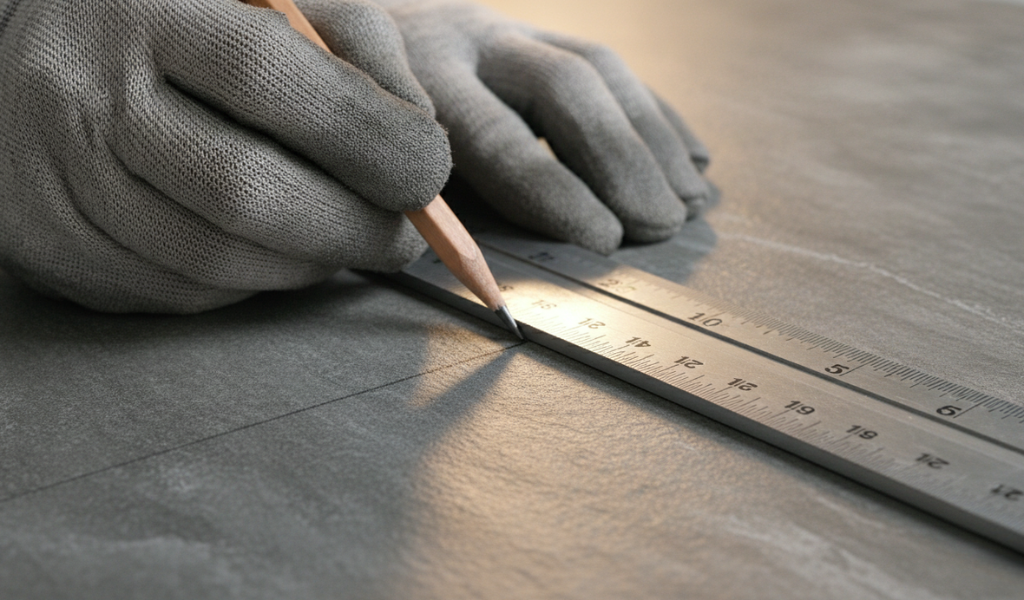
Use a pencil or tile marker to draw a clear cutting line on the surface of the tile. Measure twice, mark once. A small measurement error at this stage means a wasted tile later—and tiles aren’t cheap.
For angled cuts, a protractor or adjustable angle guide will help you mark an accurate line.
Check that the blade depth is appropriate for your tile’s thickness. The blade should cut through the tile cleanly without grinding into your work surface below. Adjust the fence or guide so the tile sits exactly where you need it relative to the blade.
Place the tile against the guide or fence, aligning your pencil mark with the blade’s cutting path. For portable cutters, use a clamp or vice to hold the tile steady if possible—this keeps your hands away from the blade and improves cut accuracy.
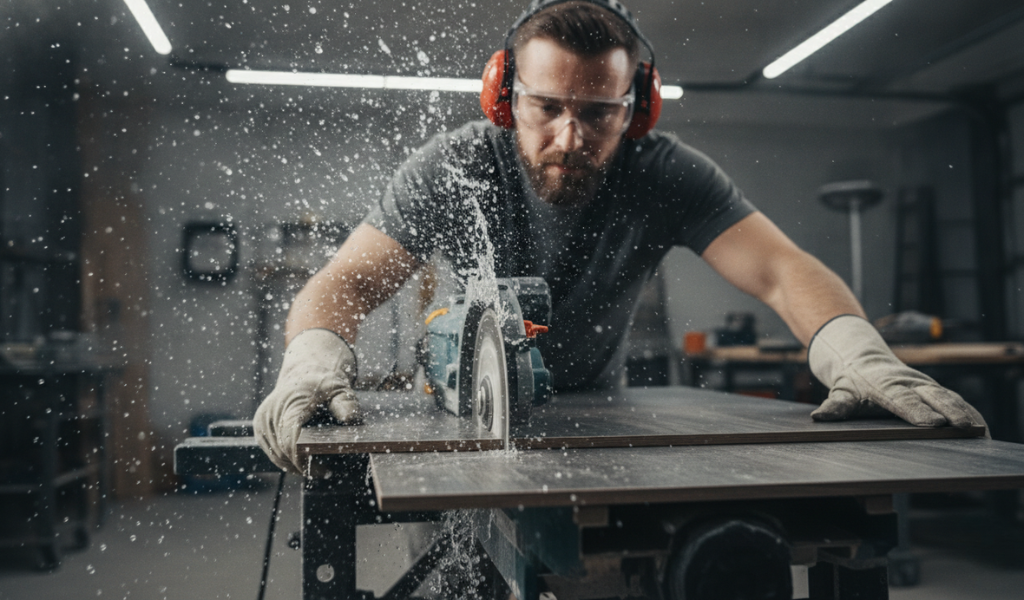
Turn on the machine and let the blade reach full speed before it contacts the tile. Apply steady, even pressure—don’t rush the cut. Forcing the tile through too quickly can chip the edges or strain the motor.
For moving-table cutters, the machine handles the feed automatically once it’s switched on.
For moving-head models, slide the cutting head smoothly along its guide rail. For portable cutters, move the blade steadily along the marked line.
Once the cut is complete, turn off the machine and wait for the blade to stop completely before removing the tile. Never pull a tile away from a still-moving blade.
Repeat the process for each remaining tile, checking your measurements fresh each time.
Working with any power tool carries risk. Follow these guidelines every time you use an electric tile cutter:
Even experienced tilers make errors when switching to a new tool. Here are a few worth watching for:
Learning how to use an electric tile cutter properly makes a real difference to the quality and efficiency of any tiling project. Once you understand which type suits your needs, how to set up safely, and how to work through each cut methodically, the results speak for themselves—smooth edges, accurate sizing, and a finished floor or wall that looks exactly as planned.
If you’re ready to upgrade your toolkit, explore a range of electric tile cutters suited to different project types, from portable models for on-site work to robust bench-mounted options for high-volume jobs.
An electric tile cutter is used to cut hard tile materials—including porcelain, natural stone, slate, and thick ceramic—to a precise size or shape. It uses a motorized diamond-tipped blade, often cooled with water, to slice through materials that would crack or chip under a manual cutter.
Use an electric tile cutter when working with dense materials like porcelain or stone, when you need diagonal or curved cuts, or when you have a large number of tiles to cut. A manual tile cutter is better suited to standard ceramic tiles and simple straight cuts on thinner materials.
Most electric tile cutters are designed as wet saws, meaning they require water to cool the blade during cutting. Running the machine without water can overheat the blade, reduce its lifespan, and produce excessive dust. Always check the water reservoir before starting.
A moving-head electric tile cutter is generally the best choice for ceramic tiles, as the sliding blade head delivers a precise and clean cut. Avoid moving-table variants for ceramic—they’re better suited to thicker or denser materials.
Yes. Electric tile cutters are suitable for beginners, especially portable models, which are designed to be user-friendly. Follow the setup steps carefully, mark your tiles before cutting, and prioritize safety gear. Starting with a straightforward cut on a spare tile is a great way to build confidence before working on your actual project.
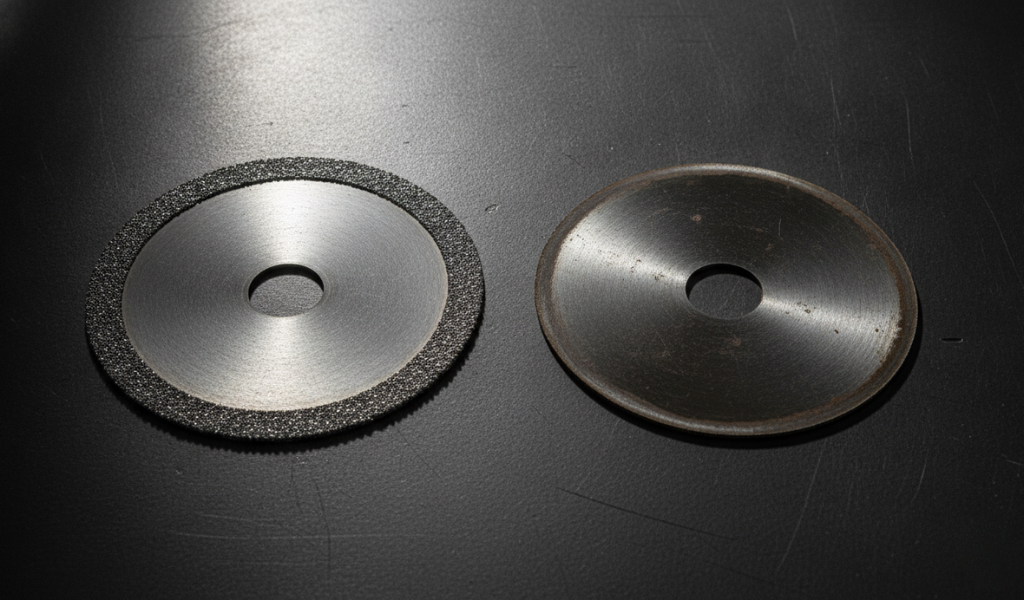
Signs that a blade needs replacing include rough or uneven cuts, chipping along the tile edge, increased cutting time, or visible damage to the blade surface. A worn blade also puts extra strain on the motor. Replace the blade promptly to maintain cutting quality and protect the machine.
At a minimum, wear safety glasses, cut-resistant gloves, and closed-toe shoes. If you’re working in an enclosed space or cutting dry, add a dust mask or respirator. These precautions protect against tile fragments, sharp edges, and fine airborne particles.