Physical Address
304 North Cardinal St.
Dorchester Center, MA 02124
Physical Address
304 North Cardinal St.
Dorchester Center, MA 02124

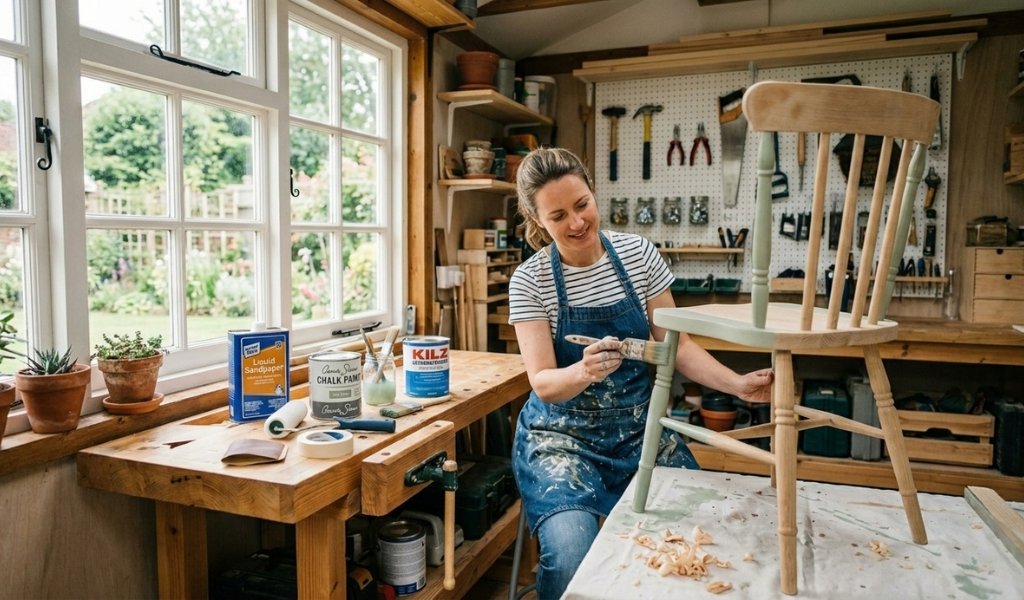
You’ve got a tired dining room table or a thrift store dresser that needs a serious makeover but you don’t want to spend hours grinding away with sandpaper. Good news: painting wood furniture without sanding is not only possible, it’s a legitimate technique used by experienced furniture flippers and DIYers every day.
The traditional approach to furniture painting almost always involves what is sanding an abrasive prep process designed to roughen a surface so paint can grip it properly. Skipping it sounds risky. But with the right products and proper prep work, you can achieve a professional, durable paint finish on wood furniture without touching a single sheet of sandpaper.
This guide walks you through everything: the science behind no-sand painting, the exact supplies you need, a detailed step-by-step process, and how to handle tricky surfaces like laminate and veneer. Whether you’re refreshing old furniture or flipping a piece of furniture for resale, this is the only guide you’ll need.
The short answer is yes but with conditions. You can skip sanding if you take the right preparatory steps. The key is replacing the mechanical adhesion that sanding creates with chemical adhesion. Deglossers, bonding primers, and specialty paints are all engineered to do exactly that.
Where the no-sand method works best:
Where you might still need to sand:
If the existing finish is compromised, you’ll need to address those areas with wood filler and spot-sand before proceeding. For everything else, the no-sand method is a solid, time-saving approach.
Conventional paint fails on glossy surfaces because there’s nothing to grip. Sanding creates micro-abrasions that give paint something to hold onto. No-sand products replicate this through three different mechanisms:
Chemical deglossers (liquid sandpaper) use solvents to chemically etch the surface, breaking down the existing varnish or gloss coat and creating microscopic surface texture. The result mimics what sanding achieves without the dust or effort.
Bonding primers contain special bonding agents that chemically adhere to glossy, sealed, or previously painted surfaces. A good bonding primer essentially forces adhesion where normal primer would slide right off.
Specialty paints particularly chalk paint, milk paint, and mineral paint are formulated with higher pigment loads and unique binding agents that allow them to adhere to many surfaces with minimal prep work. Chalk paint is the most widely known for its strong bond to furniture without sanding or priming.
Understanding these mechanisms matters because it determines which approach suits your specific piece of furniture best.
Before any new paint goes on, the surface must be chemically clean and properly deglossed. Skipping this step is the #1 reason no-sand paint jobs fail.
Cleaning supplies you’ll need:
Deglossing agents:
These products are particularly effective on glossy finishes, sealed furniture, and varnished wood. Always work in a ventilated space; these are solvent-based formulas.
The type of paint you choose dramatically affects adhesion, coverage, and how much prep work you actually need. Here’s a breakdown of the best paint options for furniture painting without sanding:
Chalk Paint
Annie Sloan chalk paint is the gold standard here. Its thick, chalky formula adheres directly to most surfaces including glossy finishes with minimal prep. It provides excellent first coat coverage, dries quickly, and delivers a beautiful matte, chalky finish that takes wax or polycrylic well. Ideal for furniture with detailed carving or ornate profiles where sanding would be difficult.
Milk Paint
A water-based, all-natural paint that bonds exceptionally well to porous, raw wood surfaces. On sealed or varnished furniture, you’ll typically need to add a bonding agent to the formula. Milk paint creates a characterful, slightly chippy finish that’s popular among furniture flippers going for a vintage aesthetic.
Mineral Paint
Products like Fusion Mineral Paint are self-sealing and highly durable. Mineral paint adheres directly to cleaned, deglossed furniture without needing a separate primer or topcoat, making it one of the most efficient options for no-sand furniture painting.
Latex Paint
Standard latex paint can work on furniture, but it requires a bonding primer underneath. Without proper adhesion prep, latex paint tends to chip, especially on high-use pieces like a dining room table.
Bonding primers are non-negotiable when using latex or regular paint on furniture without sanding. Look for:
These primers are water-based, fast-drying, and designed specifically for glossy surfaces.
Topcoat sealants protect your finished piece from daily wear. Options include:
Start by examining every surface of the piece. Look for:
Fill any dents or holes with wood filler, allow it to cure fully, and spot-sand those specific areas only (this doesn’t negate the no-sand method it’s targeted repair work). Tighten any loose joints with wood glue and clamps.
Once repairs are done, clean the entire surface aggressively. Use a TSP cleaner or degreaser to remove grease, wax, polish, silicone residue, and grime. These contaminants will destroy adhesion even under a bonding primer. Wipe down with a clean, damp rag, then a dry rag, and allow to dry completely for at least 30 to 60 minutes.
Apply liquid sandpaper with a clean rag, working in the direction of the wood grain and covering the entire painted or varnished surface.
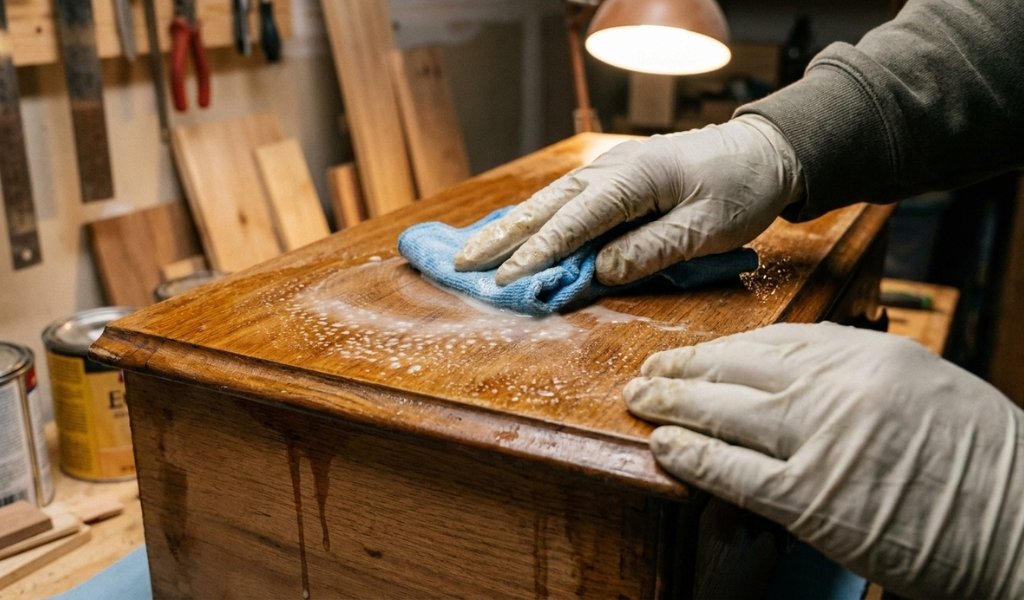
Work in manageable sections to ensure even coverage.
Key tips for this step:
After deglossing, the surface should look slightly duller. That dullness is what you’re after it signals that the glossy barrier has been broken down.
Even if you’re using chalk paint or mineral paint, a bonding primer is worth the extra step on previously finished furniture. It dramatically improves paint adhesion and reduces the number of coats you’ll need.
Apply your bonding primer with a quality synthetic-bristle brush or a small foam roller for flat surfaces.
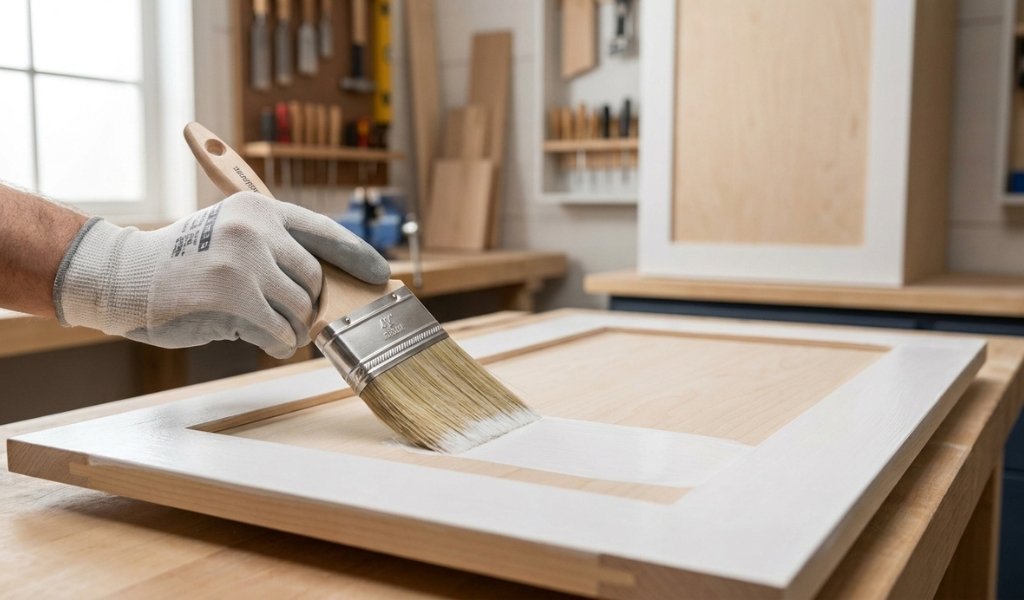
Work with the grain where possible. Apply one thin, even coat and avoid overworking the primer.
Allow to dry according to manufacturer instructions usually 1 to 2 hours for most water-based bonding primers. Don’t rush this. Applying paint over uncured primer is a fast track to brush marks and poor adhesion.
If you’re using chalk paint and want to skip primer, ensure the deglossing step was done thoroughly and the surface is completely clean and dry.
Thin, even coats are the rule. Thick, heavy coats lead to drips, brush strokes, and longer dry times.
For a smooth finish with a paint brush:
For a spray painter:
Allow the first coat to dry fully before assessing coverage. Most furniture pieces require two coats for solid, even color. Apply the second coat following the same technique as the first. Lightly mist the surface with water before the second coat if using chalk paint this improves flow and reduces brush strokes.
A topcoat is essential for furniture that sees real use. Without a sealer, painted furniture scratches, scuffs, and chips far too easily especially on a dining room table or any piece that handles daily contact.
Choose your sealant based on the paint type and desired finish:
Apply two to three thin coats of your chosen topcoat, allowing each coat to dry completely before applying the next.
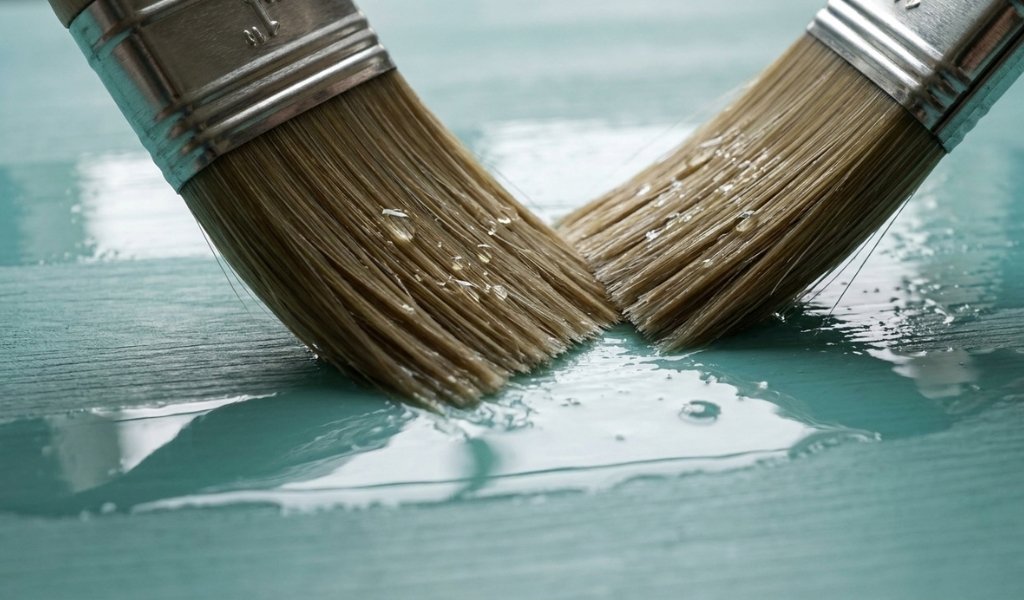
Lightly sand between coats of polycrylic with 220-grit sandpaper for a glassy smooth finish is the one place where light sanding is used to refine the sealer, not prep the wood.
Laminate and veneer furniture require extra care. These surfaces are thin and aggressive sanding can break through the laminate layer or peel the veneer entirely. This makes them ideal candidates for the no-sand method.
For laminate furniture:
Avoid chalk paint on laminate without a bonding primer; it doesn’t bond as reliably to non-porous laminate surfaces as it does on natural wood.
For veneer furniture:
Both methods are valid for painting wood furniture without sanding. The right choice depends on your setup, the complexity of the piece, and the finish quality you’re after.
Hand painting with a paint brush:
Spray painting with a paint sprayer:
For most homeowners and furniture flippers, a high-quality brush paired with proper technique produces results that rival spray painting without the overspray cleanup.
Yes, you can paint wooden furniture without sanding as long as you properly clean and degrease the surface, apply a chemical deglosser or liquid sandpaper, and use a high-adhesion bonding primer before painting. Specialty paints like chalk paint and mineral paint are also formulated to adhere without traditional sanding prep.
You can paint over varnished wood without sanding by applying a liquid sandpaper or deglosser first, which chemically breaks down the varnish layer. Follow with a bonding primer before applying your chosen paint. Skipping both the deglosser and primer on varnished wood will almost certainly result in peeling paint.
Yes, sealing painted wood furniture with a topcoat is strongly recommended especially for pieces that experience daily use. A topcoat of polycrylic, polyurethane, or paste wax protects the paint finish from scratches, moisture, and wear, significantly extending the life of your furniture makeover.
Hand painting with a quality brush gives you more control and is better suited for furniture with detailed profiles, carved elements, or wood knobs. Spray painting with a paint sprayer delivers a smoother, more uniform finish on large flat surfaces and is faster for bigger pieces. For most DIY projects, both methods produce excellent results when applied correctly.