Physical Address
304 North Cardinal St.
Dorchester Center, MA 02124
Physical Address
304 North Cardinal St.
Dorchester Center, MA 02124

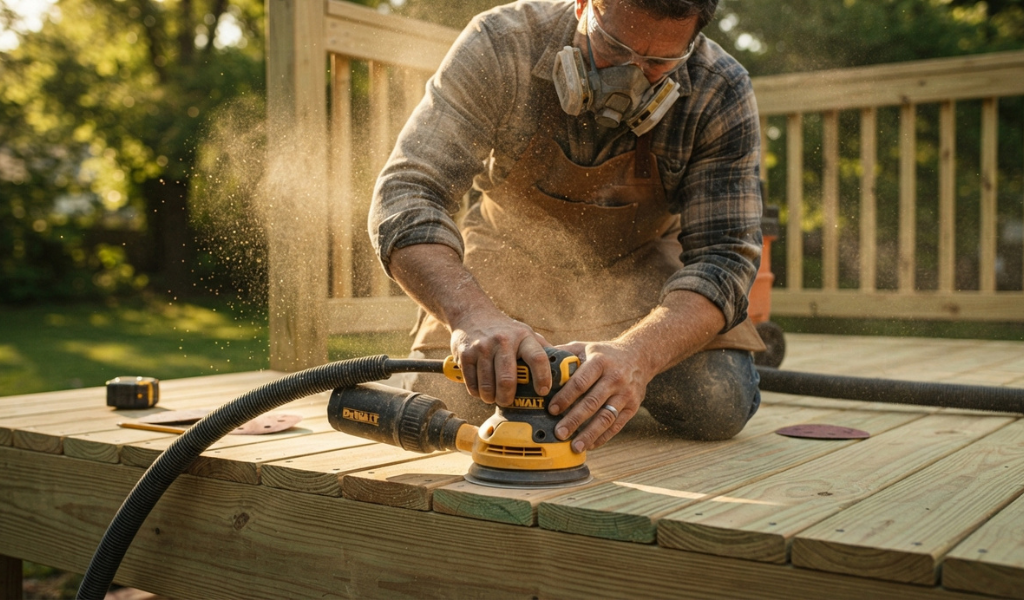
Sanding pressure treated wood is one of those tasks that looks straightforward until you’re standing in your backyard wondering whether you’re doing it right. Get it wrong, and you’ll end up with a deck that splinters, a stain that peels within a season, or worse, a surface that never quite looks the way you hoped.
This guide covers everything you need to know, from whether you should sand at all, to the exact steps that give pressure treated lumber a smooth, stain-ready finish. Whether you’re tackling a new deck, refreshing a fence, or working on a garden structure, the process is the same: prepare the wood properly, and the results will last.
Before we get into the specifics of sanding pressure treated wood, it helps to understand what sanding actually is, especially if you’re newer to outdoor wood projects. Sanding is the process of using abrasive material (sandpaper) to remove the top layer of a surface, smooth out rough spots, open the grain of the wood, and prepare it for a coating like stain or sealer. What Is Sanding? A Beginner’s Guide would tell you that it’s not about removing large amounts of material, it’s about creating a clean, even surface that accepts finishes properly. For pressure treated lumber, this step matters more than most homeowners realize.
Yes, you can sand pressure treated wood, and in many cases you should. Pressure treated lumber is chemically treated with preservatives that protect it against rot and insects, moisture damage, and decay. These treatments make it incredibly durable for outdoor use, but they also leave the surface rough, raised, and sometimes uneven straight from the mill.
Sanding brings the wood back to a workable surface. It smooths out the roughness left by the treatment process, removes mill glaze (a slick coating that can prevent stains from adhering properly), and opens the wood grain so that stains, sealers, or paint can absorb evenly. Skipping this step often leads to an uneven appearance and premature peeling of any coating you apply.
That said, timing matters. Pressure treated wood typically has a high moisture content when it first comes off the shelf. Sanding wood that is still wet or damp is ineffective and can clog your sandpaper quickly. Most contractors recommend waiting several weeks to a few months for the lumber to dry before sanding and staining.
Not every piece of pressure treated lumber needs heavy sanding, but there are specific situations where it makes a real difference.
If you’re applying stain or sealer to your deck or fence, sanding is almost always worth doing. A smooth, clean surface allows the stain to penetrate the wood evenly rather than sitting on top in patches. This leads to better coverage, a more attractive finish, and a longer life for the coating.
Sanding is also necessary when the surface has visible mill marks, rough spots, or raised grain from moisture. New pressure treated lumber often has a rough, almost fuzzy texture after it dries. A light sanding removes this and gives you a predictable, even surface to work with.
Old pressure treated wood that has been previously stained or sealed may need sanding to remove peeling or flaking old coats before a new coat is applied. In this case, you may also need a deck stripper or cleaner to loosen old stain before you sand.
Sanding isn’t always the right move. If the wood is still wet or has a high moisture content, sanding will do more harm than good. The sandpaper will clog fast, the surface will not sand evenly, and any stain applied afterward will not absorb properly.
You should also avoid sanding pressure treated lumber if it has been treated with a water-repellent sealer that has not yet fully dried. Let the wood dry completely, which can take several weeks depending on your climate, before you sand.
If the wood is structurally sound and has a good existing finish, restaining without sanding may be a better option. A thorough cleaning with soap and water or a wood cleaner, followed by a fresh coat of stain or sealer, can be enough to bring it back to life.
There are two main reasons homeowners choose to sand pressure treated lumber before staining or sealing: smoothing rough surfaces and preparing the wood for a coating.
Fresh pressure treated lumber is not smooth. The treatment process and milling leave the surface rough, and once the wood dries, it can become even more uneven as the grain rises. Left unsanded, this rough texture creates splinters, especially on deck boards where people walk barefoot or children play. Sanding levels out these rough spots and gives the wood a clean, comfortable surface.
For fences, garden beds, and outdoor furniture, a smooth surface also looks far more attractive. The difference between unsanded and sanded pressure treated wood is immediately visible once a stain is applied.
This is where sanding makes the biggest difference for the long-term performance of your outdoor wood. When pressure treated lumber dries, the surface can develop a mill glaze or a layer of dirt and debris that blocks stain from soaking in properly. Sanding removes this barrier and opens the wood grain, allowing stain or sealer to penetrate deeply and adhere firmly.
A stain that soaks into the wood properly lasts significantly longer than one applied to an unprepared surface. You get better coverage, fewer uneven patches, and a coating that won’t peel or fade within a single season. For oil-based stains and water-based stains alike, surface preparation is the single most important step in the entire process.
Safety is a real concern when sanding pressure treated lumber. The chemicals used in the treatment process, while safe once the wood is dry and installed, can become hazardous when turned into fine dust during sanding.
Modern pressure treated wood is treated with copper-based preservatives like copper azole (CA) or alkaline copper quaternary (ACQ). Older wood (pre-2004) may contain chromated copper arsenate (CCA), which includes arsenic and is more hazardous. If you’re working with older lumber, extra caution is recommended.
When you sand pressure treated lumber, the fine dust produced contains these chemical compounds. Breathing in this dust can irritate the respiratory system, and prolonged or repeated exposure is a health concern. This applies to any wood dust, but treated wood adds an extra layer of risk.
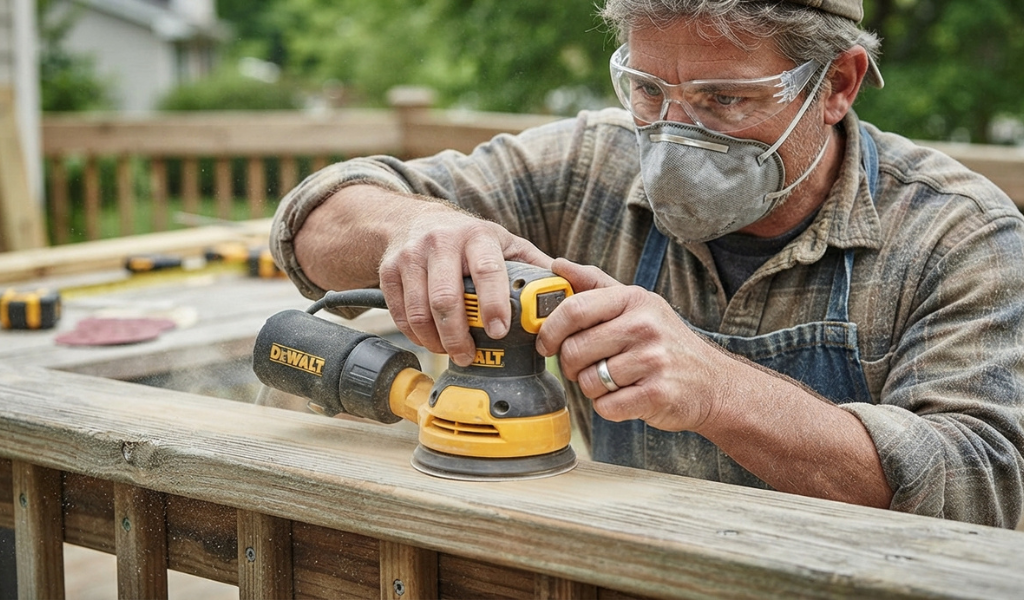
The good news is that sanding pressure treated wood safely is straightforward as long as you take the right precautions.
Always wear a respirator rated for fine dust and chemical particles, not just a paper dust mask. Gloves are also important to protect your skin from dust contact. Work outdoors or in a well-ventilated space, and avoid sanding on windy days when dust can blow back toward you.
Wear safety glasses to protect your eyes from airborne particles. After sanding, wash your hands thoroughly before eating or touching your face. Dispose of the sanding dust carefully rather than leaving it to spread in your outdoor space.
Children and pets should be kept away from the work area while sanding is in progress.
Having the right tools makes the job faster, easier, and more effective. The tools you choose will depend on the size of your project and the condition of the wood.
For large flat surfaces like deck boards, a random orbital sander or a belt sander is the most practical choice. Random orbital sanders are popular because they move in an irregular pattern that reduces the risk of leaving circular marks in the wood. Belt sanders remove material faster and are useful for heavily weathered or rough lumber but require more control to avoid sanding too aggressively.
For smaller projects, hand sanding with a sanding block gives you more control, especially around edges and corners. A detail sander can help in tight spaces and corners where a larger sander won’t fit.
Beyond the sander, you’ll need sandpaper in multiple grits (more on that in the next section), a shop vacuum or brush to remove sanding dust, safety gear including a respirator, gloves, and safety glasses, and a tack cloth or damp rag to clean the surface before staining.
If you’re restaining old wood, a deck cleaner or stripper may also be needed before sanding to remove peeling old coatings and mildew or dirt that has built up over time.
Grit selection is one of the most important decisions in any sanding job. The wrong grit can leave deep scratches or fail to smooth the surface at all.
For rough, heavily weathered, or previously coated pressure treated lumber, start with a coarse grit in the 60 to 80 range. This removes old stain, mill marks, rough spots, and surface debris efficiently. Be careful not to sand too aggressively with coarse grit, as it can remove more material than you intend and leave visible scratch marks that are hard to remove.
On newer, relatively smooth pressure treated wood, you may be able to skip coarse grit entirely and start at 80 to 100.
After the initial sanding, move to a medium grit between 100 and 120 to refine the surface and remove the scratches left by coarser sandpaper. This is where most of the smoothing happens.
Finish with a fine grit, typically 120 to 150, for a smooth, even surface that’s ready for stain or sealer. Avoid going too fine for exterior wood projects as an extremely smooth surface can actually reduce stain absorption. For most deck and fence projects, finishing at 120 grit gives the ideal balance between smoothness and porosity.
Following a clear process ensures consistent results and avoids common mistakes.
Before sanding, clean the surface thoroughly. Remove dirt, debris, moss, and any loose old stain using a wood cleaner or a scrub with soap and water. Let the surface dry completely before you begin. Inspect the wood for protruding nails or staples and hammer them down or remove them so they don’t damage your sandpaper or sander.
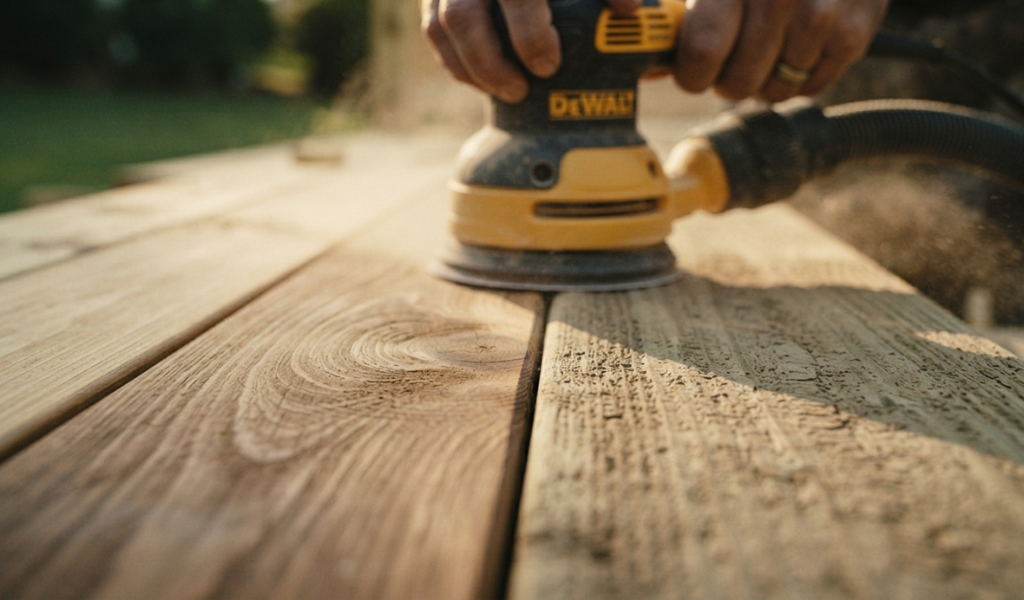
Always sand in the direction of the wood grain, not across it. Sanding against the grain creates visible scratch marks that are particularly noticeable once stain is applied. Start with your chosen coarse or medium grit and work methodically across the surface, keeping the sander moving at a steady pace to avoid gouging or uneven removal.
Apply consistent, moderate pressure. Let the sandpaper and sander do the work rather than pressing hard.
Once you’ve sanded the entire surface with your starting grit, switch to a finer grit and repeat. Remove sanding dust between grits with a shop vacuum or brush so you can clearly see the surface and assess your progress. Continue until the surface feels smooth and even to the touch.
Decks have specific sanding needs because they’re exposed to foot traffic, sunlight, moisture, and temperature changes year-round. Getting the prep work right makes a real difference in how long your finish lasts.
Work across the deck boards systematically, section by section. A random orbital sander is ideal for deck surfaces because it covers ground quickly without leaving swirl marks. For large decks, a pole sander can reduce fatigue. Keep your strokes parallel to the boards and work with the grain at all times.
Pay attention to areas near the ledger board and posts, where moisture tends to collect and wood may be more weathered. These spots may need extra attention with a medium grit before finishing.
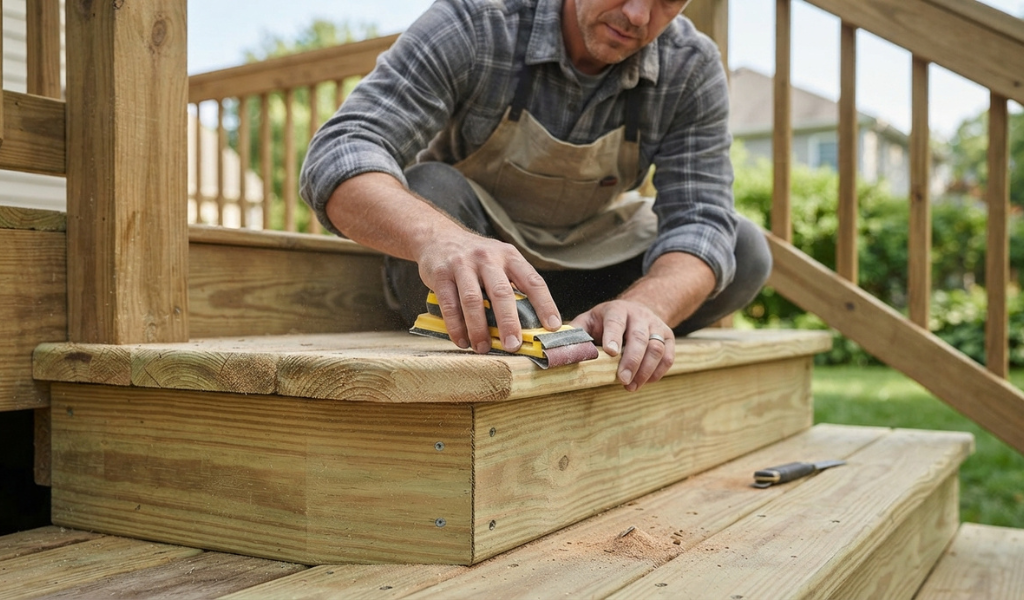
The edges of deck boards and the ends of cut lumber are often the roughest parts of the job. Use a sanding block or detail sander to work along these edges and remove splinters thoroughly. Run your hand carefully along each edge (wearing gloves) to check for any rough spots you may have missed. Any remaining splinters will become worse over time and are a safety hazard, especially on a deck where people walk barefoot.
Sanding is only part of the preparation process. What you do after sanding determines how well your stain or sealer performs.
Dust left on the surface will interfere with stain adhesion. Use a shop vacuum to remove the bulk of the dust, then wipe down the entire surface with a tack cloth or a lightly damp rag. Let it dry before moving to the next step. Even a small amount of remaining dust can create uneven coverage or reduce how well the coating adheres.
If you used any water or liquid cleaner before sanding, or if the wood picked up moisture during the process, allow it to dry fully before applying stain or sealer. Staining wood that still holds moisture leads to poor absorption and an uneven appearance. In humid conditions, this may take a day or two. A simple moisture meter (available at most hardware stores) can take the guesswork out of timing.
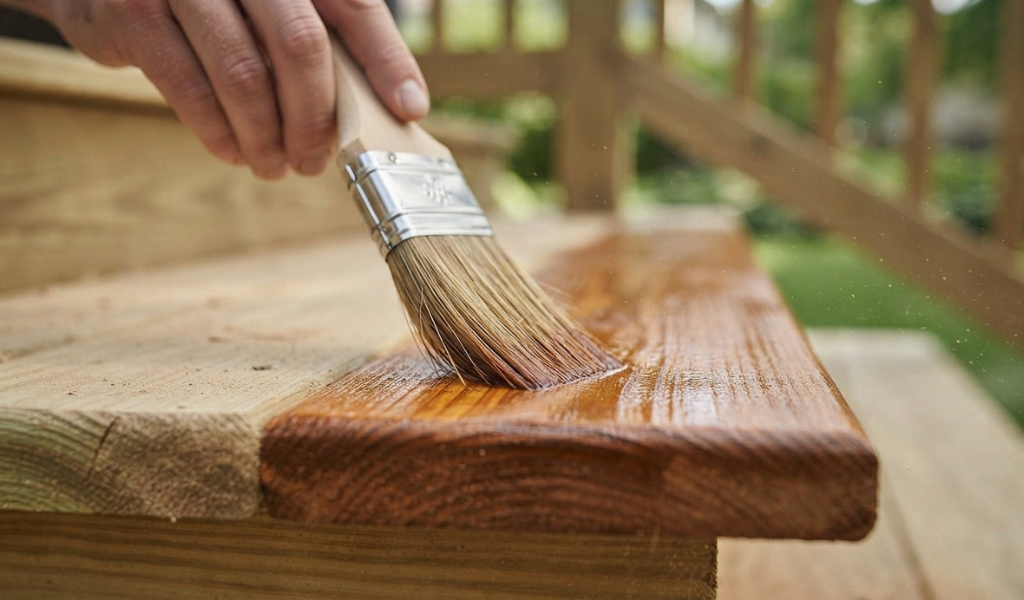
Once the surface is clean and dry, apply your chosen stain or sealer following the manufacturer’s recommendation for coverage and application method. You can use a brush for detailed work, a roller for flat surfaces, or a sprayer for large areas. Apply stain in the direction of the wood grain and work in manageable sections to maintain a wet edge and avoid lap marks.
For oil-based stains, thin coats that soak into the wood outperform thick surface coats. For water-based stains, follow the label carefully as these products vary more in their application requirements.
Even experienced homeowners make avoidable mistakes when sanding pressure treated lumber. Here are the most common ones to watch out for.
Pressing too hard or using too coarse a grit removes more material than necessary and can leave deep scratches that show through stain. This is especially damaging on thinner deck boards. Use moderate pressure and let the sandpaper do the work. If you’re using a belt sander, keep it moving constantly to avoid gouging in one spot.
Starting with a grit that’s too fine won’t remove mill marks or old coatings effectively. Starting with a grit that’s too coarse leaves scratches you’ll spend extra time removing. Match your starting grit to the condition of the wood and always finish with a finer grit to prepare the surface properly.
Some homeowners skip the respirator or gloves because the job seems quick or low-risk. This is a mistake. Even a short sanding session generates significant dust from pressure treated lumber, and repeated exposure adds up. Make safety gear a non-negotiable part of your process, not an afterthought.
Sanding pressure treated wood properly is not complicated, but it does require the right approach. Let the wood dry before you sand, choose the right grit for the condition of the surface, always work with the grain, and take safety seriously. Do these things consistently, and you’ll end up with a deck, fence, or outdoor structure that holds its finish longer, looks better, and stays durable for years.
The extra time you invest in prep work upfront pays off every time you look at a finish that hasn’t faded, cracked, or peeled. Skip the preparation, and you’ll be restaining again within a season.
If you’re unsure about any part of the process, a local contractor with experience in outdoor wood projects can walk you through the specifics for your climate and the type of pressure treated lumber you’re working with.
Can you put pressure treated wood directly on dirt?
Pressure treated lumber is designed to resist rot and insects, so direct ground contact is generally acceptable for in-ground applications like fence posts. However, for structural pieces like deck framing, keeping wood away from direct soil contact is still recommended where possible to extend its life and prevent premature decay.
What grit sandpaper should I use on pressure treated lumber?
Start with 60 to 80 grit for rough or weathered surfaces. Move to 100 to 120 grit for smoothing, and finish with 120 to 150 grit for a stain-ready surface. Avoid going finer than 150 on exterior wood, as an overly smooth surface reduces stain absorption.
Does sanding hurt pressure treated wood?
Sanding does not damage pressure treated wood as long as you’re not sanding too aggressively. The chemical treatment penetrates deep into the wood fibers, so light to moderate sanding of the surface layer doesn’t remove the protection. Avoid belt sanding excessively in one spot, which can thin the board unnecessarily.
Is it worth painting pressure treated wood?
Paint can work on pressure treated lumber, but stain or sealer is generally a better choice for exterior applications. Paint sits on the surface and is more likely to peel as the wood expands and contracts with seasonal moisture changes. Stain absorbs into the wood and tends to last longer and look more natural outdoors.
Can I stain pressure treated wood if it’s still a bit moist?
It’s best to wait until the wood is fully dry before staining. Applying stain to wood with high moisture content prevents proper absorption and leads to an uneven appearance and premature peeling. Use a moisture meter to confirm the wood is below 15% moisture content before applying any coating.
Can I use a metal detector to find nails before sanding pressure treated wood?
Yes, a basic metal detector or a dedicated stud-and-metal scanner can help you locate embedded nails or fasteners before sanding. This is especially useful on older decks where nails may have been covered by previous coatings or weathering. Hitting a hidden nail with a sander can damage both the sandpaper and the sander pad.
Can you stain pressure treated wood right away?
No. Fresh pressure treated lumber typically has a high moisture content from the treatment process and needs time to dry before stain will absorb properly. Most manufacturers recommend waiting at least several weeks, and in some climates, up to a few months. The wood is ready when water sprinkled on the surface soaks in rather than beading up.