Physical Address
304 North Cardinal St.
Dorchester Center, MA 02124
Physical Address
304 North Cardinal St.
Dorchester Center, MA 02124

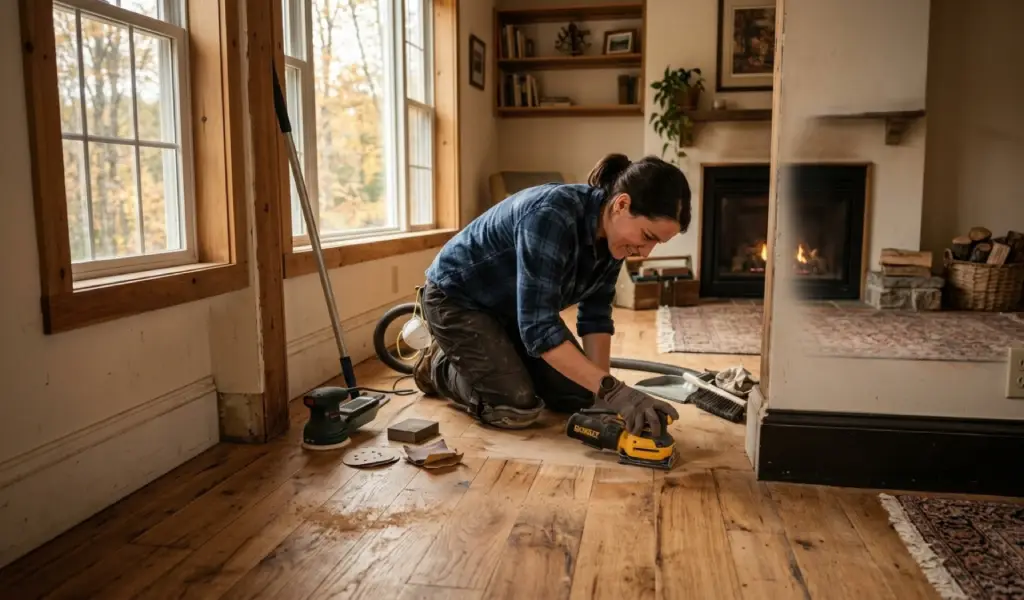
How to Hand Sand Wood Floors: A Complete Step-by-Step DIY Guide
There’s a particular kind of satisfaction that comes from running your palm across a floor you sanded yourself and feeling nothing but smooth, even wood. Hand sanding a hardwood floor isn’t always the fastest route to that feeling, but it’s often the most reliable one, especially when a drum sander would do more harm than good. If you’re new to abrasives in general, our complete guide to sanding covers the fundamentals of grit, technique, and tool selection that apply across every woodworking project, not just floors.
This guide focuses specifically on sanding a floor by hand: when it makes sense, what tools and sandpaper you’ll need, and how to move through the entire process from bare, scuffed boards to a surface ready for stain or sealer. Whether you’re restoring a small hallway, tackling a staircase, or just cleaning up the edges a rented machine couldn’t reach, you’ll find a clear, practical path forward here.
Hand sanding isn’t a replacement for machine-driven floor sanding across an entire room. It’s a complementary skill that fills in where power equipment falls short. Understanding where each approach belongs will save you time, effort, and a fair amount of frustration.
A drum sander can strip an entire room’s old finish in a fraction of the time it would take by hand, and for good reason: it’s aggressive, fast, and built for wide-open floor space. But that same aggression makes it a poor choice for small areas, delicate spots, or situations where precision matters more than speed. Trying to sand a floor by hand across a full living room would take ages and isn’t realistic for most homeowners.
If you’re planning a full refinishing project involving a drum sander and edger, our complete guide to sanding wood floors walks through that entire machine-based process step by step. This guide, by contrast, zeroes in on the situations where hand sanding is the smarter, sometimes the only, option.
Hand sanding shines in a handful of specific scenarios. Edges and corners are the classic example: even a good edge sander can’t get flush into a 90-degree angle, so hands and knees work with a sanding block or detail sander is often necessary to finish the job cleanly. Sanding stairs is another situation where hand tools, or at most a small palm sander, make far more sense than trying to wrestle a full-size machine onto a narrow tread.
Spot repairs, small closets, rooms with a hand sander as the only practical tool, and touch-up work between refinishing cycles all fall into this category too. If you’re removing a scratch, blending in a repaired board, or working on bare wood in a tight space, hand sanding gives you the control a sanding machine simply can’t match.
Before you get down on your hands and knees, it pays to have the right sanding tool for the job. The right handheld sander can turn a tedious afternoon into a manageable one.
A palm sander is compact, lightweight, and ideal for small areas, corners, and detail work where you need precision more than speed. It’s often the best sander for beginners tackling their first hand sanding wood floors project.
A random orbital sander is the more versatile handheld sander for larger sections of floor. Its elliptical sanding motion minimizes swirl marks, and models with variable speed settings, like the Festool Rotex sander, give you added control over aggressive material removal versus fine sanding. The Festool Rotex in particular is popular among serious DIYers and professionals alike for its dual-mode sanding capability, switching between rotary and random orbital action depending on the task.
A pole sander (sometimes marketed as a floor sanding tool for drywall but equally useful on hardwood) lets you sand large sections without kneeling, reducing strain during long sessions.
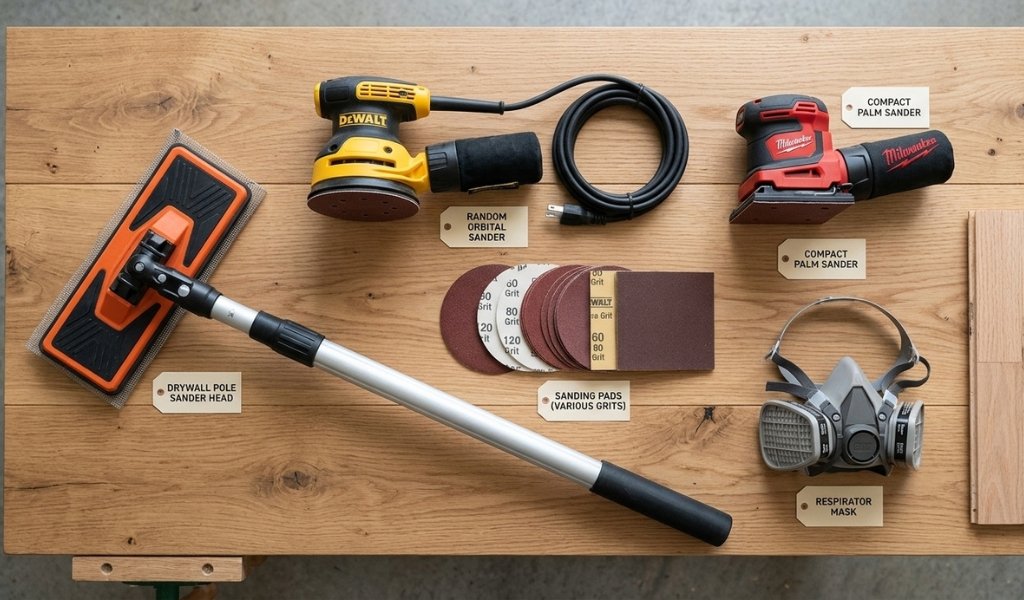
You might also consider a handheld belt sander or a hand held belt sander for stripping thick old finish quickly, though these require a steady hand since they can gouge softer woods, like pine or fir, if you linger too long in one spot. Some homeowners choose to rent or buy a Dewalt or Delta sander for this purpose, depending on how often they expect to use it.
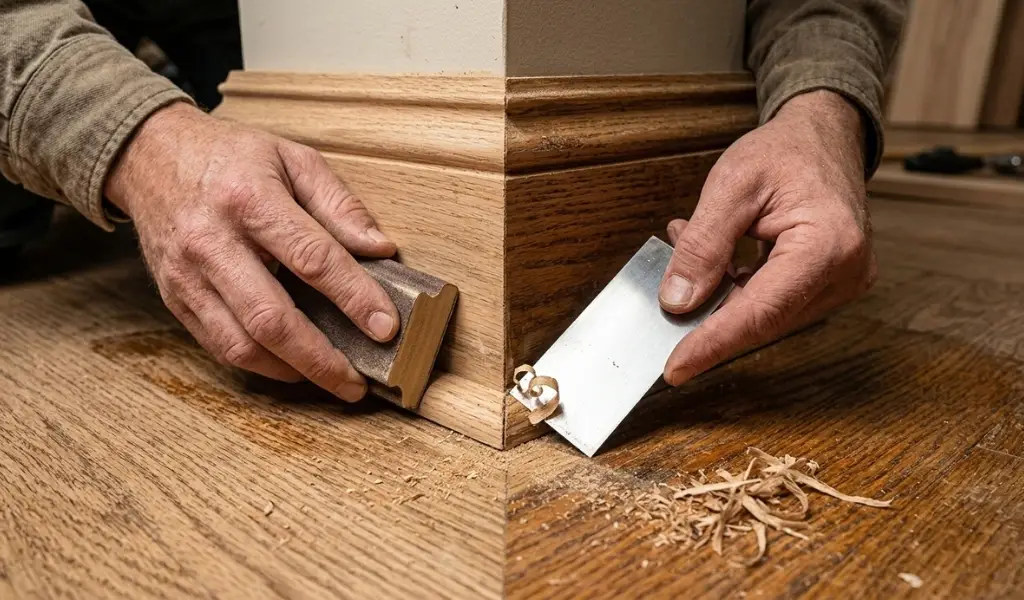
Not every job calls for a power tool. A simple sanding block wrapped in sandpaper remains one of the most effective ways to sand along the grain in corners, against baseboards, and around obstacles a sanding machine can’t reach. Card scrapers are equally valuable for stubborn old finish or dried adhesive that clogs sandpaper quickly. A sharp scraper pulled along the grain removes material cleanly without the dust a sanding tool generates.
Grit progression matters just as much for hand sanding as it does for a full sanding machine setup. A typical sequence looks like this:
Skipping steps in this progression is one of the fastest ways to end up with visible sanding marks once the finish goes on, so resist the urge to jump straight from 40 grit to 120 grit.
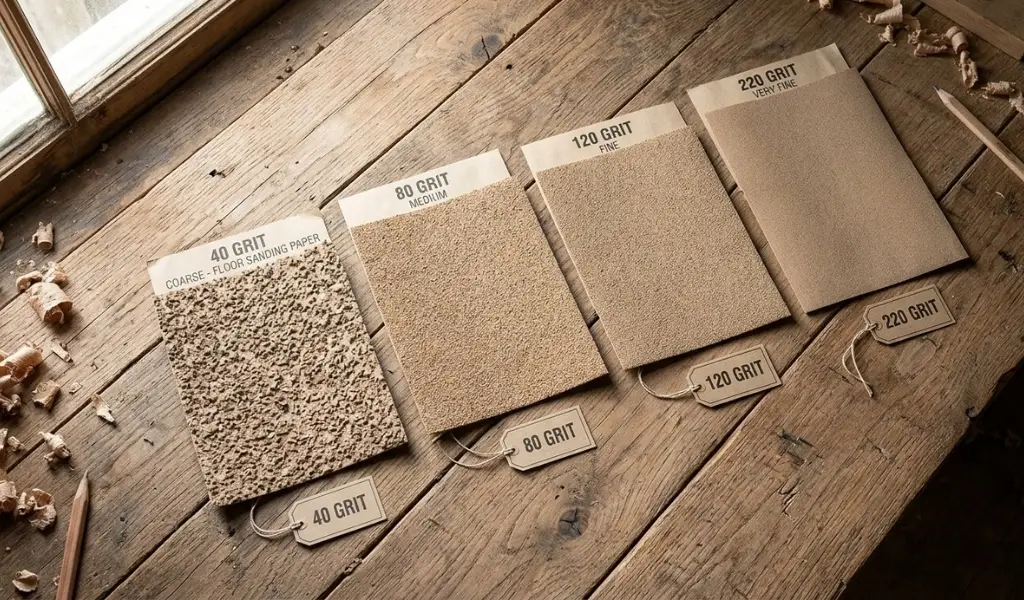
With your tools and sandpaper ready, here’s how the entire process unfolds from start to finish.
Clear the room completely and inspect the floor for protruding nails, loose boards, or deep gouges that need filling before you sand. Clean the floor thoroughly with a vacuum or dry mop to remove grit and debris that could scratch the wood during sanding. This step matters more with hand sanding than you might expect, since a single stray piece of grit under your sanding block can create a deep, unwanted scratch.
Using 36 or 40 grit sandpaper on your handheld sander, work in the direction of the wood grain to remove the old finish and level any high spots. Keep the sander moving at a steady pace, applying even downward pressure rather than pressing hard in one spot. This is where you’ll want to remove the finish and get down to bare wood across the entire floor, or at least the section you’re working on.
Move through 60–80 grit, then 100–120 grit, sanding along the grain at each stage. This progressive sanding process gradually erases the scratches left by the previous grit, building toward a smooth surface. Vacuum between each grit change; leftover coarse-grit particles will scratch your work at the next stage if you don’t.
Right into the corners is where a card scraper or a small detail sander earns its keep. Use it to clean up transitions along baseboards, around door casings, and right into corners where a larger sander simply can’t fit. Sand along the grain wherever possible, and take your time here since these areas are small but highly visible once the finish is applied.
A significant amount of dust accumulates during hand sanding, so a shop vac with dust collection is worth using throughout the project, not just at the end. Once the final sanding pass is complete, vacuum thoroughly and wipe the floor with a tack cloth to lift any remaining fine dust before applying stain, sealer, or a polyurethane coating. Skipping this step risks trapping dust in your finish, ruining an otherwise smooth finish you worked hard to achieve.
Even careful DIYers run into the same handful of pitfalls. Knowing them ahead of time can save hours of correction work.
Sanding against the grain, or at an angle to it, produces visible scratch marks that become glaringly obvious once stain or finish highlights them. Always orient your strokes with the grain, especially on oak floors and other hardwoods with a pronounced grain pattern.
Jumping from coarse-grit sandpaper straight to a fine grit leaves deep scratches that finer paper isn’t designed to remove efficiently. Trying to sand faster by skipping a stage almost always costs more time in the end, not less.
Pressing harder in some spots than others, or lingering too long with a handheld sander, creates uneven low spots across the finished surface. Let the sandpaper do the work, keep the sander moving, and rely on consistent, moderate pressure rather than muscle.
Hand sanding a wood floor rewards patience more than speed. Work through the grits in order, keep your strokes aligned with the grain, and don’t rush the edges and corners that a machine can’t reach. Once your sanding process is complete and the dust is cleared away, you’ll have a smooth surface ready to show off the natural beauty of the wood underneath, whether you’re applying a rich stain or a clear protective coat.
Yes. Hand sanding works well for edges, corners, stairs, and spot repairs, though sanding an entire room by hand would take significant time compared to using a drum sander or edger for the main field of the floor.
A random orbital sander is generally the best all-around choice for larger sections, thanks to its swirl-resistant motion and versatility across grits. For detail work, a palm sander or detail sander handles corners and tight spaces more effectively.
You can, but a handheld belt sander is aggressive and can gouge the wood quickly if you linger in one spot. It’s best reserved for stripping thick old finish on small areas, with a steady hand and constant movement.
It depends heavily on the size of the area and the condition of the existing finish, but hand sanding a small room or a set of stairs typically takes several hours across the full grit progression, considerably longer than machine sanding the same space