Physical Address
304 North Cardinal St.
Dorchester Center, MA 02124
Physical Address
304 North Cardinal St.
Dorchester Center, MA 02124

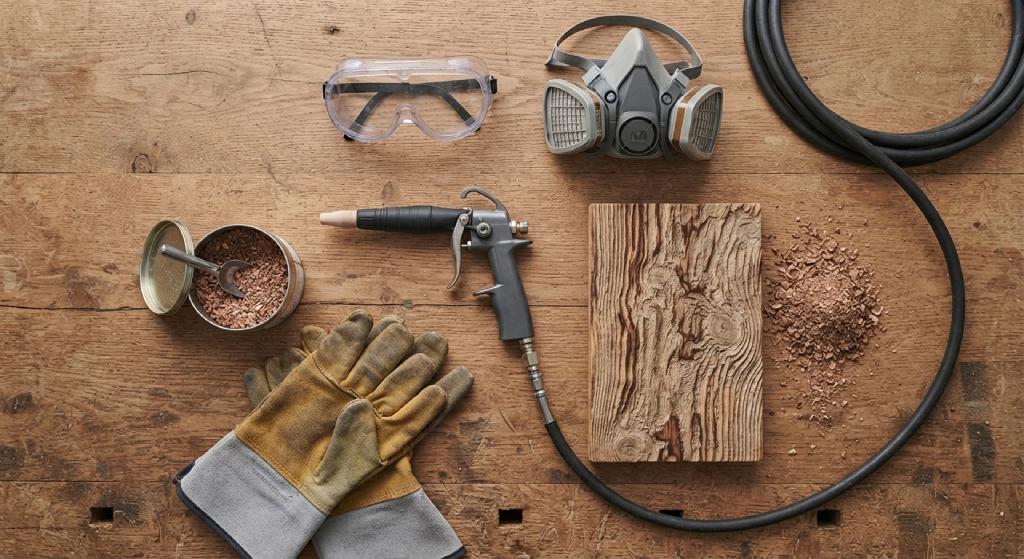
If you have ever run your hand over a piece of weathered barn wood and wondered how it got that rich, textured look, you were probably touching sand blasted wood. This technique has become a favorite among woodworkers, furniture restorers, and homeowners who want to strip away old paint, rust, and grime while bringing out the natural beauty of the wood underneath. In this guide, we will walk through exactly what sand blasted wood is, how the process works, and how you can try it yourself with confidence.
Before jumping into sandblasting specifically, it helps to understand where this method fits among other wood refinishing techniques. Many people start with a slower, more manual approach before graduating to a sandblaster, and if you are curious about that gentler starting point, our guide on How to Hand Sand Wood Floors: Step-by-Step DIY Guide covers the basics of manual sanding for flooring projects. Sandblasting builds on many of the same goals, removing old finishes and prepping a clean surface, but it gets there through air pressure and abrasive media rather than sandpaper and elbow grease.
Sand blasted wood is wood that has been treated with a sandblaster, a machine that uses compressed air to fire abrasive material at high speed against a surface. As the blasting media strikes the wood, it wears away the softer parts of the grain faster than the harder parts, along with any paint, stain, or coating sitting on top. The result is a surface that looks textured and slightly weathered, with the grain pattern standing out in a way that flat sanding rarely achieves.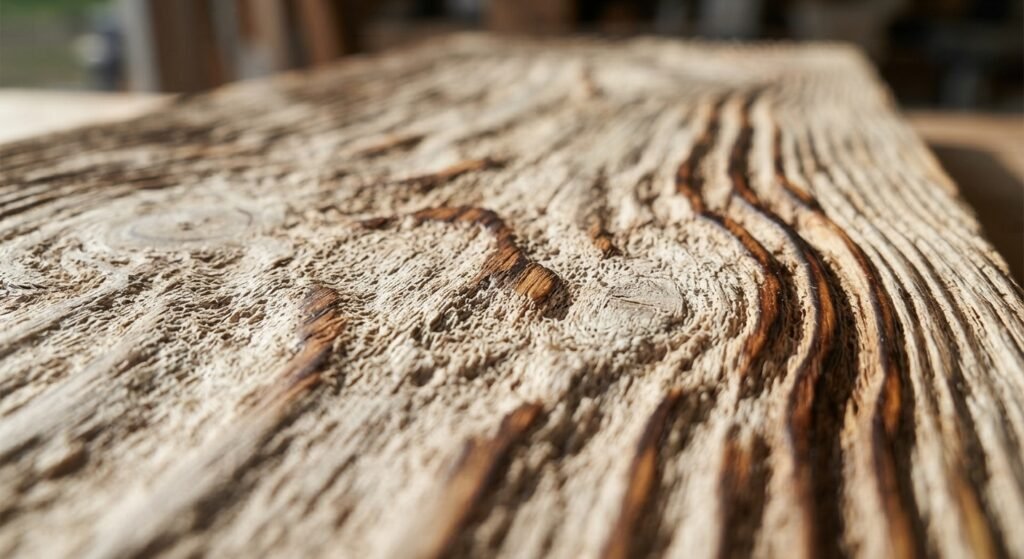
The core equipment behind this process includes an air compressor, a hose, and either a handheld blaster or a blast cabinet, depending on the size of the project. The compressor builds up air pressure, which is measured in psi, and pushes it through the system fast enough to launch abrasive media like sand, aluminum oxide, or even soda through a nozzle. When that stream hits wood, it acts almost like a controlled storm, stripping away the top layer while leaving the denser wood grain behind as a raised, tactile surface.
This is part of why sandblasting wood has become so popular for reclaimed wood projects, wood siding restoration, and rustic furniture. It does more than clean a surface. It reveals texture that was always there but hidden under years of paint or dirt.
Traditional sanding relies on friction. A sanding block, orbital sander, or belt sander rubs an abrasive surface against the wood until the old finish wears down. It works well, but it is slow, physically tiring, and can struggle with detailed or hard-to-reach areas like carved trim or the corners of furniture joints.
Sandblasting takes a different approach entirely. Instead of physical contact and constant rubbing, it uses a stream of abrasive media powered by air pressure. This lets it get into tight spaces that a sanding pad simply cannot reach, and it tends to work faster over large surfaces such as fences, beams, or wide furniture panels. The tradeoff is that sandblasting is more aggressive. It removes material more efficiently, but it also raises the wood grain more noticeably, giving pieces that distinct textured, almost rustic look that traditional sanding rarely produces.
Neither method is universally better. Traditional sanding still wins for delicate pieces or when you want a perfectly smooth, uniform finish. Sandblasting wins when you are dealing with heavy paint buildup, rust on attached hardware, or when you actually want that raised grain texture as part of the final look.
Before you fire up a sandblaster, preparation matters just as much as the blasting itself. Start by inspecting the wood for loose nails, screws, or hardware, since these can become dangerous projectiles once hit by high-pressure abrasive media. Remove anything that is not meant to stay, and if the piece has any rot or structural damage, address that first because blasting will only make weak areas weaker.
Next, think about your workspace. Sandblasting produces a lot of dust and flying debris, so this is not a job for your living room. A garage with good ventilation, an outdoor area away from windows and cars, or a dedicated blast cabinet all work well depending on the size of your project. If you are working outdoors, check the wind and cover nearby plants or surfaces, since blasting media can travel farther than expected.
Finally, consider the wood itself. Older reclaimed wood with multiple layers of paint behaves differently than a fresh piece of furniture with a single coat of stain. Testing on a scrap piece or hidden section first gives you a sense of how the wood will respond before you commit to the entire project.
Not every type of wood reacts the same way to sandblasting, and knowing the difference can save you from ruining a good piece. Softwoods like pine and cedar blast quickly because their grain has a big contrast between soft and hard layers, which creates that classic deep textured look people associate with reclaimed wood siding and rustic furniture.
Hardwoods such as oak or walnut are denser and more consistent, so they take longer to blast and produce a subtler texture. Walnut in particular tends to hold up well under moderate blasting, keeping some of its natural richness while still shedding old finishes. Delicate or thin wood, including some veneers and antique furniture pieces, is usually a poor candidate for sandblasting altogether, since the aggressive media can chew through thin material fast. For those pieces, traditional sanding or gentler methods like wet blasting are usually the safer choice.
The biggest draw of sandblasting wood is speed. What might take hours of manual sanding can often be finished in a fraction of the time with the right sandblaster and setup, especially on large surfaces like decks, fences, or wide furniture panels. This efficiency alone makes it a popular choice for contractors and serious DIYers working on bigger wood restoration projects.
Sandblasting also excels at reaching places traditional sanding struggles with, including carved details, tight joints, and uneven surfaces. Because the abrasive media is airborne rather than dragged by hand, it can get into grooves and corners that would otherwise require tedious hand sanding or a detail sander.
There is also the visual payoff. Sand blasted wood often ends up with a naturally aged, textured character that many homeowners and designers actively want, rather than something to avoid. It gives reclaimed wood, old barn beams, and weathered furniture a look that feels authentic rather than artificially distressed. On top of that, sandblasting is highly effective at stripping rust from any metal fittings attached to wood, cleaning grime off old outdoor furniture, and prepping a surface for a fresh coat of stain or sealant so the new finish bonds better and lasts longer.
Getting a clean result from sandblasting comes down to controlling three main variables: pressure, distance, and movement. Get these right and you will strip old finishes evenly without gouging the wood. Get them wrong and you risk uneven texture or accidental damage.
Air pressure, measured in psi, controls how forcefully the abrasive media hits the wood. Too much pressure and you risk digging too deep into softer grain, creating an uneven or overly aggressive texture. Too little and the old paint or coating simply will not come off efficiently. For most wood projects, a lower to moderate psi setting works best, especially compared to the higher pressure used for blasting metal or concrete. Starting on the lower end and adjusting upward based on results is usually smarter than starting too high and trying to fix an over-blasted spot.
Holding the nozzle too close to the wood concentrates the abrasive media in one small spot, which can quickly wear through material or create deep, uneven grooves. Holding it too far away spreads the media out so much that it barely affects the surface. Most sandblasting projects on wood work best with the nozzle held somewhere between 6 and 12 inches from the surface, though this can shift depending on the type of blaster and media you are using. Testing on scrap wood first helps you dial in the right distance before working on the actual piece.
Keeping the nozzle moving in smooth, consistent passes is one of the most important habits for a clean result. Lingering too long in one area, even for a few extra seconds, can create noticeable dips or hot spots in the wood grain. Working in overlapping horizontal or vertical passes, similar to how you might paint a wall, helps distribute the blasting media evenly across the whole surface and avoids those uneven patches that are hard to fix afterward.
One of the most distinctive effects of sandblasting is how dramatically it can change the texture of the wood grain. Wood is made up of alternating soft and hard growth rings, and abrasive media wears away the softer rings faster than the harder ones. Over a blasting session, this creates a raised, ridged surface where the hard grain lines stand slightly above the softer areas that were blasted away.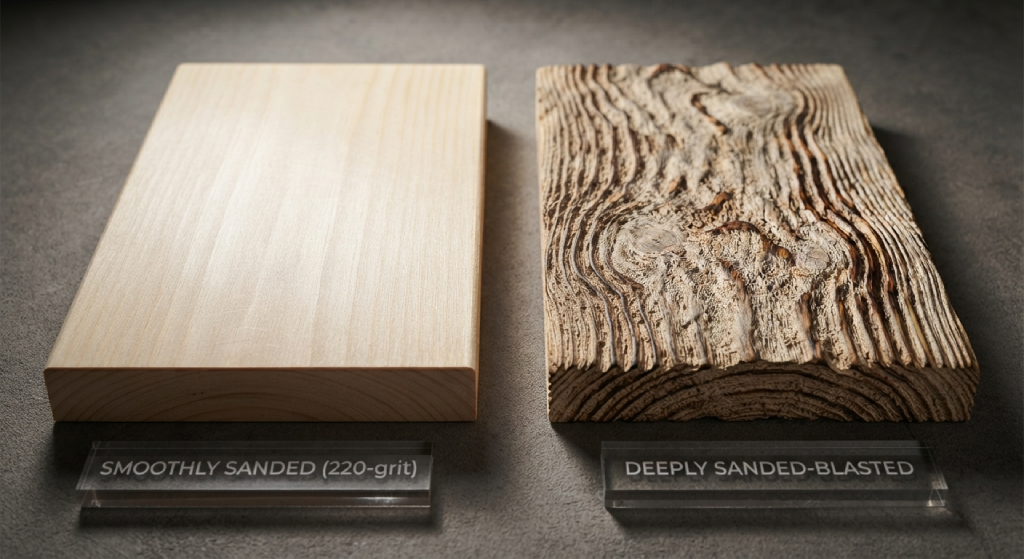
This effect is part of why sandblasted wood has such a distinct feel compared to sanded wood. Instead of a flat, uniform surface, you get a tactile, almost sculpted texture that catches light differently and shows off the natural pattern of the grain in three dimensions rather than two. Softwoods tend to show this effect most dramatically, while denser hardwoods show a subtler version of the same process.
Once the blasting is done, the wood is usually left with an open, slightly rough texture that is ready for a new finish. A clear sealant or oil finish is a popular choice because it protects the wood while letting the newly exposed grain texture remain visible, which is often the whole point of blasting in the first place.
Stain is another common option, and because sandblasted wood has an open, textured surface, it tends to absorb stain more deeply than smooth sanded wood, which can create richer, more dramatic color variation. Some people prefer to leave the wood completely unfinished for an authentic rustic look, particularly on outdoor furniture, fences, or accent walls where a weathered appearance is the goal. Whichever direction you choose, giving the surface a light clean with a brush or compressed air before applying any finish helps remove leftover dust and ensures a smoother, longer lasting result.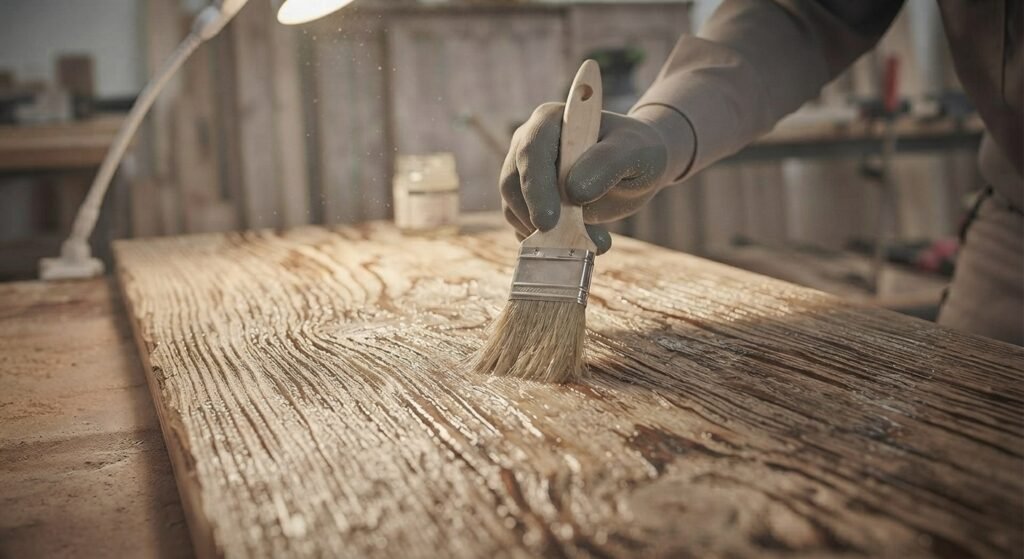
Sandblasting is not always the right tool for the job. If you are working with delicate furniture, antique pieces, or thin veneers, traditional sanding is usually the safer choice since it gives you more control and less risk of accidentally removing too much material. Indoor projects where dust control is difficult also tend to favor sanding, especially in spaces without good ventilation or a dedicated work area.
Smaller detail work, like refinishing a single drawer front or a small decorative trim piece, is often easier and more precise with hand sanding or a small orbital sander rather than setting up a full sandblasting rig. If your goal is a perfectly smooth, glass-like finish rather than a textured, rustic look, sanding will almost always get you closer to that result than blasting will.
Different wood projects call for different approaches, and matching the method to the job saves time and frustration. For large outdoor structures like decks, fences, and siding, dry blasting with a handheld sandblaster is usually the most practical and efficient choice, especially when dealing with old paint or years of weathering.
For furniture and smaller wood pieces, a blast cabinet offers more control since it contains the media and dust in an enclosed space, making it easier to work with detailed or hard-to-reach areas without covering your whole workspace in debris. Wet blasting, which mixes water into the process, is worth considering for projects where dust control is a top priority or when working with more delicate wood that needs a gentler touch. For antique restoration or anything with sentimental or monetary value, combining light hand sanding with careful spot blasting, rather than blasting the entire piece uniformly, often gives the most balanced and controlled result.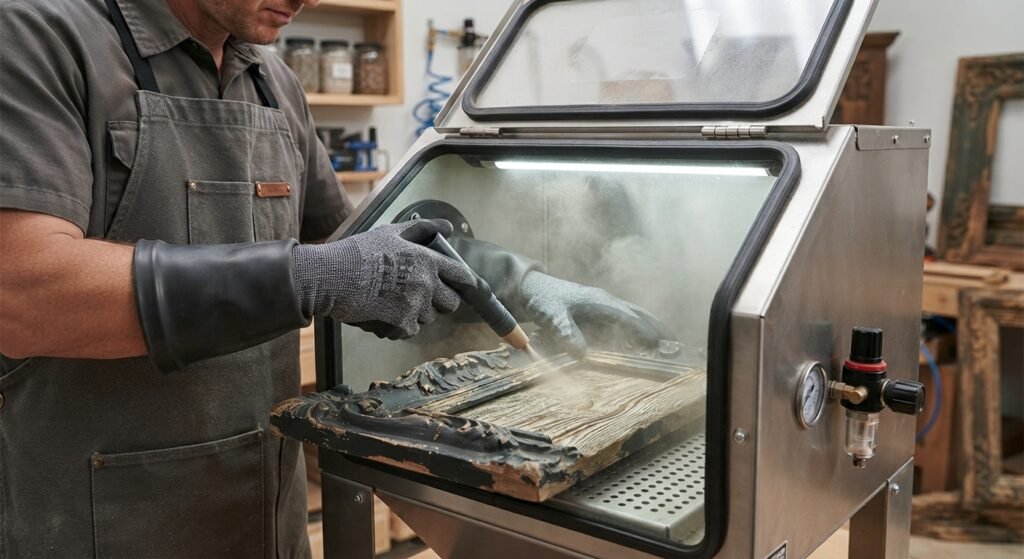
One of the most frequent mistakes beginners make is using media that is too abrasive for wood, such as coarse materials meant for metal or concrete. This can gouge the surface and remove far more material than intended. Choosing a softer blasting media designed for wood, and matching the grit to the density of your specific wood type, prevents a lot of avoidable damage.
Skipping proper safety gear is another common issue. Sandblasting kicks up a significant amount of dust and flying debris, so a respirator, eye protection, and gloves are not optional extras, they are essential for the job. Rushing the process is another trap, since moving too fast or holding the nozzle at an inconsistent distance leads to uneven results that are frustrating to fix afterward. Finally, many beginners skip the test patch step entirely, jumping straight into the main project without checking how a specific type of wood will react to their chosen pressure and media. A few minutes testing on scrap wood can save hours of correcting mistakes later.
Sand blasted wood offers a fast, efficient way to strip old paint, rust, and grime while revealing a textured, natural beauty that traditional sanding rarely matches. Whether you are restoring reclaimed wood, refinishing furniture, or prepping a deck for a fresh coat of stain, understanding the right pressure, distance, and technique makes all the difference between a clean, professional result and a damaged surface. Start small, test on scrap wood, and build your confidence with a sandblaster before tackling a larger project. Once you get the hang of it, sandblasting can become one of the most valuable tools in your woodworking or restoration toolkit.
Is sandblasting safe for all types of wood?
No. Softwoods like pine handle sandblasting well, but delicate wood, thin veneers, and antique furniture can be damaged easily. It is best to test on a scrap piece first and consider traditional sanding for fragile items.
What is the best abrasive media for sandblasting wood?
Softer media such as aluminum oxide, walnut shells, or corn cob granules tend to work well on wood since they remove old finishes without being overly aggressive on the grain. Silica sand can work too but requires careful pressure control.
How much psi do I need to sandblast wood?
Most wood projects work best with a lower to moderate psi setting compared to metal or concrete blasting. Starting low and gradually increasing pressure while testing results is the safest approach.
Does sandblasting remove paint from wood completely?
Yes, in most cases sandblasting is very effective at stripping old paint down to bare wood, even in hard-to-reach areas that traditional sanding struggles with.
Can I sandblast wood indoors?
It is possible with a proper blast cabinet and good dust control, but open indoor spaces without ventilation are not recommended due to the dust and debris the process creates.
What is the difference between wet blasting and dry blasting wood?
Dry blasting uses only air and abrasive media, while wet blasting mixes in water to reduce dust and offer a gentler touch on more delicate surfaces. Wet blasting is often considered the safest option for sensitive wood projects.
Do I need an air compressor to sandblast wood at home?
Yes, a sandblaster requires a compressor with enough cfm output to maintain steady air pressure. Smaller home compressors work for light jobs, but larger projects usually need a more powerful compressor to keep the blasting consistent.