Physical Address
304 North Cardinal St.
Dorchester Center, MA 02124
Physical Address
304 North Cardinal St.
Dorchester Center, MA 02124

If you have ever stood in front of an old dresser or a scratched-up hardwood floor and wondered whether sanding stained wood is even worth the effort, you are not alone. Refinishing furniture and floors can feel intimidating, especially when you are not sure if sanding will damage the wood underneath the old stain. The good news is that with the right approach, sanding stained wood is one of the most reliable ways to bring tired, dull, or discolored wood back to life. This guide walks you through everything you need to know, from picking the right tools to avoiding the mistakes that ruin a project halfway through.
Think of this as The Complete Guide to Sanding Wood that you can come back to every time you start a new refinishing project. Whether you are working on a small side table or an entire hardwood floor, the same core principles apply. By the end of this article, you will understand when sanding makes sense, when it does not, and exactly how to do it the right way.
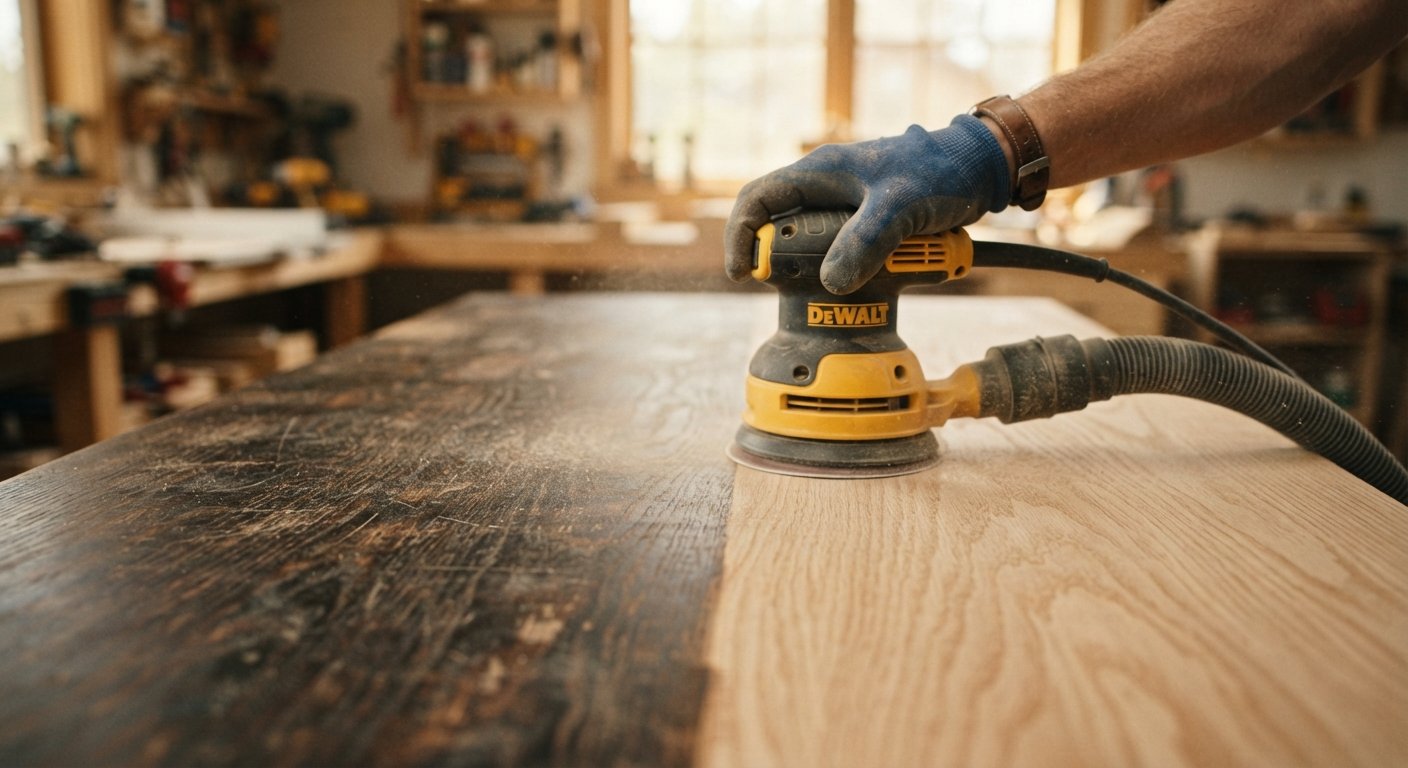
Yes, you can sand stained wood, and it is actually one of the most common ways to prepare a piece for refinishing. Stain sits on the surface and slightly penetrates the wood fibers, so sanding removes the top layer along with the old color and any built-up grime. Unlike paint, which sometimes needs chemical strippers to lift off completely, stain usually responds well to a standard sanding process using a random orbital sander or sanding block.
That said, sanding stained wood is not a one-size-fits-all job. The type of wood, the age of the finish, and how deep the stain has soaked in all affect how much sanding you will need to do. Softwoods like pine tend to absorb stain more deeply, while hardwoods such as oak or maple often hold color closer to the surface. Knowing your wood type before you start saves you time and prevents unnecessary damage.
Sanding is the right call when the existing finish is worn, scratched, faded, or simply the wrong color for your space. If the wood underneath is still structurally sound and you just want a fresh look, sanding gives you a clean surface without stripping away too much material. It also works well when you are dealing with light scratches, water rings, or sun fading that only affect the top layer of the finish.
Furniture flippers and DIYers often reach for sanders first because it is a more controlled process compared to chemical stripping. You can target specific problem areas, like a coffee table with heat marks, without having to treat the entire piece with harsh solvents. Sanding also tends to be the better choice when you plan to change the stain color entirely, since it opens up the wood grain and allows new pigment to soak in evenly.
There are situations where sanding stained wood is not the best route. If you are working with veneer furniture, sanding too aggressively can wear through the thin decorative layer and expose the substrate underneath, which is often particleboard or a lower-quality wood. In these cases, light hand sanding or a chemical approach is much safer.
You should also think twice before sanding antique or valuable furniture. Original finishes on older pieces sometimes carry historical or resale value, and removing that layer can actually lower the item’s worth. If you are unsure whether a piece is valuable, it is worth getting an appraisal before you pick up a sander. Additionally, if the wood has already been sanded down multiple times over the years, there may not be enough material left to sand again without weakening the structure.
Sanding serves a few important purposes beyond just removing old color. First, it smooths out imperfections like dents, gouges, and rough patches that build up over years of use. Second, it opens the wood pores so that new stain or sealer can absorb properly, which leads to a more even and long-lasting finish. Third, it removes the old topcoat, whether that is polyurethane, lacquer, or varnash, so that new products can bond correctly instead of sitting on top of an incompatible layer.
There is also a practical side to this. Sanding is generally cheaper than chemical stripping since it does not require specialty solvents, and it produces less hazardous waste. For many homeowners, this makes sanding stained wood the more approachable option, especially for smaller projects like cabinets, tables, and trim work.
Having the right tools on hand before you start makes the entire process smoother and helps you avoid gouging the wood or wasting sandpaper.

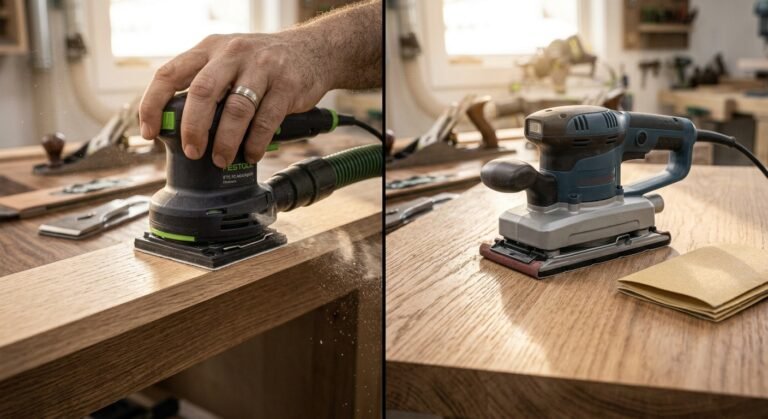
For larger flat surfaces like tabletops, doors, or floors, a random orbital sander is the best choice because it moves in a random pattern that reduces the risk of leaving swirl marks. For tight corners, curved legs, or detailed molding, a detail sander or a simple sanding block gives you more control. If you are tackling a full hardwood floor, a drum sander or floor edger rented from a hardware store will save you hours of manual labor.
You will want a range of sandpaper grits on hand rather than just one. Aluminum oxide sandpaper is a solid all-purpose choice for wood since it holds up well and cuts through old finishes efficiently. Keep a mix of coarse, medium, and fine grits ready so you can move through the stages of sanding without stopping mid-project to buy more supplies.
Grit selection depends on the condition of the existing finish. If the stain and topcoat are thick or heavily worn, start with 80 grit to break through the surface quickly. For moderate wear, 100 to 120 grit is usually enough to remove the color without taking off too much wood. Once the old finish is gone, move to 150 grit to smooth things out, then finish with 220 grit for a silky surface that is ready for new stain.
Jumping straight to a fine grit on a heavily stained surface wastes time and paper, while starting too coarse on a lightly worn piece can leave visible scratches that are hard to fix later. Matching the grit to the actual condition of the wood is one of the simplest ways to get a professional-looking result.
Before any sanding begins, wipe down the wood with a damp cloth to remove dust, wax, or grease. Inspect the piece closely for nail heads, staples, or loose joints, since running a sander over metal hardware can tear the sandpaper or damage the sander itself. This is also a good time to note any deep gouges that may need wood filler later.
Based on the condition of the finish, load your sander with the appropriate starting grit, usually 80 or 100 for most refinishing jobs. Work in manageable sections rather than trying to sand the entire piece at once, especially on larger furniture or flooring.
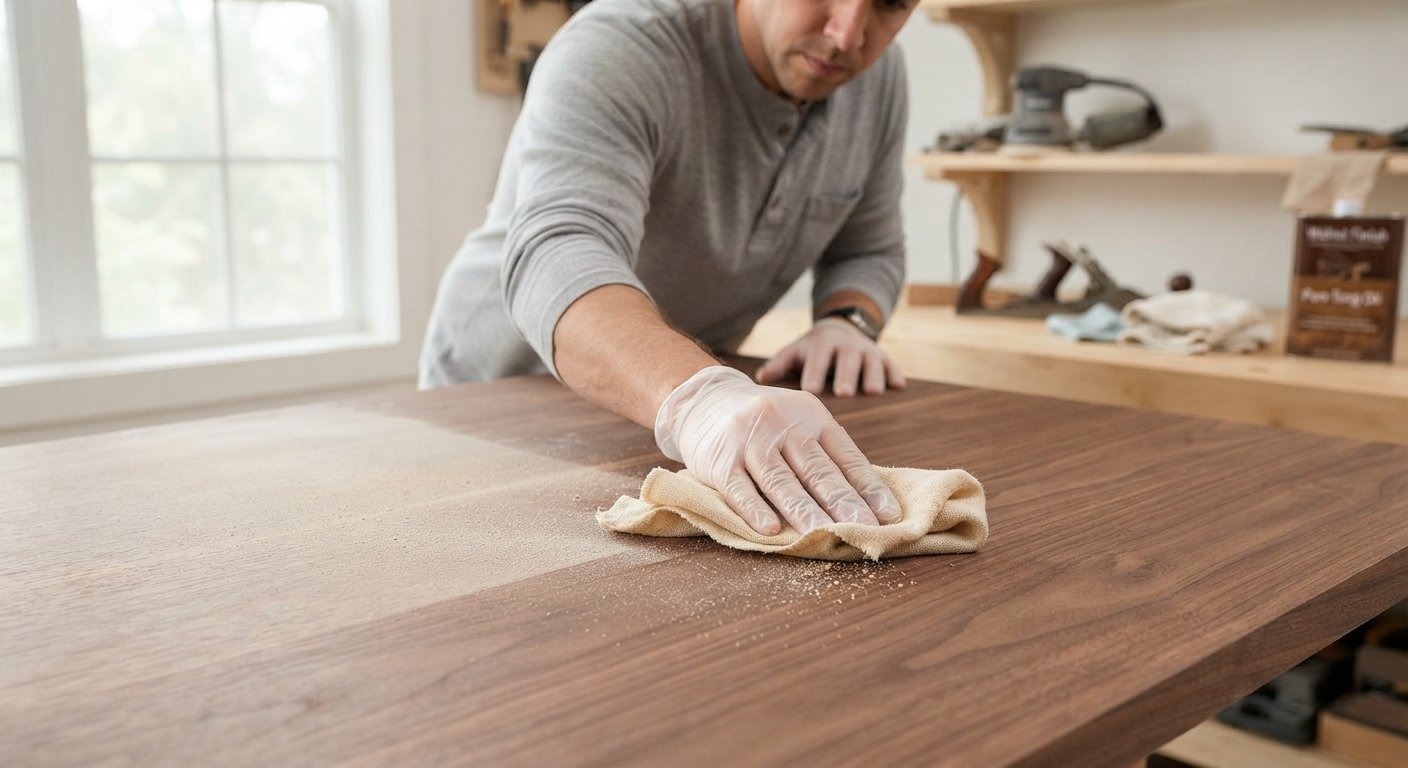
Always move the sander in the same direction as the wood grain, not across it or in circles. Sanding against the grain creates scratches that become very visible once new stain is applied, since stain settles into those grooves and highlights every mistake. Keep steady, even pressure and let the sander do the work instead of pressing down hard.
Once the old stain is gone and the surface feels smooth to the touch, move up through your grits step by step, from 100 to 150 and finally to 220. Skipping grits can leave the wood with tiny scratches that show up once stain is applied, so it pays to be patient here.
The key to removing stain safely is working slowly and checking your progress often. Rather than pressing hard and hoping the stain disappears quickly, use light to medium pressure and let the sandpaper gradually lift the color. Stop periodically to wipe the surface with a tack cloth so you can see how much stain remains and how much wood you are actually removing.
For stubborn spots, such as around wood joints or in carved details, a folded piece of sandpaper or a small detail sander works better than trying to force a larger tool into tight spaces. Patience is really the biggest factor here. Rushing through this stage is one of the most common reasons people end up with uneven color or thin spots once they apply new stain.
This is one of the most common questions people ask when starting a refinishing project, and the answer depends on the piece in front of you.
Chemical stripping makes more sense when you are dealing with thick layers of old varnish, multiple coats of paint, or intricate carved details where a sander simply cannot reach. It is also the safer option for veneer furniture, since it removes finish without physically wearing down the thin top layer. If a piece has a lot of decorative molding or turned legs, stripping products can soften the finish so it wipes away instead of requiring you to sand every groove by hand.
Sanding is usually the better choice for flat surfaces, solid wood furniture, and floors where you have room to maneuver a sander. It is faster for straightforward jobs, does not involve strong chemical fumes, and gives you more control over how much material you remove. For most everyday furniture pieces like tables, dressers, and doors, sanding alone gets the job done without the need for solvents.
Once sanding is finished, dust removal becomes the priority. Start by vacuuming the surface with a soft brush attachment to lift loose particles out of the grain. Follow up with a tack cloth, which is a slightly sticky cloth designed specifically to grab fine sawdust that a vacuum might miss.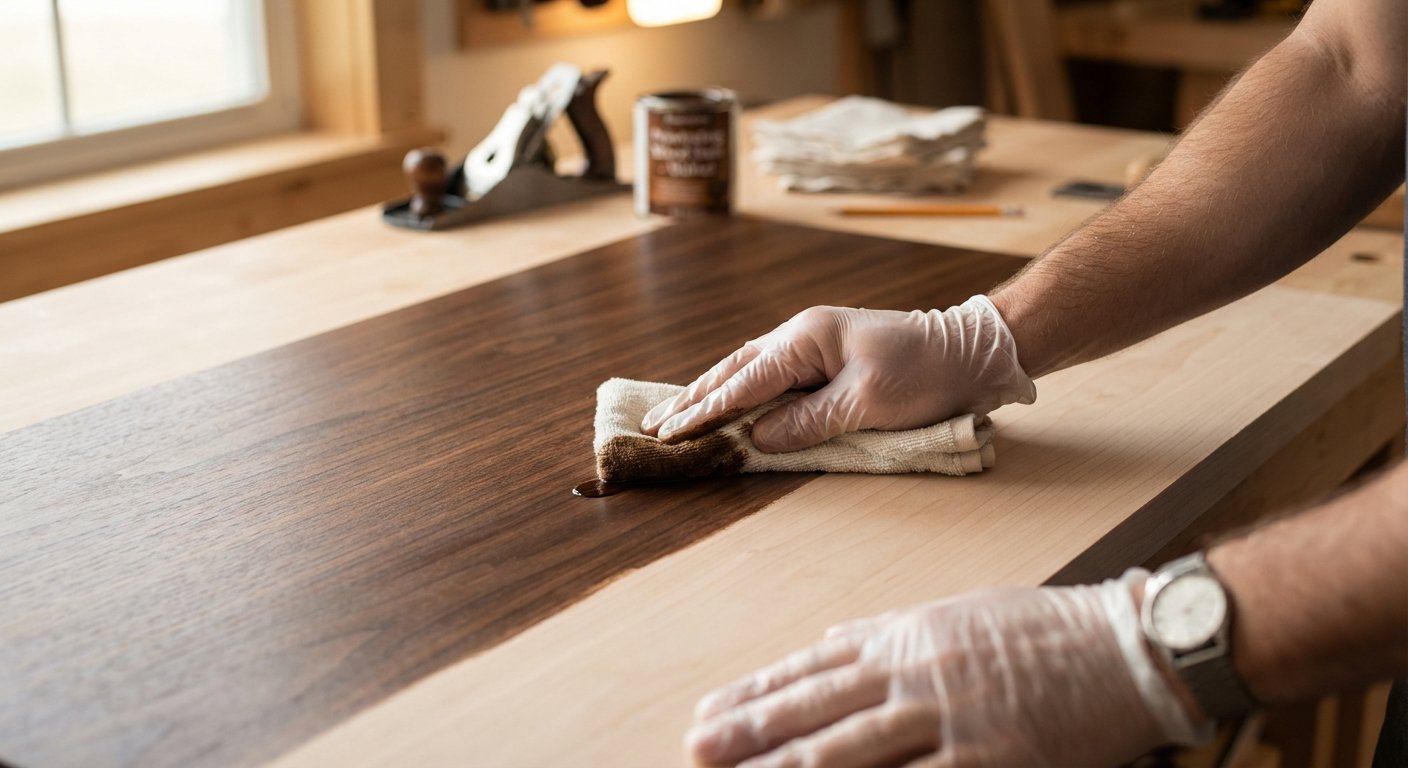
Some woodworkers also wipe the surface with a barely damp cloth to raise the wood grain slightly, then do a very light final sanding pass with fine grit paper once it dries. This extra step, sometimes called grain raising, helps prevent a rough or fuzzy texture after you apply new stain. Make sure the wood is completely dry and dust-free before moving on, since any leftover particles will get trapped under the new finish.
Before applying new stain, double check that the surface feels uniformly smooth with no leftover shiny patches, which usually indicate spots where the old finish was not fully removed. A wood conditioner can also be applied at this stage, especially on softwoods like pine, to help the stain absorb more evenly and avoid blotchy patches.
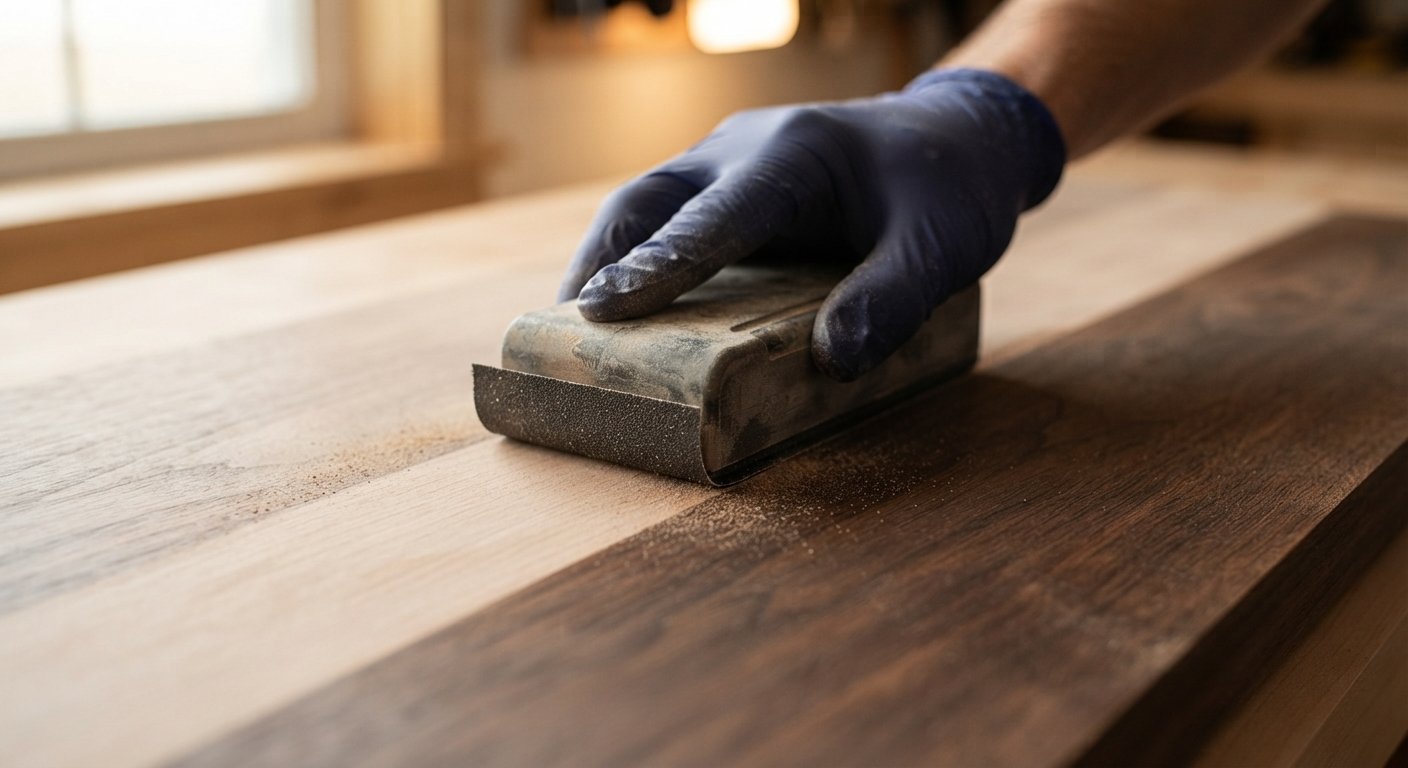
Apply stain with a clean brush or cloth, working in the direction of the grain. Let it sit for the time recommended on the product label, then wipe away the excess with a clean rag. If you want a deeper color, a second coat can be applied once the first has dried, but always test on a hidden area first to make sure you are happy with the shade.
Once the stain has fully dried, protect it with a topcoat such as polyurethane, wax, or lacquer. This layer shields the wood from scratches, moisture, and everyday wear. Apply thin, even coats and lightly sand between layers with fine grit paper for the smoothest possible result.
Starting with paper that is too fine wastes time, while paper that is too coarse can leave deep scratches that are difficult to remove later. Always match your grit to the actual condition of the finish rather than guessing.
This is one of the most common errors, and it is also one of the easiest to avoid. Cross-grain scratches become obvious once stain is applied, since the pigment settles into every groove. Always sand in the same direction as the wood grain, even during the final finishing passes.
Over-sanding, especially on veneer or thin furniture panels, can wear straight through to the substrate underneath. Keep a light touch, check your progress frequently, and stop as soon as the old finish is gone rather than continuing out of habit.
Refinishing a piece of furniture or a section of flooring does not have to be overwhelming once you understand the basics of sanding stained wood. Choosing the right grit, sanding with the grain, and cleaning thoroughly between steps are the foundations of a project that turns out looking professional rather than patchy. Whether you decide to sand or strip, the goal is the same: a smooth, even surface that is ready to take on new color and protection.
If you are planning your next refinishing project, start small with a test piece before moving on to a larger item like a dining table or floor. Once you get comfortable with the process, you will find that sanding stained wood is a skill that pays off again and again around the house.
Can you sand stained wood without removing all the color?
Yes. Light sanding with fine grit paper can smooth the surface and remove scratches without stripping the stain completely, which works well for minor touch-ups.
How long does it take to sand a piece of stained furniture?
It depends on the size and condition of the piece, but a small table or chair usually takes one to two hours, while larger items like dressers or floors can take a full day or more.
Do I need to wear a mask when sanding stained wood?
Yes. Sanding creates fine dust that can irritate your lungs, so a dust mask or respirator is recommended, along with safety glasses and good ventilation.
Can I sand stained wood by hand instead of using a power tool?
Hand sanding works fine for small projects or detailed areas, though it takes more time and effort compared to using an orbital sander for larger surfaces.
What happens if I sand against the wood grain by mistake?
You will likely see visible scratch marks once stain is applied. If this happens, go back over the area with the same grit, this time sanding with the grain, until the marks disappear.
Is it better to sand or strip a stained wood floor?
For most hardwood floors, sanding with a drum sander is the standard approach since it can cover large areas quickly and evenly, while stripping is usually reserved for detailed trim or molding.
How do I know when I have sanded enough?
The old stain and finish should be fully gone, and the wood should feel smooth and consistent across the entire surface with no shiny or rough patches remaining.