Physical Address
304 North Cardinal St.
Dorchester Center, MA 02124
Physical Address
304 North Cardinal St.
Dorchester Center, MA 02124

If you’ve ever worked on a cutting board or a butcher block countertop, you already know that sanding end grain wood is one of those tasks that looks simple but quickly humbles you. The surface feels rough, soaks up finish unevenly, and turns darker than the rest of the board. Getting it right takes the right technique, the right grit sequence, and a bit of patience.
This is a complete guide to sanding end grain wood, covering everything from choosing the right grit to preventing blotchy stain absorption. Think of this as The Complete Guide to Sanding Wood that you can come back to every time you start a new refinishing project. Whether you’re a seasoned woodworker or just building your first end grain cutting board, you’ll find clear, practical answers here.
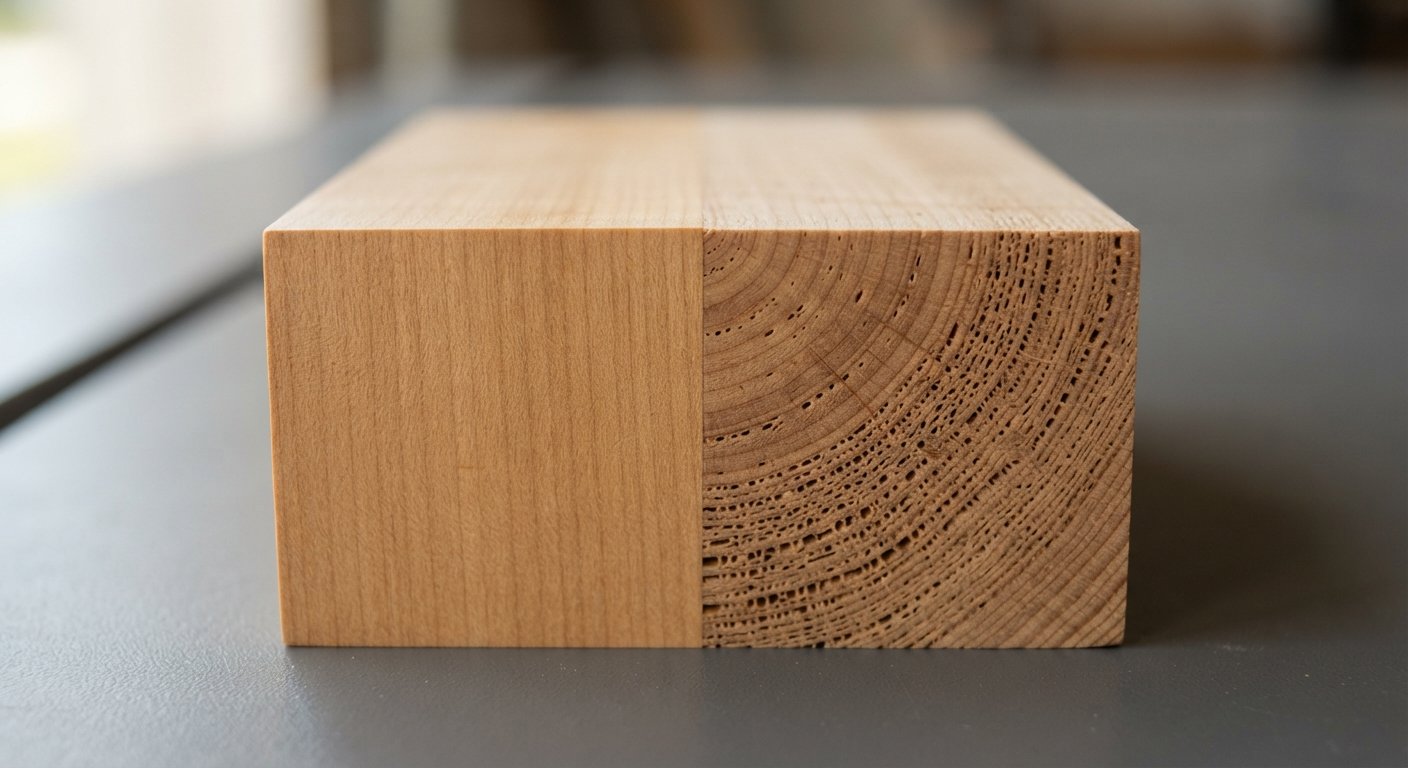
End grain is the surface you see when you cut across the wood fibers rather than along them. Think of a bundle of drinking straws. The face grain is the side of the bundle, and the end grain is what you see looking straight down into the open ends.
This cross-sectional surface appears most often on the ends of boards, on butcher block countertops, and on end grain cutting boards. It has a distinctive look, often with visible annual growth rings and a more porous texture compared to face grain. Many woodworkers love the appearance, but getting it to look clean and finished requires a different approach.
Face grain and long grain run parallel to the wood fibers. When you sand along this surface, your sandpaper moves with the grain, which makes the process relatively forgiving. Scratches blend in more easily, and the finish sits on top of the fibers without soaking too deep.
End grain behaves differently. The fibers run straight toward the sandpaper, so every scratch shows up more clearly. The open pores soak up stain and finish much faster, and material removal happens at a quicker pace. The same grit that works perfectly on face grain can leave noticeable marks on end grain.
Different species of wood also respond differently. Hardwood like mahogany has tighter pores and sands more cleanly than open-grained species. Softer woods can fuzz up or tear out more easily, which adds another layer of challenge.
Sanding end grain is not just a matter of using finer sandpaper. The structure of the wood demands a different strategy from start to finish.
Because the fibers are open and exposed, abrasives cut into the surface aggressively. You remove material much faster than you would on face grain, which means mistakes are amplified. A few extra seconds with coarse grit paper can leave scratches that are hard to remove later.
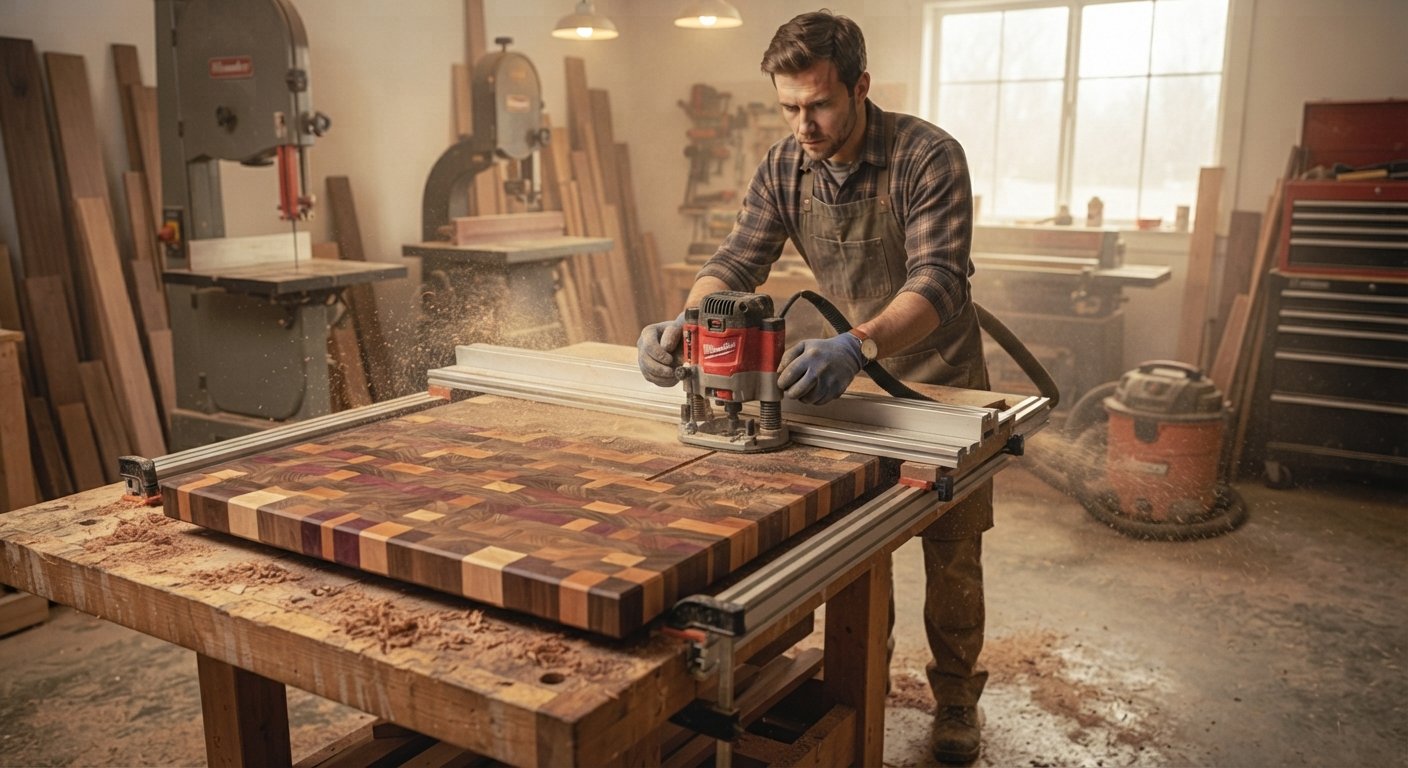
The porosity also means that any glue squeeze-out, machine marks, or planer tracks get trapped in the fibers. These need to come out before you move to finer grits, or they will show through the finish. This is why flattening the surface first, whether with a block plane, a router sled, or a belt sander, is an important step before sanding even begins.
This is where a lot of woodworkers get caught off guard. End grain acts like a sponge. The open fibers draw in oil, varnish, shellac, and stain much faster than face grain does. Apply the same amount of finish to both surfaces, and the end grain will soak it up and still look dry while the face grain looks evenly coated.
For end grain cutting boards, this behavior is actually useful. The wood draws in mineral oil deeply, which protects the board from water damage. But for furniture, cabinets, and decorative pieces, this uneven absorption leads to blotchy, darker-looking end grain that clashes with the rest of the piece.
Understanding this absorption behavior is the foundation of every finishing decision you will make for end grain.
A few issues come up again and again when it comes to sanding end grain wood:
Tearout is one of the most common. This happens when the sandpaper or cutting tool pulls fibers out rather than cutting cleanly through them. The result is a ragged, pitted surface that is difficult to smooth even with finer grits.
Scratch patterns are harder to hide on end grain. Because the fibers are perpendicular to your sanding direction, deeper scratches from coarse grit stay visible longer.
Uneven surfaces are another problem. End grain on a glued-up cutting board or panel often has slight height differences between boards. These need to be flattened with a router sled, a belt sander, or a hand plane before you start sanding.
Burning can occur if you use a belt sander at the wrong angle or apply too much pressure. The dense end grain generates more friction, and burning the wood creates dark marks that are hard to remove.
Choosing the right grit sequence is one of the most important decisions when sanding end grain. Move through the grits too quickly and you skip over scratches that compound. Start too fine and you never flatten the surface properly.
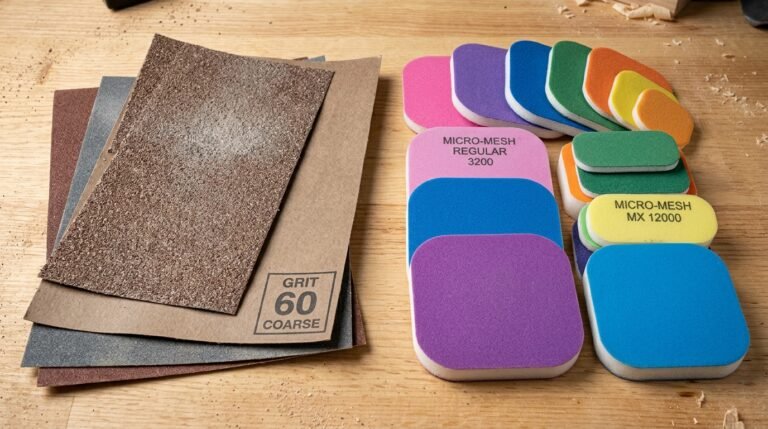
For most end grain projects, start with 80 grit. This is coarse enough to remove machine marks, glue residue, and surface irregularities without taking forever. If the surface is particularly rough or has deep planer marks, you might start even coarser, around 60 grit. For a surface that is already relatively flat and clean, starting at 100 grit is reasonable.
The goal of your starting grit is to establish a flat, consistent surface. Do not skip this step, even if the board looks smooth to the eye. Planer marks and glue shadows are often invisible until finish goes on.
After 80 grit, move to 100 or 120 grit. This is the second stage, and its job is to remove the scratch pattern left by 80 grit. Sand until all the coarser scratches are gone before moving on. One of the most common mistakes woodworkers make is rushing through the intermediate grits.
From 120 grit, move to 150 grit, then 180 grit. Each stage should remove the marks from the previous one. Wipe the surface with a damp cloth or compressed air between grits to remove dust and get a clear look at what you’re working with.
For end grain, finish at 220 grit for most applications. This leaves the surface smooth without closing the pores so tightly that finish cannot penetrate. If you are applying an oil finish to a cutting board, stopping at 180 grit is often better because slightly more open pores absorb oil more effectively.
For a glass-smooth finish on furniture or decorative pieces, you can go to 320 grit after sealing with shellac. The sealer locks the grain, and the 320 grit knocks down any raised fibers for a final surface that is ready for topcoat.
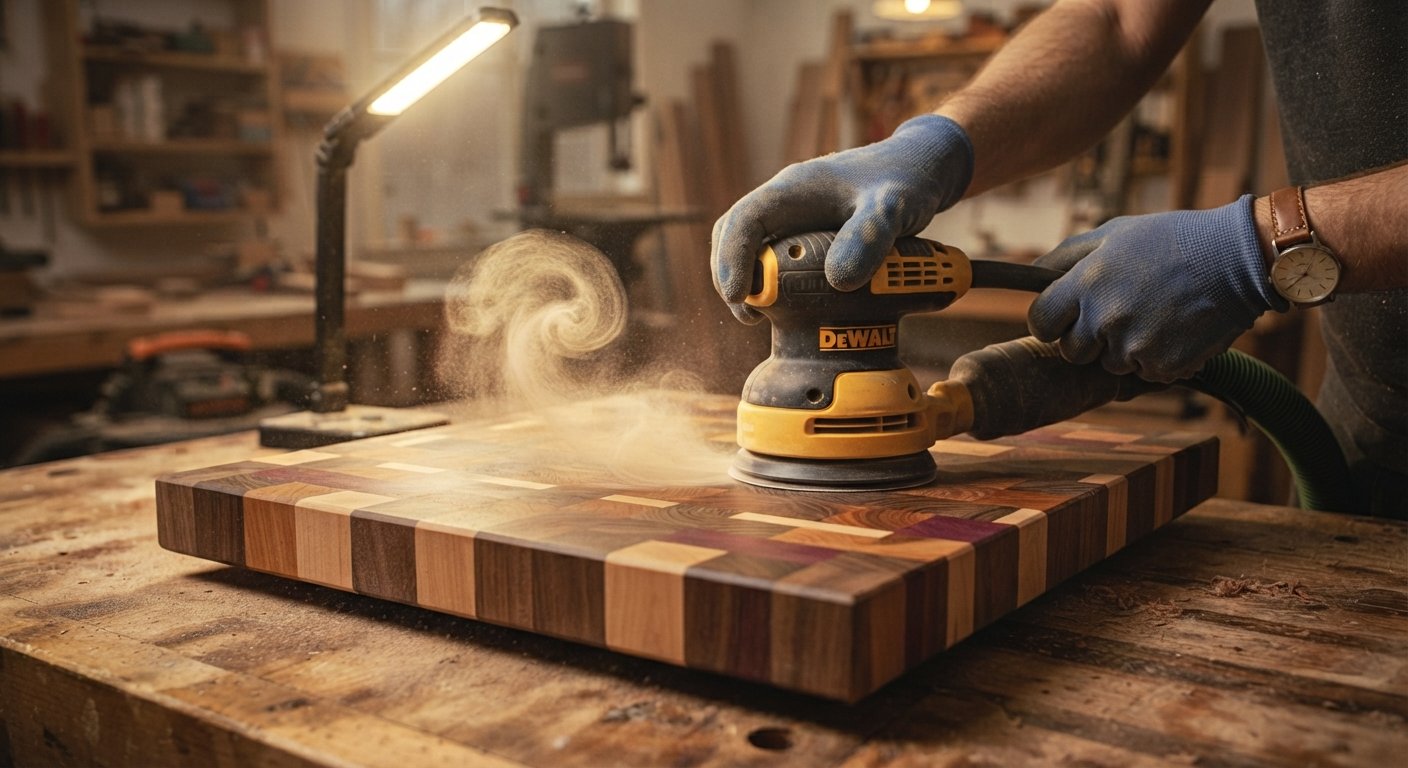
Before you touch sandpaper to wood, get the surface as flat as possible. A block plane is excellent for this. A few passes with a sharp plane removes high spots quickly and gives you a clean, flat reference surface. If you are working on a large glued-up board, a router sled or a belt sander is more practical.
Remove all glue squeeze-out at this stage. Glue seals the wood fibers underneath and will show up as a light spot after finishing. Scrape it off with a card scraper or chisel before sanding.
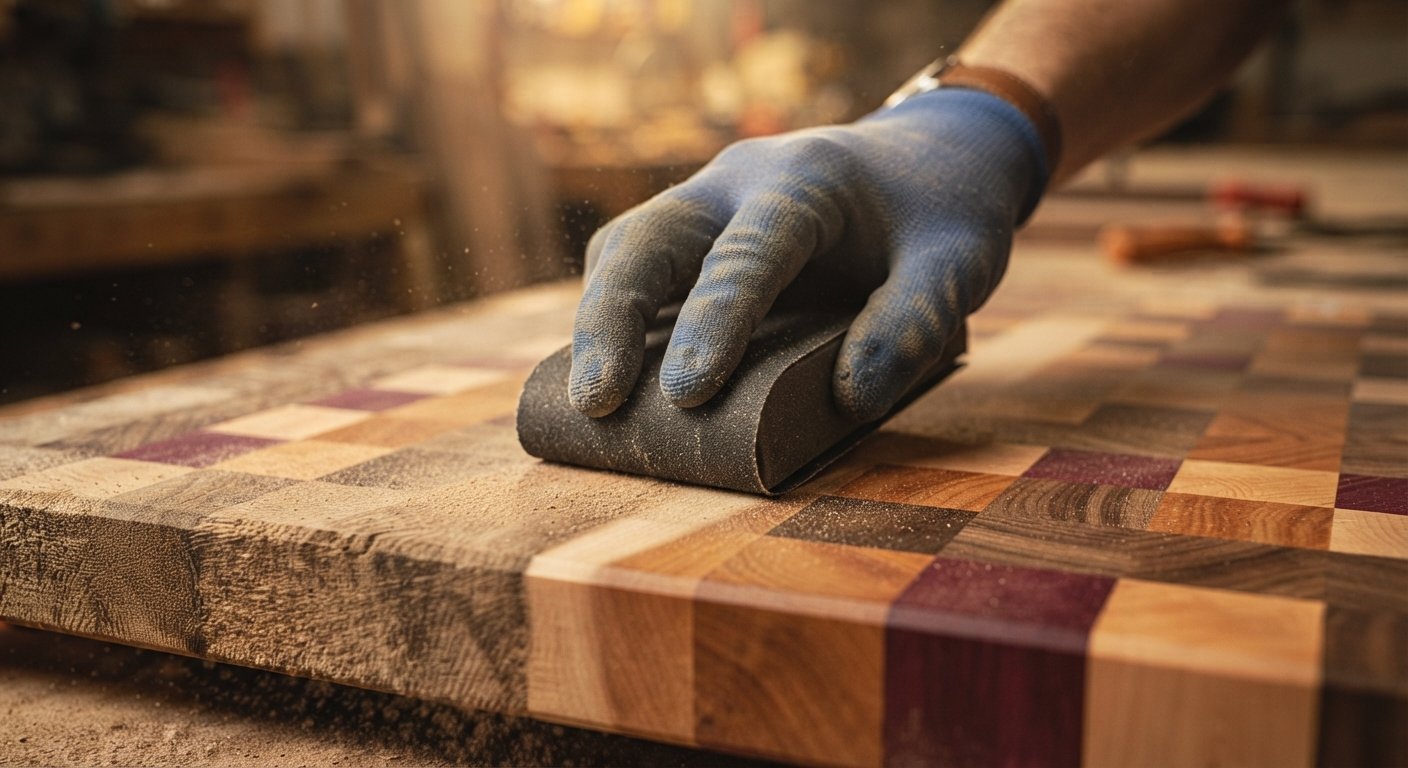
Sand in small, overlapping strokes using consistent pressure. On end grain, you can sand in any direction since the fibers run perpendicular to the surface. What matters more than direction is even pressure. Pressing harder in one area creates low spots that are hard to spot until finish reveals them.
A sanding block is helpful for hand sanding because it distributes pressure evenly across the surface. Without a block, your fingers create uneven pressure zones that lead to a wavy surface.
Work through your grit sequence without skipping steps. After each grit, wipe the surface clean and inspect it under raking light, meaning light coming in from a low angle across the surface. This reveals scratches that are invisible under direct lighting.
Only move to the next grit when all scratches from the current one are gone. This is the golden rule of sanding, and it applies especially to end grain where scratches are harder to hide.
Tearout on end grain usually comes from too much pressure or from a dull abrasive. Use lighter pressure than you think you need, especially in the early grits. Let the sandpaper do the cutting. Fresh sandpaper cuts more efficiently than worn grit paper, so replace it when it starts to feel like it is polishing rather than cutting.
On hand tools, a sharp block plane set to a very light cut will remove material without tearing fibers. This is often faster and cleaner than aggressive sanding for initial flattening.
The edges of a board, especially where face grain meets end grain, are vulnerable to rounding. Rounding happens when you sand past the surface onto the edge. Use a sanding block, stay aware of where the sandpaper contacts the wood, and lift off before reaching the corners.
Both approaches work. The right choice depends on the size of the project and the stage of the work.
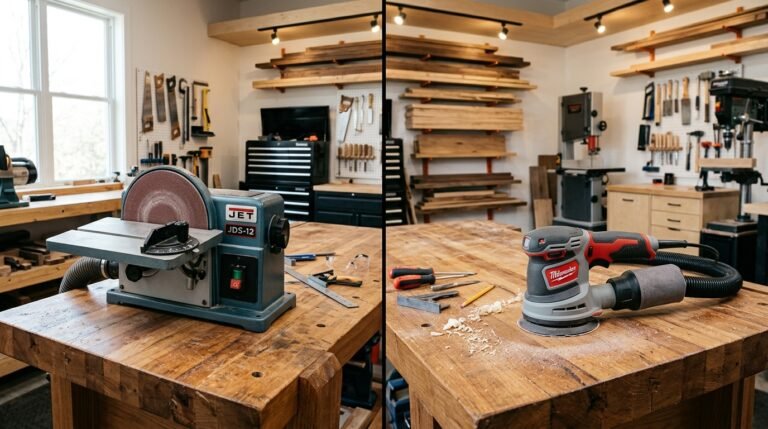
A random orbital sander is the go-to power tool for end grain cutting boards and larger flat panels. It removes material efficiently and the random orbit pattern prevents directional scratch marks. Start with 80 grit on the sander for flattening, then follow up with finer grits.
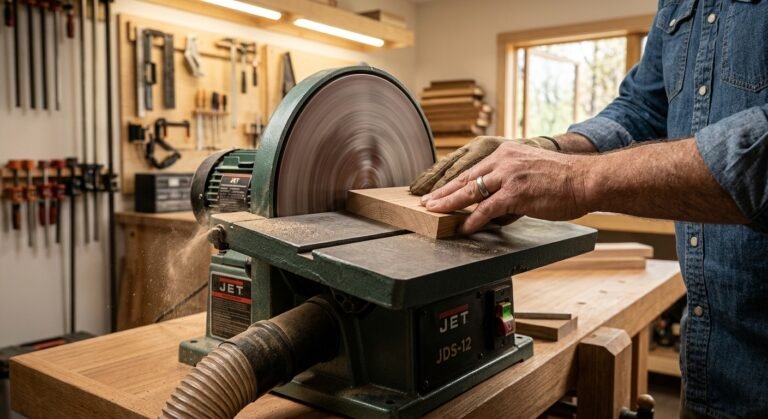
One caution: random orbital sanders can burn end grain if you hold them in one place too long. Keep the tool moving at all times. Also avoid using a belt sander directly on end grain unless you are very experienced, as the aggressive cutting action can quickly remove too much material and leave burns.
Hand sanding gives you more control, which matters in detail work, near joints, or on small surfaces. A sanding block wrapped in 120 grit or 180 grit sandpaper gives excellent results for final passes. It is also the better choice for cleaning up tearout and refining the surface before finishing.
For narrow stiles, rails, or cabinet frames where end grain is exposed at the end of a board, hand sanding with a block is almost always more practical than a power sander.
Before any finish goes on, spend time under raking light checking for scratches. A bright flashlight held at a low angle to the surface reveals everything.  Sand with 220 grit until the marks are gone, wipe clean, and check again.
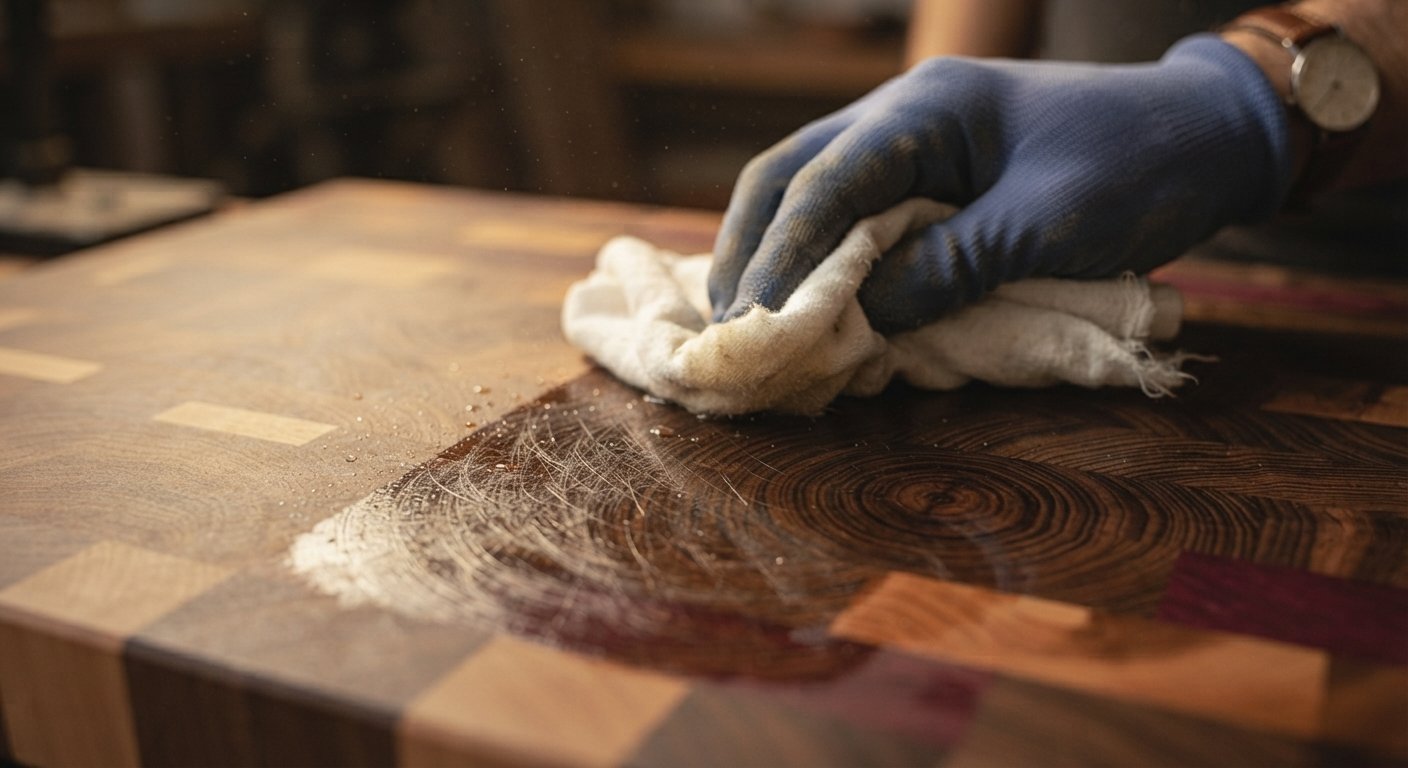
Wipe the surface with mineral spirits or a damp cloth and let it dry. This temporarily simulates what a finish will look like. If you see scratches or uneven areas now, address them before applying anything permanent.
If you plan to stain or use a penetrating finish, raising the grain first helps get a better result. Wipe the end grain with a damp cloth, let it dry completely, then sand lightly with 220 grit. This knocks down the raised fibers so the finish goes on smoothly.
End grain looking darker than face grain is one of the most common finishing problems in woodworking. It happens because the open pores absorb more pigment and more finish. Fortunately, there are reliable ways to control it.
The fibers on end grain are essentially hollow tubes running straight toward the surface. Stain flows into them the same way water soaks into the end of a paper towel. The result is deeper color saturation compared to the face grain, which looks blotchy and uneven.
This absorption difference becomes more extreme with certain species of wood. Mahogany and pine are particularly prone to this problem. Tighter-grained hardwoods handle it better but are not immune.
Sanding the end grain to a higher grit than the face grain helps even out absorption. If you sand the face grain to 120 grit, take the end grain to 180 or 220 grit. The finer grit partially closes the pores, slowing down how quickly stain soaks in.
Another effective method is to apply a wash coat of shellac to the end grain before staining. Thin the shellac to a 1-pound cut and brush it on. Let it dry, sand lightly with 320 grit, then apply your stain. The shellac seals the fibers partially without completely blocking the finish. This is one of the most reliable ways to get face grain and end grain to look similar after staining.
Pre-conditioners work in a similar way. Apply the conditioner to the end grain before staining and let it soak in according to the manufacturer’s instructions.
Starting with too fine a grit is a surprisingly common mistake. If the surface is not flat, 120 grit or 150 grit will take forever to fix it. Start with 80 grit on rough or uneven end grain and only move up once the surface is level.
Going too coarse can also cause problems. On very fine hardwood with tight grain, jumping straight to 60 or 32 grit removes too much material too fast and can create low spots.
Pressing hard does not make sanding faster on end grain. What it does is load the sandpaper with sawdust, cause tearout along the fibers, and create uneven spots. Use moderate, consistent pressure and let the abrasive do the work. Change your sandpaper regularly so it cuts efficiently without needing extra force.
This is probably the single most expensive mistake in terms of time. Skipping from 80 grit to 180 grit seems like it saves time, but the deep scratches left by the coarser paper remain and are very hard to remove at the finer stage. Follow the full sequence: 80, 100 or 120, 150, 180, 220. Do not skip steps.
Sanding end grain wood is one of those skills that gets easier the more you do it. Once you understand why end grain behaves differently, the solutions become intuitive. Start flat, follow the grit sequence, sand to 220, seal with shellac if needed, and check your work under raking light before applying finish.
For end grain cutting boards, the reward for doing it right is a surface that looks beautiful, holds up under heavy use, and draws in mineral oil evenly across the whole board. For furniture and cabinets, the reward is end grain that blends naturally with the rest of the piece instead of standing out as a darker, blotchy problem area.
Take your time with each stage, and the results will show. Good woodworking is almost always a matter of patience more than skill.
Do I wipe down wood after sanding?
Yes. After each grit stage, wipe the surface with a clean cloth or compressed air to remove sanding dust. This lets you clearly see any remaining scratches before moving to the next grit. For a final check before finishing, wiping with a damp cloth temporarily reveals what the finished surface will look like.
Anybody ever use a router sled to flatten cutting boards?
A router sled is one of the best methods for flattening large glued-up end grain cutting boards. It removes material evenly across the whole surface without the risk of burning or gouging that comes with a belt sander. After routing, the surface still needs to be sanded through the full grit sequence, but you start with a perfectly flat base.
Can I use too high of a grit on end grain?
Yes. Sanding end grain past 220 grit can close the pores too tightly, which prevents finish and oil from penetrating properly. For oil-finished cutting boards, stopping at 180 grit often gives better absorption. For pieces receiving a topcoat, go to 220 grit, then apply a sealer before moving to 320 grit.
Do I need a sanding sealer?
Not always, but a sealer helps significantly when the goal is even stain absorption. Shellac applied as a wash coat to end grain before staining is one of the most reliable methods for preventing the end grain from looking much darker than the face grain. It also works as a grain filler on open-pored species.
How do I know when I’ve sanded enough?
Hold a bright light at a low angle across the surface. This raking light technique reveals scratches and uneven areas that are invisible under direct light. When you can no longer see the scratch pattern from the previous grit, you have sanded enough and can move on. Before finishing, the surface should look consistent, feel smooth to the touch, and show no visible marks under raking light.
What is the golden rule of sanding?
Never skip grits. Each grit in the sequence is responsible for removing the scratches left by the previous, coarser grit. Jumping from 80 grit to 180 grit leaves deep scratches that finer paper cannot efficiently remove. Follow the full sequence every time.