Physical Address
304 North Cardinal St.
Dorchester Center, MA 02124
Physical Address
304 North Cardinal St.
Dorchester Center, MA 02124

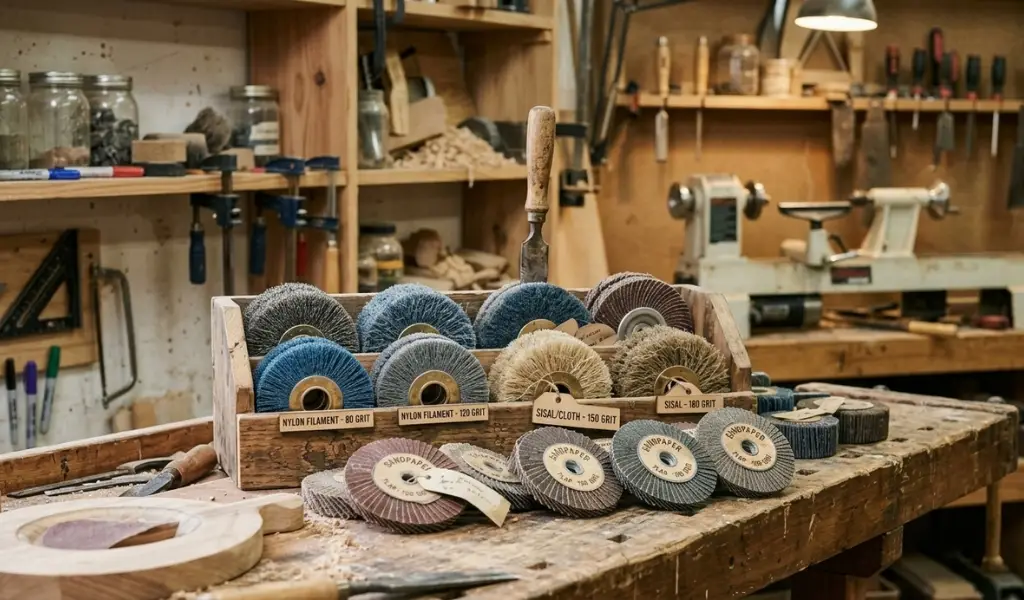
A flat sheet of sandpaper is a fine tool until you meet a curved chair spindle, a carved edge, or a piece of molding with a dozen tiny grooves. That’s the exact moment most woodworkers reach for a sanding brush instead. A sanding brush for wood uses flexible bristles rather than a rigid abrasive surface, so it bends around contours, presses into detail work, and reaches spots a flat sander or hand pad simply can’t touch.
This guide walks through everything you need to know about the sanding brush: what it is, the main types available, how to match a brush to a specific project, and how to keep one performing well over time. For a broader foundation on abrasives, grit progression, and sanding technique in general, our complete guide to sanding is worth bookmarking alongside this one. And if you want the deep-dive version of everything covered here, our wood sanding brush guide breaks down individual brush styles in more depth.
Whether you’re running a production woodworking shop or restoring a single antique dresser at home, understanding how a sanding brush works and when to use one instead of sandpaper will change how you approach finish sanding, edge work, and surface prep.
Before comparing brush styles, it helps to understand the basic mechanics that make a sanding brush different from every other sanding tool in your shop.
A sanding brush is a tool built from abrasive bristles, usually nylon filament, sisal, or wire that abrade a wood surface as they rotate or move across it. Instead of pressing a flat abrasive against the workpiece, the bristles flex and conform to whatever shape they meet, which is exactly why brushes for woodworking excel at profile, edge, and detail sanding.
Most sanding brushes mount onto a shank that chucks into a drill, angle grinder, or dedicated sanding machine. As the brush spins, individual bristles flick across the wood surface, and the abrasive embedded in each filament does the cutting. In an abrasive nylon brush, the grit often silicon carbide runs through the entire filament, so the brush keeps cutting evenly as the bristle tips wear down. A wire brush works differently: the stainless or steel bristles physically dig into softer spring-growth fibers, carving out material rather than polishing it.
The setting you choose brush diameter, bristle stiffness, and machine speed determines how aggressively the brush cuts. A softer nylon brush at moderate speed refines a surface gently, while a stiffer wire brush at higher speed removes material fast and leaves a textured finish behind.
Traditional sanding tools sandpaper on a block, a random orbital sander, or a belt sander excel on flat surfaces. They’re efficient at leveling wide boards, tabletops, and panels because they maintain even contact across a flat plane. But push any traditional sanding tool into a cove, a carved edge, or a turned profile, and it either skips the detail entirely or flattens it out.
A sanding brush solves this by trading rigidity for flexibility. The bristles wrap around contours instead of skating across them, which makes brush sanding the better choice for three specific situations: profile and molding work, grain-selective texturing, and light finish sanding between coats. On a dead-flat surface, though, sandpaper and a machine sander still win brushes follow high spots and low spots rather than correcting them, so they won’t flatten a warped or uneven workpiece.
Once you understand that the filament and bristle material drive performance, the next decision is brush format. Shank style, diameter, and mounting method all determine which jobs a given sanding brush suits best.
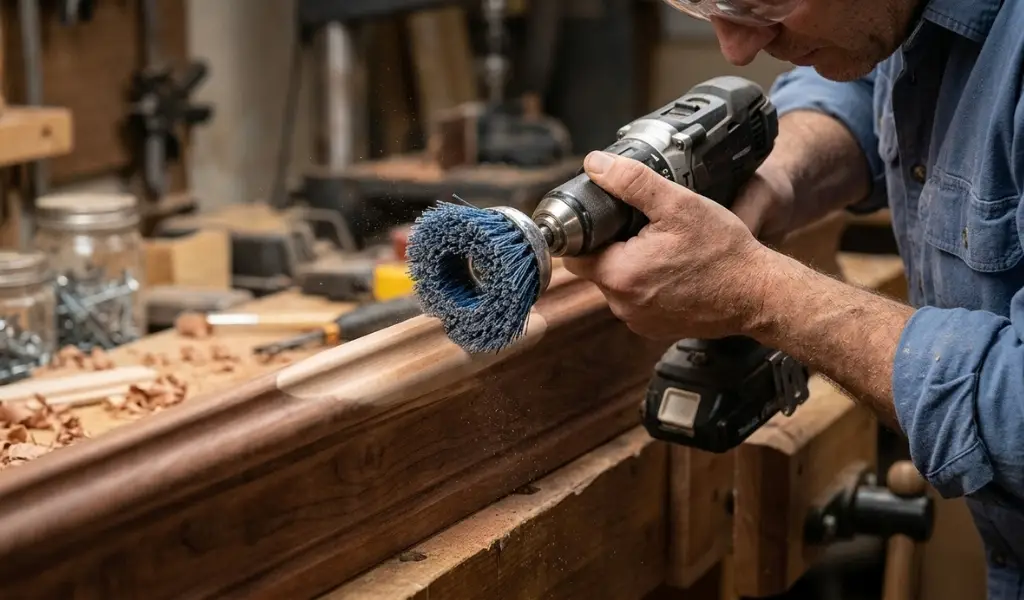
An abrasive nylon wheel brush is a cylindrical brush that mounts on a spindle or drill shank. As it spins, grit-impregnated nylon filament flicks evenly across the wood, sanding along curves and flat surfaces alike. Drum brushes work on the same principle but in a wider roller format, which makes them efficient for covering larger flat surfaces or batches of molding on a woodworking machine.
Because the filament flexes, this style of brush wraps around raised profiles and dips into recesses ideal for spindles, moldings, and any furniture piece with a complex, turned shape. Manufacturers like Makita and other tool brands offer drill-compatible nylon brush kits sized for both handheld and machine use, making them accessible for small shops as well as industrial sanding systems.
Sisal brushes use natural plant fiber bristles rather than nylon or wire. They’re softer and more flexible, which makes them well suited to buffing and polishing rather than heavy material removal. Sisal is a common choice for grain raising removal and light surface conditioning, especially on softer woods where a stiffer brush might scrub away growth rings unevenly.
Sandpaper brushes sometimes called flap brushes are built from small flaps of sandpaper mounted radially around a wheel or shank, similar in concept to a flap wheel used on an angle grinder. As the flaps rotate, fresh abrasive constantly contacts the surface, giving you the cutting power of sandpaper with the flexibility of a brush. These work well for finish sanding on flat surfaces and gentle contours where a rigid nylon brush might be too aggressive.
Grit selection matters just as much on a sanding brush as it does on a sheet of sandpaper. Coarse grit around 80 grit is used for stock removal and correcting rough or damaged wood, including bare wood straight off a planer. Medium grit, often in the 120 range, handles general surface leveling and prep work before finishing. Fine grit 180 to 220 is standard for finish sanding, grain raising removal, and prepping a surface for stain or topcoat.
At the extra-fine end, grits from 400 up to 600 are reserved for between-coat sanding on cured finish, not bare wood. As a rule, softer woods and finer finish work call for finer grit and a lighter touch, while coarser grit and firmer bristle stiffness suit oak, other hardwoods, or aggressive stock removal.
Knowing the types of sanding brushes available is only half the equation. The real value shows up when you match the right brush to the right task.
Edges, moldings, and profiled trim are where a sanding brush earns its keep. A woodworking sanding brush follows the contour of a profile continuously, rather than requiring you to hand-sand every groove individually. This is particularly useful for MDF trim, curved furniture components, and any workpiece where flat surfaces meet tight radii. Because the bristles flex rather than gouge, a nylon brush can move at a consistent angle across a profile without rounding over crisp detail the way an angle grinder or coarse flap disc might.
Water-based finishing and water-popping techniques raise the grain of the wood, leaving a fuzzy, felted texture once the surface dries. Sandpaper can remove this, but on any shaped or detailed piece it struggles to reach every recess. An abrasive nylon brush shears off raised fibers across curves and flat surfaces alike, restoring a smooth feel without cutting into the bare wood underneath. This makes brush sanding a reliable step in any process that involves staining oak, walnut, or other open-grained species.
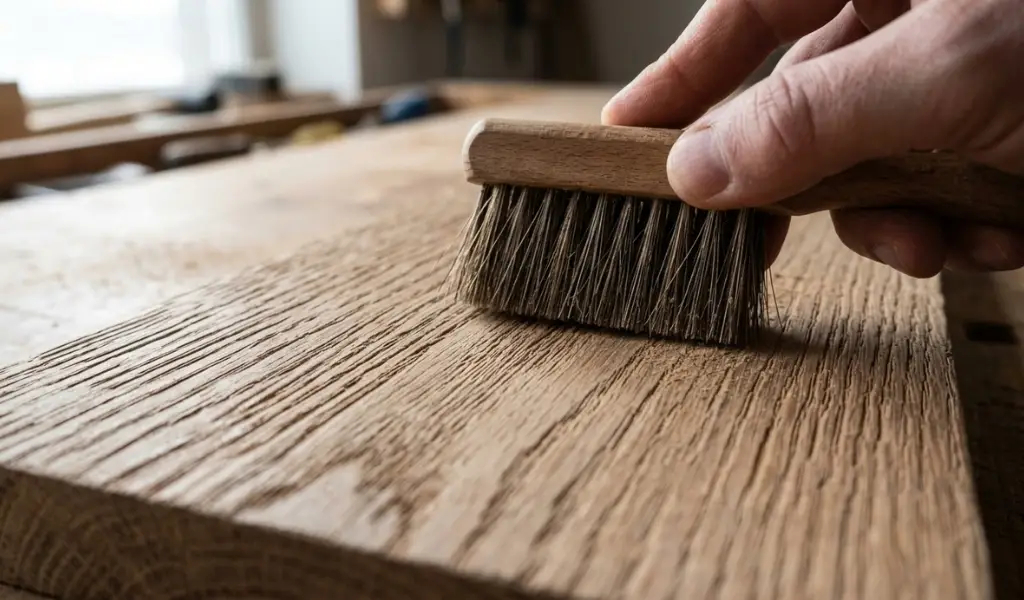
Beyond smoothing, sanding brushes handle dust removal, surface conditioning, and light texturing before a coat of varnish goes on. A cup brush chucked into a drill quickly cleans loose fibers and mill dust from a large flat surface. On the texturing side, a stiffer wire brush dragged along the grain of reclaimed or outdoor lumber can create a deliberately rustic, weathered look a popular finish for farmhouse-style furniture and flooring.
Picking the right brush and using it correctly are two separate skills. Here’s how to approach both.
Start with the wood itself. Softer species respond best to a nylon brush with finer grit and a lighter touch, since aggressive bristles can scrub away growth rings unevenly. Denser hardwoods like oak can tolerate coarser grit and firmer bristle stiffness without excessive wear. If the goal is a polished, refined surface, choose nylon. If the goal is texture, distressing, or aggressive removal of old paint or finish, a wire brush is the better fit. For furniture and flooring restoration specifically, match brush diameter to the size of the profile smaller cup brushes for detail work, larger wheel or drum brushes for broad flat surfaces.
Keep operating parameters in mind before you start: excessive speed on a nylon brush can burn softer wood or wear filament prematurely, while too little speed on a wire brush won’t remove material efficiently. Hold the brush at a consistent angle, let the bristles do the work, and avoid pressing hard enough to flex the shank; this causes uneven contact and can create marks across the surface. Move the brush steadily across the workpiece rather than lingering in one spot, and check your progress often, especially on softer wood where material removal happens quickly.
For coarse-to-fine work, follow the same progression logic used with sandpaper: start with coarse grit only if the surface genuinely needs it, then step down through medium and fine grit for a smooth, professional result.
Sawdust and resin buildup reduce a brush’s cutting efficiency over time. After each use, tap or brush out embedded dust, and use a stiff-bristle cleaning tool or compressed air to clear filament and wire bristles alike. Store brushes away from moisture to prevent rust on wire and stainless components, and check for flared or missing bristles before each use a brush with uneven bristle length will cut inconsistently and may leave marks across an otherwise smooth surface. Replacement filament kits are available for most drum and wheel brush systems, so a worn brush doesn’t always mean buying an entirely new one.
Yes, but a wire brush is meant for texturing and aggressive removal, not fine finish sanding. Dragging a steel or stainless wire brush along the grain tears out softer spring-growth fibers while leaving harder grain lines standing, which creates a deliberately rustic, weathered look. It’s a good choice for distressing reclaimed wood, stripping old paint, or prepping outdoor lumber, but it’s too aggressive for fine furniture surfaces you want smooth.
You can use sandpaper on a block or power sander for flat surfaces, or a sanding brush for contoured, profiled, or detailed work. The right choice depends on the shape of the workpiece: flat panels and tabletops respond best to a machine sander, while moldings, spindles, and carved edges are better handled with a flexible sanding brush that can follow the profile.
There’s no single best tool, it depends on the surface. For flat surfaces, a random orbital sander with the right grit is the fastest, most even option. For contoured or detailed work, a nylon sanding brush is the better sanding tool because its bristles flex into shapes a flat sander can’t reach. Most well-equipped shops keep both on hand.
A sanding brush is a tool with flexible abrasive bristles, typically nylon filament, sisal, or wire that abrade wood as they rotate or move across the surface. The bristles conform to the shape of the workpiece, letting the abrasive reach profiles, edges, and recesses that flat sandpaper skips over.
The main types include abrasive nylon wheel and drum brushes for profile and contour work, cup brushes for surface prep and cleaning, sisal brushes for gentle buffing and finish work, sandpaper flap brushes for finish sanding, and wire brushes for texturing and aggressive material removal.
Sanding brushes are used for edge and profile sanding, removing wood felting and raised grain after water-based finishing, cleaning dust and debris from bare wood, texturing reclaimed or outdoor lumber, and preparing surfaces for varnish or other topcoats.
Choosing between a nylon brush, a wire brush, or a sisal option comes down to one question: are you trying to polish a surface or transform it? Nylon and sisal brushes refine, smooth, and prepare wood for finish. Wire brushes texture, distress, and strip. Once that distinction clicks, matching a sanding brush to your next project whether it’s a set of turned table legs or a reclaimed barn door becomes second nature.
Start by identifying what the job actually calls for, match the bristle material and grit to that goal, and let the brush’s flexibility do the work sandpaper can’t.