Physical Address
304 North Cardinal St.
Dorchester Center, MA 02124
Physical Address
304 North Cardinal St.
Dorchester Center, MA 02124

If you have ever picked up a piece of red cedar and run your hand across it, you already know why so many people love working with this wood. Sanding cedar wood is one of those tasks that looks simple on the surface but actually needs a bit of know how if you want a smooth finish without scratches, fuzzy grain, or blotchy stain later on. Whether you are building a cedar deck, refinishing old cedar siding, or working on a small furniture project, getting the sanding step right sets the stage for everything that comes after.
This article works as the complete guide to sanding wood when cedar is the species you are dealing with. We will walk through why cedar behaves differently than other lumber, which grit sandpaper to use at each stage, how to sand cedar without damaging the wood, and how to prep the surface properly before you apply paint, stain, or any other finish. By the end, you will know exactly how to sand cedar wood before staining so the color soaks in evenly and the natural beauty of the wood really shows.
Cedar, especially western red cedar, is a favorite for decks, fences, siding, and outdoor furniture because it resists rot and insects naturally. But that softness that makes it easy to cut and shape also makes it easy to over-sand or gouge if you are not paying attention. Let’s get into the details.
Before you even pick up a sander, it helps to understand what sandpaper grit actually means. The number on the back of a sheet of sandpaper tells you how coarse or fine the abrasive particles are. Lower numbers, like 60 or 80 grit, are coarse and remove material fast. Higher numbers, like 180 or 220 grit, are fine and are meant for smoothing rather than heavy removal.
With cedar wood, grit selection matters more than with denser hardwoods like oak or maple. Because cedar is so soft, a grit that is too aggressive can tear the fibers and leave the surface looking rough instead of smooth, even if it feels smooth to the touch at first. Choosing the right grit sandpaper for each stage of the job, from initial sanding to final smoothing, is really the foundation of a good result. We will cover the specific numbers a bit further down, but the short version is this: start coarse to level the surface, then work your way up through finer grits until the wood grain looks clean and even.
Cedar is not like most of the lumber you will find at a home improvement store. It has its own personality, and understanding that personality is the key to sanding it correctly.
Cedar’s cellular structure is loose and open compared to hardwoods. This is part of why it is so lightweight and easy to cut, but it also means the wood surface bruises and dents more easily. A power sander left in one spot for even a second too long can create a low spot that is hard to fix later. The wood’s natural oils, which give cedar its pleasant smell and help repel insects, can also gum up sandpaper faster than you might expect, especially on resinous boards near knots.
Because of this soft structure, sanding cedar deck boards or furniture pieces calls for a lighter touch than you would use on pine or fir.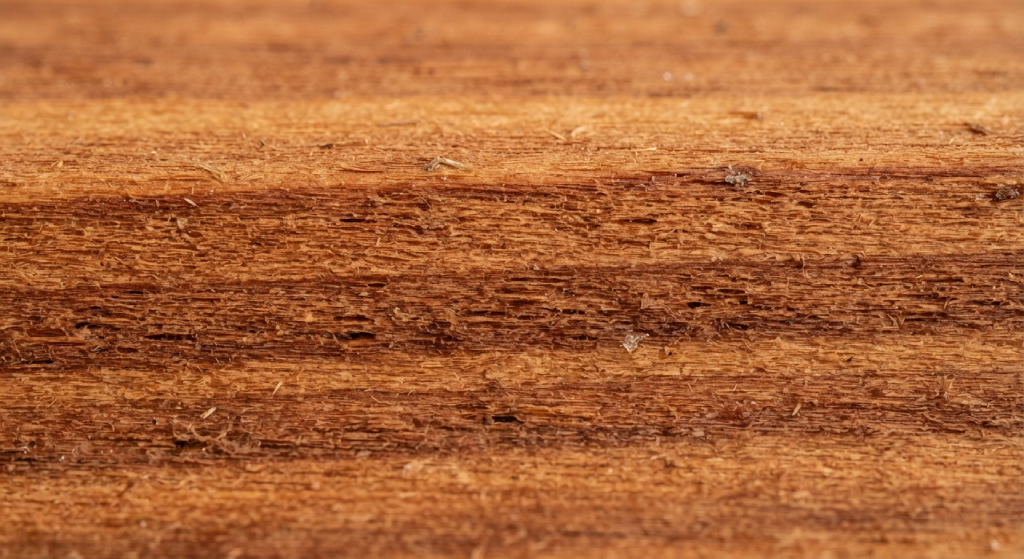 You do not need to press hard. Let the sandpaper and the grit do the work, and move the sander steadily instead of letting it linger.
People use cedar for a wide range of builds. Decks and deck railings are probably the most common, since western red cedar naturally resists moisture and decay, which makes it ideal for outdoor use. Fences, pergolas, and outdoor furniture like benches and planters are also popular choices. Indoors, cedar shows up in closet linings, chests, and paneling, often left unfinished so the aroma and natural color can be enjoyed.
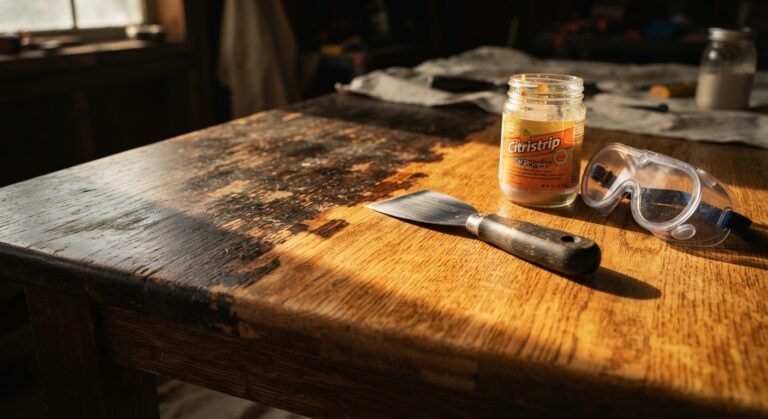
Each of these projects has slightly different sanding needs. A cedar deck that has weathered outside for a few seasons will usually need heavier sanding to remove the silver grey surface layer and any mill glaze, while a new piece of furniture might only need light sanding before the first coat of stain or sealer.
Some people wonder if sanding cedar is even necessary, since the wood already feels fairly smooth off the shelf. The truth is that new cedar lumber often has something called mill glaze, a hard, shiny layer created by the milling process. This glaze can actually block stain absorption, meaning any finish you apply will not soak into the wood properly and may end up looking patchy or peeling early.
Sanding also removes small surface imperfections like planer marks, minor scratches, and fuzzy grain that can occur when the wood is cut. For older or weathered cedar, sanding strips away the grey, sun damaged top layer and any dirt or mildew that has built up over time, giving you a fresh surface to work with.
Beyond function, sanding cedar wood before staining also brings out the wood’s natural grain pattern and rich color. A properly sanded surface allows stain, paint, or sealant to penetrate evenly, which not only looks better but also protects the wood from moisture and UV damage for much longer.
Choosing the right grit is where a lot of beginners go wrong. Using one grit for the entire project, or jumping straight to a fine grit without doing the rough work first, usually leads to disappointing results.
For cedar that is rough, weathered, or has visible mill glaze, start with 80-grit sandpaper. This coarse grit is strong enough to strip away the damaged surface layer, remove old finish, and level out any uneven boards without taking excessive material off. If the cedar deck boards are particularly rough or have deep scratches, some people start even coarser at 60 grit, though 80 grit is usually enough for most jobs.
Once the rough sanding is done and the surface feels more even, move up to 100 grit or 120 grit. This step smooths out the scratches left behind by the coarser paper and prepares the wood for the finishing grits. Skipping this middle step and jumping from 80 grit straight to 220 grit will leave visible scratch marks that the finer paper cannot remove on its own.
For the final pass, switch to a fine-grit sandpaper in the 180-220 range. This is the grit that creates that smooth finish everyone is after, the kind where the wood grain feels silky and even under your hand. Going any finer than 220 grit is usually unnecessary for cedar, and can actually close up the wood’s pores too much, which reduces stain absorption rather than helping it.
If you are preparing cedar wood before staining, 180 grit is often the sweet spot. It smooths the surface enough for a polished look while still leaving the wood porous enough to soak up stain evenly.
Sanding cedar without damaging the wood comes down to patience and technique. Always sand in the direction of the wood grain, never across it or in circles, since cross grain scratches show up clearly once you apply stain. Use even, steady strokes and keep the sander or sanding block moving at all times.
Start with your coarse grit and work section by section, checking your progress often. It helps to run your hand across the surface between passes, since you can often feel rough spots or ridges before you can see them. Wipe away sanding dust as you go, either with a dry cloth, a shop vacuum, or a tack cloth, so you can see the true condition of the wood underneath.
For cedar deck boards, work along the length of each board rather than across multiple boards at once, since this keeps your sanding consistent with the grain direction of each individual piece. Pay close attention to areas around knots, since these spots are often more resinous and can clog sandpaper quickly.
Both hand sanding and power sanding have their place when working with cedar. Hand sanding, using a sanding block wrapped with sandpaper, gives you the most control and is the safest option for edges, corners, and detailed trim work where a power tool could easily remove too much material. It takes longer, but for smaller projects or finishing touches, it is often worth the extra time.
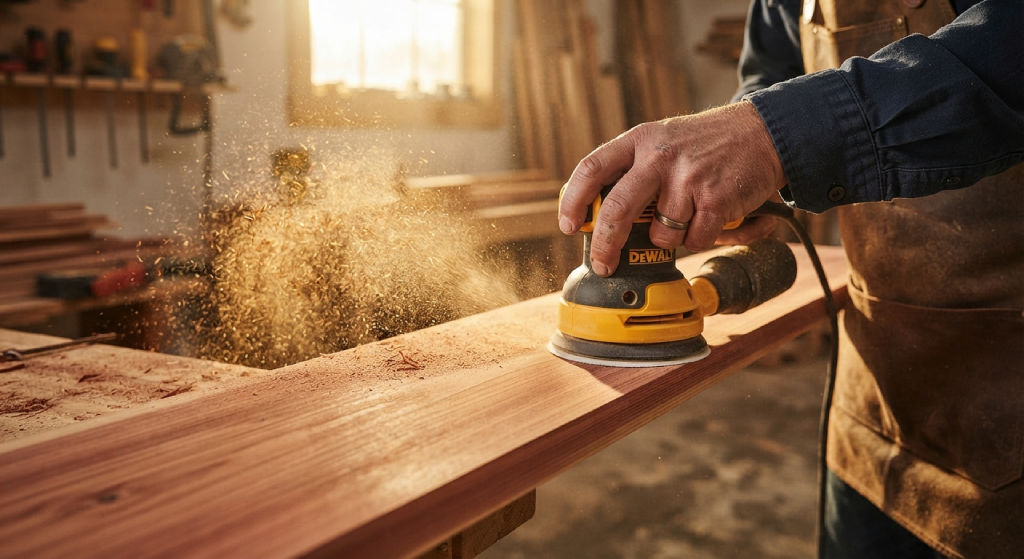
Power sanding, using an orbital sander or a drum sander for larger surfaces like a deck, speeds up the job considerably. An orbital sander is a good middle ground for most cedar projects, since it moves in a random pattern that reduces the risk of leaving swirl marks. A drum sander is better suited for large, flat deck surfaces where you need to remove a lot of material quickly and evenly, though it takes some practice to use without gouging the wood.
Whichever method you choose, always wear proper safety gear. A dust mask or respirator is important since cedar dust can irritate the lungs and, for some people, trigger allergic reactions. Safety glasses and hearing protection are also worth using when running a power sander for an extended period.
Once the cedar wood surface is sanded to your satisfaction, remove all dust with a vacuum, tack cloth, or slightly damp rag before applying any finish. Choosing the right finish depends on the look you want and how much protection the wood needs.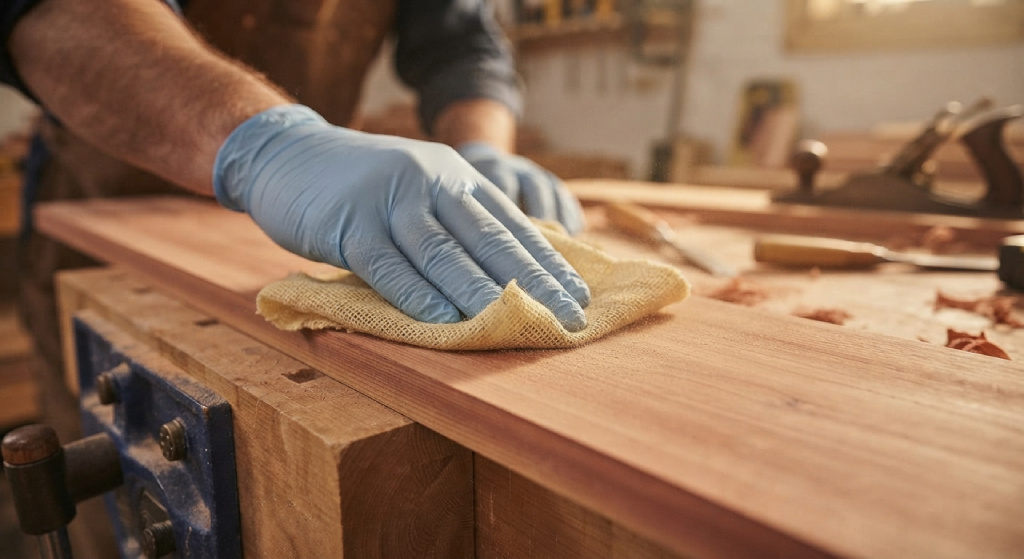
A semi-transparent stain lets the natural grain and color of the cedar show through while still adding some UV and moisture protection. This is a popular option for cedar decks since it keeps that classic warm, reddish look people love about red cedar. A solid stain offers more coverage and hides more of the wood’s natural variation, which can be useful if the boards have some discoloration or if you want a more uniform appearance. For indoor cedar pieces, an oil-based sealer or varnish can enhance the natural beauty of the wood while adding a protective, sometimes slightly glossy film.
When applying the stain, use even strokes and work in small sections, following the direction of the grain. A sprayer can speed up application on large surfaces like a deck, though many people still prefer a brush or roller for better control and to properly penetrate the wood fibers. Always follow the instructions for drying between coats, and allow the finish to dry and cure completely before allowing foot traffic or placing furniture back on the surface. Rushing this step is one of the most common reasons finishes fail early, since insufficient dry time affects adhesion and can lead to peeling.
Even experienced DIYers make mistakes when prepping cedar for a finish. One of the biggest is not sanding thoroughly enough before staining, which leaves mill glaze or old finish in place and blocks proper stain absorption. Another common issue is sanding when the wood is damp, since this can cause the grain to raise once it dries, leaving a rough surface even after you thought the job was finished.
Using the wrong grit progression is another frequent problem. Starting too fine wastes time and does not remove enough material, while skipping the middle grits leaves visible scratches under the finish. Rushing through the process without checking your work section by section often means missed spots that become obvious once the stain goes on and highlights every inconsistency.
Over-sanding is a surprisingly easy mistake to make with a wood this soft. Spending too long in one area, especially with a power sander, can create dips or uneven spots that are difficult to fix without significant extra work. It is always better to make several light passes than one aggressive one.
Ignoring edges and corners is another common oversight. These areas are often sanded less thoroughly since they are harder to reach with a large sander, but they are also the spots most exposed to wear, moisture, and handling. Take the extra time to hand sand edges, corners, and any detailed trim so the entire surface has consistent texture and will absorb stain evenly.
After sanding, dust settles into the wood grain and, if left behind, will mix with your stain or paint and create a cloudy, uneven finish. Always clean the surface thoroughly before applying any coating. A shop vacuum followed by a tack cloth works well for most projects, and for outdoor cedar decks, a soft brush or blower can help clear dust from between boards.
Leftover old stain or finish residue is another issue people often overlook. If you are refinishing an older cedar deck, any remaining traces of the previous coating can prevent new stain from penetrating properly, leading to blotchy or inconsistent color. Strip and sand these areas thoroughly before moving forward.
If you notice scratches after staining, the surface likely was not sanded through enough grit stages. The fix usually involves stripping the finish, sanding back down starting at a mid grit like 100 or 120, then working back up to 180 or 220 before restaining. For low spots or dips caused by over-sanding, a light hand sanding of the surrounding area can sometimes blend the transition, though deep dips may need wood filler formulated for outdoor use before sanding smooth again.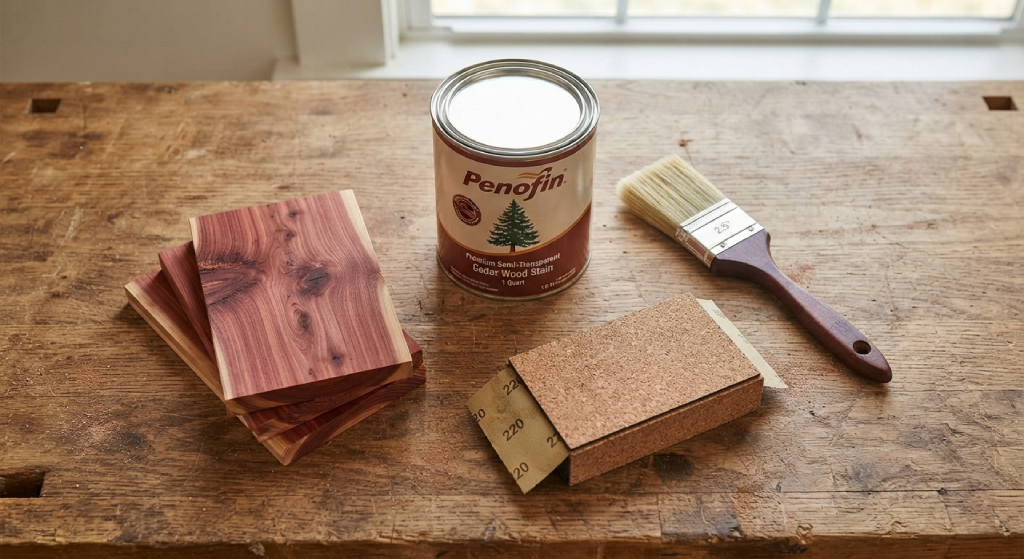
Blotchy stain absorption is often a sign of leftover mill glaze, dust, or moisture in the wood. Letting the wood dry completely, sanding it evenly, and applying a wood conditioner before stain can help the color go on more consistently. If splinters or fuzzy grain appear after sanding, this usually means the sandpaper was too coarse for the final pass, and a quick once-over with 180 or 220 grit will smooth things out.
Sanding cedar wood is not complicated once you understand a few basic principles. Work through the grits in order, always follow the wood grain, keep a light touch because of cedar’s soft structure, and clean thoroughly before applying any stain or finish. Whether you are prepping a brand new cedar deck or refinishing an older one, the time you spend on proper sanding pays off in a smoother, longer lasting result. Take it slow, check your progress often, and your cedar project will reward you with a polished, natural look that lasts for years.
What grit sandpaper should I use for sanding a cedar deck?
Start with 80 grit to remove mill glaze, old finish, or weathered surface layers, then move to 100 or 120 grit to smooth out scratches, and finish with 180 to 220 grit before staining.
Do I need to sand new cedar before staining it?
Yes. New cedar lumber often has mill glaze, a hard shiny layer from the milling process, that can block stain absorption. Light sanding with 120 to 180 grit opens up the wood so stain penetrates evenly.
Can I use a power sander on cedar without damaging it?
Yes, but use a light touch and keep the sander moving at all times. An orbital sander works well for most cedar surfaces, while a drum sander is better reserved for large, flat deck areas handled by someone with experience.
How do I sand cedar wood without leaving scratches?
Always sand in the direction of the grain, progress through the grits in order without skipping steps, and finish with 180 to 220 grit sandpaper for a smooth surface.
Why does my cedar deck look blotchy after staining?
Blotchy stain is usually caused by leftover mill glaze, dust, or uneven sanding. Sand the deck thoroughly and evenly, clean off all dust, and consider a wood conditioner before applying stain again.
Should I sand cedar wet or dry?
Always sand cedar when it is completely dry. Sanding damp wood can cause the grain to raise once it dries, leaving a rough texture even after finishing.
What is the difference between semi-transparent and solid stain for cedar?
Semi-transparent stain lets the natural grain and color of the cedar show through while adding moisture and UV protection. Solid stain provides more coverage and a more uniform color, which is useful for hiding discoloration or wear.