Physical Address
304 North Cardinal St.
Dorchester Center, MA 02124
Physical Address
304 North Cardinal St.
Dorchester Center, MA 02124

Every woodworker eventually runs into the same frustrating problem. The main surfaces of a project sand down beautifully, but then you get to a corner, a groove, or a carved detail and your sander suddenly feels like the wrong tool for the job. Sanding tight spaces is one of those skills that separates a rough, amateur finish from a smooth, professional one, and it does not require expensive equipment to get right. This guide covers everything you need to know about sanding in tight places, from picking the right sandpaper to mastering the technique for corners, grooves, and small pieces that seem nearly impossible to reach.
If you have ever wondered how furniture restorers achieve that flawless finish even on the curviest chair legs or the tightest drawer joints, the answer usually comes down to patience and the right combination of tools. And if your project involves more than just tight spots, say you are working on a larger piece that needs both surface stripping and detail work, it is worth reading up on Sand Blasted Wood for Furniture and Wood Restoration, which covers a faster method for stripping old finishes off bigger surfaces before you move into the fine detail sanding covered here.
Sanding in tight spaces refers to smoothing or refinishing areas of a woodworking project that standard tools cannot easily access. This includes inside corners, narrow grooves, decorative carvings, and the small gaps between joined furniture parts. Unlike sanding a flat tabletop where a belt sander or orbital sander can glide freely, tight spaces require more careful, controlled movement, often relying on hand sanding, folded sandpaper, or specialized small tools.
The goal is the same as any sanding job: remove rough spots, old finish, or excess glue, and leave behind a smooth surface ready for stain or paint. The challenge is that power tools designed for open surfaces are usually too bulky or too aggressive for these hard-to-reach places, so woodworkers rely on a different set of tools and techniques suited to detail work.
Almost every woodworking project has at least a few spots that fall into this category, and knowing what to expect ahead of time makes the process much smoother.
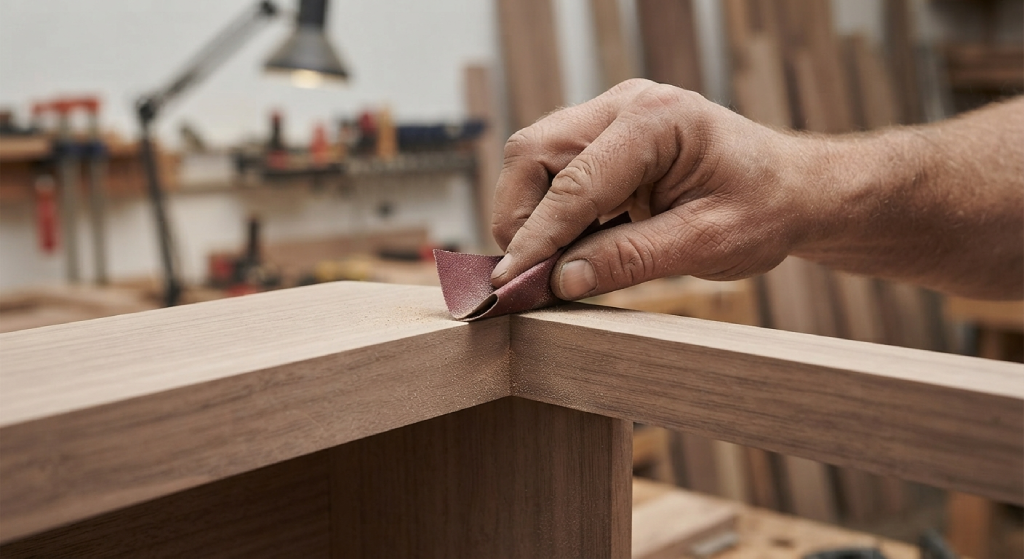
Inside corners, where two flat surfaces meet at an angle, are some of the trickiest spots to sand evenly. A flat sanding block or power sander cannot get into the actual point of the corner without gouging the surrounding wood, so these areas usually need a folded piece of sandpaper or a small detail tool worked in carefully by hand.
Grooves, whether decorative or functional like a drawer slide channel, are narrow enough that most sanding pads simply will not fit. These spots often call for a rolled or folded piece of sandpaper, a needle file, or a narrow sanding stick that can slide into the groove without touching the wood on either side.
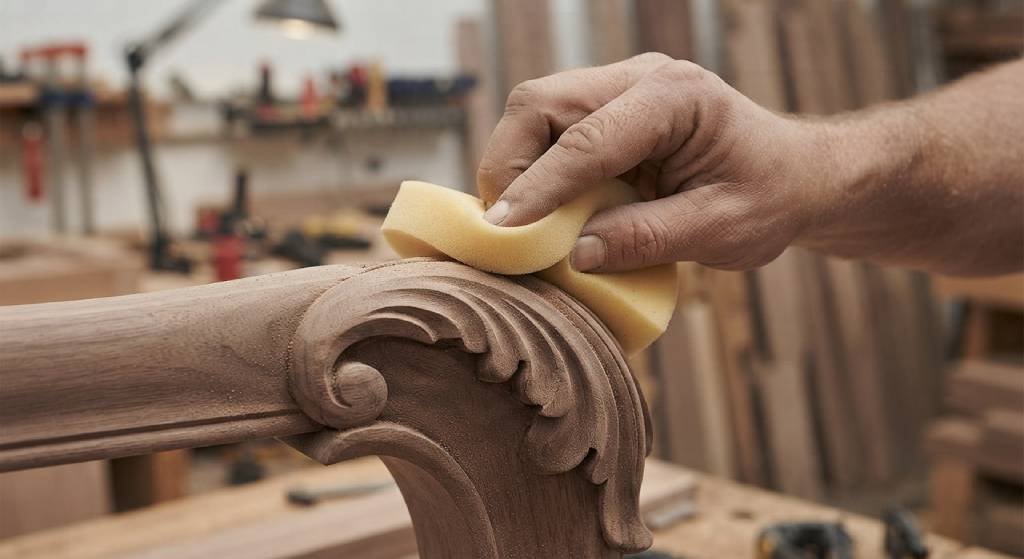
Carved trim, spindles, and curvy furniture legs add character to a piece, but they also create a maze of concave and triangular shapes that are hard to sand evenly. A sanding sponge that can bend around the contour, or a small rasp for stubborn spots, tends to work far better here than any flat tool.
Assembled furniture often has narrow gaps between joined pieces, like the space where a chair back meets the seat or where two panels are glued together. These spots require thin, flexible sanding strips that can slip into the gap without damaging the surrounding wood pieces.
Choosing the right sandpaper makes a real difference when you are working in tight spaces. Lower grit sandpaper, somewhere in the 80 to 120 range, works well for removing old finish or leveling rough wood, while higher grits between 180 and 320 are better suited for the final smoothing pass before stain or paint. For tight spaces specifically, flexible sandpaper that can fold or wrap around a small tool is far more useful than stiff sheets, since it conforms to curves and grooves instead of fighting against them.
Many woodworkers keep a variety of different grits on hand and simply tear or fold a full sheet of sandpaper into smaller pieces sized for the space they are working on. This approach is inexpensive and gives you full control over the shape and size of your sanding surface, which matters a lot when the space you are working in is only an inch or two wide.
While a simple piece of sandpaper folded by hand can handle a lot of tight spots, having a few dedicated tools on hand speeds up the work and gives more consistent results.
Sanding sponges are one of the most versatile tools for hard-to-reach places. Because they are soft and flexible, they bend around curves, contours, and rounded edges without losing contact with the wood. They also hold up well for repeated use and can be rinsed clean, making them a favorite among woodworkers tackling detailed furniture work.
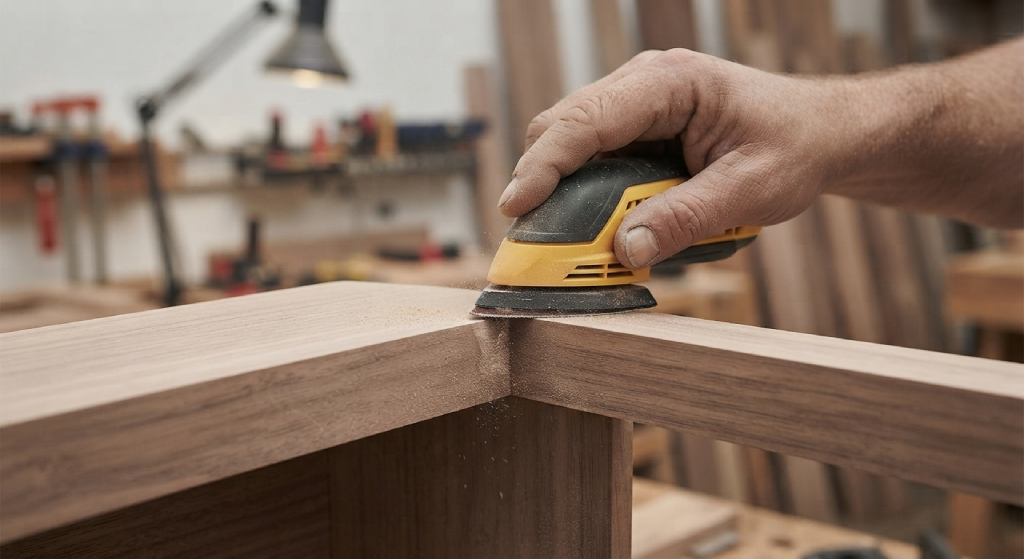
A detail sander, sometimes called a mouse sander because of its pointed shape, is a small power tool built specifically for corners and tight spots that a standard orbital sander cannot reach. It uses a triangular sanding pad that fits into corners far more precisely than a round pad, making it a useful addition for anyone doing frequent detail work.
Sanding blocks give hand sanding more control and even pressure across a small area. Some are flat for edges and flat inside corners, while others come with a curved or rounded profile designed to fit concave shapes like the inside of a bowl or a rounded trim piece.
Flexible sanding strips, sometimes sold as sanding cord or detail strips, are thin enough to slide into narrow grooves and gaps that no block or pad could ever reach. They work well for spindles, narrow channels, and the tight spaces between assembled furniture parts.
Getting a clean, even result in tight spaces comes down to following a consistent process rather than rushing in with whatever tool is closest.
Before sanding, take a close look at the area and clear away dust, old glue, or debris. A quick wipe with a dry cloth or a blast of compressed air helps you see the actual condition of the wood and avoid sanding grit or debris into the surface.
Match your sandpaper grit to the condition of the wood. Rougher, unfinished wood or areas with old paint usually need a lower grit to start, while wood that is already fairly smooth only needs a higher grit for a final pass. Using too coarse a grit on a nearly finished surface can create scratches that are hard to fix later.
Work in short, controlled strokes rather than long sweeping motions, since tight spaces do not give you much room for error. Keep pressure light and consistent, letting the sandpaper do the work rather than pressing hard, which helps avoid uneven spots or accidental gouges in the surrounding wood.
After your first pass, run a hand over the area to feel for rough spots or inconsistencies. Tight spaces often need a second or even third pass with progressively finer grit to get a truly smooth finish, especially in corners or grooves where it is easy to miss a small section on the first attempt.
Corners and grooves deserve their own closer look since they trip up even experienced woodworkers. For inside corners, folding a small piece of sandpaper into a sharp crease and working it directly into the point of the corner usually works better than any tool, since it lets you match the exact angle of the joint. For grooves, wrapping sandpaper around a thin dowel or a popsicle stick creates a makeshift sanding tool sized precisely to the width of the channel.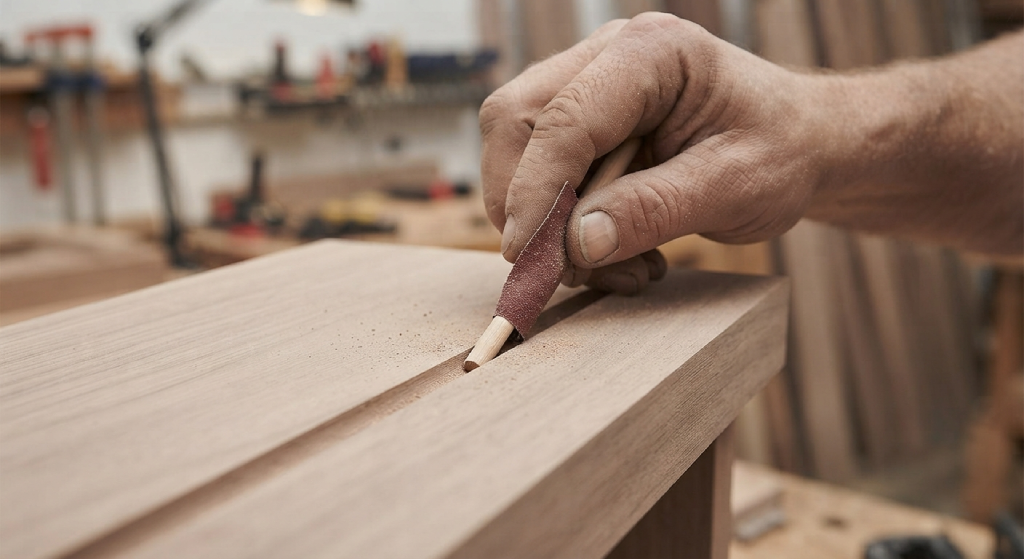
Patience matters more than speed in this kind of work. Rushing through a groove with too much pressure can widen it unevenly or leave visible flat spots, while slow, steady strokes with a properly sized tool keep the original shape intact while still smoothing out rough or splintered wood.
Once the sanding is done, tight spaces need a bit of extra attention before finishing. Use a small brush or a blast of compressed air to clear dust out of corners and grooves, since leftover sanding dust can create a gritty texture under paint or stain if it is not fully removed.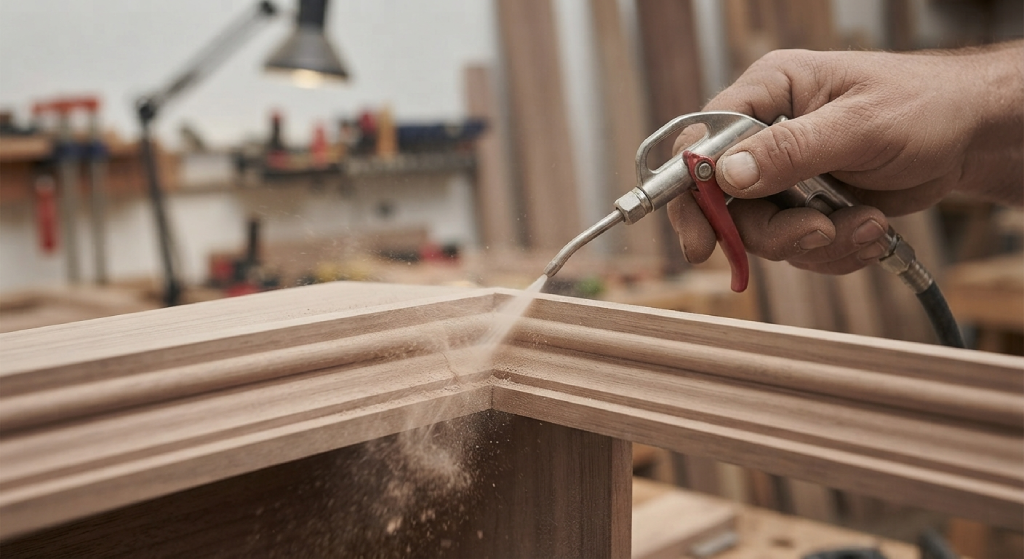 A tack cloth works well for wiping down the surface right before applying any finish.
When staining or painting tight areas, a small angled brush gives far more control than a standard brush, helping the finish settle evenly into corners and grooves without pooling or leaving streaks. Applying thin coats and letting each one dry fully is especially important in tight spaces, since these areas tend to trap excess product more easily than open, flat surfaces.
One of the most common mistakes is using a tool that is simply too big for the space, which leads to rounded corners that should be sharp or missed spots in narrow grooves. Choosing the right size sanding tool for the specific area, even if that means folding a piece of sandpaper by hand, almost always gives a cleaner result than forcing a bigger tool to fit.
Skipping grits is another frequent issue. Jumping from a coarse grit straight to a fine one without working through the middle grits can leave visible scratches that the finer paper cannot fully remove. Applying uneven pressure is a third common problem, especially in corners where it is tempting to press harder to compensate for limited tool contact. This often creates dips or thin spots in the wood. Finally, many DIYers skip a proper final inspection, moving on to finishing before checking every corner and groove by hand, which usually means discovering missed rough spots only after the stain or paint has already been applied.
Sanding tight spaces takes more patience than sanding a flat tabletop, but the payoff is a piece that looks finished and professional in every corner, not just the easy parts. With the right sandpaper, a few dedicated tools like sanding sponges and detail sanders, and a careful step by step approach, even the trickiest grooves and carved details are manageable. Take your time, work through the grits, and always give the surface one last check before moving on to paint or stain. Your finished project will thank you for the extra effort.
What is the best tool for sanding tight corners?
A detail sander with a triangular pad works well for power sanding, while a folded piece of sandpaper by hand often gives the most precise control for sharp inside corners.
Can I use an orbital sander in tight spaces?
Orbital sanders are usually too large and round to fit into narrow corners or grooves. They work best on flat, open surfaces, while tight spaces generally need hand sanding or smaller detail tools.
What grit sandpaper should I use for detail work?
Start with a lower grit around 100 to 120 if the wood is rough or has old finish, then move to 180 or higher for the final smoothing pass before staining or painting.
How do I sand curved or carved wood details?
A flexible sanding sponge that bends around contours works best for curved details, since it maintains contact with the wood even as the shape changes.
Why does my finish look rough even after sanding tight spaces?
This is often caused by leftover sanding dust trapped in corners or grooves. Clearing the area with compressed air or a tack cloth before applying finish usually solves the problem.
Is hand sanding better than power tools for tight spaces?
For most tight spaces, yes. Hand sanding offers more control and reduces the risk of gouging small or delicate areas that power tools can easily damage.
How do I sand narrow gaps between furniture parts?
Flexible sanding strips or sandpaper wrapped around a thin dowel work well for these narrow spaces, letting you reach in without disturbing the surrounding wood.