Physical Address
304 North Cardinal St.
Dorchester Center, MA 02124
Physical Address
304 North Cardinal St.
Dorchester Center, MA 02124

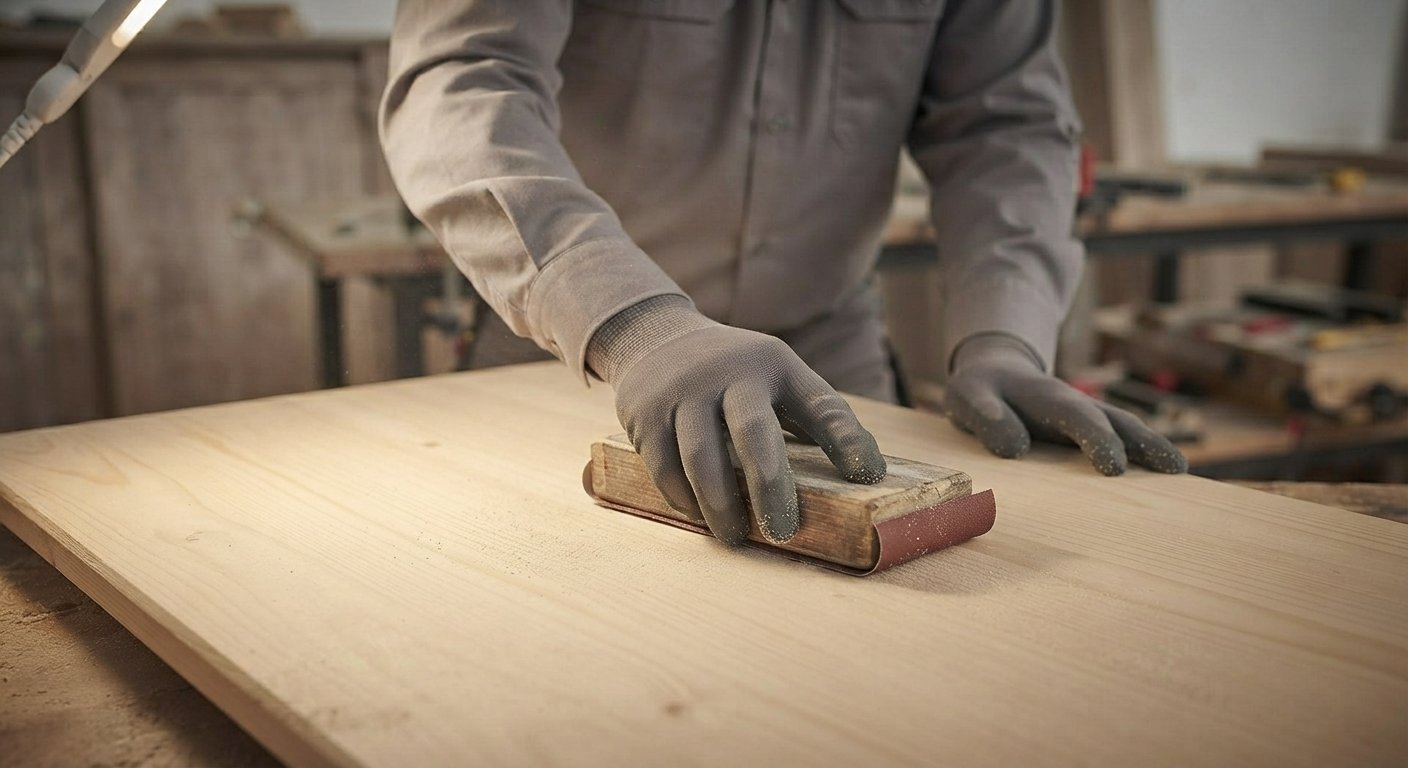
If you have ever run your hand across a pine board fresh from the lumber yard, you already know the problem. It feels rough, a little fuzzy in spots, and nowhere close to the smooth surface you picture in your finished project. Sanding pine wood the right way is what turns that rough board into something you would be proud to stain, paint, or leave bare. Pine is one of the most popular woods for furniture, shelving, and trim work because it is affordable and easy to find, but it also has a reputation for being tricky to sand well. Get it wrong and you end up with blotchy stain, fuzzy grain, or ugly scratch marks that show up the moment you apply a finish.
This guide walks you through everything you need to know about sanding pine, from picking the right sandpaper to avoiding the mistakes that ruin so many DIY projects. Along the way we will also touch on sandpaper for painted wood, since many pine projects end up under a coat of paint rather than stain. By the end, you will know exactly how to prep a pine surface so your finish looks clean, even, and professional.
Pine is not like oak, maple, or walnut. It behaves differently under sandpaper, and if you treat it the same way you would treat a hardwood, you are setting yourself up for disappointment. Understanding why pine needs a gentler, more thoughtful approach will save you a lot of frustration later.
Pine is a softwood, and that softness is both its biggest advantage and its biggest headache. Because the wood fibers are loosely packed, pine sands down quickly, which sounds great until you realize how easy it is to remove too much material in one spot. A few extra passes with a sanding block can leave a dip or an uneven patch that is nearly impossible to fix without sanding the entire board down further.
Pine also has a mix of hard and soft grain running through it. The darker growth rings are harder, while the lighter areas between them are softer. When you sand across this uneven density, the soft parts wear away faster than the hard parts, creating a wavy texture instead of a flat one. This is why pine often feels smooth to the touch but still looks slightly uneven under certain lighting, especially after staining.
Anyone who has worked with pine has probably run into at least one of these issues. The most common complaint is fuzzing, where tiny wood fibers stand up after sanding instead of cutting away cleanly. This happens because pine fibers are soft and tend to bend rather than break when the sandpaper passes over them, especially with worn or low quality paper.
Another frequent problem is blotchy staining. Pine absorbs stain unevenly because of its mix of hard and soft grain along with natural resin pockets. Some areas soak up far more color than others, leaving dark splotches next to lighter patches. This is not really a sanding mistake on its own, but poor sanding makes it worse, since rough or uneven surfaces absorb stain even more inconsistently.
Swirl marks and cross grain scratches are also common, usually caused by sanding against the grain or using a random orbital sander carelessly. These marks might be invisible on bare wood but become glaringly obvious once stain settles into the tiny grooves.
Picking the correct sandpaper grit is one of the most important decisions in the whole process. Too coarse and you will leave deep scratches that are hard to remove. Too fine and you will waste time trying to smooth out mill marks or old finish that needs real cutting power to remove.
For most pine projects, starting at 120 grit is a safe bet. If the board is rough, has visible mill marks, or you are stripping old paint, you might need to start at 80 or 100 grit to knock down the high spots quickly. Just be careful, because coarser grits remove material fast and pine does not forgive heavy handed sanding.
If you are working with sandpaper for painted wood, meaning you are prepping a pine surface that already has an old coat of paint on it, 100 grit is usually the sweet spot. It cuts through the paint layer without digging too deeply into the wood underneath. Once the old finish is gone and the surface feels mostly even, you can move up to a finer grit for the smoothing stages.
Once you have removed the rough texture and any old finish, work your way up through the grits in steps. Jumping from 100 grit straight to 220 grit skips too much and leaves scratches that the finer paper cannot fully erase. A good progression looks like 120, then 150, then 180, finishing around 220 grit for a surface that will take stain well.
If you plan to paint rather than stain, you can often stop at 180 grit, since paint hides minor texture that stain would highlight. Going beyond 220 grit on pine that will be stained is usually unnecessary and can actually cause problems, because oversanding makes the wood so smooth that it struggles to absorb stain evenly, leading to a washed out or patchy color.
Knowing the theory behind sanding pine is helpful, but the real value comes from following a clear process. Here is how to approach a typical pine sanding project from start to finish.
Before you even pick up a piece of sandpaper, inspect the board for staples, nails, or leftover glue. Sanding over metal fasteners ruins sandpaper instantly and can also damage your sander. If you are working with reclaimed pine or an older piece of furniture, take a few extra minutes to remove any hardware and wipe away dust or debris with a dry cloth.
It also helps to check the board under good lighting, ideally near a window or under a bright lamp angled across the surface. Raking light like this reveals dents, glue residue, and rough patches that are easy to miss under normal room lighting. Marking problem spots lightly in pencil before you start sanding keeps you from missing them later.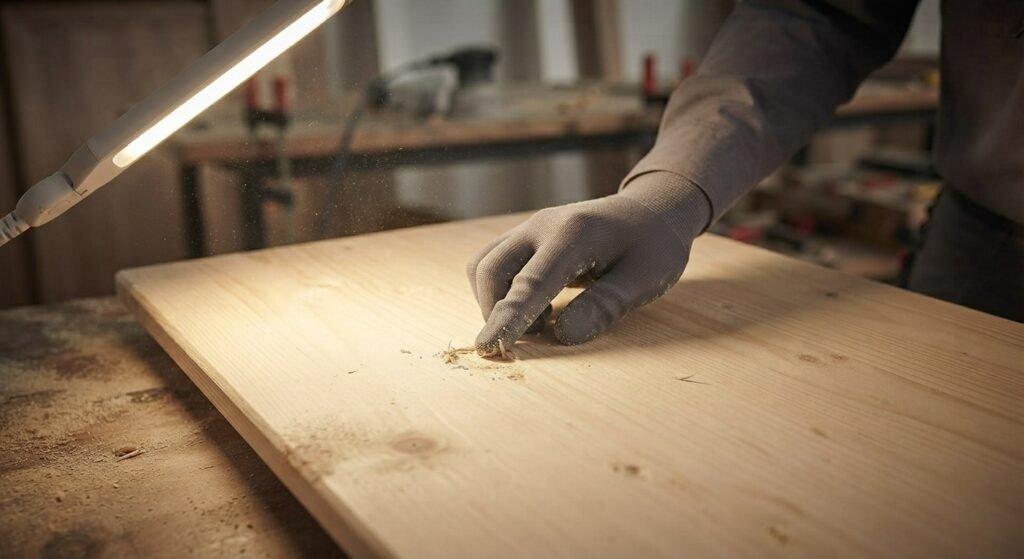
This is one of the simplest rules in woodworking, yet it gets ignored constantly. Pine grain runs in a clear, visible direction, and sanding across it instead of along it creates scratches that show up badly once stain or paint is applied. Always move your sandpaper, sanding block, or orbital sander in the same direction as the wood grain, not side to side or in circles.
If you are using a hand block, long even strokes work best. Short choppy movements tend to create uneven pressure, which on a soft wood like pine can leave slight ridges. Power sanders make this easier, but even then it helps to do a few final passes by hand along the grain to catch any swirl marks left behind by the machine.
Once you start sanding, resist the urge to skip steps. Each grit level is designed to remove the scratches left by the previous one. If you jump from 100 grit to 220 grit, the finer paper simply cannot remove the deeper scratches from the coarser grit, and they will still be visible once you apply a finish.
Between each grit change, wipe the surface down with a tack cloth or a slightly damp rag to remove dust. This lets you see the true surface condition and check for any spots you missed. It also prevents old grit particles from getting trapped under the next sheet of sandpaper, which can create random deep scratches you did not intend.
Scratches are the number one complaint people have after sanding pine, and most of them come down to a handful of preventable mistakes. First, always check that your sandpaper is clean and not clogged with old dust or resin, since clogged paper stops cutting evenly and starts gouging instead. Second, avoid pressing too hard. Pine is soft enough that the weight of the sander alone, or light hand pressure, is usually enough to do the job. Heavy pressure just digs grooves into the surface.
Cross grain scratches are especially sneaky because they can be invisible on raw wood but show up dramatically once stain is applied, since the stain settles into the tiny grooves and darkens them. To catch these before it is too late, wipe the sanded surface with a damp rag and let it dry. This raises the grain slightly and often reveals scratches you missed, giving you a chance to fix them with one more light pass before moving on to finishing.
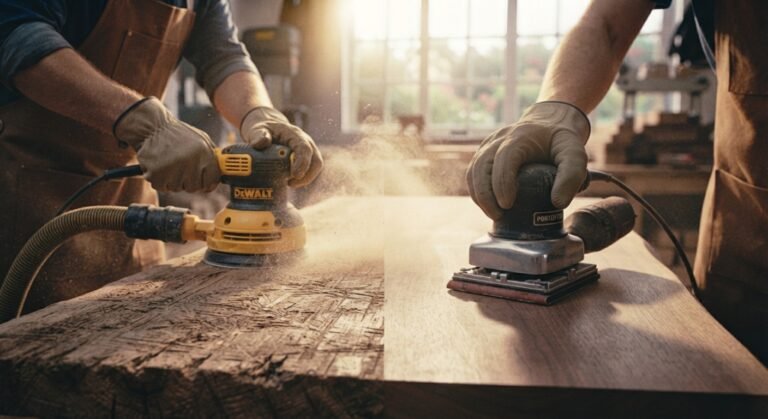
If you are using a random orbital sander, keep it moving constantly and avoid letting it sit in one spot, even for a second.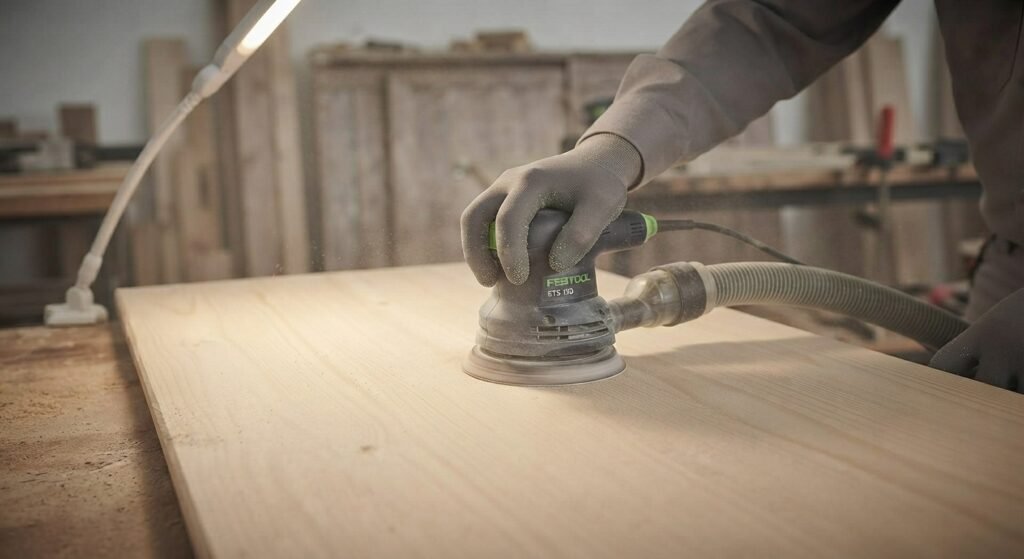 Stationary sanding is one of the fastest ways to create a dip or swirl mark in soft pine. Letting the sander glide smoothly across the surface, slightly overlapping each pass, produces a much more even result.
After all that sanding, the final step before finishing is making sure the surface is truly ready. Start by removing every trace of dust. A shop vacuum followed by a tack cloth works well, and some people also wipe the surface with a barely damp cloth to catch fine particles that dust alone leaves behind. Just let it dry fully before applying any finish.
For pine that will be stained, consider using a pre stain wood conditioner. Because pine absorbs stain unevenly, a conditioner helps even out the porosity of the wood so the color goes on more uniformly. Skipping this step is one of the main reasons people end up with blotchy, disappointing results even after careful sanding.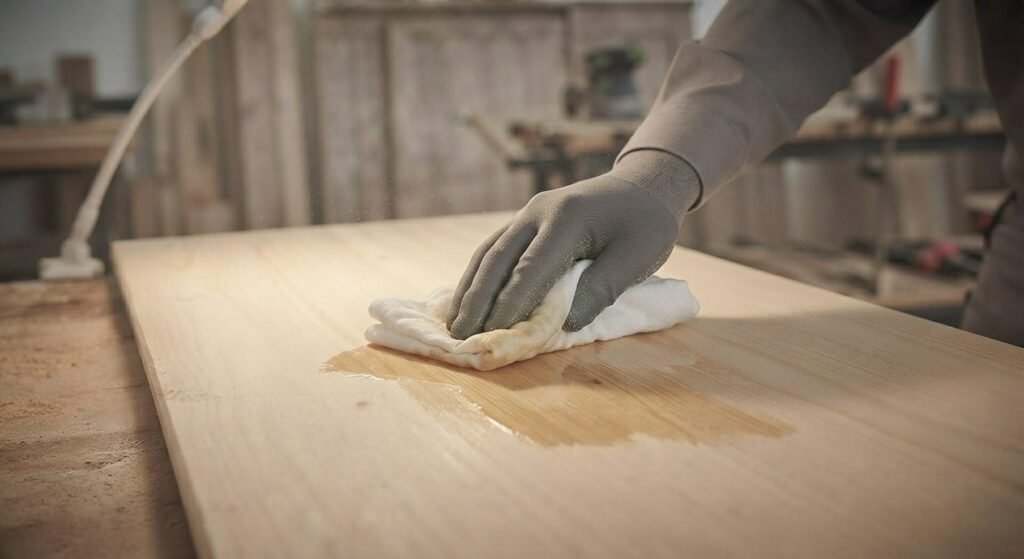
If your project is headed for paint instead, sandpaper for painted wood becomes relevant again at this stage too, since a light scuff sanding between primer and topcoat improves adhesion and gives a smoother final look. A fine grit, usually 220 or higher, is enough for this step since you are not removing material, just breaking the sheen slightly so the next coat bonds properly.
Even experienced woodworkers slip up on pine sometimes, since its soft nature punishes small mistakes more than hardwoods do. One of the biggest errors is using worn out sandpaper. Once sandpaper loses its cutting edge, it starts to burnish the wood instead of cutting it, which can actually seal the pores and make staining even more uneven.
Skipping grits is another common trap, especially when people are in a hurry to finish a project. Going from a coarse grit straight to a fine one leaves visible scratches that no amount of finishing sander work can hide later. Related to this is oversanding, which on pine is surprisingly easy to do. Because the wood is soft, a few extra passes can round over edges that were meant to stay crisp, or create shallow dips in flat panels that only become obvious once light hits the finished piece at an angle.
Ignoring the grain direction is a mistake that trips up beginners constantly, particularly on curved or detailed pieces where the grain direction is not always obvious. Taking a moment to trace the grain with your finger before sanding a tricky section saves a lot of rework later. Finally, many people rush the dust removal step, which seems minor but genuinely affects the final finish. Leftover dust trapped under a stain or paint coat creates a gritty texture that no amount of careful sanding beforehand can fix once the finish has dried.
Sanding pine wood well is really about patience and paying attention to small details rather than brute force. Start with the right grit for the condition of your board, always move with the grain, and take your time working through each grit level instead of rushing to the finish line. Remember that pine’s soft, uneven grain means it rewards a light touch far more than heavy pressure or aggressive sanding.
Whether you are prepping raw pine for a natural finish or getting a piece ready with sandpaper for painted wood, the steps are largely the same: clean prep, careful grain-matched sanding, thorough dust removal, and a little extra care at the finishing stage. Follow this process and you will end up with a pine project that looks smooth, even, and genuinely well made, the kind of result that makes all that sanding time feel worth it.
If you are about to start a pine project, take a few extra minutes before you even touch the sandpaper. Inspect the board, plan your grit progression, and set yourself up for a finish you will actually be happy with.
What grit sandpaper should I start with on rough pine? For most rough pine boards, 100 to 120 grit is a good starting point. If the wood has deep mill marks, old paint, or heavy damage, you may need to begin at 80 grit, but move up to a finer grit as soon as the surface starts to even out.
Why does pine look blotchy after staining even though I sanded it well? Pine has uneven grain density, with harder and softer areas absorbing stain at different rates. Even a perfectly sanded board can blotch because of this natural characteristic. Using a pre stain wood conditioner before applying stain helps reduce blotching significantly.
Can I use the same sandpaper for painted wood as I do for bare pine? You can use similar grits, but the approach differs slightly. When using sandpaper for painted wood, the goal is often to remove the old finish or scuff the surface for better adhesion, rather than smoothing raw grain. A 100 to 150 grit works well for removing old paint, while 220 grit is better for light scuffing between coats.
How many times should I sand pine before applying a finish? Typically three to four passes through increasing grits, such as 120, 150, 180, and 220, gives a smooth result ready for stain. If you are only painting, you can often stop at 180 grit since paint covers minor texture that stain would reveal.
Is it possible to oversand pine? Yes, and it happens more often than people expect. Pine is soft, so sanding beyond 220 grit for staining projects can close up the wood pores too much, making it harder for stain to absorb evenly. It can also round over edges or create shallow dips if you sand one area too long.
Do I need to sand pine before painting it? Yes, even new pine benefits from a light sanding before paint to remove mill marks and smooth the surface for better paint adhesion. If the pine already has an old coat of paint, sanding also helps the new coat bond properly and reduces the chance of peeling later.
What is the best way to remove sanding dust before finishing? A shop vacuum followed by a tack cloth is the most reliable method. Some people also lightly dampen a rag and wipe the surface to catch fine dust, though the wood should be allowed to dry completely before any finish is applied.