Physical Address
304 North Cardinal St.
Dorchester Center, MA 02124
Physical Address
304 North Cardinal St.
Dorchester Center, MA 02124

Picking the right sandpaper for painted wood can make or break your next painting project. Whether you are touching up an old dresser or prepping a full set of trim, the grit sandpaper you choose determines how smooth your final coat looks and how well the paint sticks. A lot of DIYers grab whatever sandpaper is sitting in the garage, sand for a few minutes, and wonder later why the paint peeled or looked patchy. The truth is that sanding before painting is not just a quick chore you rush through. It is the step that decides whether your paint job lasts two years or ten.
In this guide, we will walk through everything you need to know about choosing the right sandpaper, understanding sandpaper grit, and using the right sander for the job. We will also cover when Wood Sanding Belts make more sense than sheets, how primer interacts with your sanding work, and the common mistakes that ruin an otherwise good paint job. By the end, you will know exactly how to choose the right grit sandpaper for any painted wood project, and how to avoid leaving scratches that show up under your finish coat.
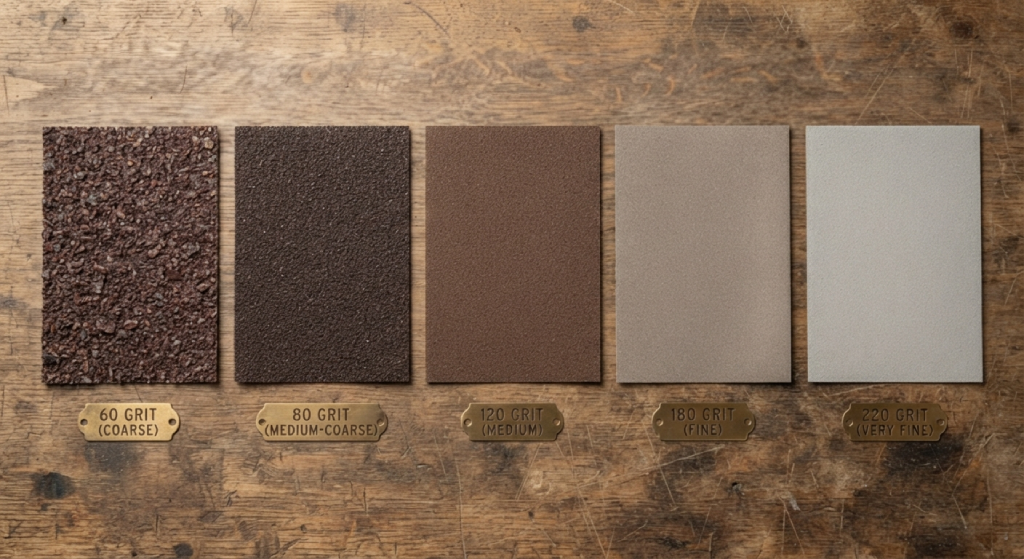
Sandpaper grit is basically a number that tells you how coarse or fine the abrasive particles are on the paper. A lower grit number means bigger, rougher particles that remove material quickly. A higher grit number means smaller, finer particles that smooth the surface without digging in. This numbering system is what a sandpaper grit chart shows, and it is the first thing you should understand before starting any painting project.
When you are working with previously painted surfaces, the sandpaper does two jobs at once. First, it knocks down any bumps, drips, or peeling old paint. Second, it dulls the glossy sheen of the current paint finish so the new coat of primer or paint has something to grip onto. Paint does not stick well to a shiny surface. That dull, slightly rough texture created by sanding is what gives the new coat real adhesion.
Coarser grit sandpaper, usually in the 60 to 100 range, is meant for aggressive material removal. Medium grit, somewhere around 120 to 150, bridges the gap between rough shaping and fine smoothing. Fine grit sandpaper, typically 180 and above, is for the final pass before you apply primer or paint. Knowing where each grit number fits in this range is the foundation of good surface preparation, and it applies whether you are sanding bare wood or an old finish that has already been painted a few times.
Not every painted surface needs the same level of sanding, but almost every surface benefits from some. If you are repainting a piece that already has a smooth, intact coat of paint, a light sanding with fine grit sandpaper is usually enough. This step, sometimes called scuff sanding, just dulls the surface so the new paint bonds properly without needing to strip anything.
If the old paint is chipped, peeling, or has visible imperfections like drips and brush marks, you will need a more thorough approach. Start with a medium grit to smooth out the flaws, then move to a finer grit to get an ultra-smooth finish before your primer goes on. This is especially true for furniture, cabinets, and trim where people run their hands over the surface and will notice every scratch or ridge.
One more situation worth mentioning: if the old paint contains lead, which is common in homes built before 1978, dry sanding is not safe. In that case, wet sanding or professional-grade abatement methods are the better route. Always check before you start heavy sanding on older painted wood.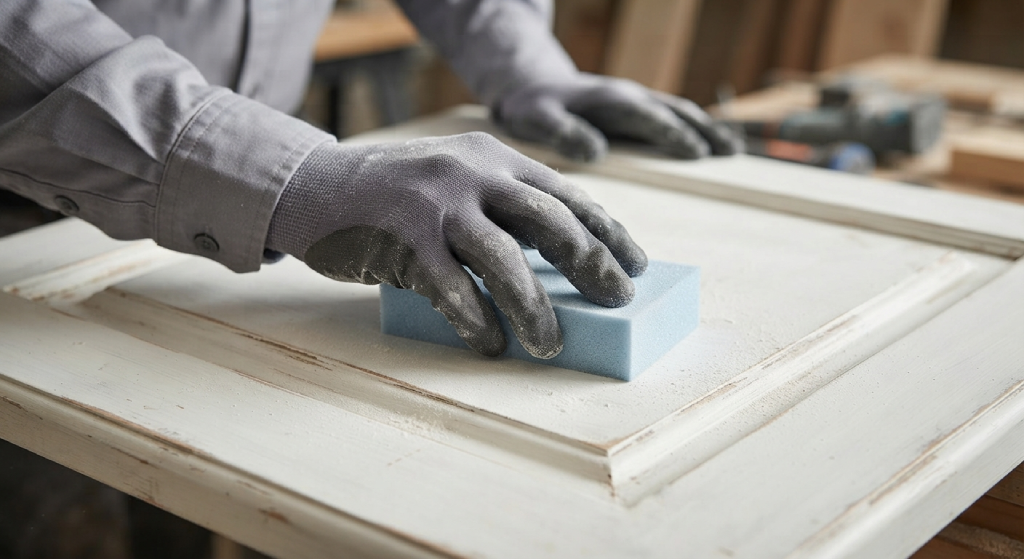
Choosing the right sandpaper comes down to matching the grit to the condition of the surface. If you jump straight to a fine grit on rough, uneven paint, you will be sanding forever and barely making progress. If you start with something too coarse on a nearly smooth surface, you risk leaving deep scratches that show through your finish coat, even after multiple layers of paint.
A good rule of thumb:
use the coarsest grit that gets the job done without gouging the wood, then work your way up through medium to fine grits in steps. Skipping grits, like jumping from 60 straight to 220, tends to leave visible scratches because the finer paper cannot remove the marks left by the coarser one. Each step should remove the scratch pattern from the step before it.
Ways To avoid swirl marks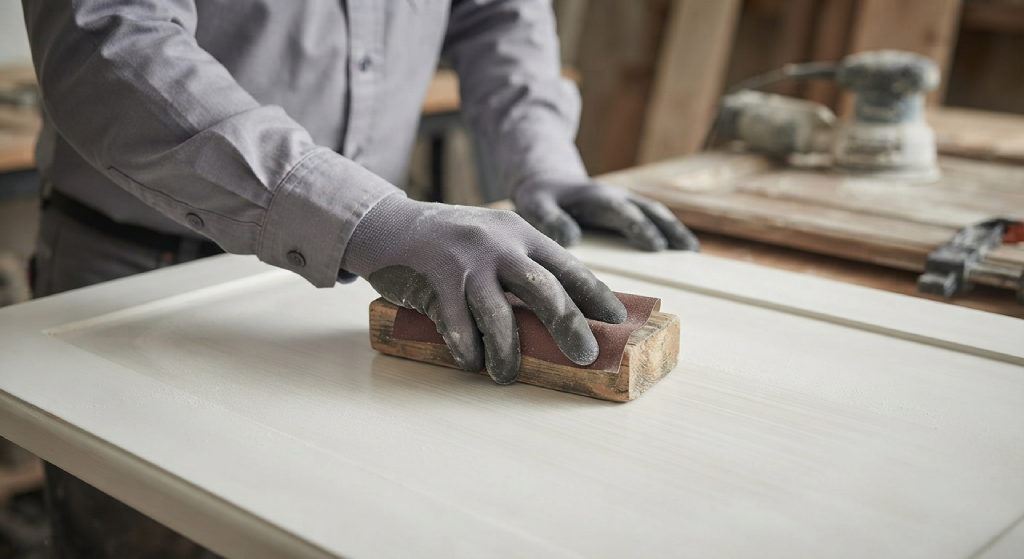
When using a power sander, keep the tool moving at a steady pace and avoid pressing down too hard. Let the sandpaper grit do the work. Pressing hard does not speed things up, it just wears out your paper faster and increases the chance of gouging the surface. A sanding block also helps here, since it spreads pressure evenly across the paper and keeps your hand sanding consistent, especially on flat panels like doors and tabletops.
Another tip for avoiding scratches is to always sand with the grain of the wood when you are down to bare wood, not sanding in circles or at random angles. On painted surfaces where the wood grain is not visible, this matters less, but keeping your strokes consistent in one direction still gives a cleaner result than random scrubbing.
Different projects call for different grits, and understanding the three main categories, coarse, medium, and fine, will help you pick the right sandpaper every time.
Coarse grit sandpaper, in the 60 to 100 range, is your go-to for heavy material removal. This is what you reach for when stripping old paint or varnish, smoothing out major drips, or leveling a surface that has years of buildup. Coarse paper cuts fast, but it also leaves noticeable scratch marks, so it should never be your last step before priming. Think of coarse grit as the demolition phase of your sanding process, useful but rough, and always followed by finer grits to clean up after it.
Medium grit sandpaper, generally 100 to 150 grit, is the workhorse for most repainting projects. It is fine enough to avoid gouging the wood but coarse enough to smooth out imperfections left behind by the coarse grit or minor flaws in the old paint. Many painters use 120 grit as their default medium option because it strikes a good balance between speed and control. This is also the grit range best suited for prepping previously painted surfaces that are in decent shape but just need a light once-over before a new coat of primer.
Fine grit sandpaper, usually 180 grit and up, is reserved for the final sanding before you apply primer or paint. This grit smooths out any remaining marks from the medium grit stage and creates the dull, slightly textured surface that paint adheres to best. Many pros consider 180 grit the sweet spot for final sanding on painted wood because it is fine enough to avoid visible scratches under the paint but still rough enough to give primer something to hold onto. If you are working between coats of paint, a fine grit like 220 is often used for that light sanding step as well.
The grit number is not just a technical detail, it directly affects the quality of your finished project. Using the wrong grit sandpaper at the wrong stage is one of the most common reasons DIY paint jobs look rough or start peeling within months.
Sandpaper grit determines how much material is removed and how smooth the surface ends up. Coarser grit removes more material per pass, which is useful for stripping and shaping, but it also creates a rougher surface profile that needs to be smoothed out afterward. Finer grit removes very little material but leaves behind a much smoother surface, ideal for the step right before painting.
There is also a connection between grit and paint adhesion that many people overlook. A surface that is too smooth, like one sanded straight to 400 grit, can actually make it harder for paint to stick because there is no texture for the paint to grip. That is why most painting projects stop at around 180 to 220 grit rather than going finer. This range gives you a smooth surface that still has enough tooth for the primer or paint to bond properly.
Before any sanding begins, wipe down the painted wood to remove dust, grease, and grime. A mix of mild soap and water usually works fine, followed by a clean, dry cloth. Once the surface is dry, inspect it closely under good lighting. Look for peeling paint, cracks, dents, or any areas where the old finish is lifting. This inspection tells you where you need heavier sanding and where a light pass will be enough.
Start with the appropriate grit based on your inspection. Rough or damaged areas might need a coarser grit first, while mostly smooth surfaces can go straight to medium grit. Work in small sections, using a sanding block for flat areas and your hand for curves or detailed trim. Move up through the grits in order, coarse to medium to fine, checking your progress with your fingers between passes. The surface should feel smooth and slightly dull, not glossy, by the time you finish with fine grit sandpaper.
Once sanding is done, dust removal is just as important as the sanding itself. Any leftover dust on the surface will get trapped under your primer or paint, creating a gritty, uneven finish. Use a vacuum with a brush attachment first to pull dust out of corners and grooves, then follow up with a tack cloth to grab any fine particles left behind. Some people also wipe the surface with a slightly damp cloth, but make sure the wood is fully dry before moving on to primer or paint.
Hand sanding gives you the most control, which makes it the better choice for detailed work, small projects, and areas where a power sander might do too much too fast. Wrapping sandpaper around a sanding block keeps your pressure even and prevents the paper from bending into an uneven surface. Hand sanding is slower, but for chair spindles, carved details, or small furniture pieces, that slower pace often means a cleaner result with fewer mistakes.
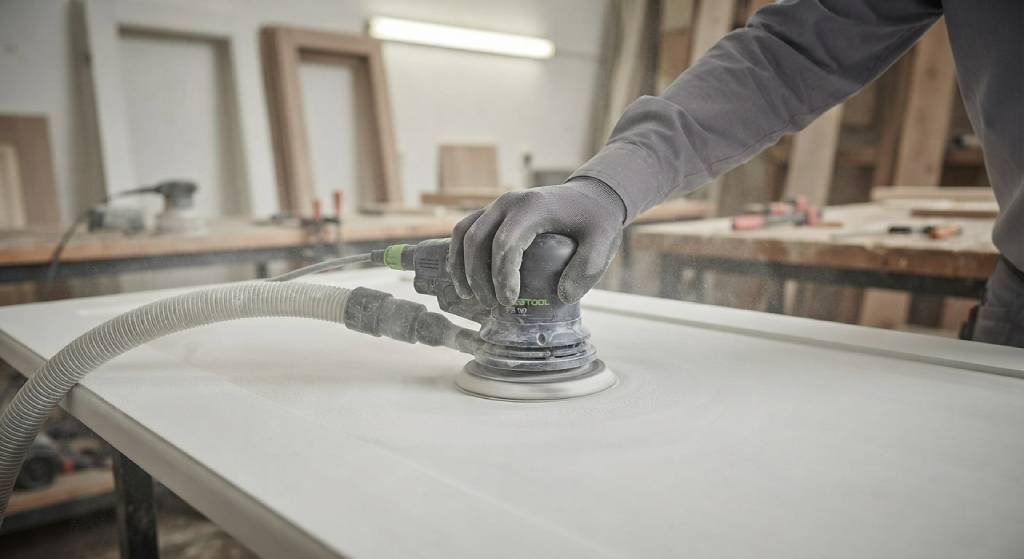
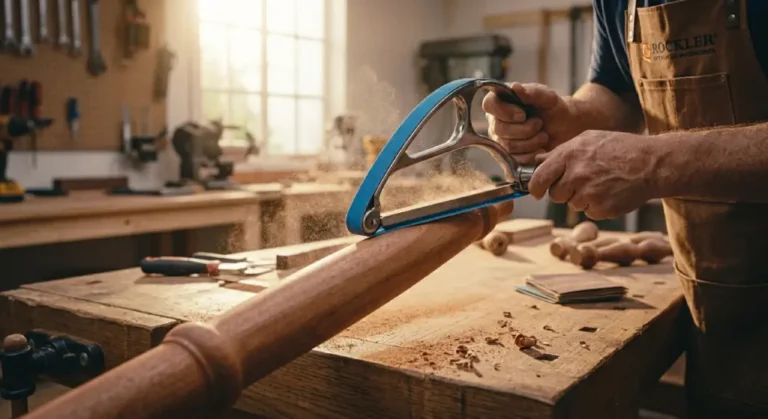
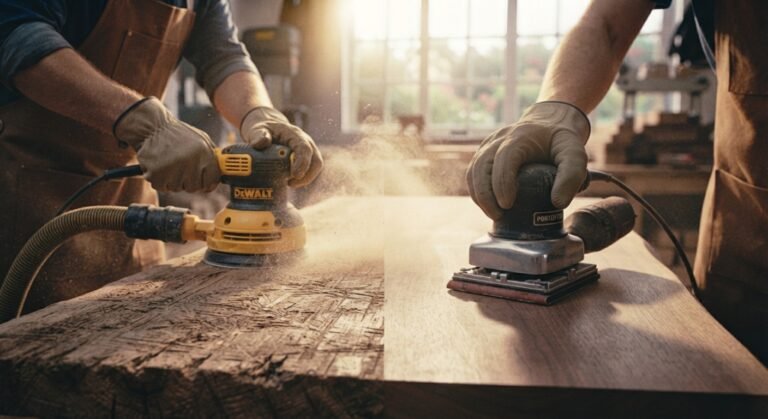
Power sanders, especially random orbital sanders, are the better option when you are covering large flat surfaces like doors, tabletops, or wide trim boards. They remove material much faster than hand sanding and produce a more consistent finish across a big area. Detail sanders are useful for corners and tight spots, while belt sanders are best reserved for heavy stripping jobs since they remove material quickly and can gouge the wood if you are not careful. For long, flat runs like fence boards or wood siding, Wood Sanding Belts on a belt sander can save hours compared to sanding by hand.
The choice between hand and power sanding really comes down to the size of the project and how much control you need. Power sanders are faster and better for large, flat surfaces where speed matters. Hand sanding gives better control on detailed areas, curves, and smaller pieces where a power sander could remove too much material or leave swirl marks. Many painters actually use both in the same project, a power sander for the big flat panels and hand sanding for the trim, edges, and corners.
Corners, carved details, and uneven surfaces are where most sanding mistakes happen, mainly because standard flat sandpaper and bulky power sanders do not fit well into tight spaces. For these areas, folded sandpaper or a small sanding sponge works better than a full sheet, since you can shape it to match the contour you are working on.
Detail sanders with pointed or triangular pads are built for corners and edges that a random orbital sander cannot reach. When hand sanding tight spots, wrapping sandpaper around a dowel, pencil, or even your finger can help you get into grooves without flattening out the detail. Take your time in these areas, since rushing through corners is one of the fastest ways to leave visible scratches or miss spots that show up clearly once primer goes on.
Even experienced DIYers fall into a few common traps when sanding painted wood. Skipping grits is one of the biggest issues, since jumping from coarse to fine leaves scratch marks that the finer paper simply cannot remove. Over-sanding is another common mistake, where too much material is removed and the wood grain becomes uneven or thin spots appear in veneer surfaces.
Using a clogged sandpaper is another mistake that slows down progress and damages the surface. Old paint and varnish gum up sandpaper quickly, so switching to a fresh sheet often saves more time than trying to push through with a worn-out one. Skipping the dust removal step is also a common oversight, and it almost always results in a gritty, uneven finish coat that has to be sanded down and redone.
Finally, many people forget to lightly sand between coats of paint. This light sanding step, usually with a fine grit around 220, knocks down any dust nibs or brush marks between layers and gives you a much smoother final finish. Skipping it is one of the easiest ways to end up with a paint job that looks fine up close but rough under direct light.
A few extra sanding tips can make a real difference in your final results. Always test your sandpaper grit on a small, hidden area first if you are unsure how the surface will react. Change sandpaper sheets often, since a worn or clogged sheet will not cut evenly and can leave streaks or uneven texture. Keep a shop vacuum nearby to clean up as you go, rather than waiting until the whole project is sanded.
If you are working outdoors or in a garage, wear a dust mask and safety glasses, especially when sanding old paint that might contain lead. Good lighting is also worth setting up before you start, since it is much easier to spot missed areas and imperfections under bright, direct light than in dim conditions. And when in doubt about which grit to use, start with the finer option, you can always go coarser if needed, but it is harder to fix a surface that has already been over-sanded.
Getting a smooth, long-lasting paint finish on wood really comes down to the prep work, and sanding is at the center of that prep. Choosing the right grit sandpaper for each stage, working from coarse to fine, cleaning up dust properly, and picking the right sander for the job all add up to a paint job that looks professional and holds up over time. Whether you are hand sanding a small side table or running Wood Sanding Belts across a set of exterior doors, the same basic principles apply: match your grit to the condition of the surface, work in stages, and never skip the dust removal step before primer goes on.
Take your time with this part of the project. It might feel like the least exciting step compared to actually painting, but it is the one that determines whether your work looks good for years or starts peeling within months. Grab the right sandpaper grit chart, pick your tools, and give your next painting project the surface prep it deserves.
What grit sandpaper should I use before painting wood? For most painting projects, 120 to 150 grit works well for the initial pass, followed by 180 to 220 grit for the final smoothing before primer. This combination removes imperfections without leaving the surface so smooth that paint struggles to stick.
Do I need to sand painted wood before repainting it? Yes, in most cases. Even if the old paint looks smooth, a light sanding with fine grit sandpaper dulls the glossy surface and helps the new coat of paint or primer bond properly.
Can I skip sanding if I use a good primer? Primer helps with adhesion, but it works best on a properly prepped surface. Skipping sanding entirely, especially on glossy or damaged paint, increases the risk of peeling later, even with a quality primer.
What happens if I use the wrong grit sandpaper? Using too coarse a grit can leave deep scratches that show through your paint. Using too fine a grit on a rough surface wastes time and may not smooth out imperfections effectively. Matching the grit to the surface condition is key.
How do I know when my sandpaper is clogged? If the paper stops cutting effectively, feels smooth instead of gritty, or starts leaving dust streaks rather than removing material, it is likely clogged. This happens often with old paint or varnish and usually means it is time for a fresh sheet.
Is hand sanding or power sanding better for furniture? It depends on the piece. Power sanders work well on large flat surfaces like tabletops, while hand sanding gives better control for detailed areas, curves, and smaller furniture pieces where precision matters more than speed.
Should I sand between coats of paint? Yes, a light sanding with a fine grit, around 220, between coats helps smooth out any dust nibs or brush marks and gives you a much smoother final finish once the last coat is applied.