Physical Address
304 North Cardinal St.
Dorchester Center, MA 02124
Physical Address
304 North Cardinal St.
Dorchester Center, MA 02124

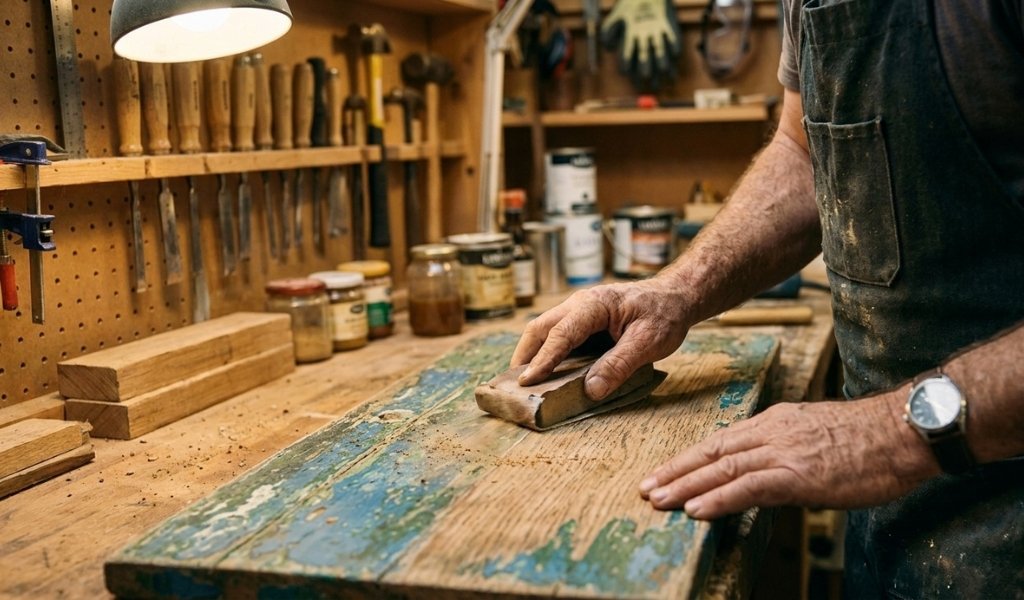
Removing paint from wood is one of those DIY tasks that looks simple on the surface until you’re elbow-deep in dust, clogged sandpaper, and a surface that looks worse than when you started. Whether you’re refinishing an old dresser, restoring beautiful wood trim, or stripping layers of paint from hardwood floors, the process demands the right tools, the right grit sequence, and a clear understanding of what you’re working with.
Sanding is one of the most reliable methods for paint removal but “reliable” doesn’t mean forgiving. Applied incorrectly, abrasives can gouge the wood, raise the grain unevenly, or embed paint residue deeper into the surface. Applied correctly, sanding strips paint cleanly, levels the surface, and prepares the wood for whatever finish comes next whether that’s a fresh coat of paint, stain, or polyurethane.
This guide covers everything from tool selection and grit progression to lead paint safety and sandpaper maintenance. By the end, you’ll have a practical, step-by-step framework for removing paint from wood without damaging the substrate beneath.
Not every paint removal job calls for the same approach. Before picking up an orbital sander or reaching for a chemical stripper, it’s worth understanding what sanding actually does to paint and when it’s the right tool for the job.
Sanding excels at paint removal when you’re working with flat or gently contoured surfaces where a random orbital sander or hand block can maintain consistent contact. It’s particularly effective for hardwood floors, flat panels, tabletops, dressers, and exterior wood siding surfaces where controlled, progressive abrasion can cut through coat after coat of old paint without losing contact.
Sanding is also the preferred method when you plan to refinish the wood with a stain or clear finish afterward. Unlike chemical strippers, which can raise the grain aggressively and leave residue in the wood’s pores, sanding opens the grain cleanly and leaves the surface ready for whatever final coat you’re applying.
That said, sanding has real limitations. On intricate molding, carved woodwork, or tight grooves, a flat sanding block simply can’t maintain contact with the surface geometry. In those cases, chemical strippers or detail scrapers often do less damage to the surrounding wood.
Each paint removal method has a different risk profile and a different set of ideal applications.
Sanding generates fine dust including potentially hazardous particles if the paint contains lead but leaves the wood surface mechanically clean and ready for finishing. It’s slower than chemical methods on thick, multi-layer buildup, but it gives you precise control over how much material you remove.
Chemical stripping using products like Citristrip softens and lifts paint without the abrasive risk of gouging the wood. It’s particularly effective on oil-based paints and varnish and paint combinations on intricate woodwork. The downside: chemical residue must be fully neutralized before finishing, and disposal of used stripper is subject to local hazardous waste regulations.
Heat guns soften paint quickly and allow you to scrape thick layers away with a putty knife or scraper, which reduces the total sanding time. The risk lies in scorching the wood beneath, especially on thin veneers or softwoods. Heat guns also volatilize lead paint fumes rather than containing them, which makes them unsuitable for any surface with suspected lead content.
For most flat wood surfaces with multiple coats of old paint, a combination approach works best: heat or chemical stripping to remove the bulk of the material, followed by sanding to clean up the surface and restore the wood grain.
Choosing the right sandpaper grit and the right sander for the job isn’t guesswork; each variable affects how efficiently you remove paint, how much risk you introduce, and how much cleanup work you create downstream.
Paint removal follows a grit progression from aggressive to refined. Starting too fine means slow going and rapid clogging; starting too coarse on delicate wood means gouges that take hours to sand out.
Never jump directly from coarse to fine grit. Each stage removes the scratch pattern left by the previous one. Skip a step and those deeper scratches survive under the finish, where they’ll be impossible to ignore.
The right sander depends entirely on the surface geometry and the volume of paint you’re removing.
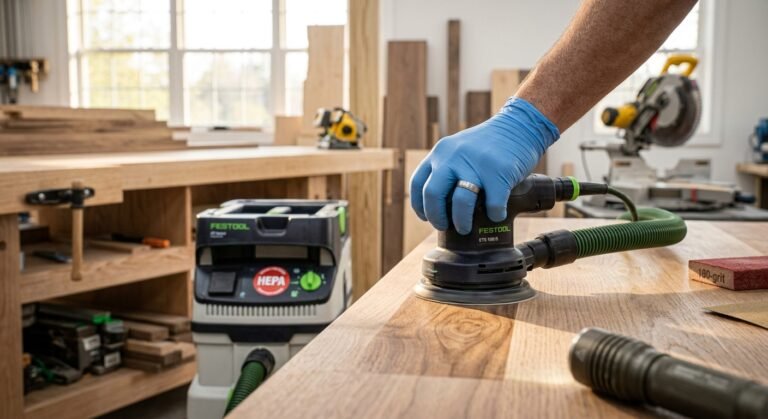
Random orbital sanders are the most versatile tool for sanding paint off flat wood surfaces. The elliptical disc motion minimizes directional scratches and accepts hook-and-loop sandpaper discs across all grit ranges. For floors, furniture panels, and door faces, a random orbital sander with dust extraction is the most efficient option.
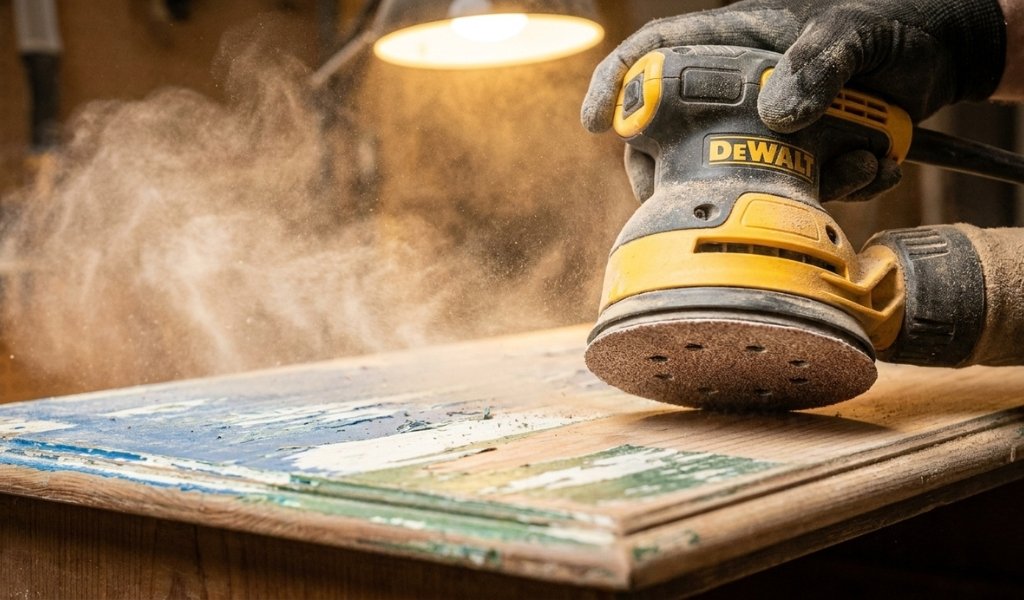
Hand sanding blocks are essential for edges, corners, and areas where a power sander would remove material unevenly. Wrapping sandpaper around a firm block distributes pressure across the full sheet, preventing the fingertip-pressure dips that leave high and low spots on the surface.
Sanding sponges conform to curved and contoured surfaces useful for removing paint from molding profiles, rounded legs, and other non-flat woodwork where a rigid block loses contact. They work best with medium and fine grits once the bulk of the paint has already been removed.
For heavy paint buildup on large surfaces like floors, a belt sander or an angle grinder fitted with a sanding disc or flap disc can remove material significantly faster but both require a steady, controlled hand. Tilting either tool concentrates abrasive pressure on one edge and can gouge the wood irreversibly.
Paint dust is a genuine health hazard and in older homes, it may be more than just an irritant.
Lead paint awareness: Any home built before 1978 may contain lead-based paint. Sanding lead paint generates fine particles that are invisible to the naked eye and can cause serious neurological damage, particularly in children. Before sanding any surface in an older home, use a lead paint test kit available at most hardware stores. If lead is present, follow EPA Renovation, Repair, and Painting (RRP) guidelines or hire a certified lead abatement contractor.
Respirators: At minimum, wear an N95 respirator rated for fine particulates.
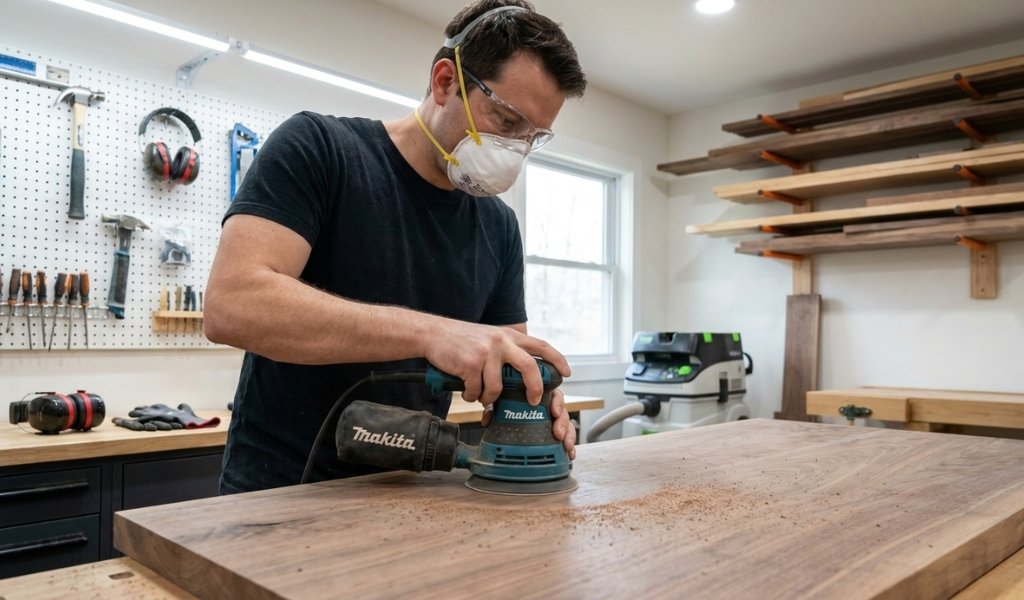
For lead paint or extended sanding sessions, a half-face respirator with P100 cartridges provides a significantly higher level of protection than a basic dust mask.
HEPA dust extraction: Connect your sander to a shop vacuum fitted with a HEPA filter, or use a dedicated dust collector with fine-particle filtration. HEPA-rated systems capture particles down to 0.3 microns the size range that standard vacuum filters allow to pass straight through. Keeping dust captured at the source is far more effective than trying to clean it up after it’s dispersed through your workspace.
Wear nitrile gloves to prevent skin contact with paint dust and any chemical residues, and safety glasses to protect your eyes from airborne paint chips and debris.
With the right tools assembled and safety measures in place, here’s how to work through the paint removal process systematically without damaging the wood beneath.
Before the first sheet of sandpaper touches the wood, take time to prepare the surface properly. Remove any hardware, hinges, handles, or fixtures. If you’re working on furniture like a dresser, remove the drawers and work each piece separately.
Wipe the surface down with a damp cloth to remove loose dirt, dust, and debris. Dried grime and grit act like additional abrasive particles and will clog your sandpaper faster and scratch the wood more aggressively than the sandpaper itself.
Inspect the surface carefully. Look for raised paint chips, bubbling, or areas where the paint is already peeling away these sections can often be lifted with a putty knife or scraper before sanding begins, which reduces the total abrasive work required. If the paint is thick and brittle, lightly scoring the surface with a scraper removes the top layer and gives the coarse sandpaper cleaner contact.
Test for lead paint if the surface was painted before 1978. If the test is positive, shift your approach accordingly before proceeding.
Load your random orbital sander with 40- or 60-grit sandpaper, depending on how many layers of paint you’re working through. Thicker, multi-coat paint buildup particularly on shabby or heavily weathered pieces warrants starting at 36- or 40-grit. Lighter paint coverage may cut efficiently enough at 60-grit without the deeper scratch pattern.
Keep the sander moving at a consistent pace across the surface. Never hold the sander stationary stopping in one spot while the disc spins concentrates abrasive pressure and digs a visible depression into the surface. Maintain the pad fully flat against the wood; tilting introduces uneven contact and can gouge the wood along one edge of the disc.
Work in overlapping passes that cover the full surface area evenly. Continue until the paint has been removed from the majority of the surface and you can see bare wood beginning to emerge. Some residue in low spots or grain lines is normal at this stage and will be addressed in subsequent passes.
Vacuum the surface thoroughly between grits. Fine dust and paint particles left on the surface will clog the next sheet of sandpaper faster and reduce its cutting efficiency.
Switch to 80-grit sandpaper and work the entire surface again with the same overlapping, consistent-pace technique. The goal at this stage is to remove the deep scratches left by the coarse grit while continuing to lift any remaining paint residue from the grain and any low spots you didn’t fully clear in the first pass.
After 80-grit, move to 100- or 120-grit. By this point, the surface should be substantially free of paint, with only isolated traces remaining in deeper grain lines. Medium grit removes these residual traces while leveling the surface for fine sanding.
Draw a light pencil line across the surface before each grit stage. Once the line is fully sanded away, you’ve achieved even coverage at that grit and can move to the next stage confidently.
Progress through 150-grit, then 180-grit, and finish at 220-grit. These final stages aren’t removing paint, they’re refining the wood surface itself, closing the grain, and bringing back the original wood tones and texture that were buried under the old finish.
At 220-grit, the bare wood should feel genuinely smooth under your hand. Run your palm across the surface with moderate pressure any remaining rough patches, ridges, or sandpaper marks will be immediately apparent. Under raking light (a light source held at a low angle to the surface), you should see a uniformly smooth surface with no visible scratching.
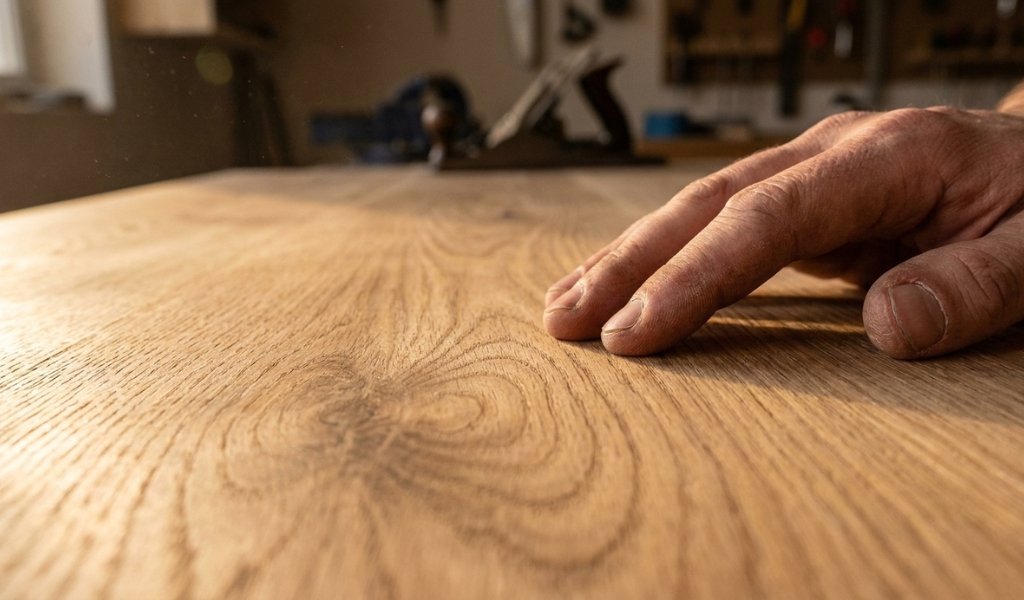
Once sanding is complete, wipe the surface down with a tack cloth or slightly damp microfiber cloth to remove all dust before applying any stain, primer, or topcoat. Even dust that’s invisible to the naked eye will embed itself in the first coat of finish and compromise the final result.
The difference between a restored surface and a damaged one often comes down to technique details that are easy to overlook.
The single most common cause of surface damage during paint removal is inconsistent pressure. Pressing too hard concentrates abrasive force on a small area, which cuts faster than the surrounding surface and creates a depression that becomes visible under finish. Apply moderate, even pressure and let the sander’s weight and the abrasive do the work.
On softwoods like pine, be careful not to gouge the wood with coarse grits softwoods compress easily and show even minor surface irregularities clearly under paint or stain. Consider starting at 60-grit rather than 36-grit on softwood surfaces and taking more passes rather than applying more pressure.
When sanding near edges, reduce pressure slightly as you approach the edge to avoid rounding it unevenly. A sharp, crisp edge requires hand sanding with a block and careful, controlled strokes rather than aggressive power sanding.
Avoid sanding across the grain at any stage, particularly with coarse grits. Cross-grain scratches are deeply visible under any finish and require significant additional sanding to remove.
Paint particularly oil-based paint and older paint with high resin content loads sandpaper much faster than bare wood. A clogged disc doesn’t cut; it burnishes the surface, generating heat and smearing paint residue rather than removing it.
Watch for the sandpaper surface becoming shiny or gummy. This is the visual indicator that the abrasive particles are packed with paint and no longer cutting effectively. Replacing the disc at this point is more efficient than continuing with degraded abrasive.
To extend sandpaper life, use a rubber cleaning stick (sometimes called a sandpaper cleaning block or crepe rubber block) to dislodge packed particles from the disc between passes. Running the cleaning stick lightly across the spinning disc restores some cutting efficiency and can meaningfully extend the usable life of each sheet.
HEPA dust extraction connected directly to your sander removes paint particles from the cutting zone in real time, which is the most effective way to reduce clogging. A sander operating without dust extraction will clog its disc significantly faster than one connected to a vacuum system.
If you’re sanding paint that appears waxy or unusually resistant to abrasion, it may contain wax or a silicone-based additive. Clean the surface with mineral spirits before sanding to dissolve the surface layer and improve abrasive contact.
The fastest approach combines mechanical pre-stripping with targeted sanding. Use a heat gun or a product like Citristrip to soften and lift the bulk of the paint, then follow with a random orbital sander starting at 40- or 60-grit to remove residue and level the surface. This significantly reduces the total time spent at coarse grits compared to sanding alone.
Sanding will remove paint from flat and gently curved surfaces effectively, but it struggles with deep grain lines, intricate carving, and tight grooves where the abrasive can’t maintain consistent contact. In these areas, a chemical paint stripper or a detail scraper is more effective for removing the remaining paint without damaging the surrounding wood.
It depends on the surface geometry and the finish you’re applying afterward. Sanding is preferable for flat surfaces where you want a mechanically clean substrate ready for staining or finishing. It removes paint and prepares the wood in a single process. Chemical stripping is better for intricate woodwork, and it’s also the safer option on surfaces with suspected lead paint, since it avoids generating fine airborne particles. For most flat wood surfaces, a combination of both methods produces the best results.
Connect your sander to a HEPA-rated vacuum for continuous dust extraction during sanding. Use a rubber crepe cleaning block periodically to dislodge packed particles from the sandpaper disc. Replace discs as soon as they show signs of glazing or reduced cutting efficiency. On particularly resinous or waxy paint, wipe the surface with mineral spirits before sanding to reduce the amount of material that loads the abrasive prematurely.