Physical Address
304 North Cardinal St.
Dorchester Center, MA 02124
Physical Address
304 North Cardinal St.
Dorchester Center, MA 02124

You just finished sanding a beautiful piece of wood furniture, your arms are tired, the room is covered in a fine layer of dust, and you’re ready to move on to staining or painting. But hold on before you crack open that can of stain or grab your paintbrush, there’s one critical step you cannot skip: learning how to clean wood after sanding properly.
It sounds simple. Wipe off the dust and get to work, right? Not exactly. Sanding dust is sneaky. Fine dust particles cling to wood fibers, hide in grain lines, and settle back onto surfaces the moment you think you’ve cleared them. If you skip this step or rush through it that leftover dust mixes with your finish and ruins everything.
This guide walks you through the complete process of cleaning wood after sanding, covering every tool, method, and mistake worth knowing. Whether you’re refinishing a dining table, painting furniture, or starting fresh on a woodworking project, you’ll find everything you need right here. Think of this as The Complete Guide to Sanding Wood cleanup done right.
Let’s get into it.
Sanding does a fantastic job of smoothing surfaces and opening up the wood grain for better finish adhesion. But it also produces an enormous amount of dust. Depending on your sandpaper grit, that dust can range from coarse particles you can easily see to extremely fine particles that float in the air for minutes before settling back down.
Here’s the problem: when you apply stain, varnish, or paint over a dusty surface, those tiny particles get trapped in the finish as it dries. The result is a rough, bumpy, uneven coat that looks nothing like the flawless finish you were going for. In some cases, dust contamination can even cause the finish to peel or crack over time.
Cleaning the wood after sanding also prepares the surface so finishes can soak in properly, especially with oil-based stains. A clean surface means better color absorption and a more consistent result across the whole piece.
Sanding dust is not just an eyesore. It actively interferes with how a finish bonds to wood.
When you apply stain or varnish over a dusty surface, several things happen. Fine dust particles get suspended in the wet finish and rise to the surface as it dries, creating a texture that feels almost like sandpaper. Larger dust particles form visible bumps and pits. In worst-case scenarios, the finish doesn’t adhere evenly, causing blotchy color or peeling.
The finer the grit you used, the finer the dust and the harder it is to remove. Dust from 220-grit sandpaper feels almost like powder and clings to the wood surface through static electricity. This is why a simple wipe with a dry rag is often not enough.
A clean wood surface is the foundation of any good finish. Think of it this way: even a high-quality stain or varnish can only perform as well as the surface it’s applied to. Dust, debris, and oil from your hands all act as barriers between the finish and the wood.
For woodworking projects where precision matters like furniture refinishing, cabinetry, or decorative woodwork a properly clean surface makes the difference between a professional-looking result and one that needs to be re-sanded and redone. Taking an extra 15 to 20 minutes to clean the surface thoroughly saves hours of rework later.
Getting the right tools ready before you start makes the cleanup process faster and more effective. You do not need anything fancy, most of what you need is probably already in your workshop or can be picked up at a local hardware store.
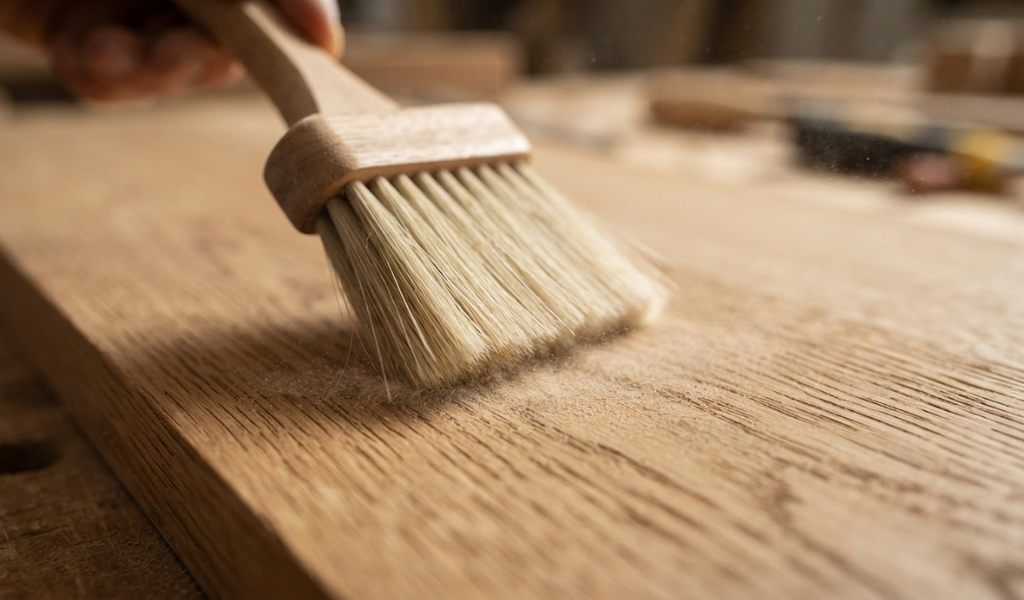
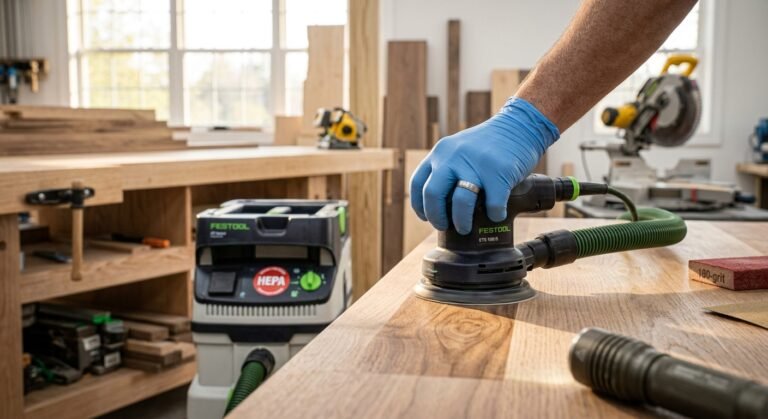
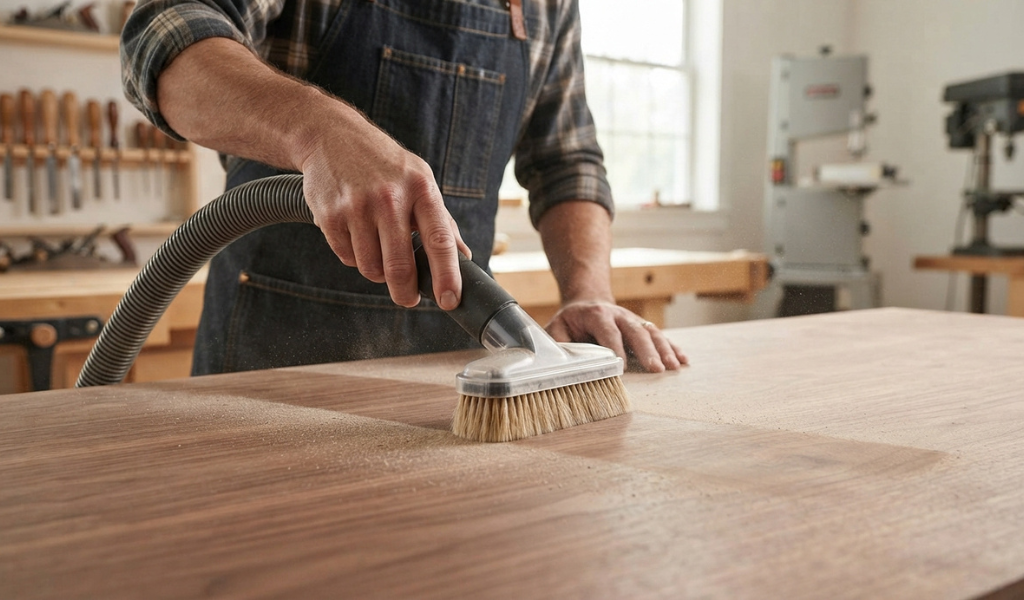
A soft-bristle brush is great for sweeping dust out of corners, carvings, and along the wood grain where a vacuum might struggle to reach. Pair it with a shop vac or a vacuum cleaner fitted with a brush attachment for the best results. A vacuum pulls the dust away from the surface entirely rather than just pushing it around. A Festool extractor with a fine dust filter works especially well for very fine sanding dust.
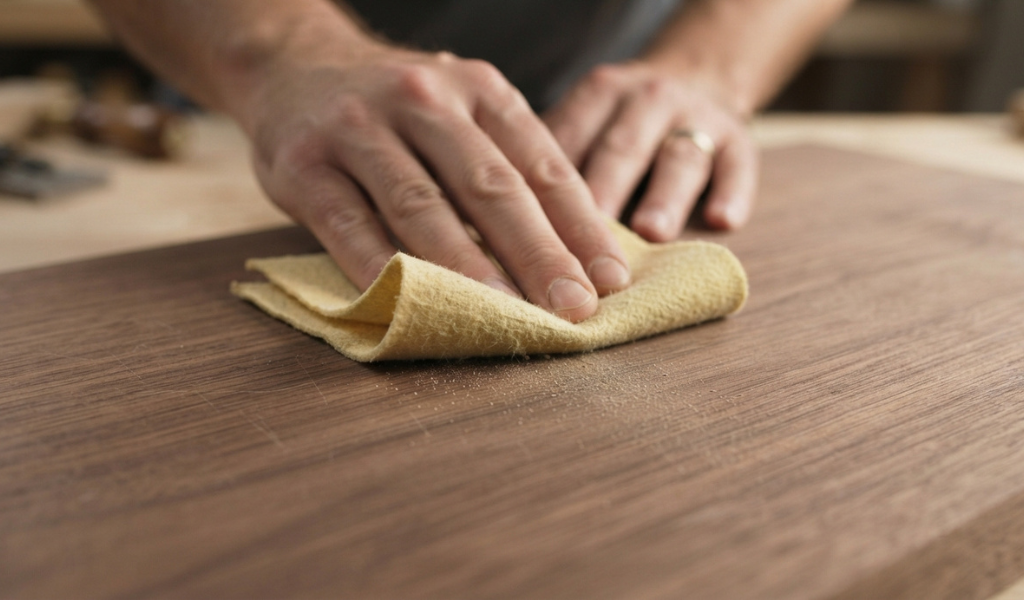
A tack cloth is a slightly sticky, cheesecloth-style rag that picks up fine dust particles that vacuuming and brushing leave behind. It is one of the most effective tools for post-sanding cleanup. Microfiber cloths serve a similar purpose: the tiny fibers trap dust rather than scattering it. Both are inexpensive and widely available. Having a few of each on hand is always a good idea.
Removing sanding dust properly takes a few steps. Rushing any one of them leaves dust behind, so work through these in order.
Start by vacuuming the wood surface with a soft brush attachment. Move the vacuum head slowly along the grain of the wood, overlapping each pass slightly to make sure you cover the entire surface. Pay extra attention to joints, edges, and carved areas where dust tends to collect. If you’re working on a large project, this step alone can remove 70 to 80 percent of the dust.
After vacuuming, use a clean, soft-bristle brush to sweep any remaining dust from the surface. Work in long, even strokes in the direction of the wood grain. This loosens any particles stuck in the grain lines and pushes them away from the surface, making the next step more effective.
Finish by wiping the surface with a tack cloth or microfiber cloth. Fold the tack cloth into a pad and gently wipe the wood in the direction of the grain. Do not press too hard you just want light contact. The stickiness of the tack cloth does the work for you. Replace or refold the cloth regularly so you’re always using a clean section. After wiping, let the surface sit for a few minutes before moving on to finishing.
Stain is particularly unforgiving when it comes to dust. Because stains are designed to penetrate the wood rather than sit on top of it, any dust in the grain blocks absorption and causes uneven color. Areas with leftover dust particles end up lighter or streaky, which is very difficult to correct once the stain dries.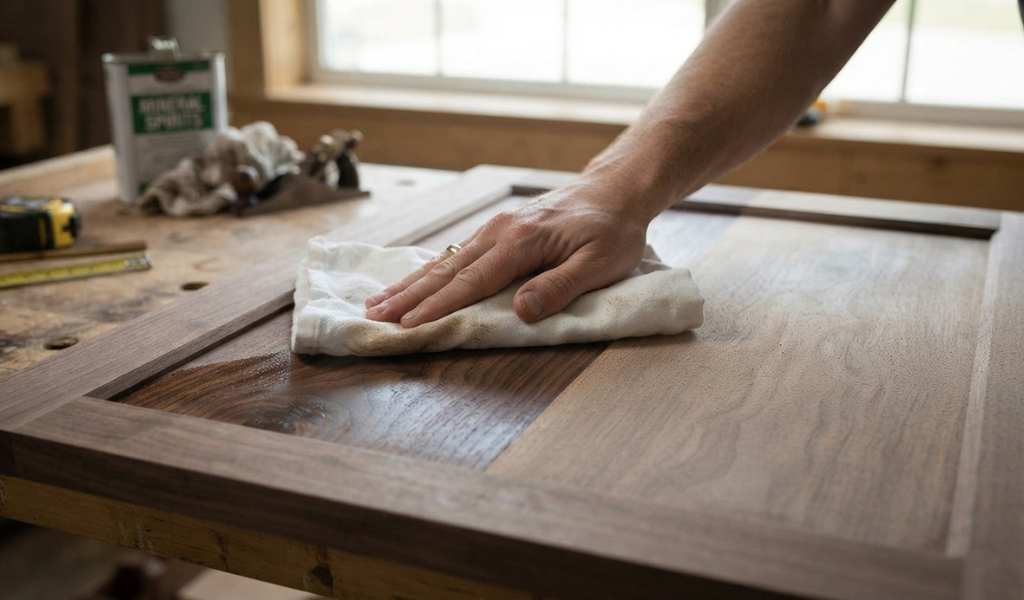
To properly clean wood after sanding before staining, complete the full vacuum, brush, and tack cloth process described above. After that, consider wiping the surface with a clean rag lightly dampened with mineral spirits. Mineral spirits dissolve any grease or oil residue and help lift fine dust that the tack cloth might have missed. Let the mineral spirits evaporate fully before applying the stain, usually about 15 to 20 minutes. Always test on a scrap piece first to make sure the solvent does not affect your wood species or the stain you plan to use.
This is one of the most common questions in woodworking, and the answer is: it depends.
A damp cloth can be used on sanded wood, but only in specific situations and with care. Water raises the wood grain, meaning the wood fibers absorb moisture and swell up slightly, creating a fuzzy texture on the surface you just spent time sanding smooth. If you apply a finish over raised grain, you end up with a rough surface instead of a smooth one.
A damp cloth is appropriate when you intentionally want to raise the grain before your final sanding passes a technique called “whisker raising.” Woodworkers do this on purpose by wiping the wood with a barely damp cloth after the second-to-last sanding, letting it dry fully, and then doing a final light sanding with fine-grit paper to knock off the raised fibers. This produces an exceptionally smooth surface that resists grain raising when water-based finishes are applied later.
Outside of that specific technique, avoid using a damp cloth directly before finishing. Stick to dry methods or mineral spirits instead.
Raising the wood grain is a common headache in woodworking, especially when using water-based stains or paints. Here are a few ways to prevent it.
First, use the whisker-raising method described above as part of your sanding process. Second, if you need to wipe the surface before finishing, use mineral spirits or denatured alcohol instead of water both evaporate cleanly and do not raise the grain. Third, always let your chosen solvent dry completely before applying any finish. Even a small amount of residual moisture can cause grain raising and ruin the finish.
Cleaning wood before painting follows a very similar process to preparing for staining, but there are a couple of additional considerations.
Start with the full cleanup routine vacuum, brush, and tack cloth. If the wood will be painted with a water-based latex paint, you can wipe the surface with a barely damp microfiber cloth to remove remaining fine dust, as long as you let the wood dry completely before applying primer. For oil-based paints, use mineral spirits as your final wipe to remove dust and any oily residue.
One extra step worth taking before painting furniture is to wipe the surface with a clean cloth dampened with denatured alcohol. Denatured alcohol evaporates quickly, cleans the surface thoroughly, and does not raise the grain. Once dry, the wood surface is ready for primer and paint.
Fine sanding dust especially from 180-grit or higher sandpaper requires more effort to remove than coarser dust. These fine particles are lightweight, carry a slight static charge, and cling stubbornly to the wood surface.
Vacuuming is almost always the better choice compared to compressed air. Compressed air blows dust off the wood but sends it flying into the air and across your workspace, where it eventually settles back down on everything including your freshly cleaned project. A vacuum with a fine dust filter captures and contains the dust instead of dispersing it. If you do use compressed air, make sure to do it outdoors or in a well-ventilated space, and follow up with a full vacuum and tack cloth wipe.
A tack cloth is the gold standard for removing fine dust particles before finishing. The light stickiness grabs dust that vacuums and brushes can’t catch. Use it as the final step before applying any finish, and always wipe gently in the direction of the grain. Pressing too hard can leave a waxy residue from the tack cloth itself, which can interfere with finishes.
A dry microfiber cloth works similarly to a tack cloth and is a great alternative, especially if you’re concerned about the tack cloth leaving residue. The tiny fibers in a microfiber cloth create a large surface area that traps and holds fine dust particles effectively. Use a fresh, clean cloth for each project to avoid transferring old dust back onto the wood surface.
Even experienced woodworkers make mistakes during the post-sanding cleanup stage. Knowing what to watch out for helps you avoid them.
Water and sanded wood do not mix well, for the reasons covered above. Even a slightly too-wet cloth can raise the wood grain and send you back to the sanding stage. Keep moisture to a minimum, and when in doubt, use mineral spirits or a dry method instead.
Skipping steps like going straight from brushing to finishing without a tack cloth almost always leaves some dust behind. Each step in the cleanup process targets different types of dust: vacuuming handles the bulk of it, brushing dislodges embedded particles, and the tack or microfiber cloth catches the finest residue. Skip any one of these, and you risk contaminating your finish.
Wiping too hard with a tack cloth can deposit the cloth’s waxy coating onto the wood, creating a barrier that prevents stain from absorbing evenly. It can also push dust deeper into the grain rather than lifting it away. A light touch always works better.
Once you’ve completed the cleanup process, do a quick check before reaching for your finish.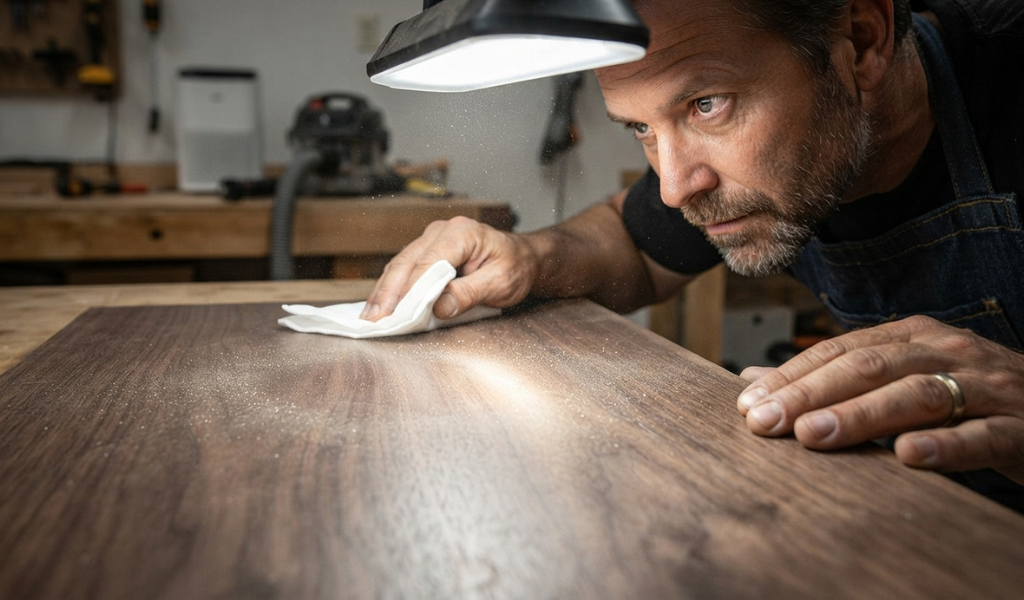
Run your hand lightly across the surface. It should feel completely smooth, with no gritty particles under your fingers. Next, look at the surface at a low angle under a bright light dust will show up as a slight shimmer or haze. If you see any, go back over those areas with a tack cloth.
Some woodworkers also blow gently across the surface and watch for dust to lift. If dust moves, there’s still more cleanup to do. Taking 60 extra seconds to check can save you hours of work later.
Cleaning wood after sanding is not the most glamorous part of a woodworking project, but it is one of the most important. Every beautiful, flawless finish you’ve ever admired on a piece of furniture, a refinished floor, or a painted cabinet started with a surface that was properly cleaned after sanding.
The process is straightforward: vacuum, brush, wipe with a tack cloth or microfiber cloth, and if needed, follow up with mineral spirits or denatured alcohol. Let everything dry fully before applying any finish. Keep moisture controlled, work gently, and take your time.
Get the cleanup right, and the stain, paint, or varnish you apply will perform exactly as it should—giving you the smooth, professional-looking result you’re working toward.
Should you use mineral spirits or denatured alcohol after sanding?
Both are good options, but they serve slightly different purposes. Mineral spirits are ideal before oil-based stains or finishes because they remove grease, oil, and fine dust without raising the grain. Denatured alcohol evaporates faster and works well before water-based paints or when you need a quick, clean dry surface. Always test on a scrap piece first and let either solvent evaporate fully before applying your finish.
What is the best thing to clean wood after sanding?
The best approach is a combination: start with a vacuum fitted with a brush attachment, follow up with a soft brush to dislodge embedded particles, and finish with a tack cloth for a final pass. This three-step method removes the most dust and leaves the surface genuinely clean. A dry microfiber cloth is a solid alternative to a tack cloth if you want to avoid any potential wax residue.
How to prep wood for stain after sanding?
After completing your final sanding pass, vacuum the surface thoroughly, brush along the grain, and wipe with a tack cloth. For extra prep, wipe the surface with a clean rag lightly dampened with mineral spirits. Let the mineral spirits evaporate for 15 to 20 minutes. Once the surface is dry and dust-free, you’re ready to apply stain. Test the stain on a hidden area first to check the color.
How to get rid of dust after sanding?
Vacuum first to remove the bulk of the dust, using a shop vac or vacuum with a brush attachment. Follow with a soft brush to loosen any stubborn particles in the grain, then use a tack cloth or microfiber cloth to pick up the finest remaining dust. Avoid using compressed air indoors; it scatters dust rather than removing it.
Do you have to wash wood after sanding?
You do not need to wash wood with water after sanding. In fact, it’s best to avoid it because water raises the wood grain. Instead, use a dry cleaning method (vacuum, brush, tack cloth) and, if necessary, a solvent like mineral spirits or denatured alcohol that evaporates without affecting the wood surface.
Can you reuse tack cloth to clean dust?
Tack cloth can be reused within the same session if it has not become saturated with dust. Refold the cloth to expose a clean section after each pass. However, once a tack cloth is heavily loaded with dust or has dried out and lost its stickiness, replace it. Reusing an old, dried-out tack cloth won’t pick up dust effectively and may leave residue behind.
Is it necessary to wash wood after sanding?
Washing with water is not necessary and is generally not recommended. What is necessary is removing all sanding dust before applying any finish. You can achieve this completely with dry methods and solvents with no water needed. The only exception is the intentional grain-raising technique, where a barely damp cloth is used before the final sanding pass to prepare the surface for water-based finishes.