Physical Address
304 North Cardinal St.
Dorchester Center, MA 02124
Physical Address
304 North Cardinal St.
Dorchester Center, MA 02124


If you have ever spent an entire afternoon hand sanding a table leg or a curved chair arm, you already know why sanding wheels for wood have become such a popular tool among woodworkers. These wheels attach to a drill or bench grinder and let you smooth out rough surfaces, remove old finish, and shape curves in a fraction of the time it takes with a sanding block. Whether you are restoring an old dresser or building something from scratch, understanding how these wheels work can save you hours of labor and give you a much cleaner result.
This article is meant to work as The Complete Guide to Sanding Wood using wheel attachments, covering everything from how they function to which type suits your project best. By the end, you will know exactly how to pick the right wheel, avoid common mistakes, and get a finish that looks like it came from a professional shop.
A sanding wheel is a round abrasive attachment designed to fit onto a drill, angle grinder, or bench grinder. Instead of moving a flat sheet of sandpaper back and forth by hand, the wheel spins at high speed and does the grinding work for you. Most wheels are built with a rigid or semi-flexible core wrapped in an abrasive material, and they come in a wide range of sizes to match different tools and project needs.
Woodworkers often reach for these wheels when they need to smooth curved edges, strip old paint or varnish, or clean up rough spots that a flat sander cannot reach. Because the wheel rotates instead of vibrating, it tends to remove material faster than a standard orbital sander, which makes it a favorite for anyone working on furniture restoration or shaping wooden parts.
The concept behind a sanding wheel is fairly simple. The wheel is mounted onto the spindle of a rotary tool, and once the tool is switched on, the wheel spins rapidly. As the spinning abrasive surface makes contact with the wood, friction wears down the top layer, smoothing rough grain, removing old coatings, or shaping the surface depending on how much pressure you apply.
The speed of rotation combined with the grit of the abrasive determines how aggressive the sanding action will be. A coarser grit at higher speed removes material quickly, while a finer grit at a slower speed produces a smoother, more polished result. Because the wheel is round, it naturally follows curves and contours far better than a flat sanding pad, which is why it works so well on chair legs, spindles, and decorative trim.
There are several reasons woodworkers switch from manual sanding to wheel attachments. The biggest advantage is speed. A task that might take thirty minutes by hand can often be finished in five minutes with a wheel mounted on a drill.
Another benefit is consistency. Hand sanding can leave uneven pressure marks, especially on long straight edges, but a wheel spinning at a steady speed tends to produce a more even finish across the surface. The rounded shape also gives you access to tight curves, grooves, and detailed carvings that flat sandpaper simply cannot reach.
Cost is another factor worth mentioning. Many wheels are reusable for a long time before they need replacing, and because they cut down on labor time, they end up saving money in the long run, especially for anyone doing repeated furniture projects or small business woodworking.
Sanding wheels show up in a wide variety of projects. Furniture makers use them to smooth chair spindles and table legs. Restoration hobbyists rely on them to strip decades of old paint or varnish from antique pieces before refinishing. Cabinet makers often use smaller wheels to clean up edges and joints where a flat sander cannot fit.
They are also useful for shaping wooden handles, smoothing the inside of carved bowls, and removing rough patches left behind by a saw or chisel. Even hobbyists working on smaller crafts, like wooden toys or decorative carvings, find wheel attachments handy for reaching curved or recessed areas quickly.
Safety should always come first when working with any spinning power tool. Start by wearing safety glasses and a dust mask, since sanding wood produces fine particles that can irritate your eyes and lungs. Loose clothing and jewelry should be removed, and long hair should be tied back to avoid getting caught in the spinning wheel.
Before you begin, check that the wheel is securely fastened to the tool. A loose wheel can wobble or fly off during use, which is dangerous. Always start the tool before bringing it into contact with the wood, and keep a light, steady grip rather than forcing the wheel into the surface.
It also helps to work in a well-ventilated area or use a shop vacuum nearby to collect dust as you go. Take breaks if the wheel or the wood starts to heat up, since excessive friction can scorch the surface or damage the abrasive material. Following these basic steps will keep both you and your project safe throughout the sanding process.
The right wheel really depends on what you are working on. For general furniture restoration, a medium grit flap wheel tends to strike a good balance between speed and control. For fine detail work, such as smoothing spindles or carved trim, a smaller flexible wheel with a finer grit gives you more precision.
If you are stripping old paint or heavy varnish, a coarser wire and abrasive combination wheel can cut through layers quickly without damaging the wood underneath, as long as you stay careful with pressure. For final finishing touches before staining or painting, a fine or extra fine grit wheel will leave the surface smooth enough for a clean, professional look.
Matching the wheel to the task not only saves time but also protects your wood from unnecessary damage, so it is worth keeping a small selection of wheel types and grits on hand for different stages of a project.
There are several distinct styles of sanding wheels, each suited to different tasks.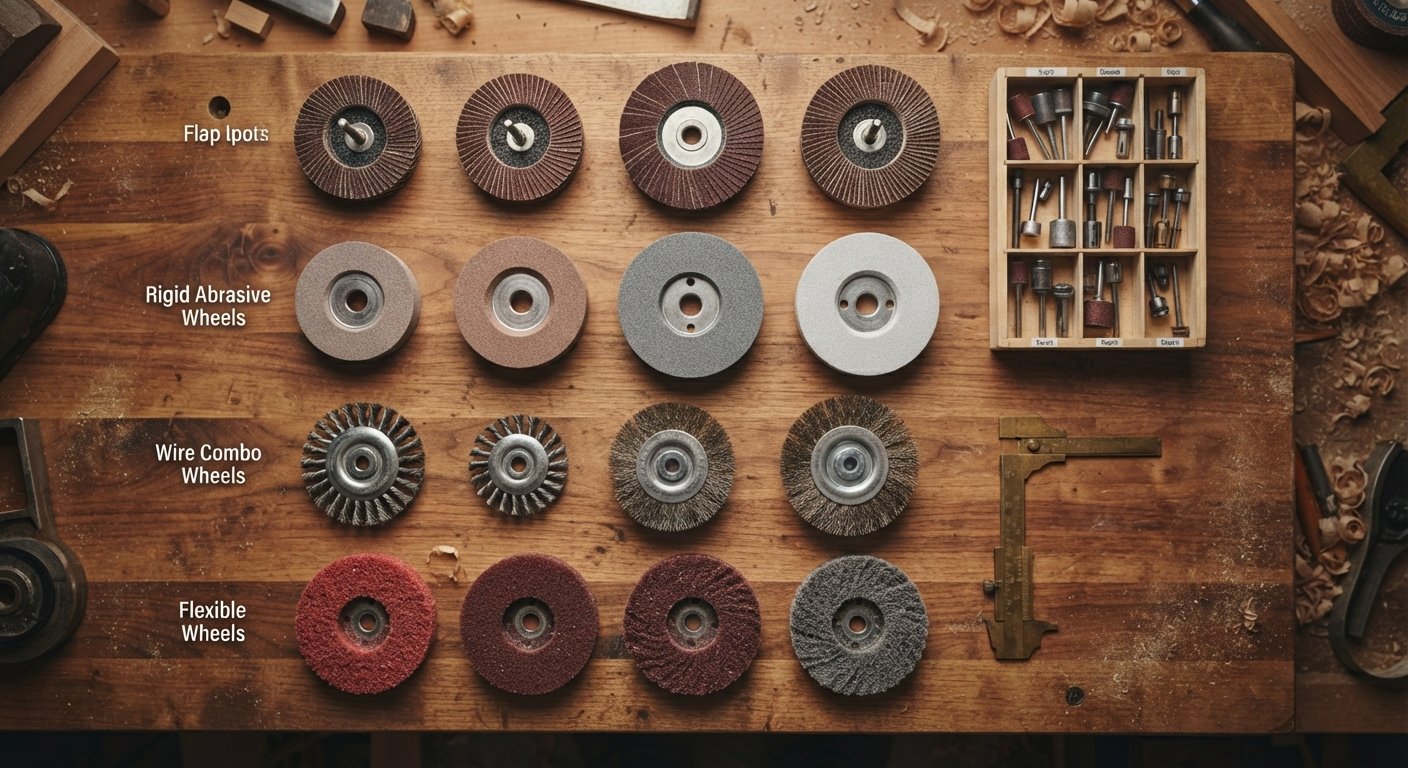
Flap wheels are made up of multiple overlapping strips, or flaps, of abrasive material arranged around a central hub. As the wheel spins, the flaps flex slightly against the wood, allowing them to conform to curves and uneven surfaces. This makes flap wheels a popular choice for shaping and smoothing rounded wooden parts.
These are solid, rigid wheels coated with an abrasive layer. They are typically used for more aggressive material removal and work well on flatter surfaces where flexibility is less important. Abrasive wheels tend to hold their shape longer under heavy use compared to flap style wheels.
This type combines wire bristles with an abrasive coating, making it especially effective for stripping old paint, rust, or heavy buildup from wood surfaces. They are more aggressive than standard sanding wheels, so they require a lighter touch to avoid gouging the wood.
Flexible wheels are designed with a softer, more pliable core that bends easily around curves and contours. These are ideal for detailed work, such as sanding chair spindles, decorative moldings, or any project with tight, irregular shapes.
When deciding between these options, think about the shape of your workpiece and how much material you need to remove. Flat surfaces generally do better with rigid abrasive wheels, while curved or detailed pieces benefit from flap or flexible wheels. If you are dealing with old finishes or paint, a wire and abrasive combination will save considerable time.
Choosing the right wheel comes down to a few key factors: the tool you are using, the shape of your project, and the condition of the wood. First, check the size and arbor of your drill or grinder to make sure the wheel you pick will actually fit. Mismatched sizes are a common and frustrating mistake beginners make.
Next, think about the wood itself. Softwoods like pine sand more easily and can be damaged by overly aggressive wheels, while hardwoods like oak or maple can handle coarser grits without much risk. Consider also the finish you are working with. If there is old paint or varnish, you will likely start with a coarser grit and work your way down to something finer as the surface becomes smoother.
Finally, factor in your project timeline. If you need quick results and are not overly concerned about a flawless finish just yet, a coarser wheel will get you there faster. If the piece is heading toward a final coat of stain or paint, invest the extra time in finer grits for a cleaner result.
Grit numbers tell you how coarse or fine the abrasive material is, and picking the right one makes a noticeable difference in your results.
Coarse grits, typically in the 40 to 60 range, are best for removing heavy material quickly. This includes stripping old finishes, smoothing rough-cut lumber, or shaping wood before moving on to finer sanding stages.
Medium grits, around 80 to 120, work well for general smoothing tasks. This is often the stage where you start to see the wood surface becoming more even and ready for finer refinement.
Fine grits, roughly 150 to 220, are used to prepare wood for staining or painting. At this stage, the surface should already feel fairly smooth, and the goal is to eliminate any remaining scratches from earlier sanding.
Extra fine grits, above 220, are reserved for final touch ups before applying a finish. These are especially useful on projects where a glass smooth surface is the goal, such as fine furniture or decorative pieces.
Both tools have their place in a woodworking shop, but they serve different purposes. Sanding wheels excel at speed and reaching curved or detailed areas that flat sandpaper struggles with. They are powered, which means less physical effort on your part, and they can tackle larger projects much faster.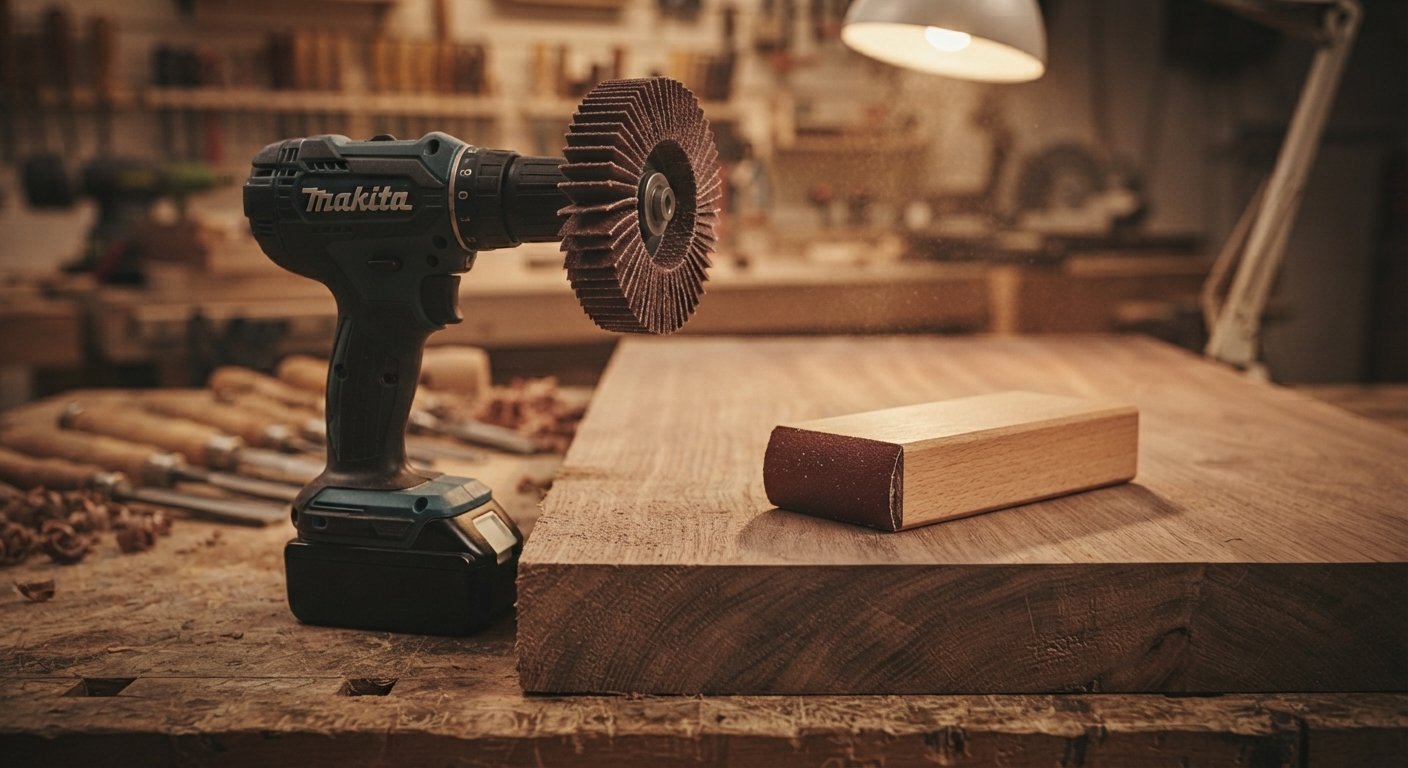
Sandpaper, on the other hand, offers more control for delicate work. Since it is applied by hand, you can feel exactly how much pressure you are using and adjust instantly if something feels off. This makes sandpaper better suited for very fine finishing work or for beginners who are still getting comfortable with power tools.
In many workshops, the two are used together. Wheels handle the bulk of the material removal and shaping, while sandpaper takes care of the final smoothing pass before a finish is applied.
There are situations where sandpaper simply makes more sense. Small, delicate projects where precision matters more than speed are often better handled by hand. If you are working with thin veneer or fragile wood, the risk of a spinning wheel removing too much material quickly can be a real concern, so sandpaper gives you more careful control.
Sandpaper is also the practical choice when you do not have access to a drill or grinder, or when working in a small space where a powered tool might feel unwieldy. For touch up work on an already finished piece, a quick pass with fine grit sandpaper is often all that is needed.
Furniture restoration is one of the most common places where sanding wheels really shine. Picture an old wooden chair with layers of chipped paint and years of grime built up on its curved spindles. Trying to sand that by hand could take an entire weekend, but a flap wheel mounted on a drill can strip most of that old finish in under an hour.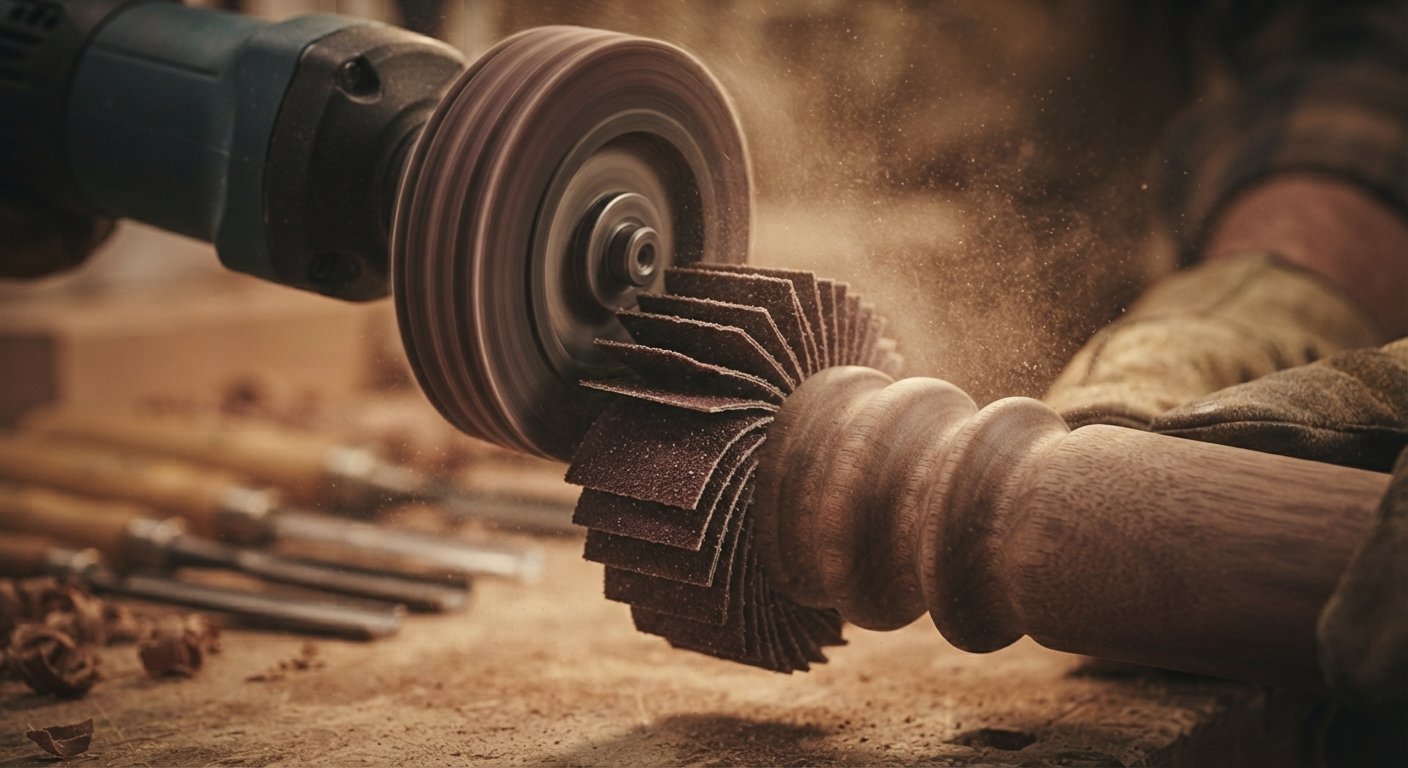
DIY builders working on new projects also benefit from these wheels when shaping edges, smoothing joints, or rounding off sharp corners on tables and shelves. Many hobbyists find that keeping a couple of different wheel types on hand, one coarse for stripping and shaping, and one fine for finishing touches, covers most furniture and craft projects without needing a large collection of specialty tools.
Even experienced woodworkers can run into trouble if they are not careful with wheel attachments. Here are the mistakes to watch out for.
Starting with too coarse a grit on delicate wood, or using a rigid wheel on a curved surface, often leads to gouges or uneven results. Always match the wheel and grit to the task at hand.
Pressing too hard forces the wheel to remove material unevenly and can cause the wood to heat up, sometimes leaving scorch marks. Let the tool and the abrasive do the work rather than forcing it.
Running the tool at a speed that is too high for the wood or the wheel type can cause overheating and reduce control, increasing the chance of damaging the surface.
It is easy to get carried away, especially with coarse grits, and take off more material than intended. This is particularly risky near edges and corners, where too much sanding can distort the original shape.
Skipping eye protection or a dust mask might seem like a shortcut, but wood dust and flying debris can cause real harm over time. Always gear up before starting.
To get the best results, work through your grits in order rather than jumping straight to a fine grit on rough wood. Keep the wheel moving steadily across the surface instead of holding it in one spot, which helps avoid uneven patches or burn marks. Wipe away dust between passes so you can see your progress clearly and check for any missed spots.
It also helps to test your technique on a scrap piece of the same wood before starting on your actual project, especially if you are trying a new wheel type or grit for the first time. Finally, always finish with a fine or extra fine grit before applying stain or paint, since this final smoothing step makes a noticeable difference in how the finish looks once it dries.
Sanding wheels for wood are a genuinely useful addition to any woodworking toolkit, whether you are restoring furniture, building new pieces, or working on smaller craft projects. They save time, reach places flat sandpaper cannot, and produce a consistent finish once you understand how to match the right wheel and grit to your project. Like any power tool, safety and a bit of practice go a long way toward getting comfortable results.
If you have been putting off a furniture restoration project because hand sanding felt too time consuming, it might be worth picking up a wheel attachment and giving it a try. Start with a scrap piece, get a feel for the pressure and speed, and you will likely find your next project moves along much faster than expected.
Can sanding wheels be used on all types of wood?
Yes, but you should adjust your grit choice based on the wood. Softwoods need gentler grits and lighter pressure, while hardwoods can handle coarser grits without much risk of damage.
Do I need a special tool to use a sanding wheel?
Most sanding wheels attach to a standard drill, angle grinder, or bench grinder. Just make sure the wheel’s arbor size matches your tool before purchasing.
How long do sanding wheels typically last?
This depends on the material and how often they are used. Flap wheels and abrasive wheels can last through several projects before the abrasive wears down and needs replacing.
Is it safe to use sanding wheels on antique furniture?
Yes, as long as you use a lighter touch and start with a finer grit to avoid removing more of the original wood than necessary. Testing on a hidden area first is always a good idea.
What grit should I start with for stripping old paint?
A coarse grit, usually in the 40 to 60 range, works best for removing heavy layers of old paint or varnish before moving to finer grits for smoothing.
Can sanding wheels replace sandpaper completely?
Not entirely. Wheels are great for speed and reaching curves, but sandpaper still offers more control for delicate finishing work, so many woodworkers use both together.
Why does my wood get scorched when using a sanding wheel?
Scorch marks usually happen from too much pressure, too high a speed, or lingering in one spot for too long. Keep the wheel moving and let the abrasive do the work gradually.