Physical Address
304 North Cardinal St.
Dorchester Center, MA 02124
Physical Address
304 North Cardinal St.
Dorchester Center, MA 02124


A flawless stain job starts long before the first drop of color touches wood. Skip proper preparation, and even the most expensive stain will look blotchy, uneven, and amateur. Get it right, and raw wood transforms into something genuinely beautiful, rich, consistent color with a smooth finish that holds up for years.
This guide walks you through the complete wood sanding and staining workflow: from inspecting and repairing your wood surface to applying the final topcoat. Whether you’re refinishing a piece of wood furniture, staining hardwood floors, or working with unfinished wood for the first time, you’ll find practical, step-by-step guidance here along with professional tips that separate clean results from costly mistakes.
For a deeper look at sandpaper grits, sanding tools, and technique fundamentals, this complete sanding guide is worth bookmarking before you begin.
Proper preparation is the single biggest factor in how well a wood stain performs. A stain applied to a dirty, damaged, or poorly sanded surface won’t penetrate evenly it’ll pool in scratches, fade over raised grain, and highlight every flaw you hoped it would cover. Taking time to prepare the wood correctly makes everything that follows easier.
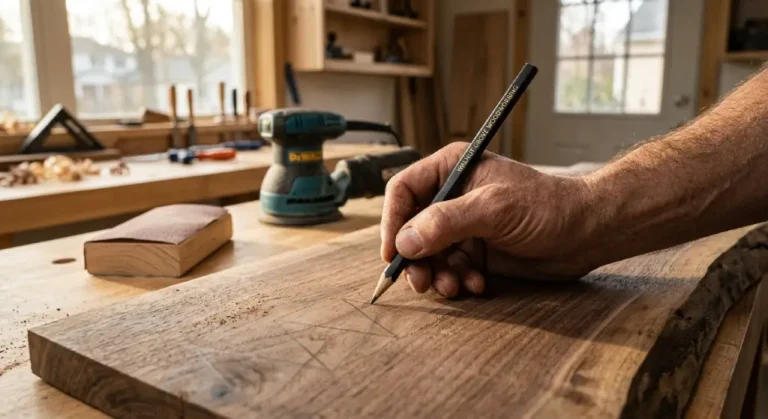
Start by examining the entire wood surface under good lighting, ideally with a raking light held at a low angle. This reveals unsightly scratches, dents, dried glue, and any old finish that may still be clinging to the surface. Mark problem areas with a pencil so you don’t lose track of them mid-project.
If the piece has an existing finish whether varnish, lacquer, or paint that finish needs to come off before you stain. Stain cannot penetrate a sealed surface. Use coarse sandpaper or a chemical stripper to remove the old finish down to raw wood. Once stripped, wipe the surface with mineral spirits on a clean rag to remove residue, grease, and any remaining contamination. Let it dry completely before moving on.
For dents and gouges, use a wood filler that accepts stain, or a color-matched wood putty. Apply it slightly proud of the surface, let it cure fully, then sand it flush. Keep in mind that filled areas often absorb stain differently than the surrounding wood, so test your stain color on an inconspicuous spot after repairs are complete.
Wood needs to be sanded before staining full stop. Sanding opens the pores of the wood, removes surface contamination, and creates a uniform texture that allows the stain to absorb at a consistent rate. Without it, even well-prepared wood will produce blotchy results.
On a molecular level, an unsanded or mill-glazed surface has compressed fibers that resist stain penetration. Sanding removes that compressed layer and exposes fresh, absorbent wood beneath. The result is deeper, more even color and better adhesion for any topcoat applied afterward.
This is especially critical with softwood species, which are naturally prone to blotching. On pine, fir, and similar woods, the difference between a properly sanded surface and a skipped one is immediately visible once stain goes on.
Sanding for staining follows a deliberate progression. The goal isn’t just smoothness it’s creating a surface that accepts stain evenly, without scratch marks, raised grain, or inconsistent texture undermining the final result.
The correct grit progression depends on the starting condition of the wood. For raw, unfinished wood in good condition, begin with 80 or 120 grit sandpaper. If the piece has an old finish or significant surface damage, start with coarser sandpaper 60 grit or lower to strip material efficiently before stepping up.
A reliable progression for most staining projects looks like this:
Never skip grits. Jumping from 80 grit directly to 220 grit leaves deep scratch marks that fine sandpaper can’t efficiently remove. Each grit in the sequence is there to erase the scratch pattern left by the one before it. On hardwood species like oak or mahogany, this progression is especially important coarser grits cut more aggressively into dense grain, and those marks need to be worked out methodically.
For large, flat surfaces, a power sander, particularly a random orbital sander handles the bulk of the work efficiently. For edges, curves, and detail work, hand sand with a sanding block to maintain consistent pressure and avoid rounding profiles unevenly.
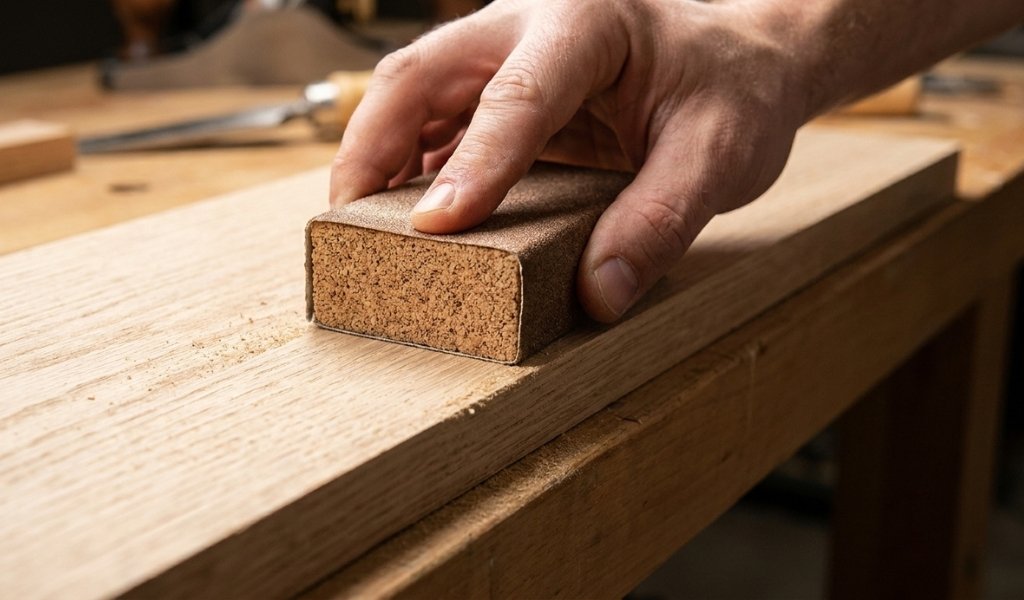
Finish your final sanding pass with 220 grit, always moving in the direction of the wood grain. This is non-negotiable. Sanding across the grain creates unsightly scratches that catch stain and become highly visible once color is applied.
After each grit stage and especially after the final 220 grit pass remove all sanding dust from the surface before moving on. Dust left behind will contaminate the stain and create a rough, gritty texture in the finish.
Use a tack cloth to remove fine dust from the wood surface. Wipe lightly in one direction, applying just enough pressure to pick up particles without leaving residue. For water-based stains, a slightly damp cloth works well as an alternative, but allow the surface to dry fully before staining.
Avoid blowing dust off with compressed air. It disperses fine particles into the air and redistributes them onto surrounding surfaces including the wood you just cleaned.
After cleaning, run your hand across the grain of the wood. The surface should feel uniformly smooth with no ridges or rough patches. Under raking light, no visible scratch marks should remain. If you spot any, sand that area again at 220 grit and re-clean.
Pre-stain wood conditioner is a liquid treatment applied to the wood surface before staining. It partially seals the pores of the wood, slowing stain absorption and promoting more even color penetration particularly on softwoods and blotch-prone species.
Apply a pre-stain conditioner with a foam brush or a clean rag, working with the direction of the grain. Allow it to penetrate for 5–15 minutes (follow the manufacturer’s instructions), then wipe off any excess. Stain should be applied while the conditioner is still slightly wet, typically within 30 minutes. If the conditioner dries completely, it loses its effectiveness.
Softwoods like pine, cherry, and maple benefit most from a pre-stain wood conditioner. Tight-grained hardwoods like mahogany or walnut generally don’t need it, though testing on a scrap piece of the same wood species is always a worthwhile step before committing to the full surface.
With a properly sanded and prepared surface, stain application is straightforward but a few technique details make the difference between professional results and an uneven, streaky finish.
Always stir wood stain before use. Never shake it.
Stain contains suspended pigment particles that settle to the bottom of the can during storage. Stirring reincorporates that pigment evenly throughout the liquid without creating air bubbles. Shaking does the opposite; it introduces bubbles that can transfer to the wood surface and create small pits or foam marks in the finish.
Use a flat stir stick and mix slowly from the bottom up, scraping the settled pigment off the base of the can. Stir for at least one to two minutes. For gel stains, which are thicker and denser than liquid stains, thorough stirring is even more critical to ensure consistent color across the wood surface.
Apply stain generously with a foam brush, a bristle brush, or a clean rag working in the direction of the wood grain. The goal is full, even coverage across the surface, allowing the stain to penetrate the pores of the wood rather than sitting on top.
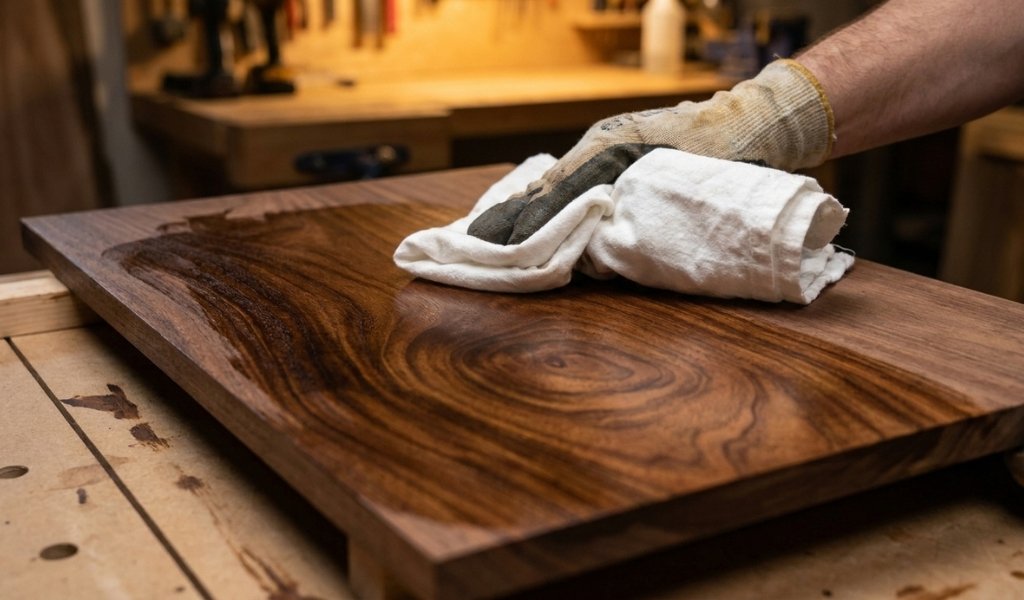
For water-based stain, work quickly. Water-based formulas dry faster than oil-based alternatives, meaning you have less time to blend wet edges before they start to set. Work in smaller sections on large surfaces to avoid lap marks.
After allowing the stain to penetrate for the time specified on the label typically 1–5 minutes, depending on the desired depth of color, wipe off the excess stain with a clean rag, moving with the grain. Leaving excess stain on the surface causes it to dry tacky, muddy the color, and prevent the topcoat from bonding properly.
The longer you leave the stain before wiping, the deeper and darker the color of the wood will become. Wipe earlier for a lighter result; leave it longer for a richer, more saturated tone. Test this timing on scrap wood from the same wood species before working on your final piece.
Patience here matters more than most woodworkers expect. Applying a second coat of stain before the first has dried completely prevents proper penetration and leads to an uneven, blotchy result.
Oil-based stains typically require 8–24 hours of drying time between coats. Water-based stain dries faster often within 2–4 hours but always confirms with the manufacturer’s guidance. Factors like humidity, temperature, and the type of wood affect how quickly stain dries.
Before applying a second coat, lightly sand the surface with 220 grit sandpaper. This smooths any raised grain that appeared as the first coat dried and gives the second coat a clean surface to bond to. Wipe the surface with a tack cloth to remove dust before applying the second coat.
Stain alone doesn’t protect wood. Once the stain dries completely, a topcoat is necessary to seal the wood and protect the color from moisture, UV exposure, abrasion, and everyday wear.
Apply your topcoat only after the stain has dried completely not just to the touch, but fully cured. Applying a seal coat too early traps solvents in the stain beneath, which can cause bubbling, adhesion failure, or a cloudy finish.
Polyurethane is the most common topcoat for wood furniture and hardwood floors. It’s durable, moisture-resistant, and available in water-based and oil-based formulas. Water-based polyurethane dries clear and fast; oil-based adds a warm amber tone and provides slightly more durability.
Lacquer dries faster than polyurethane and produces a harder, smoother surface. It’s common in furniture manufacturing but requires better ventilation and more careful application technique, as it’s more sensitive to humidity during drying.
Clear finish products (such as Danish oil, tung oil, or wipe-on finishes) penetrate the wood rather than forming a surface film. They’re easier to apply and repair, but offer less protection than a film-forming finish like polyurethane.
Apply topcoats with a high-quality brush or foam applicator, working in the direction of the grain. Apply thin, even coats rather than one thick coat thin coats level out better, dry more evenly, and are less likely to sag or run.
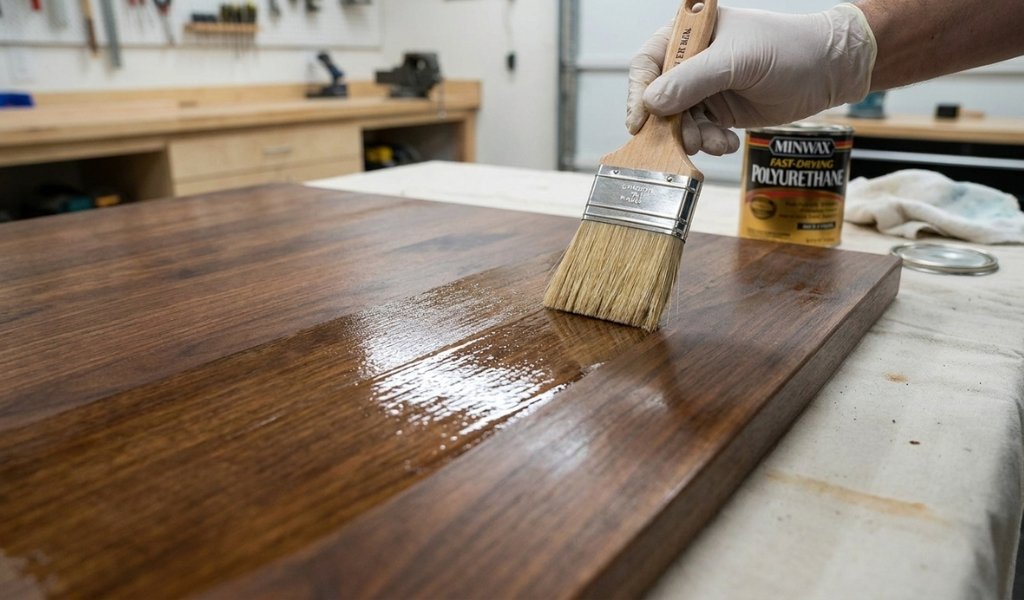
Yes, always sand between coats of finish. After the first topcoat dries, lightly sand the entire surface with 320 grit sandpaper. This knocks down dust nibs, brush marks, and any raised grain without cutting through the finish coat itself.
After final sanding, remove all dust with a tack cloth before applying the next coat. For a high-gloss finish, continue this process through successively finer grits up to 400 or even 600 between the final coats. The result is a surface that feels genuinely smooth and looks professionally finished.
Do not sand after the very last coat unless you plan to buff or polish the surface. The final coat is left intact as the protective layer.
Yes. Wood needs to be sanded before staining to open the grain, remove surface contamination, and create a uniform texture that allows the stain to absorb evenly. Skipping this step leads to blotchy, uneven color especially on softwoods and blotch-prone species. Finish with 220 grit sandpaper and always sand in the direction of the wood grain before any stain goes on.
Light sanding after staining is recommended only if you’re applying a second coat of stain or preparing for a topcoat. Use fine-grit sandpaper 220 grit to smooth any raised grain that appeared as the stain dried. Always wipe the surface with a tack cloth to remove dust before applying the next coat. Never sand aggressively after staining, as this removes color unevenly and damages the surface.
Yes, sanding can remove stain from wood, but it requires working through multiple grits to strip the color completely without leaving unsightly scratches or uneven patches. Start with medium-grit sandpaper (80–120 grit) to remove the bulk of the stain, then work through finer grits to smooth the surface back to a stain-ready condition. On thin veneers or engineered wood, sanding too aggressively can cut through the surface layer entirely proceed carefully.
After the final sanding pass, use a tack cloth to remove all fine dust from the wood surface, wiping lightly in one direction with the grain. For water-based stains, a slightly damp cloth works as an alternative but allow the wood to dry completely before applying stain. Avoid compressed air, which redistributes dust rather than removing it. The surface should be completely clean, dry, and free of any contamination before stain is applied.
Meta title
Wood Sanding and Staining: Step-by-Step Guide
Meta description
Learn how to sand and stain wood like a pro. This step-by-step guide covers grit progression, stain application, drying times, and topcoat tips for a flawless finish.