Physical Address
304 North Cardinal St.
Dorchester Center, MA 02124
Physical Address
304 North Cardinal St.
Dorchester Center, MA 02124


Sanding wood veneer is one of those tasks that looks straightforward until you go too far and sand right through it. Unlike solid wood, veneer gives you very little room for error. The layer of real wood on top is thin, sometimes less than a millimeter, and once it’s gone, it’s gone.
This guide walks you through everything you need to know about how to sand wood veneer properly, from choosing the right sandpaper grit to knowing exactly when to stop.For a broader look at technique and tools, this complete guide to sanding is a solid primer that complements everything covered here. Whether you’re refinishing a vintage furniture piece or preparing raw veneer sheets for staining, the right tools and techniques make all the difference between a flawless finish and a costly mistake.
Wood veneer is a thin slice of real wood that is bonded to a substrate, usually MDF, plywood, or particleboard. It gives furniture and cabinetry the appearance and texture of solid wood at a fraction of the cost and weight.
Veneer sheets come in two main types: raw veneer, which has no backing and is glued directly to the substrate, and paper-backed or fabric-backed veneer, which includes a stabilizing layer. Both types require careful handling when sanding. The wood grain, figure, and color all come from that thin top layer, and sanding too aggressively can destroy the very thing that makes veneer beautiful.
Oakwood veneer is one of the most common varieties used in furniture, but you’ll also find walnut, maple, cherry, and birch veneer used widely in both modern and traditional pieces.
Veneer thickness is the core reason sanding requires such care. Most commercial veneer sheets measure between 0.5mm and 1mm thick. Some older or higher-end pieces may have slightly thicker veneer, around 2mm to 3mm, but even then, there is very little material to work with.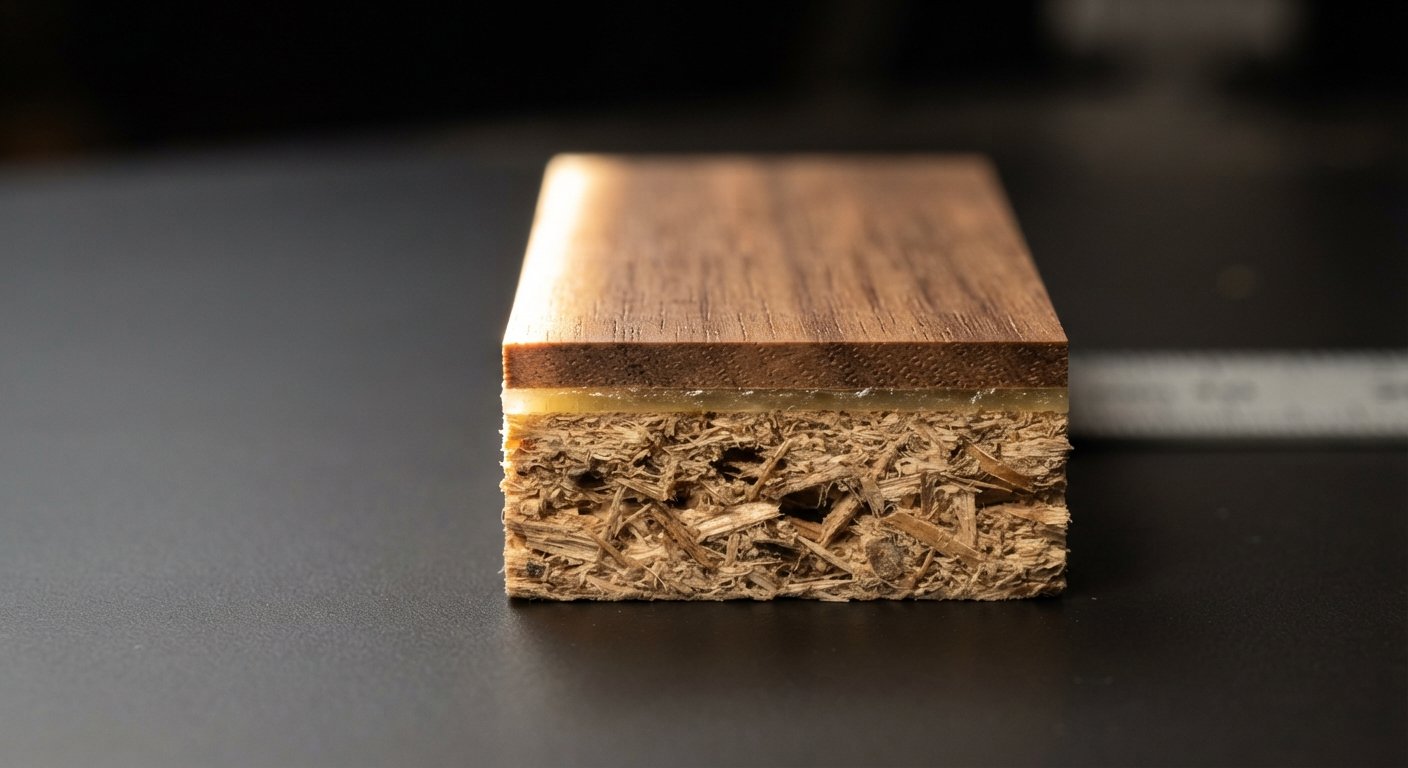
Sanding is essential to smooth the surface, remove old finishes, open the wood grain before staining, and prepare the veneer for topcoats. But because the wood layer is so thin, you’re always working close to the substrate beneath. Sand too hard, use too coarse a grit, or move in the wrong direction, and you will burn through the veneer before you realize what’s happened.
This is why proper sanding techniques matter so much more with veneer than with solid wood.
Getting this right comes down to five key steps. Follow each one carefully and you’ll end up with a veneer surface that’s smooth to the touch and perfectly prepared for finishing.
Before you pick up any sandpaper, take a close look at the surface. Clean off any dust, grease, or old wax with a damp cloth and let it dry completely. If there are any loose edges or bubbles in the veneer, re-glue them and let the adhesive cure before sanding. Sanding over a loose section will only make the problem worse.
Check the direction of the wood grain carefully. You’ll need this information throughout the entire sanding process.
Start with a grit that’s appropriate for the condition of the surface. For veneer that’s already smooth with a thin finish, 150-grit sandpaper is usually a safe starting point. If the veneer is raw and relatively flat, you can start with 120 grit and move up from there.
Avoid anything coarser than 120 grit on veneer. A 100-grit or lower will remove material too quickly and leave deep scratches that are difficult to fix without risking further damage.
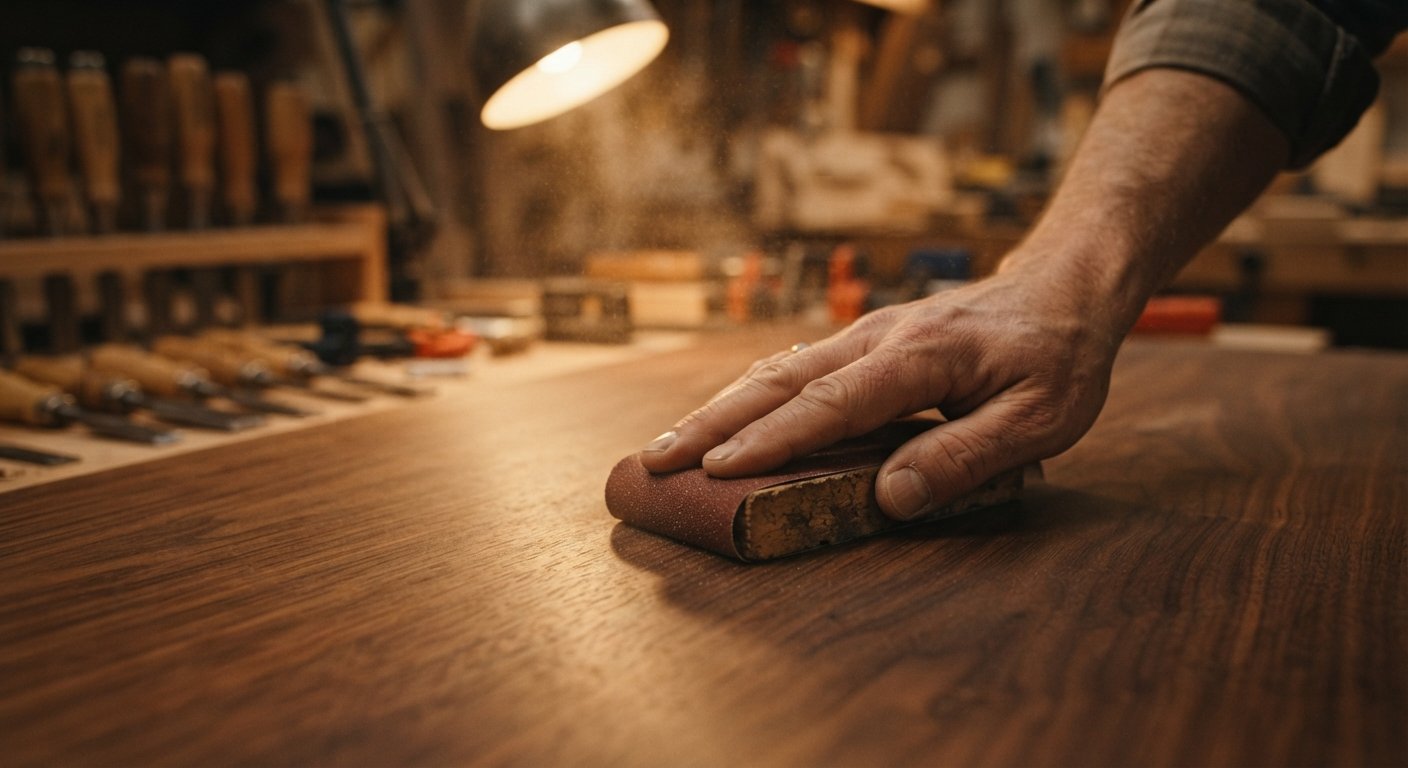
This is the most critical step. Use light, even pressure across the entire surface and avoid pressing down harder in one spot than another. Uneven pressure creates low spots and thin areas in the veneer that become visible once a stain or finish is applied.
A sanding block or cork block wrapped with sandpaper helps distribute pressure evenly across a flat surface. This is much safer than using your fingers alone, which tend to focus pressure on a smaller contact area.
Always sand with the grain, never against it or across it. Sanding across the grain leaves scratches that run perpendicular to the wood fibers. These scratches catch stain differently than the surrounding wood and become very obvious once a finish is applied.
Sand in long, straight strokes that follow the direction the grain runs. Keep your strokes consistent and overlap each pass slightly to avoid creating ridges.
Each time you move to a finer grit, stop and inspect the surface carefully. Wipe away the sanding dust with a dry cloth and look at the veneer in raking light, angled from the side. This reveals any scratches, low spots, or thin areas that need attention before you continue.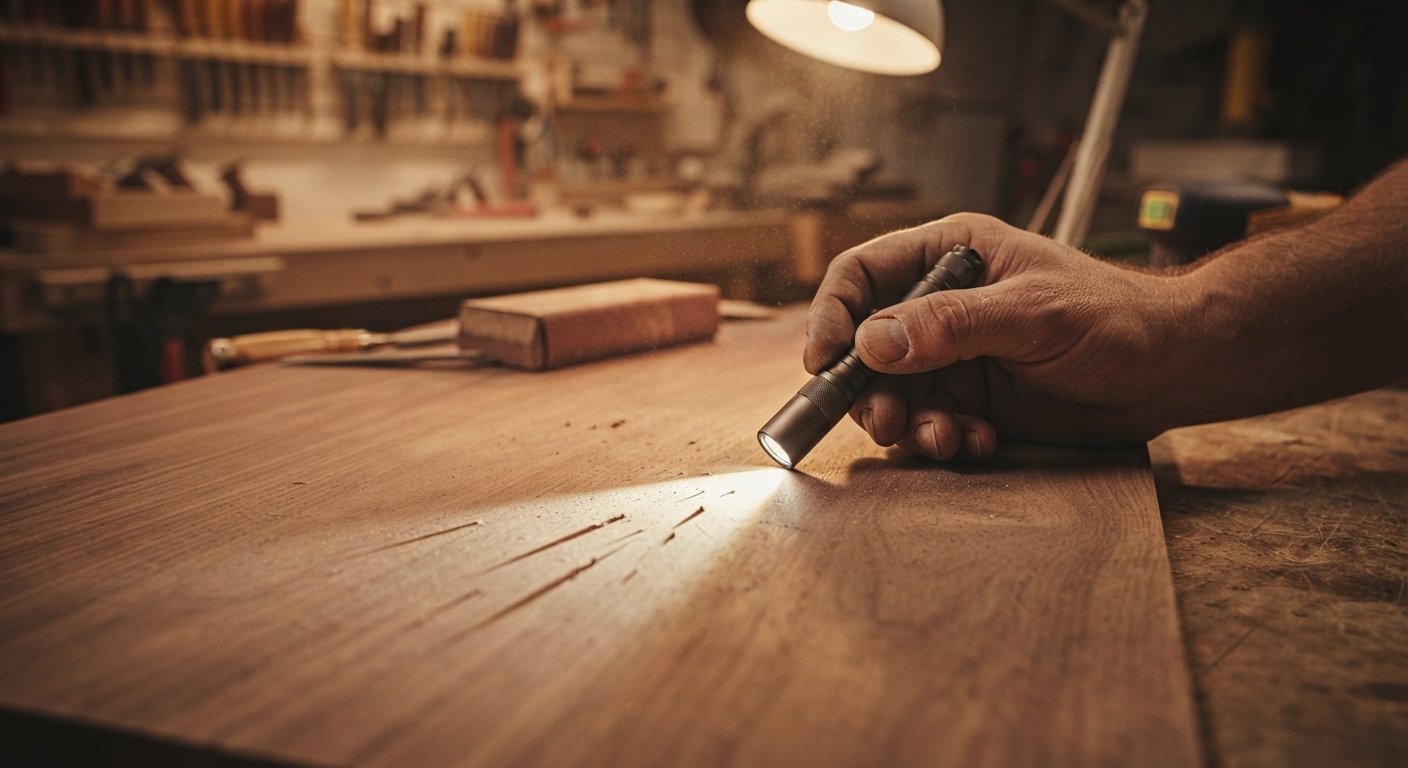
Moving to a finer grit too quickly can trap coarser scratches under a smoother surface layer, which will show through once a finish dries.
Choosing the right grit sequence is one of the most important decisions in the entire process. Here’s a straightforward breakdown:
120 grit works well as a starting point for raw veneer or lightly scratched surfaces. It removes material efficiently without being so coarse that it risks cutting through quickly.
150-grit sandpaper is the right choice for veneer that already has a smooth surface or a thin existing finish that needs to be scuffed before refinishing.
220 grit is your go-to for finishing passes before staining. At this level, you’re smoothing out the minor scratches left by the previous grit and opening the wood grain evenly so stain absorbs consistently.
320-grit sandpaper is used between coats of finish, not on bare veneer. Once a coat of lacquer or sealer dries, a light pass with 320 grit knocks down any raised grain or dust nibs and creates a smooth base for the next coat.
Higher grits like 400 and above are used for final polishing between the last topcoats where you want a glass-smooth, professional appearance.
The key rule: never skip more than one grit level in a sequence. Jumping from 120 to 220 leaves scratches from the coarser grit that the finer paper struggles to remove without excessive sanding.
Yes, it is absolutely possible to sand wood veneer, but it requires a gentler approach than sanding solid wood. The most common mistake people make is treating veneer like it has the same depth as solid timber. It doesn’t.
Modern commercial veneer sheets are typically 0.5mm to 0.6mm thick. Older furniture often used thicker cuts, sometimes 2mm to 3mm, which gives you more working room. Before you start sanding any veneered piece, it’s worth trying to assess how thick the veneer is if you can. On older or high-quality furniture, the veneer is usually thicker and more forgiving. On flat-pack or budget furniture, the veneer can be paper-thin.
As a general rule, you should remove as little material as possible. The goal of sanding veneer is to smooth the surface and prepare it for finishing, not to reshape or heavily resurface it.
Watch for these warning signs as you work:
Any of these signs mean you need to stop immediately. Continuing past this point will result in sanding through the veneer entirely.
Stop sanding as soon as the surface feels smooth to the touch and any previous finish has been fully scuffed or removed. Do not continue sanding in an attempt to remove deep scratches or dents that go beyond the surface layer. At that point, you risk doing more damage than the original flaw.
If the surface has deep scratches or gouges, filling them with a color-matched wood filler is a better option than trying to sand them out.
Proper sanding is essential before you apply any stain to wood veneer. Stain highlights every imperfection on the surface, including scratches, uneven areas, and spots where the grain has been disrupted by sanding across it.
Finish your sanding sequence at 220 grit before staining. This opens the wood grain evenly so the stain absorbs at a consistent rate across the entire surface. After your final sanding pass, wipe the surface thoroughly with a tack cloth to remove all dust. Even fine sanding dust left on the surface will interfere with how evenly the stain penetrates.
If you’re working with oakwood veneer or another open-grained species, consider applying a pre-stain wood conditioner before the stain. This helps prevent blotchy absorption in areas where the grain is particularly porous.
Test your stain on a scrap piece or an inconspicuous area before applying it to the full surface. Veneer sometimes absorbs stain more intensely than solid wood because the substrate beneath can draw moisture through the thin wood layer.
Refinishing a veneered furniture piece follows a specific sequence that protects the veneer while delivering a professional finish.
Before anything else, determine whether the furniture has raw veneer, pre-finished veneer, or paper-backed veneer. Pre-finished veneer often has a factory lacquer or UV coating that needs to be scuffed or chemically stripped before sanding reaches the wood below. Paper-backed veneer requires extra care as the backing can delaminate if it gets wet or is sanded too aggressively.
Remove all hardware, hinges, and handles. Clean the surface with a mild cleaner and let it dry fully. Inspect every panel for loose veneer edges, bubbles, chips, or deep scratches. Address any adhesion issues before you begin sanding.
Based on the surface condition, start with either 120 or 150-grit sandpaper. Wrap it around a flat sanding block or cork block for flat panels. For curved or contoured areas, use the sandpaper more loosely or switch to fine steel wool, which conforms to the shape without creating pressure points.
Work through your grit sequence systematically: 120 to 150, then 150 to 220. Wipe the surface clean between each grit change and inspect carefully in angled light. Pay extra attention to corners and edges, which are always the first spots to sand through.
Once you reach 220 grit, do a final wipe with a tack cloth. If you’re staining, apply the stain now. If you’re applying a clear finish directly, make sure the surface is completely free of dust and oils before your first coat.
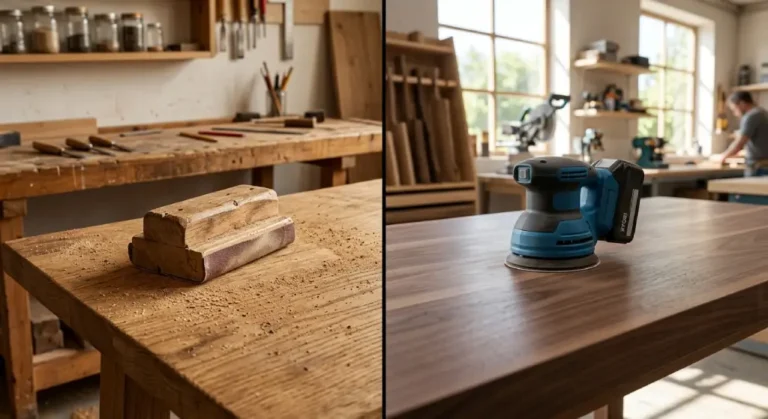
Hand sanding gives you the most control and is the safest approach for most veneer work. Using a sanding block allows you to feel the pressure you’re applying and adjust as you go. It’s slower, but the risk of sanding through the veneer is significantly lower.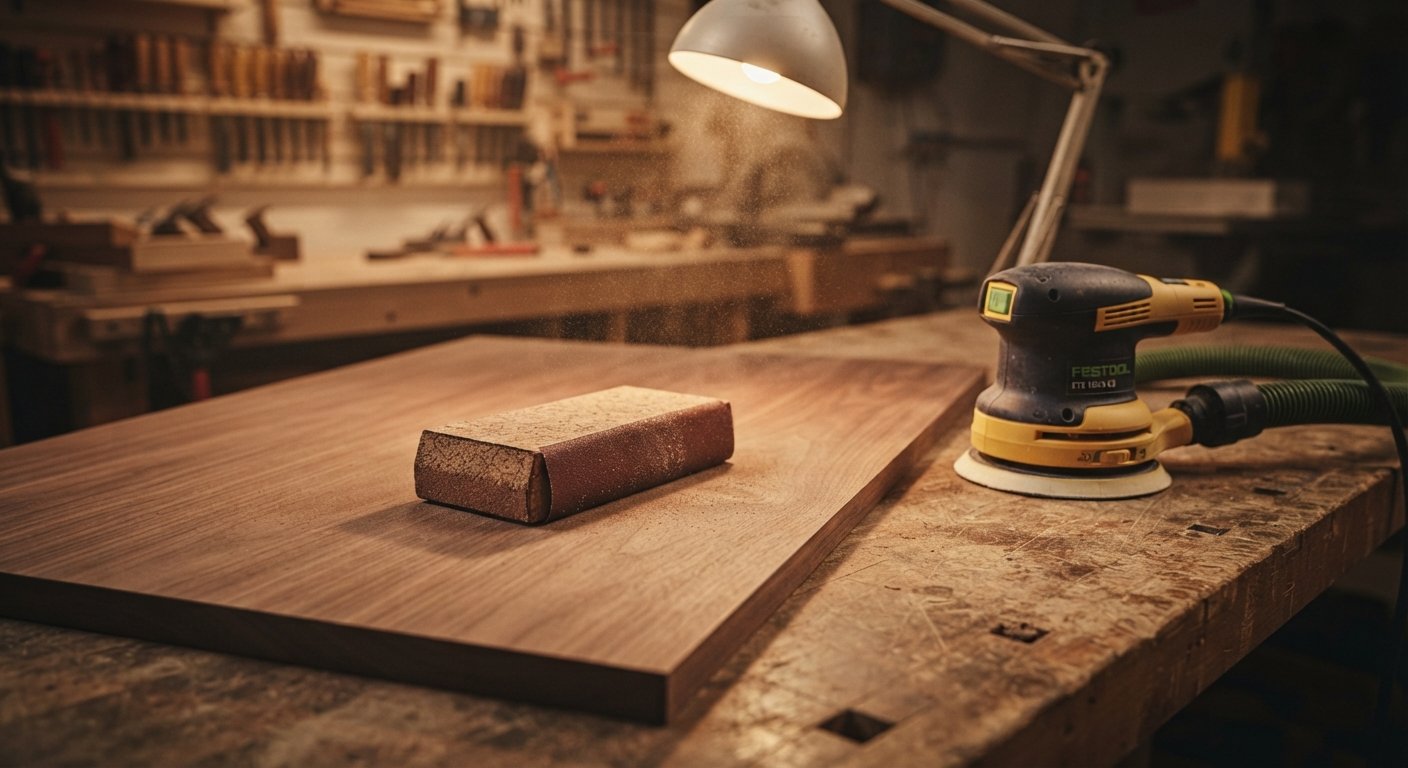
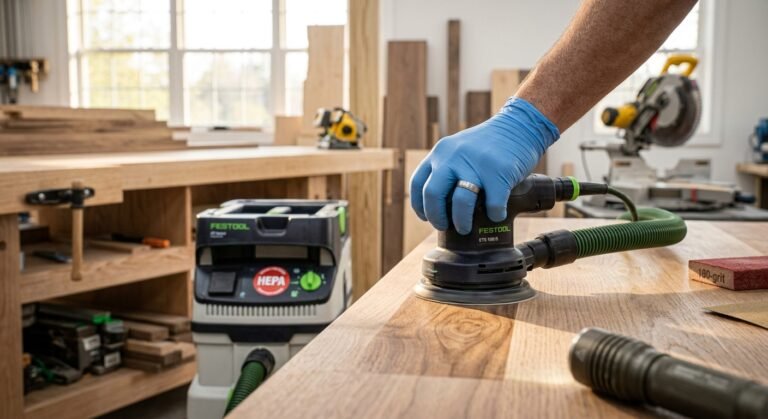
Power sanding, done correctly with a random orbital sander, can speed up the process on larger flat panels. The key is to keep the sander moving at all times and use very light pressure. Let the weight of the sander do the work rather than pressing down.
For beginners, hand sanding is strongly recommended until you develop a feel for how the veneer responds.
Power sanders become dangerous on veneer in a few specific situations. A belt sander should never be used on veneer. It removes material too aggressively and too quickly. Even a brief pause in movement can cut through the veneer entirely.
Random orbital sanders need careful handling near edges and corners where the pad can rock slightly and concentrate pressure. Avoid running a power sander over joints, inlays, or any area where the veneer changes direction.
If you’re sanding across a large surface and you reach an area with a repair patch or a different veneer thickness, switch to hand sanding for that section.
This is the most serious mistake and it usually happens at edges, corners, or high spots where the veneer sits slightly proud of the substrate. Once you sand through, the MDF or plywood beneath is exposed and cannot absorb stain or finish the same way the wood veneer does. Prevention is the only real solution.
Applying more pressure in certain areas, or sanding the same spot repeatedly, creates depressions in the surface that are invisible until a finish is applied. They catch light differently and create a wavy, unprofessional appearance.
Starting with too coarse a grit or skipping grit levels leaves scratch patterns that show through stain and finish. These are often deeper than they appear on bare wood and require careful progression through finer grits to fully remove.
Sanding across the grain leaves visible cross-grain scratches. Once stain is applied, these scratches absorb more pigment than the surrounding wood and become dark, noticeable lines that ruin the appearance of the piece.
For small areas where you’ve sanded too thin but not completely through, stop immediately and switch to a much finer grit, 220 or higher, to smooth out what remains without removing more material. Apply a thin coat of finish to stabilize the area.
For spots where the veneer has been sanded through, a color-matched wood filler can disguise the damage on painted pieces, but it won’t blend invisibly on stained wood. On natural or stained pieces, the best fix is to replace the damaged veneer panel entirely if the damage is significant. For very small spots, tinted wax filler sticks can reduce the visual impact without a full repair.
Fine steel wool, used very gently with the grain, can also help blend transitions between repaired and undamaged areas.
After your final sanding pass at 220 grit, the preparation sequence matters as much as the sanding itself.
Wipe the entire surface with a tack cloth to remove all sanding dust. Follow with a light pass using a clean, dry cloth to pick up anything the tack cloth left behind. If you plan to stain the veneer, apply the stain now and allow it to penetrate according to the manufacturer’s instructions before wiping away the excess.
For a clear finish, apply a thin first coat of your chosen product. As lacquer dries quickly, work in sections on larger pieces to keep a wet edge. Once the first coat dries completely, lightly sand with 320-grit sandpaper to knock down any raised grain. Wipe clean with a tack cloth and apply your second coat. Repeat this process between each coat for a finish that builds depth and clarity with every layer.
These finishing tips will help you get consistently better results when sanding wood veneer:
Sanding wood veneer successfully comes down to patience, light pressure, and respect for the material you’re working with. The beauty of veneer lies in that thin layer of real wood, and every pass of sandpaper brings you a little closer to the substrate beneath.
Work methodically through your grit sequence, always sand with the grain, inspect the surface frequently, and stop the moment the surface feels smooth and even. Follow these steps and you’ll end up with a veneer surface that’s perfectly prepared for staining and finishing, with every bit of that natural wood beauty intact.
Take your time, trust the process, and let the right tools and techniques do the work.
What grit sandpaper should I use on wood veneer?
Start with 120 or 150-grit sandpaper depending on the surface condition, then move to 220 grit before staining or finishing. Use 320-grit between coats of finish. Avoid anything coarser than 120 grit on veneer, as it removes material too quickly and risks cutting through the thin wood layer.
Can I use a random orbital sander on veneer?
Yes, but with caution. Keep the sander moving at all times, use light pressure, and avoid edges and corners where the pad can rock. For beginners, hand sanding is the safer option until you develop a feel for how the veneer responds to the tool.
How do I know if I’ve sanded through the veneer?
Watch for color changes, texture inconsistencies, or areas where the surface looks noticeably lighter or dull compared to the surrounding wood. These are warning signs that you’re approaching or have reached the substrate. Stop sanding immediately if you notice any of these signs.
Should I sand wood veneer before staining?
Yes. Sanding to 220 grit before staining opens the wood grain evenly so the stain absorbs consistently. Skip this step and the stain will look uneven and blotchy. Always finish with a tack cloth to remove all sanding dust before applying stain.
Is it safe to sand veneer furniture more than once?
It depends on the veneer thickness. Thicker veneer from older furniture can often handle careful light sanding more than once. Thin modern veneer, especially on flat-pack furniture, may only tolerate a single careful sanding. Always use the lightest pressure possible and stop as soon as the surface is smooth.
What’s the difference between sanding raw veneer and pre-finished veneer?
Raw veneer has no coating and can be sanded directly, starting at 120 or 150 grit. Pre-finished veneer has a factory-applied lacquer or UV coating that must be scuffed or stripped before sanding reaches the wood beneath. Sanding pre-finished veneer without addressing the coating first can cause the finish to peel unevenly.
How do I fix a spot where I sanded through veneer?
For painted pieces, a color-matched wood filler can disguise small areas of damage. For stained or natural wood pieces, tinted wax filler sticks reduce the visual impact for minor spots. Significant damage usually requires replacing the veneer panel entirely for a clean, professional result.