Physical Address
304 North Cardinal St.
Dorchester Center, MA 02124
Physical Address
304 North Cardinal St.
Dorchester Center, MA 02124

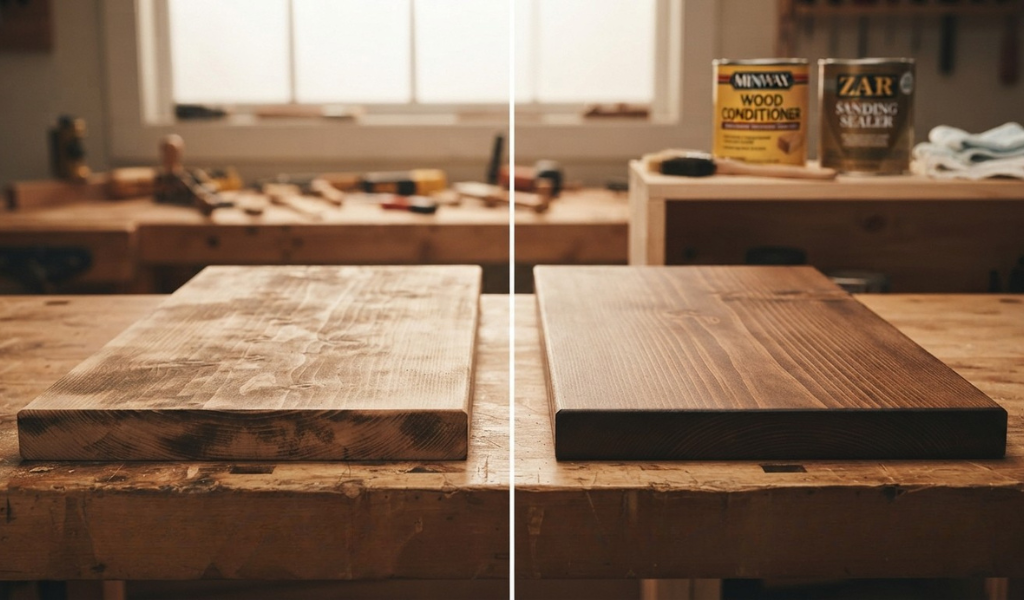
If you have ever stained a piece of wood and ended up with ugly blotches, you already know how frustrating a finish can be. That is where the wood conditioner vs sanding sealer debate comes in. Both products help you get a smoother, more even result, but they do very different jobs. Picking the wrong one can leave your project looking patchy, dull, or just plain off.
In this guide, we will break down what each product does, how they compare, and when to reach for one over the other. Whether you are refinishing an old table, building a bookshelf, or staining a set of cabinets, understanding these two products will save you time, money, and a lot of headaches. By the end, you will know exactly which finish suits your project and how to apply it like a pro.
A wood conditioner is a liquid product you apply before staining. Its main job is to prep the surface so it soaks up stain evenly. Softwoods like pine, fir, and maple are famous for staining unevenly. Some spots drink up color while others barely take any. The result is a blotchy mess that no one wants on a finished project.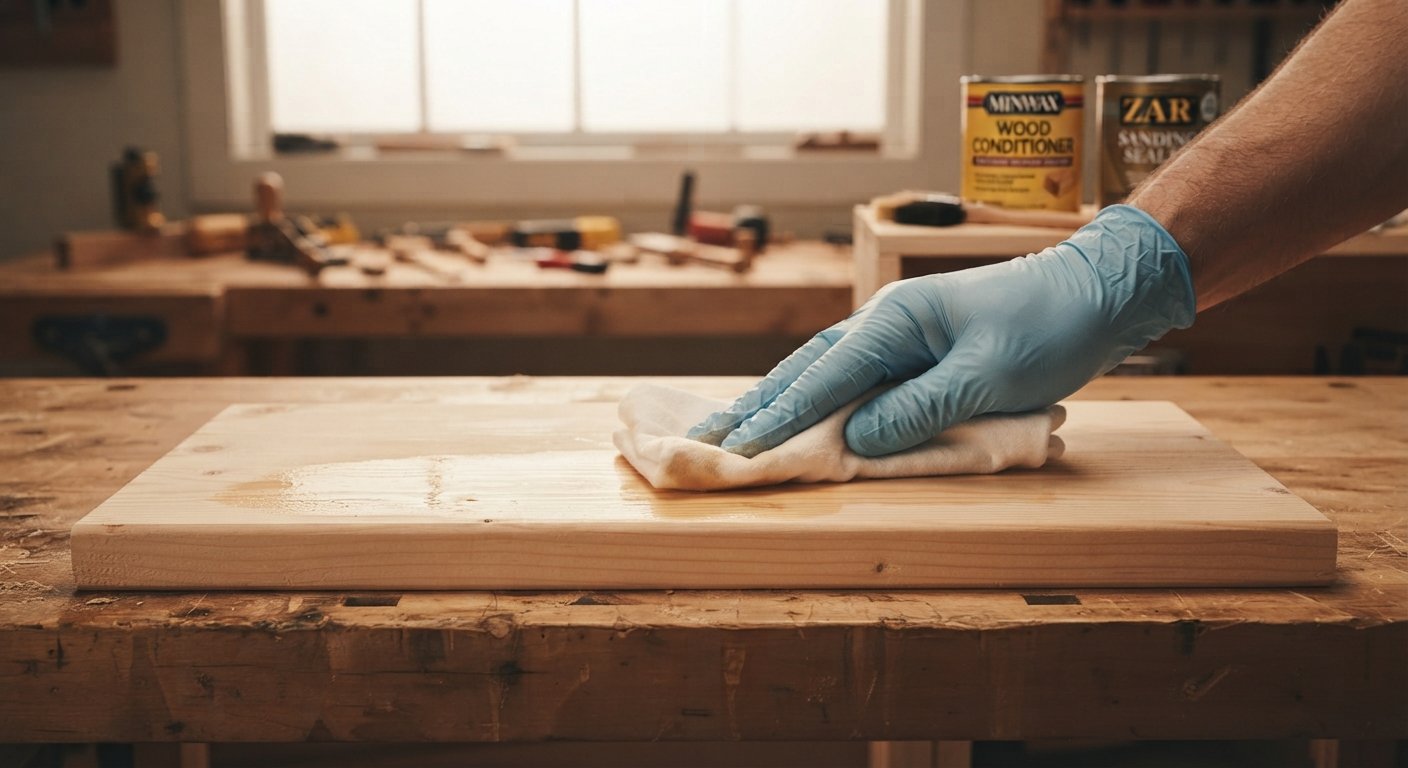
Here is how it works. The conditioner partially fills the porous areas of the wood. This levels out how much stain each part can absorb. Once you brush on your stain, the color spreads more evenly across the whole surface.
Most wood conditioners come in oil-based or water-based formulas. Oil-based versions pair well with oil-based stains, while water-based ones work best with water-based stains. Matching them helps avoid any reaction that could ruin your finish.
Think of a wood conditioner as a primer for stain. It does not add color or seal the surface for good. It simply gives the stain a fair, even canvas to work on. For anyone staining tricky softwoods, it can be the difference between a clean look and a splotchy one.
A sanding sealer is a base coat that seals the wood before you apply a topcoat like varnish, lacquer, or polyurethane. Unlike a conditioner, it is not focused on staining. Its purpose is to create a smooth, sealed foundation for your final finish.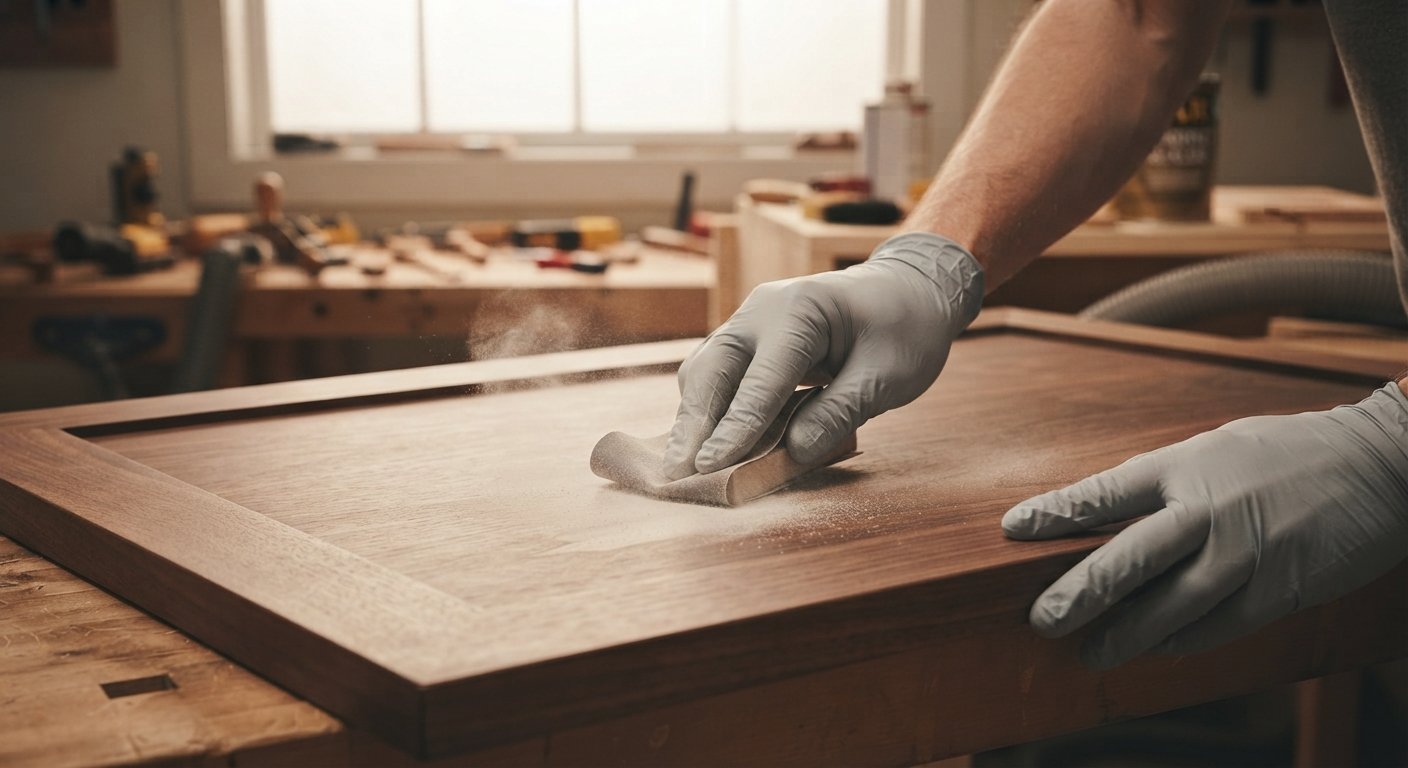
Sanding sealer contains special ingredients, often zinc stearate, that make it easy to sand once dry. After it cures, you can sand it back to a silky-smooth surface. This gives your topcoat something solid to grip, which improves adhesion and the overall look.
This product also fills tiny pores and raised grain in the wood. That means you use less topcoat and get a more uniform result. It saves you money on expensive finishes while giving you a cleaner final coat.
You will often see sanding sealer used with lacquer or shellac systems. It builds quickly and sands beautifully, which makes it a favorite among furniture makers and cabinet builders. If your goal is a flawless clear finish, a sanding sealer is a strong first step.
At first glance, both products sound similar. They both go on before your final finish. But their roles are quite different, and mixing them up can lead to poor results.
A wood conditioner is all about stain absorption. It preps bare wood so stain goes on evenly. A sanding sealer, on the other hand, is about sealing and smoothing the surface for a clear topcoat.
Timing sets them apart too. You use a conditioner before staining. You use a sanding sealer after staining but before the protective topcoat, or on raw wood when no stain is involved.
Their finish also differs. A conditioner leaves the wood ready to take color and does not build a film. A sanding sealer builds a thin, hard layer you can sand down. One prepares wood to receive color while the other prepares it to hold a durable coating.
Knowing when to use each one comes down to your end goal. Are you staining the wood, or are you going straight for a clear protective coat?
Reach for a wood conditioner when you plan to stain porous or blotch-prone wood. Pine, cherry, birch, and maple are classic troublemakers. If you want that stain to look smooth and professional, a conditioner is your friend.
Choose a sanding sealer when you want a clean, sealed base for a clear finish. If you are building furniture that will get lacquer or shellac, a sanding sealer speeds up the process and gives you a better surface to work with.
Sometimes the choice depends on the wood itself. Hardwoods like oak or walnut may not need a conditioner because they stain fairly evenly. But almost any wood benefits from a sealed base before a glossy topcoat.
There is no single winner in this comparison. The right pick depends entirely on your project and the finish you want. Both products solve real problems, but they solve different ones.
If your main concern is uneven stain, go with a pre-stain conditioner. It targets blotching directly and gives you a smooth, even color. This matters most on softwoods and light-colored woods where flaws show easily.
If your main concern is a smooth clear coat, go with a sealing product. It preps the surface for varnish or lacquer and helps that topcoat look flawless. It also saves you finish material in the long run.
For many woodworkers, the answer is both, just at different stages. Understanding the order of operations is what really matters, and we will cover that shortly.
Let us make the distinction crystal clear. A pre-stain wood conditioner controls how stain absorbs. A sanding sealer creates a sealed, sandable base for a topcoat. They are not interchangeable.
You can think of it this way. The conditioner works with stain. The sealer works with the clear finish that goes on top. One handles color, the other handles protection and smoothness.
Another key difference is the film they leave. A conditioner soaks in and leaves almost no build on the surface. A sealer dries into a thin film you sand back before your final coats.
The confusion usually comes from the fact that both are prep products. But their timing and purpose are completely separate. Once you know which stage you are at, choosing the right one becomes easy.
This is where a lot of people get tripped up. Before staining, only one of these products belongs on your wood, and that is the conditioner.
A pre-stain conditioner goes on bare wood, sits for a few minutes, and preps the surface for stain. You apply your stain shortly after, usually within two hours. This window keeps the wood ready to accept color evenly.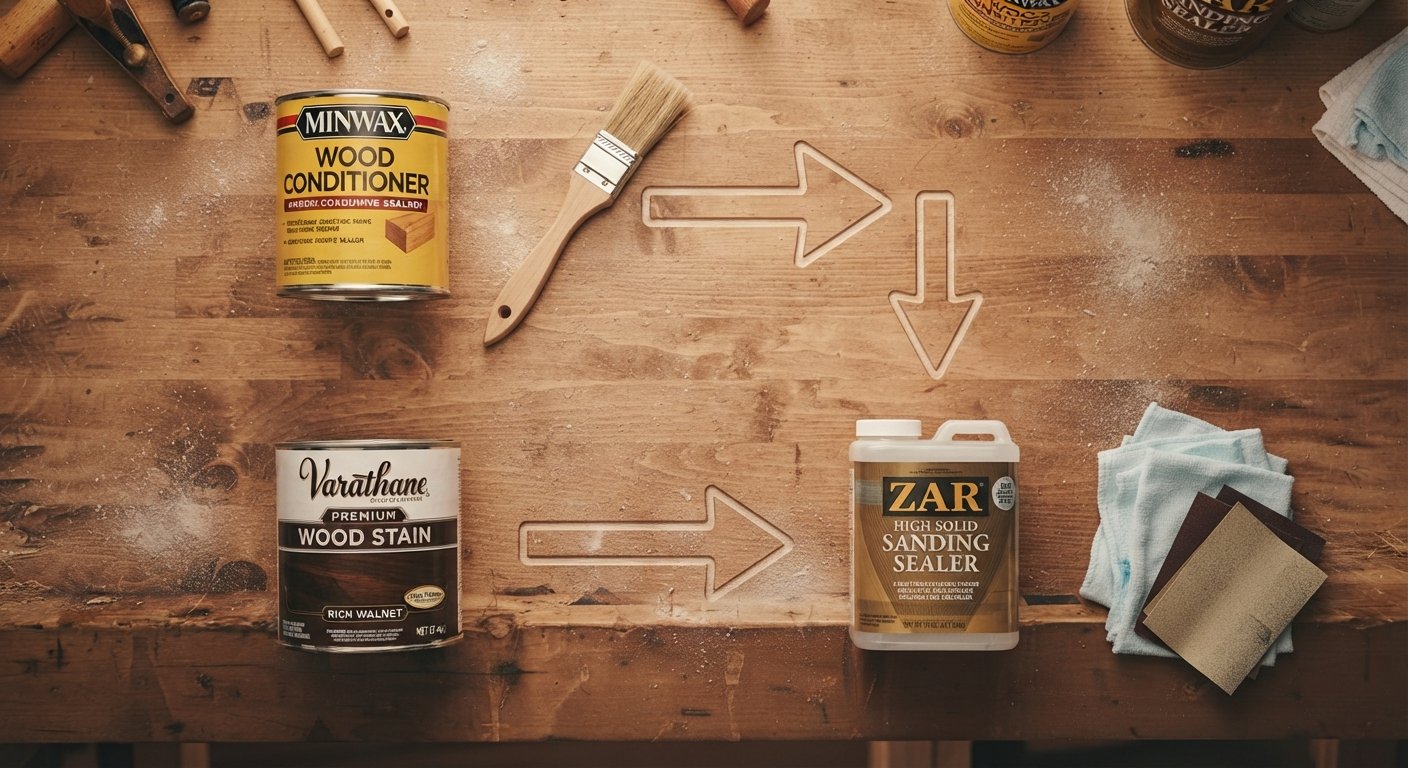
A sanding sealer should not go on before stain. If you seal the wood first, the stain cannot penetrate the surface. You would end up with weak, patchy color because the sealer blocks absorption.
So the rule is simple. Stain project? Condition first, then stain. Only bring in a sealer later, if you plan to add a clear protective coat after the stain has dried.
A wood conditioner shines in specific situations. The biggest one is staining softwood. Pine is the classic example. Without a conditioner, pine tends to look blotchy and uneven after staining.
Blotch-prone hardwoods also benefit. Cherry, birch, maple, and alder can absorb stain unevenly despite being hardwoods. If you have had bad luck staining these, a conditioner can turn things around.
Use it any time even color is your top priority. Interior projects like furniture, trim, cabinets, and doors are perfect candidates. Anywhere people will look closely at the finish, an even stain makes a big difference.
Skip the conditioner only when you are staining wood that already takes color well, or when you actually want a rustic, uneven look. Otherwise, for a smooth stained finish, it is one of the easiest wins in woodworking.
A sanding sealer is your go-to when you want a clear, glossy, or satin finish that looks professional. It sets the stage for topcoats like lacquer, varnish, and polyurethane.
Use it on raw wood when you are not staining but want a beautiful clear finish. It seals the grain, reduces the number of topcoats you need, and gives you a smooth base to sand.
It also works well after staining. Once your stain is fully dry, a thin coat of sealer locks it in and preps the surface for your final clear coats. Just make sure the sealer is compatible with your topcoat.
Furniture makers, cabinet builders, and anyone chasing a flawless clear finish rely on this product. If the natural look of the wood is the star of the show, a sealing coat helps it shine.
Every product has its pros and cons. Knowing them helps you set the right expectations for your project.
The biggest benefit is even stain absorption. It prevents blotching and gives you clean, consistent color. It is also quick to apply and works on a wide range of woods. For beginners, it takes a lot of guesswork out of staining.
The main downside is timing. You have a limited window to stain after applying it. It can also slightly lighten your final stain color because it reduces absorption. And it only helps with staining, not with clear finishes.
A sanding sealer dries fast and sands easily. It builds a smooth base, improves topcoat adhesion, and reduces how much finish you use. It is a big time-saver on clear-finish projects.
Some sanding sealers can affect durability if you use too many coats, especially under certain topcoats. Compatibility matters, so you need to match it with the right finish. It also does nothing to help with stain blotching.
Yes, you can use both, and on many projects you will. The trick is using them in the correct order at the correct stage.
Here is the typical sequence. Start with a pre-stain conditioner on bare wood. Apply your stain and let it dry fully. Then, if you want a clear protective coat, add a sanding sealer followed by your topcoat.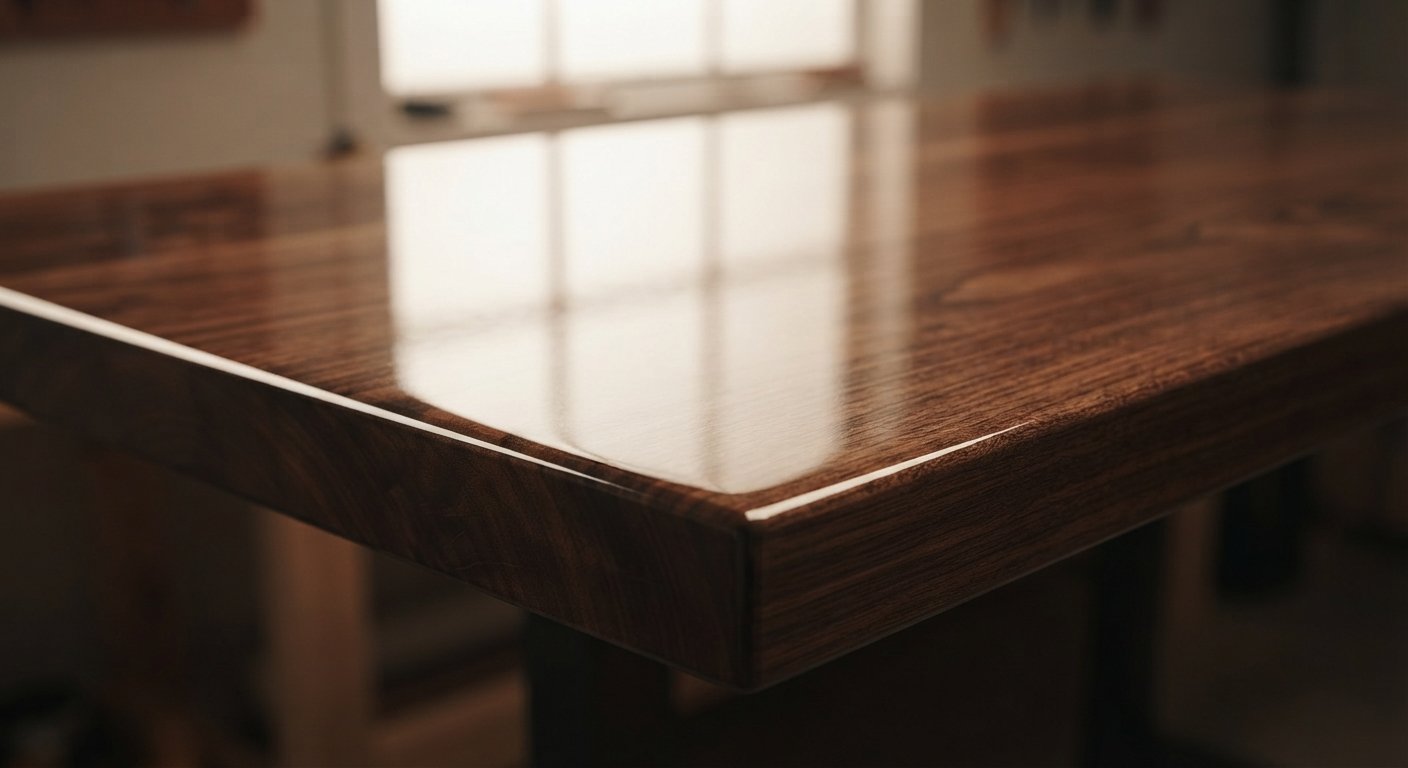
This approach gives you the best of both worlds. You get even, blotch-free color from the conditioner and a smooth, durable clear finish thanks to the sealer. Each product does its job at the right moment.
Just remember never to swap the order. Conditioner belongs before stain. Sealer belongs after stain and before the topcoat. Keep that flow and your finish will look clean and professional.
Different projects call for different approaches. Matching the product to the job makes your life easier and your results better.
For a stained pine bookshelf, a conditioner is essential. Pine loves to blotch, so prepping it first gives you smooth, even color. If you add a clear coat later, a sealer can follow the dried stain.
For a natural oak table with a clear finish, skip the stain and conditioner. Go straight to a sanding sealer, then apply your topcoat. This lets the natural grain shine while keeping the surface silky smooth.
For kitchen cabinets that will be stained and clear-coated, use both. Condition first, stain, let it dry, then seal and topcoat. Cabinets get heavy use, so a durable, even finish really pays off.
For small craft pieces or trim, judge by the wood and the look you want. Blotch-prone wood with stain gets a conditioner. Clear-finished raw wood gets a sealer. The project guides the choice.
Choosing the right product comes down to three simple questions. What wood are you using, are you staining it, and what final finish do you want?
Start with the wood. Softwoods and blotch-prone species almost always benefit from a conditioner before stain. Even-staining hardwoods may not need one at all.
Next, decide on color. If you are staining, a conditioner is your best tool for even results. If you are going natural, you can skip the stain and the conditioner entirely.
Finally, think about protection. If a clear topcoat is part of your plan, a sanding sealer smooths and preps the surface for it. Match the sealer to your chosen finish for the best outcome.
Answer those three questions and the right product almost picks itself. When in doubt, remember the golden rule: condition for color, seal for clarity.
The wood conditioner vs sanding sealer question does not have to be confusing. Once you understand their jobs, the choice is straightforward. A conditioner preps wood for even staining, while a sanding sealer preps wood for a smooth, clear topcoat. One handles color, the other handles clarity and protection.
For many projects, especially stained furniture and cabinets, you will use both at different stages. Condition first, stain, then seal and topcoat. Follow that order and you will avoid blotches, save on finish material, and end up with results you can be proud of.
Ready to tackle your next project? Grab the right product for your goal, test it on a scrap piece first, and take your time. A little prep work now leads to a finish that looks great for years. Happy woodworking.
No, they are not interchangeable. A wood conditioner preps bare wood for even stain absorption. A sanding sealer preps wood for a clear topcoat. Using one in place of the other will not give you the result you want.
No. If you are skipping stain and going for a natural clear finish, you do not need a conditioner. In that case, a sanding sealer is the better choice to prep the surface for your topcoat.
It can lighten the final color slightly because it reduces how much stain the wood absorbs. This is usually a fair trade for even, blotch-free color. Always test on a scrap piece to see the result first.
Most products recommend waiting a short time, often around 15 minutes, and then staining within two hours. Check the label, since drying and working windows vary by brand and formula.
Yes. That is exactly what a sanding sealer is for. Once it dries, sand it lightly, wipe off the dust, and apply your topcoat. Just make sure the sealer and topcoat are compatible.
It is not always required, but it helps. A sealer smooths the surface, improves adhesion, and reduces how many coats of polyurethane you need. For a flawless clear finish, it is a smart step.
For staining pine, a wood conditioner is better because it stops blotching. If you want a clear natural finish on pine without stain, a sanding sealer is the way to go. It depends on whether you are adding color.