Physical Address
304 North Cardinal St.
Dorchester Center, MA 02124
Physical Address
304 North Cardinal St.
Dorchester Center, MA 02124

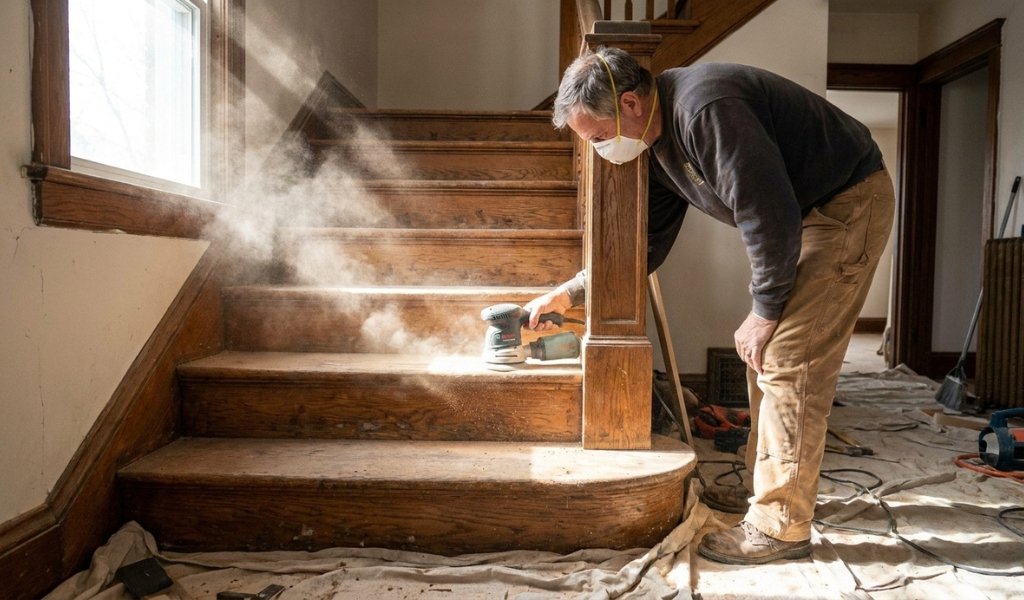
Wooden stairs take more foot traffic than almost any other surface in a home. Over the years, they collect scratches, dents, worn finish, and old paint that dulls their natural beauty. The good news? You can bring them back to life. Sanding is the single most important step in any staircase renovation, and getting it right sets the foundation for a professional finish.
This step-by-step guide walks you through how to sand your wooden staircase safely and effectively from prep work to the final smooth surface. Whether you’re a seasoned woodworker or a first-time DIYer tackling an old staircase, you’ll learn how to sand wooden stairs the right way, avoid common stair sanding mistakes, and prep your treads and risers for stain, paint, or varnish.
Before you pick up a sander, it pays to understand the fundamentals of abrasives and grit. For a broader look at technique and tools, this complete guide to sanding is a solid primer that complements everything covered here. With the right tools, the right grit, and a bit of patience, you can restore even the most tired wood stairs to their former glory.
Let’s get into it.
Great results start long before the sander touches the wood. Rushing the prep stage is the fastest way to ruin a staircase renovation. Take your time here, and the actual sanding will go far more smoothly.
If your staircase is currently carpeted, strip it back to bare wood first. Pull up the carpet and padding, then turn your attention to the carpet grippers nailed along the edges of each tread. Use a pry bar to lift them, working carefully so you don’t split the wood underneath.
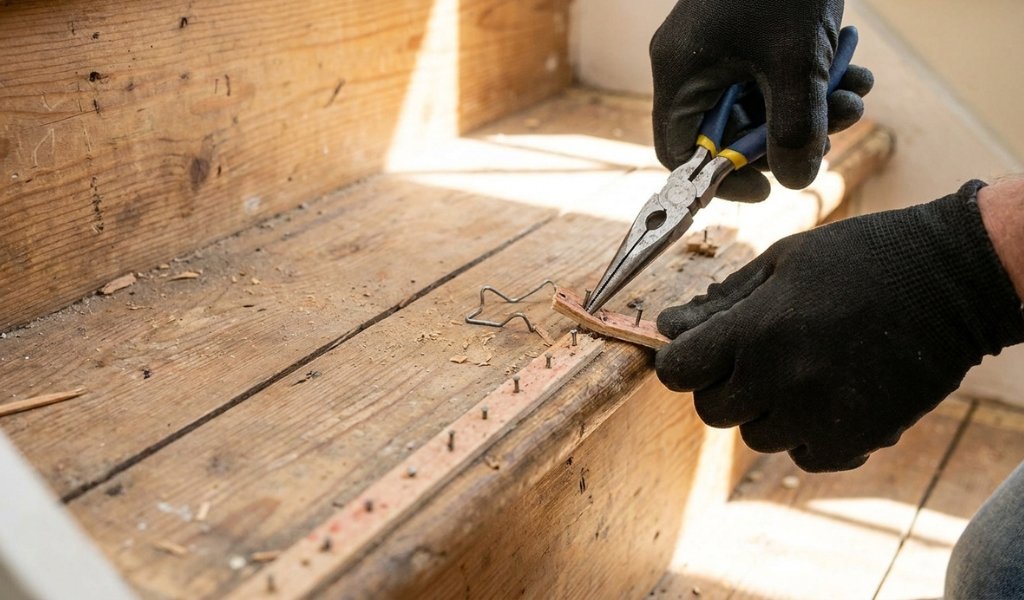
Next comes the tedious part: removing staples and nails. Old carpet leaves behind dozens of staples per step, and every single one must come out. A staple remover or a pair of needle-nose pliers works well here. Any nail left proud of the surface will tear your sandpaper and gouge the wood, so pull or hammer them flush.
Old adhesive residue and dried glue also need attention. Scrape off what you can with a scraper, then sand the rest away once the surface is clear. Skipping this step clogs your sandpaper fast and leaves sticky patches that ruin the finish.
With the stairs stripped, inspect every tread and riser closely. Look for cracks, splinters, loose boards, and deep gouges. This is your chance to fix problems before they get sealed under a fresh coat of finish.
Fill any cracks, holes, or old nail holes with a quality wood filler. Choose a filler that matches your wood if you plan to stain, or a paintable version if you’re painting. Press it in firmly, let it cure fully, then sand it flush during the main sanding process.
Check for splintering along the front edge of each tread, the area that takes the most wear. Loose splinters should be glued down or removed. If a board is badly damaged, now is the time to replace it. It’s far easier to restore a solid, well-prepped surface than to fight problems halfway through the job.
Sanding wooden stairs produces an enormous amount of fine dust, and hardwood dust is a genuine respiratory hazard. Protect yourself before you start.
At minimum, wear:
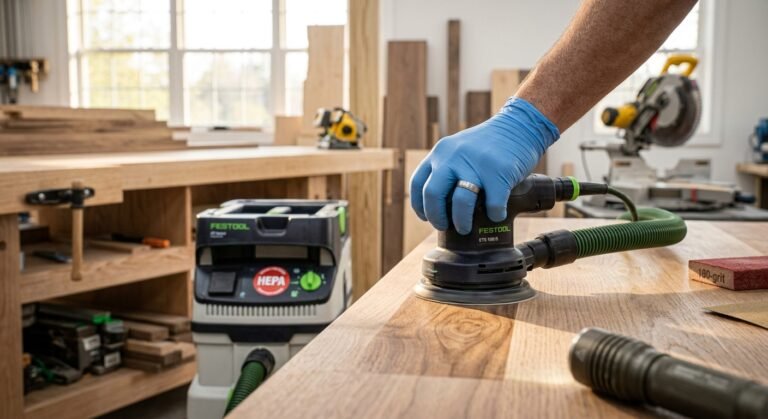
Dust containment matters just as much. Seal off doorways with plastic sheeting to stop dust drifting through the house. Connect your orbital sander or palm sander to a dust extractor or shop vacuum wherever possible this pulls fine dust straight from the source and keeps the air cleaner. Open a window for ventilation, and keep a vacuum cleaner handy for frequent cleanup.
Stairs are awkward to sand. You’ve got flat treads, vertical risers, tight corners, and often ornate spindles and a handrail to work around. No single tool handles all of it, so a small kit of the right tools makes the job faster and cleaner.
An orbital sander, specifically a random orbital model is your workhorse for the large flat areas of treads and risers. Its circular motion minimizes swirl marks and works well across coarse and fine grits. A palm sander is a lighter, more maneuverable option for smaller surfaces and edges.
For the corners where treads meet risers, a standard orbital sander won’t reach. This is where a detail sander earns its keep.
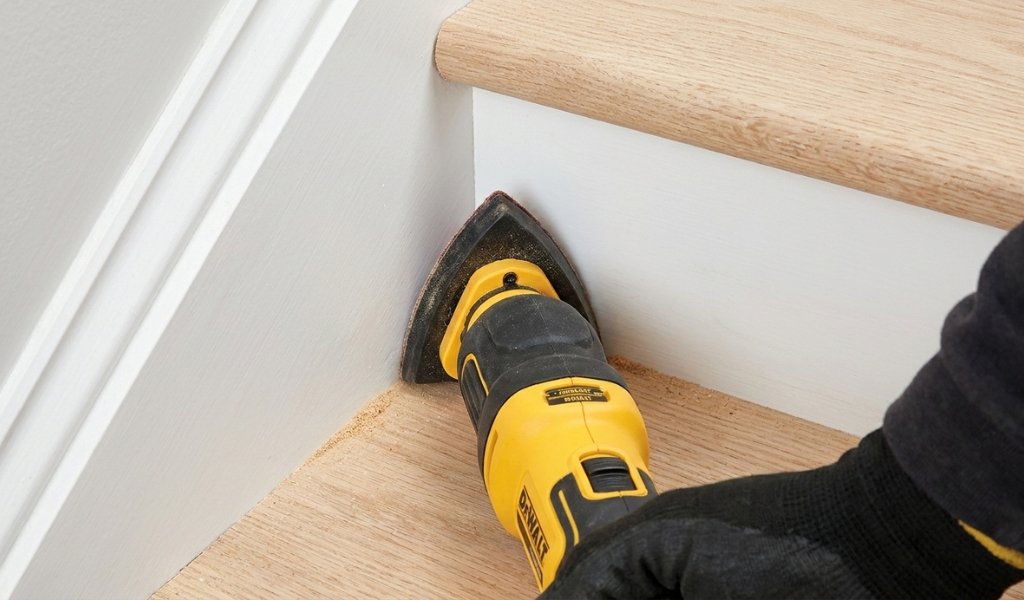
Its pointed, triangular pad gets right into tight angles and along the inside edges that bigger tools miss.
A scraper is invaluable for spots no sander can touch removing flaking paint, stubborn varnish, or old finish from crevices. Pair it with a sharp blade and light pressure to avoid digging into the wood. Steer clear of a belt sander on stairs unless you’re highly experienced; it removes a lot of material fast and can gouge a tread in seconds.
Some areas simply have to be sanded by hand. Spindles, curved handrails, moldings, and ornate details are too delicate and irregular for power tools.
A hand sanding block gives you control that no machine can match. Wrapping sandpaper around a block distributes pressure evenly and prevents the finger dips that leave an uneven surface. For rounded spindles and profiles, fold a strip of sandpaper or use a flexible foam sanding pad that conforms to the shape.
Always sand by hand along the grain of the wood. Cross-grain scratches are nearly invisible on bare wood but show up glaringly once stain goes on. Patience with these fiddly areas is what separates a rushed job from a professional finish.
With prep done and tools ready, it’s time to sand. Work methodically from the top of the staircase down, and follow the correct grit progression at every stage.
Treads take the heaviest wear, so they usually need the most work. Start with your random orbital sander loaded with a coarse grit around 60 or 80 grit to strip the old finish and level out worn spots.
Keep the sander flat and moving at a steady pace. Tilting it concentrates pressure on one edge and creates dips or burn marks. Let the machine’s weight do the cutting rather than pressing down hard. Once the old finish is gone and the surface feels even, move up through the grits.
Risers see less wear than treads, so they typically need lighter sanding. If they’re painted, use your orbital or detail sander to strip the old paint back to bare wood.
Work the flat central area with your orbital sander, then switch to a detail sander for the corners where the riser meets the tread and stringers. For any decorative molding on the risers, drop back to hand sanding with a block or foam pad. Match the grit progression you used on the treads for a consistent surface throughout.
Grit progression is the heart of a good sanding job. Skipping grits leaves deep scratches that the finer paper can’t remove and they’ll show up under stain or varnish.
A reliable progression for wood stairs looks like this:
Each grit erases the marks left by the one before it.
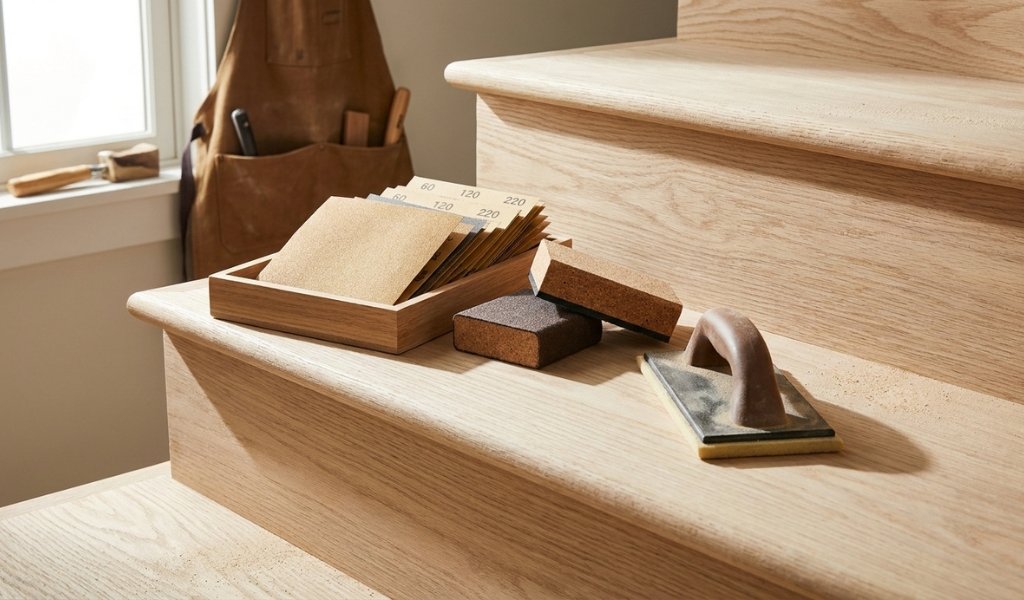
Don’t jump from 80 grit straight to 220 those middle stages exist for a reason. Always sand with the grain, and keep pressure consistent from step to step.
Cleaning between grits isn’t optional. Leftover dust and grit from a coarser pass will get dragged across the surface by the finer paper, creating fresh scratches.
After each grit, sweep or vacuum every tread, riser, and corner thoroughly. A vacuum cleaner with a brush attachment reaches into crevices where dust hides. Once you’ve finished the final grit, wipe the whole staircase with a tack cloth or a slightly damp cloth to lift the last of the fine dust. A perfectly clean surface is essential before any paint or varnish goes on.
Even careful workers slip up. Knowing the most common stair sanding mistakes ahead of time helps you dodge them and address the creaks that plague so many old staircases.
Most sanding damage comes down to three habits. Here’s how to avoid each:
Fresh, sharp sandpaper cuts cleanly and cool. Dull paper generates heat and friction, which scorches the wood and leaves marks that are tough to sand out.
Sanding is the perfect moment to silence a creaky staircase, since the wood is bare and accessible. Creaks usually come from movement between the tread and the riser or stringer.
If you can reach the underside of the stairs, drive screws through the stringers into the loose treads, or add glue blocks in the corner joints for extra support. Working from above, you can drive finishing screws down through the tread into the riser or stringer below just countersink the heads and fill them with wood filler before you sand the final grit.
For minor squeaks, working a bit of powdered graphite or wood glue into the joint can quiet the movement. Fix the creaks now, while everything is exposed. Once the finish is on, these repairs become far harder to make cleanly.
Sanding wood stairs takes effort, but the payoff is worth it. A carefully sanded staircase stripped of old paint and varnish, repaired, and smoothed through the right grit progression gives you a flawless base for whatever finish you choose. The difference between an amateur job and a professional finish almost always comes down to the prep and the sanding, not the coat that goes on top.
Take it one step at a time. Prep thoroughly, protect yourself from dust, use the right tools for each area, and never skip a grit. Do that, and you’ll have a staircase you’re proud to show off, one that stands up to years of foot traffic to come.
Ready to start your project? Gather your sanding tools, set aside a weekend, and give your old staircase the renovation it deserves.
The best way to sand a wooden staircase is to work top to bottom and follow a coarse-to-fine grit progression. Strip old finish with 60–80 grit, then move through 120, 150, and 220 grit. Use a random orbital sander for flat treads and risers, a detail sander for corners, and hand sanding blocks for spindles and moldings. Always sand with the grain and vacuum between every grit.
A random orbital sander is the best all-around choice for flat treads and risers because it cuts efficiently without leaving swirl marks. Pair it with a detail sander for tight corners and a palm sander or hand sanding block for spindles and edges. Avoid a belt sander unless you’re experienced. It removes material too aggressively and can gouge the wood.
Yes. Refinishing wood stairs is a very achievable DIY project with the right tools and patience. The main challenges are the prep work, working carefully around spindles and handrails, and following the correct grit progression. Set aside a full weekend, wear proper safety gear, and take your time to get a professional-looking result.
You can refresh stairs without full sanding using a liquid deglosser or a bonding primer, which lets new paint or finish adhere without stripping to bare wood. However, this only works if the existing finish is sound. For stairs with worn, peeling, or damaged finish or if you want to stain the wood, sanding is the only reliable way to get a lasting, professional result.
Sanding a standard flight of stairs typically takes one to two full days, depending on the condition of the wood and how ornate the staircase is. Removing carpet, staples, and old adhesive can add several hours on its own. Plain, straight stairs go faster, while stairs with detailed spindles and moldings that must be sanded by hand take considerably longer.
Yes. Bare wood must be sealed after sanding to protect it from moisture, dirt, and heavy foot traffic. Apply stain if you want to enhance the grain, then seal with a durable topcoat like polyurethane. If you prefer paint, use a primer followed by a hard-wearing paint. An unfinished staircase will wear, stain, and absorb moisture quickly.