Physical Address
304 North Cardinal St.
Dorchester Center, MA 02124
Physical Address
304 North Cardinal St.
Dorchester Center, MA 02124

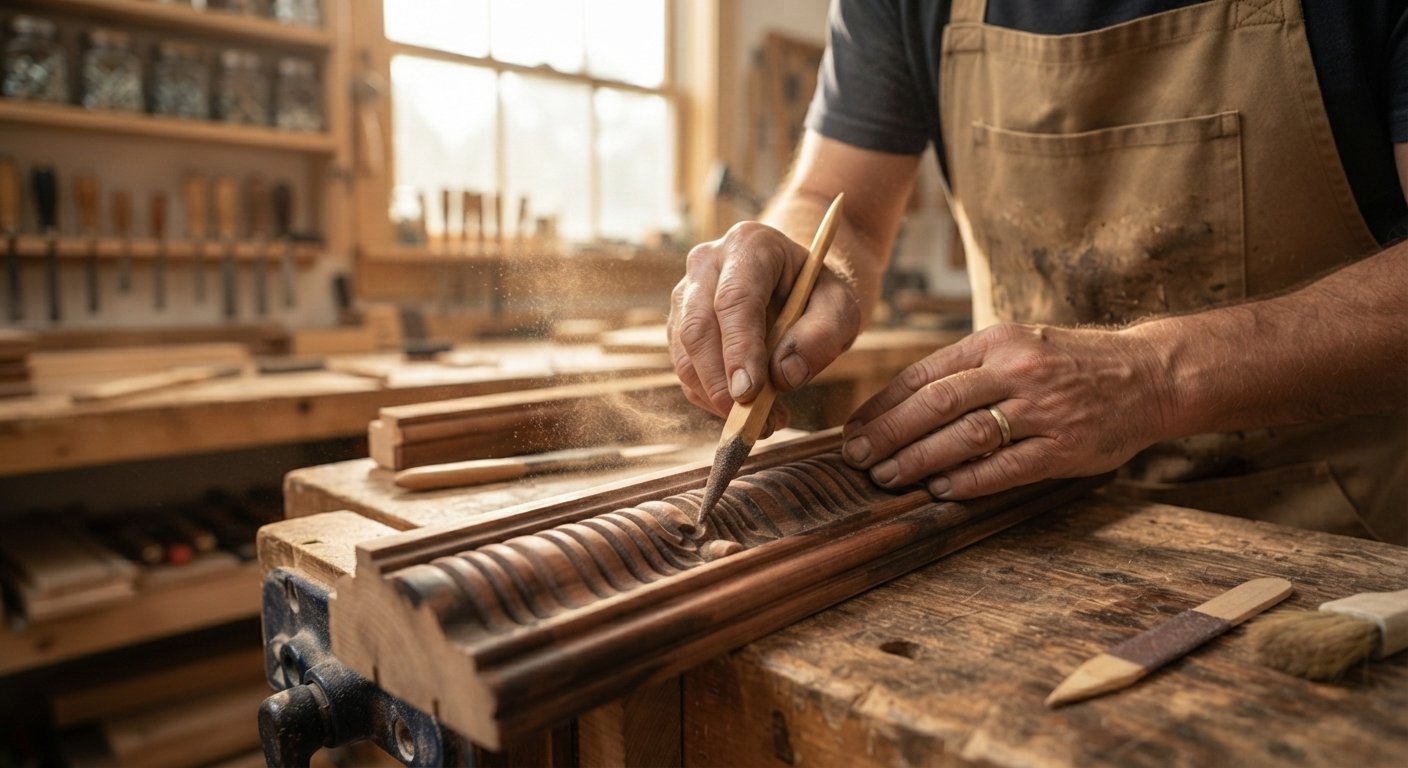
If you have ever struggled to get into a tight corner of a woodworking project with a bulky sanding block, you already know why wood sanding sticks have become a favorite tool among hobbyists and professionals alike. These small, often overlooked tools solve a problem that regular sandpaper and power sanders simply cannot handle: precision work on curves, grooves, and detailed carvings. Whether you are finishing a piece of furniture, restoring an antique, or working on a small craft project, wood sanding sticks give you the control that larger tools just cannot match.
In this guide, we will walk through everything you need to know about wood sanding sticks, from how they work to how you can make your own at home. Think of this as the complete guide to sanding wood the smart way, using tools that actually fit the job instead of fighting with equipment that is too big or too clumsy for detailed work.
By the end of this article, you will understand the different types of sanding sticks, how to pick the right grit, and how to avoid the common mistakes that ruin an otherwise good finish. Let’s get into it.
Wood sanding sticks are narrow, elongated tools coated or wrapped with abrasive material, designed to smooth wood surfaces in places where standard sandpaper sheets or sanding blocks simply do not fit. Picture a nail file, but built for wood instead of nails. They come in a variety of shapes including flat, round, pointed, and tapered, which makes them useful for a wide range of detail work.
Unlike flat sanding blocks that work best on wide, open surfaces, these sticks are built for precision. They give woodworkers a way to reach into carved details, tight grooves, and curved edges without damaging the surrounding wood. Many craftsmen keep a whole set of them in different shapes and grits, much like a painter keeps different brush sizes for different strokes.
The mechanism behind these tools is simple but effective. A rigid or semi-rigid core, usually made from wood, plastic, or foam, is wrapped or coated with an abrasive layer such as sandpaper or emery cloth. As you move the stick back and forth across the wood surface, the abrasive grit shaves off tiny particles of wood fiber, gradually smoothing out rough spots, splinters, and uneven areas.
What makes sanding sticks different from a regular sheet of sandpaper is the shape of the core. Because the stick holds its form, it applies even pressure across a small, controlled area. This means you get consistent results instead of the uneven pressure that often happens when you sand with just your fingers wrapped in paper. The firmness of the stick also helps prevent your fingers from rounding over edges that are supposed to stay sharp, which is a common problem when sanding by hand without a tool.
There are several reasons woodworkers reach for sanding sticks instead of relying only on sandpaper sheets or electric sanders.
First, they offer better control. Because the stick is rigid, you can apply pressure exactly where you want it, which is especially helpful when working on small or delicate pieces. Second, they reduce hand fatigue. Holding a small stick is far easier on your fingers than wrapping sandpaper around your hand for long periods.
Third, sanding sticks help maintain sharp edges and details. Power sanders and even sanding blocks can round off edges that should stay crisp, but a sanding stick lets you sand right up to a line without going past it. Fourth, they are inexpensive and long lasting, especially the rigid types that let you swap out worn sandpaper instead of replacing the whole tool.
Finally, they are incredibly versatile. From furniture restoration to model building, from musical instrument crafting to jewelry box detailing, these tools adapt to almost any project that needs fine surface work.
Getting a smooth finish with a sanding stick starts with preparation. Before you even pick up the stick, make sure the wood surface is free of dust, dirt, and old finish residue. A clean surface lets the abrasive grit do its job without clogging up too quickly.
Start with a coarser grit if the wood has visible imperfections, scratches, or rough patches. Hold the stick at a slight angle and move it in the direction of the wood grain, using light to moderate pressure. Avoid pressing too hard, since this can create uneven grooves or gouge the wood instead of smoothing it.
Once the rough areas are leveled out, switch to a medium grit to refine the surface further. Continue sanding along the grain, checking your progress often by running your fingers across the wood. You should feel the surface becoming noticeably smoother with each pass.
Finish with a fine or extra-fine grit stick to eliminate any remaining scratches from the earlier grits. This final pass is what gives the wood that silky smooth feel before you apply stain, paint, or a protective finish. Always wipe away sanding dust between grit changes, since leftover particles can scratch the surface during the next stage.
Not all sanding sticks are built the same way, and knowing the differences helps you pick the right one for each task.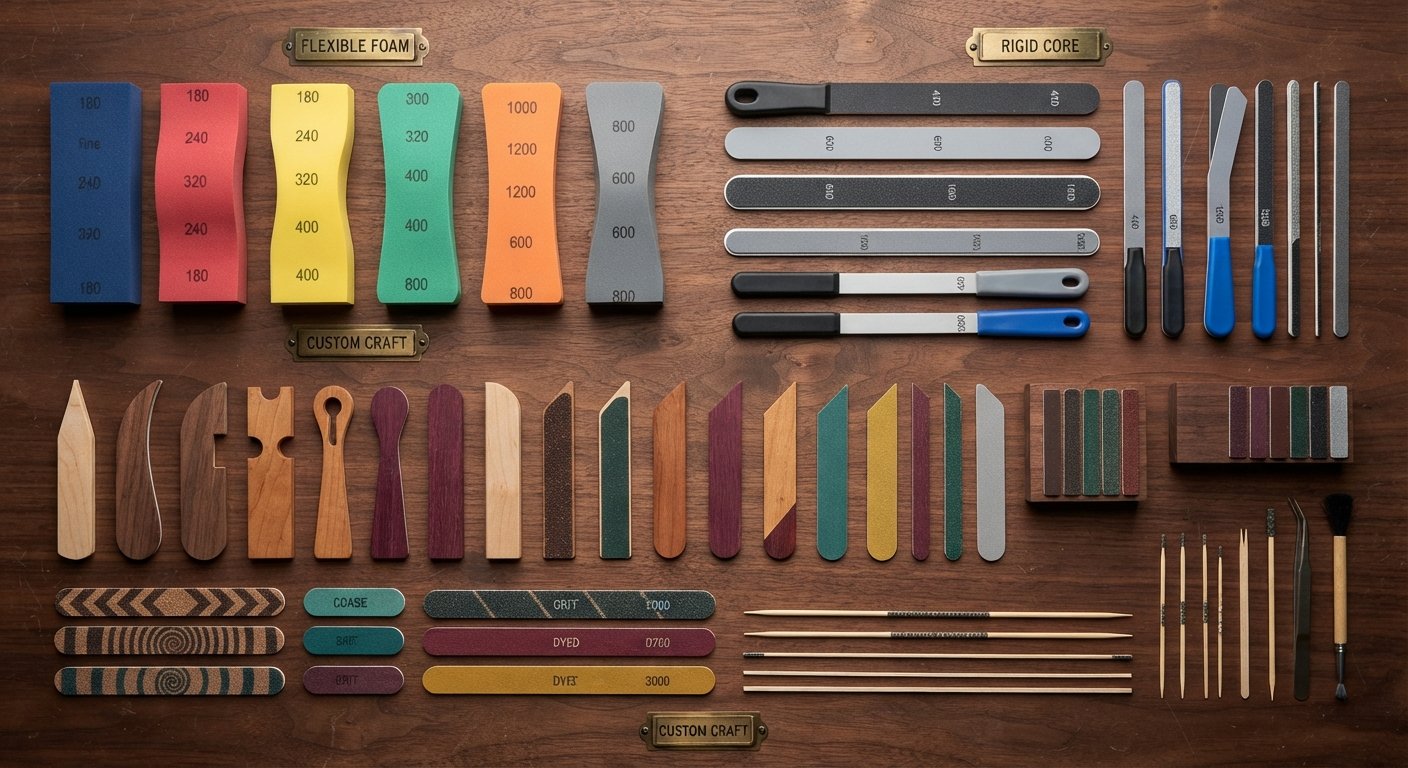
Foam-core sanding sticks bend slightly to match curved or contoured surfaces. They are ideal for rounded edges, chair legs, and any project where the wood is not perfectly flat. The foam core absorbs some pressure, which reduces the risk of over-sanding one spot.
Rigid sanding sticks, often made with a wood or hard plastic core, are best for flat surfaces and situations where you need firm, controlled pressure. These are the go-to choice for leveling joints, smoothing edges, and working on surfaces that need to stay perfectly straight.
Many woodworkers make their own sanding sticks using scrap wood or craft sticks wrapped in sandpaper. These are budget-friendly and can be custom shaped for a specific project, which we will cover in more detail later in this guide.
Specialty sanding sticks include needle files with abrasive coatings, detail sticks with pointed tips, and sticks designed specifically for musical instrument makers or model builders. These are built for very fine, precise work where standard shapes will not fit.
Picking the right sanding stick depends on a few key factors that can make or break your project’s finish.
Grit selection should always match the condition of your wood. Rougher surfaces need coarser grits to remove material quickly, while already-smooth surfaces only need fine grits for polishing. Choosing the wrong grit either wastes time or damages the wood.
Small, narrow sticks work best for tight spaces and detailed carvings, while wider sticks cover more surface area faster on larger flat sections. Round or pointed sticks are useful for grooves and curves, while flat sticks suit straight edges and corners.
Flexible sticks are better for curved or irregular surfaces, while rigid sticks give you more control on flat areas. Many experienced woodworkers keep both types on hand since most projects involve a mix of shapes.
Softer woods like pine sand down quickly and need a gentler touch, while hardwoods like oak or maple require more passes and sometimes a slightly coarser starting grit. Matching your stick and grit choice to the wood type saves time and prevents unnecessary damage.
Understanding grit numbers is essential for getting predictable results every time you sand.
Coarse grits, typically in the 60 to 80 range, are used for removing significant material, leveling rough surfaces, or stripping old finishes. This stage should always be followed by finer grits to smooth out the marks left behind.
Medium grits, around 100 to 150, prepare the wood surface by removing the scratches left from coarse sanding. This is often considered the workhorse stage of the sanding process.
Fine grits, roughly 180 to 220, smooth the wood surface and prepare it for staining or sealing. At this stage, the wood should already feel fairly smooth to the touch.
Extra-fine grits, 320 and above, are used for the final polish before applying a finish. This stage is especially important for projects that will have a clear coat, since it eliminates any remaining fine scratches that could show through the finish.
This is where sanding sticks truly shine compared to other sanding tools.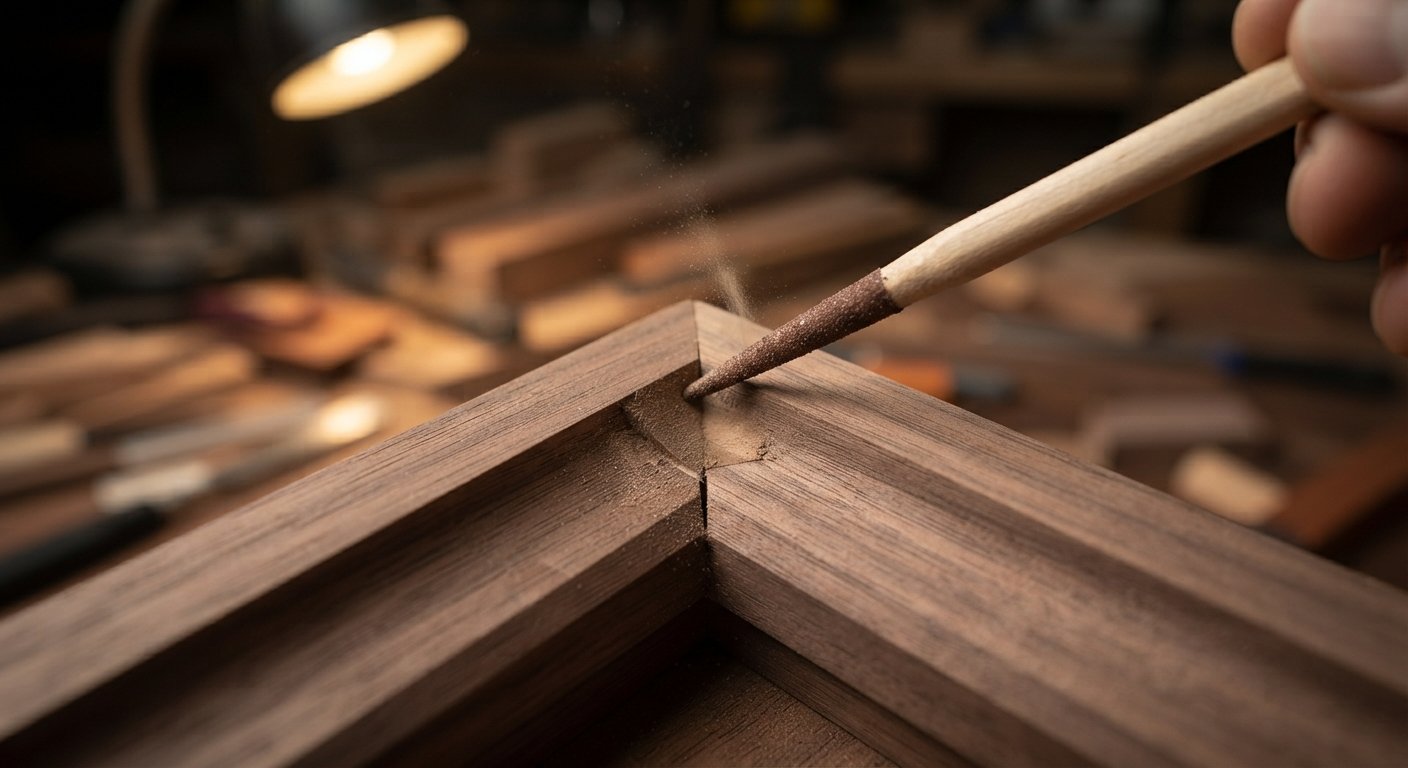
Flexible sanding sticks bend to follow the shape of curved furniture legs, decorative moldings, and rounded edges, giving you an even finish without flattening the curve.
Thin, pointed sticks slide into narrow grooves, corners, and joints that a sanding block could never reach, making them essential for detailed joinery work.
Carved details like floral patterns, scrollwork, or small figurines require a delicate touch. Sanding sticks let you work around intricate shapes without losing the design details.
For small projects like jewelry boxes, picture frames, or model kits, sanding sticks offer a level of control that larger tools cannot provide, helping you avoid accidental damage to delicate features.
Making your own sanding sticks is a simple, affordable project that many woodworkers enjoy doing.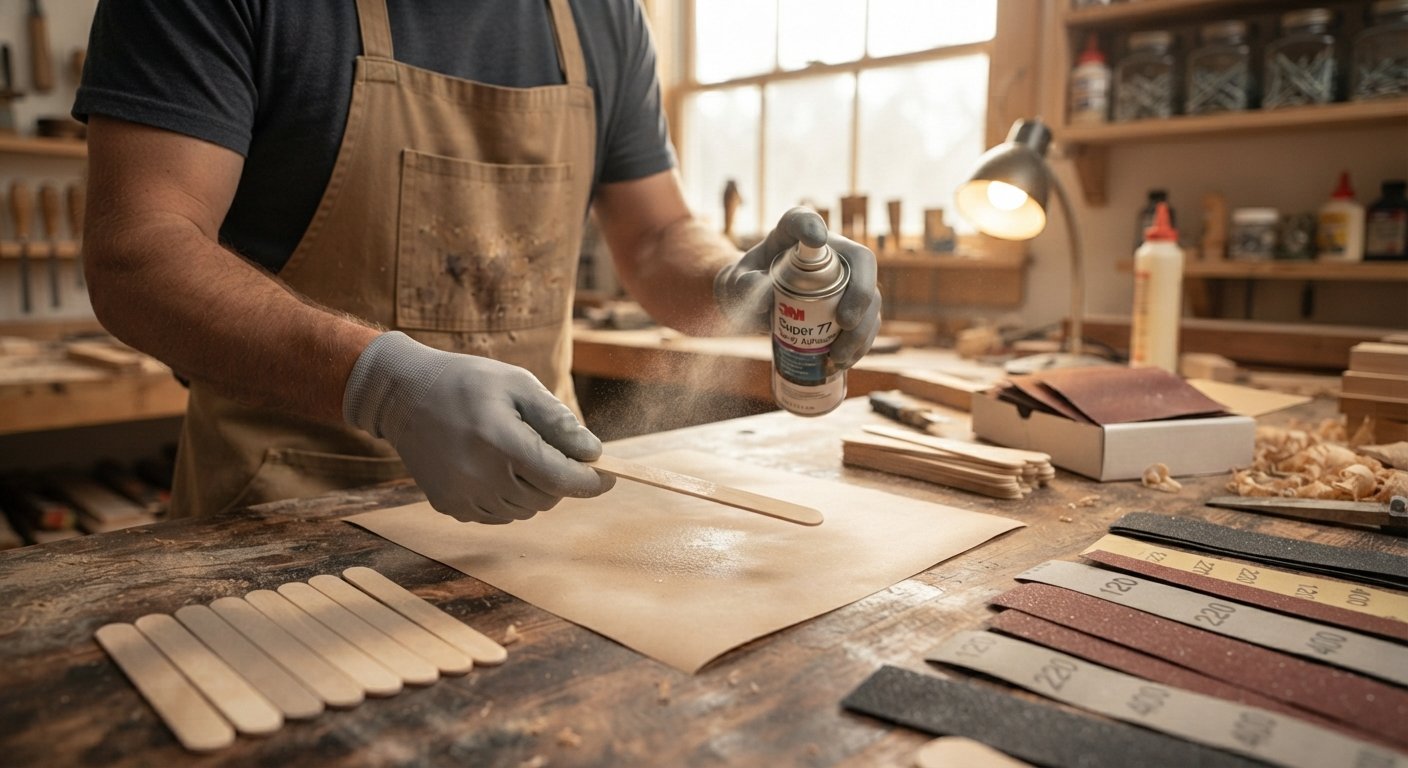
You will need craft sticks, thin plywood strips, or dowels for the core, along with sandpaper sheets in various grits, spray adhesive or double-sided tape, and scissors or a utility knife.
Cut your sandpaper sheet into strips slightly wider than your stick. Apply adhesive evenly to the stick surface, then press the sandpaper on firmly, smoothing out any air bubbles or wrinkles as you go.
For a longer-lasting stick, wrap the sandpaper around the edges and secure it underneath with tape or staples. This prevents the paper from peeling off during use.
Cut your stick cores into different shapes such as pointed tips, rounded edges, or flat paddles, and label each one with its grit number so you can quickly grab the right tool during a project.
Even experienced woodworkers sometimes fall into these traps.
Starting with too fine a grit wastes time, while starting too coarse can leave deep scratches that are hard to remove later. Always match your grit to the actual condition of the wood.
Pressing too hard can create uneven surfaces, gouges, or premature wear on your sandpaper. Let the abrasive do the work instead of forcing it.
Sanding against the grain creates visible scratches that become obvious once you apply stain or finish. Always sand in the direction the wood grain runs.
Worn sandpaper loses its cutting ability and can actually polish the wood surface unevenly instead of smoothing it. Replace the abrasive as soon as you notice reduced effectiveness.
Each sanding tool has its own place in a woodworker’s toolkit. Sandpaper sheets are cheap and flexible, making them great for large flat surfaces, but they offer little control for detail work and can be tough on your fingers. Sanding blocks provide a firmer, flatter surface for even sanding across wide areas, but their bulk makes them useless for tight corners or curved details.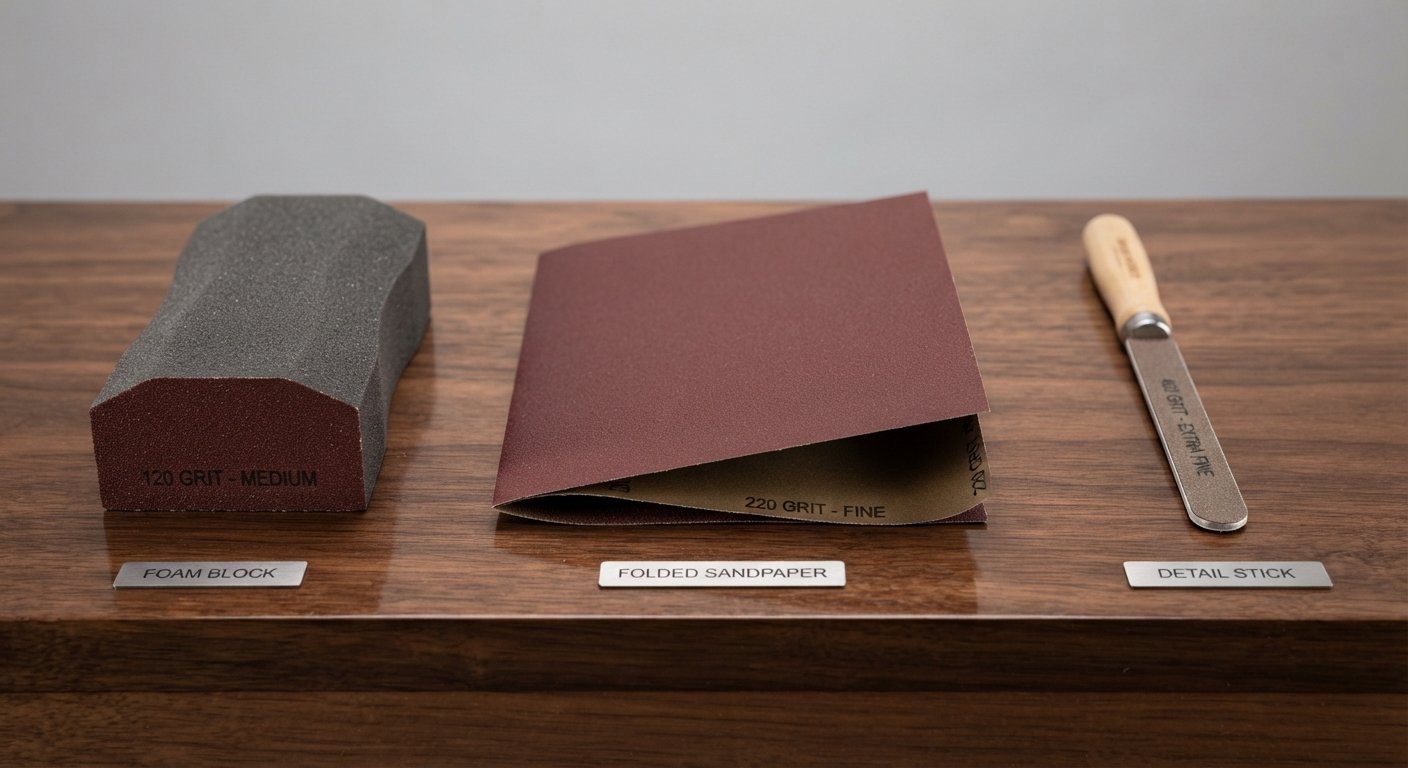
Sanding sticks fill the gap between these two tools. They combine the firm, controlled pressure of a block with a shape that can access places sandpaper and blocks cannot reach. For most woodworking projects, using all three tools together, sandpaper for large areas, blocks for flat surfaces, and sticks for detail work, produces the best overall results.
A few simple habits can make a big difference in your final results.
Wipe away dust regularly during sanding to prevent particles from scratching the surface and to keep the abrasive grit working effectively.
Uneven pressure creates uneven results. Try to maintain the same amount of force throughout each pass for a consistent finish.
Skipping grit stages leaves visible scratches behind. Move through coarse, medium, fine, and extra-fine grits in order for the smoothest possible surface.
Run your hand over the wood and check it under good lighting before applying stain or sealant. Any missed rough spots will become far more noticeable once the finish is applied.
Wood sanding sticks might be small, but they play a big role in achieving a professional, polished finish on any woodworking project. From smoothing curved furniture legs to reaching into tight carved details, these tools give you a level of precision that larger sanding equipment simply cannot match. By understanding the different types, choosing the right grit, and avoiding common mistakes, you can get consistently smooth results every time.
Whether you decide to buy a set or make your own at home, adding sanding sticks to your woodworking toolkit is a small investment that pays off in the quality of your finished work. Grab a few different shapes and grits, keep them organized, and you will be ready to tackle even the most detailed projects with confidence.
1. What are wood sanding sticks used for?
They are used for smoothing wood surfaces in tight spaces, curves, grooves, and detailed carvings where regular sandpaper or sanding blocks cannot reach effectively.
2. Can I make my own sanding sticks at home?
Yes, you can easily make sanding sticks using craft sticks or thin wood strips wrapped in sandpaper, secured with spray adhesive or tape.
3. What grit should I start with for rough wood?
Start with a coarse grit, typically between 60 and 80, to remove rough spots and imperfections before moving to finer grits.
4. Are flexible or rigid sanding sticks better?
It depends on the surface. Flexible sticks work better on curved or contoured surfaces, while rigid sticks are ideal for flat areas that need firm, even pressure.
5. How do sanding sticks differ from sanding blocks?
Sanding blocks are larger and better suited for wide flat surfaces, while sanding sticks are narrower and designed for detail work in tight or curved areas.
6. Do I need to sand with the wood grain?
Yes, always sand in the direction of the wood grain to avoid visible scratches that can show through stain or finish.
7. How often should I replace the sandpaper on my sanding stick?
Replace the sandpaper as soon as it feels smooth or stops cutting effectively, since worn sandpaper can polish the wood unevenly instead of smoothing it properly.