Physical Address
304 North Cardinal St.
Dorchester Center, MA 02124
Physical Address
304 North Cardinal St.
Dorchester Center, MA 02124

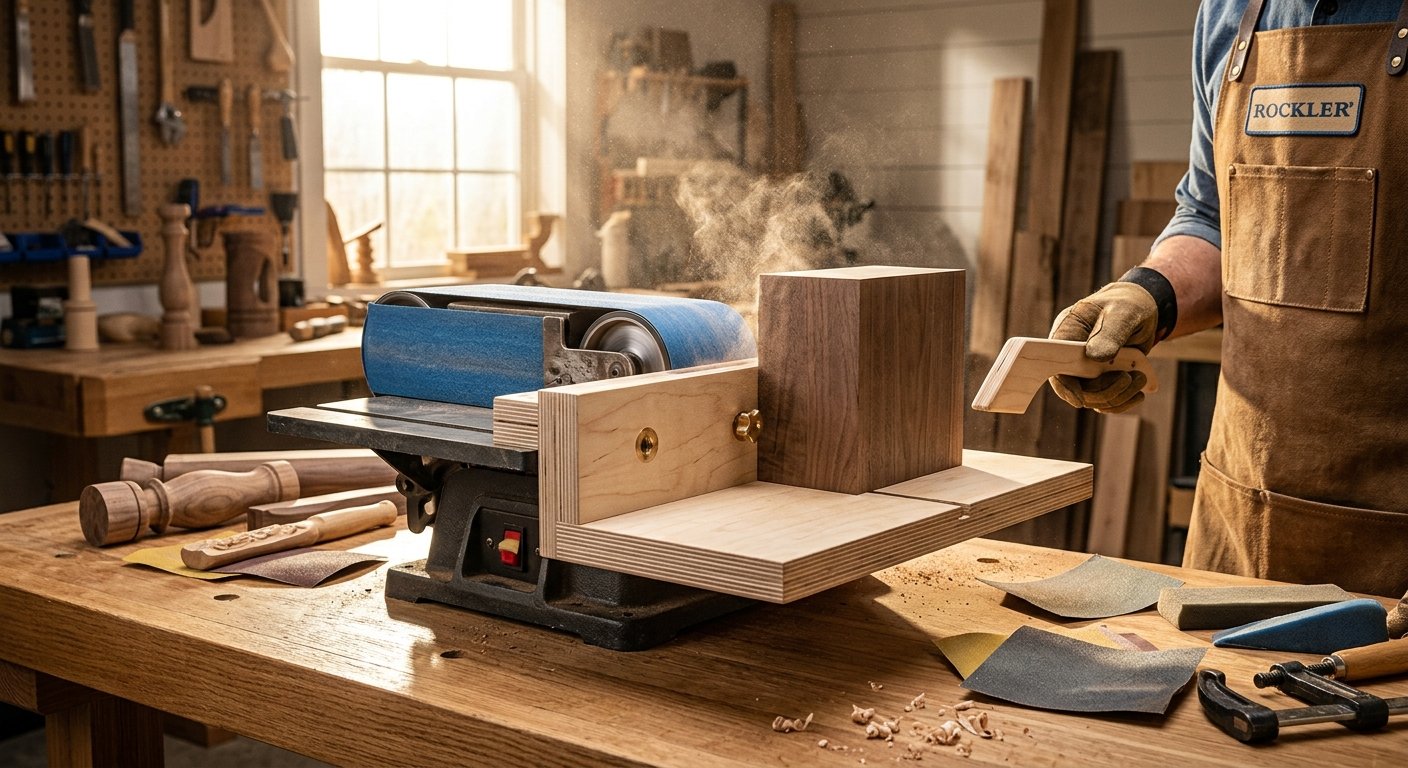
You have a pile of small wooden parts on your bench and a belt sander that keeps grabbing them out of your fingers. Maybe you have tried to hold a tiny block against the belt and nearly lost a knuckle. That is the exact moment most woodworkers decide they need a sanding jig. It is a simple helper that holds your piece steady, guides it at the right angle, and keeps your hands far from the moving belt.
The best part is that you can build one in an afternoon with scrap wood and a few basic tools. This guide covers what a sanding jig is, how it works, and why it makes your shop work safer and cleaner. You will also get a full build, safety tips, and a list of mistakes to avoid. If you are also curious about drum sanders and other machines, our Drum Sander Guide is a good next read once you finish here.
A sanding jig is a guide or holder that helps you sand a piece of wood in a controlled way. Think of it as a second pair of hands. Instead of pushing a part against a belt or disc and hoping for the best, you clamp or slide the part into the jig, and the jig does the steady work for you.
The word jig simply means a tool that guides another tool or a workpiece. Woodworkers use jigs for cutting, drilling, routing, and sanding. A jig for sanding is built to solve one job. Some jigs hold small parts so you can sand their ends flat. Others keep an edge perfectly square while you sand. A few are built to make the same angle again and again, which is a big deal when you are making ten identical pieces.
Most sander jigs are made from plywood or MDF, since both are flat, cheap, and stable. A typical one has a base, a fence or guide, and some kind of stop. That is it. You do not need electronics or special parts. Many first jigs are just a flat board with a straight fence screwed on top.
You may also see store-bought versions. Companies like Rockler sell ready-made sanding aids, and hobby makers share plans on sites like Instructables. Some are laser cut from thin sheets, and others come as small kits made of aluminum alloy. A home built version costs almost nothing and fits your shop exactly, which is why so many people like to make their own.
The idea behind every sanding jig is the same. It locks the angle and the position of your workpiece, so only the part you want sanded touches the abrasive. You supply the push, and the jig supplies the accuracy.
Picture a simple belt sander jig on a benchtop. The sander sits on the bench, and the belt moves in one direction. Your jig has a flat base that slides on the sander table and a fence that stands at a set angle to the belt. You press the wood against the fence, slide it forward, and the belt trims the end to a clean line. Because the fence does not move, every piece comes out the same.
The same principle works for a disc sander. A jig for sanding on a disc sander often has a slot that guides it along a miter track. That lets you sand a perfect 45 degree angle on the end of a board. It is the same kind of cut you would get from a miter saw, but with the fine control only a sander can give.
A jig also solves the problem of pressure. When you hold a small part by hand, your grip changes from moment to moment. The belt then takes off more wood on one side than the other, and you end up with a slanted edge. A jig spreads that pressure evenly. It keeps the piece flat against the surface, so material comes off at the same rate across the whole face.
Some jigs even handle shapes that are hard to sand freehand. A curved piece, a long thin strip, or a round dowel can sit in a cradle that rolls or slides as the belt works. Once you see how this works, you begin to spot jig ideas everywhere in your shop.
The first and biggest benefit is safety. A belt sander can pull a small piece out of your fingers in a heartbeat. When that happens, your hand can slam into the moving belt. A jig keeps your fingers a safe distance away, and it lets you push the work with a handle or block instead of your bare hands.
The second benefit is accuracy. Sanding by hand is great for soft, rounded shapes, but it is hard to get a flat, square edge. With a jig, you can sand ends that are truly 90 degrees to the face. You can also make repeat cuts that match. If you build cabinet doors, box parts, or picture frames, matching pieces make the final assembly much easier.
Third, a sanding jig saves time. Once it is set up, you can sand a dozen parts in the time it would take to carefully do three by hand. You also spend less time fixing mistakes, since the jig stops you from going too far.
Another plus is that it works well with small parts. Tiny pieces, such as those used in jewelery making or leather craft, are very hard to hold. A jig with a clamp or a small vise holds them firmly, so you can sand the edges clean without worrying about the part flying off.
A jig also helps you save sandpaper. Because the pressure is even, the belt wears more evenly too. You are not scraping one corner of the belt over and over, which can burn the grit and shorten its life. Over a year of shop work, that adds up to real money.
Finally, a jig helps with dust. Many shop made jigs can be fitted with a simple port for a dust hose. A sander dust collection hose adapter, or even a hose reducer from the hardware store, can connect the jig to your shop vacuum. Cleaner air means a healthier shop, and cleaner surfaces mean better finish work.
You do not need a big shop to build a sanding jig. Most of what you need is already on a typical woodworker’s bench. Gather everything before you start, because stopping in the middle of a glue up to look for a drill bit is never fun.
For materials, begin with a piece of plywood. A scrap of 3/4 inch plywood or MDF works well. You will want a piece large enough for the base, plus a smaller piece for the fence. Baltic birch is a great choice if you have it, since it is flat and strong, but any good plywood will do. 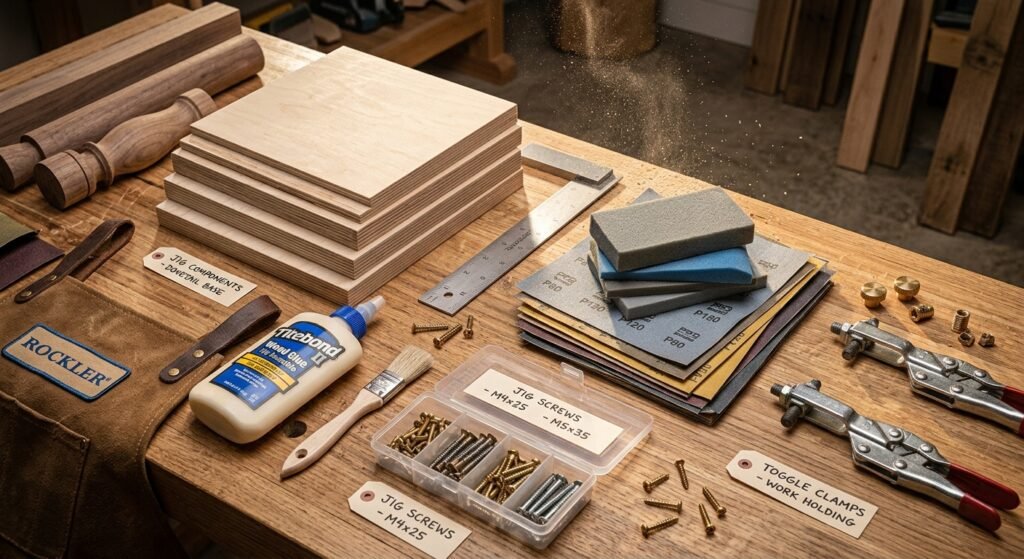 You will also need wood screws, wood glue, and a little sandpaper for cleaning up the edges.
For tools, you will need a saw to cut the parts. A table saw gives the cleanest, straightest cuts. If you do not have one, a circular saw with a straight edge guide works fine. A drill and a set of bits are important, including a small bit for pilot holes. You can also use a Forstner bit if your jig needs a clean, flat bottomed hole for a bolt head or a handle. A router with a straight bit is handy for cutting slots or grooves, though it is not required for a basic jig.
A good square and a tape measure keep your parts accurate. Clamps help hold pieces together as the glue dries. A bench vise also helps when you need to hold the base steady. A pencil, a marking knife, and a bit of masking tape will make your layout easier.
If you want to make a more advanced jig, a few extras can help. A set of toggle clamps can hold small parts down firmly. A short length of aluminum bar makes a strong guide. A piece of T track can slide on a table top and give you adjustable stops. None of these are needed on day one, but they are nice upgrades as your skills grow.
Think about your sander too. Brands such as Makita and DeWalt make solid benchtop sander models, and most of the ideas here work with any of them. Check the table size and the belt width before you start. Your jig needs to fit the machine, not the other way around.
This build makes a simple jig that works on a belt sander or a disc sander. It has a flat base, a square fence, and a stop block. You can change the size to fit your own machine. The steps are easy, so even a beginner can finish it in a couple of hours.
Start by measuring your sander. Look at the table or the platen where your workpiece will sit. Measure its width and the distance from the table to the belt. Your jig should be slightly smaller than the table so it slides without catching.
For a basic jig, plan these parts:
Mark each piece on your plywood with a pencil. Use a square to draw clean lines, and double check every measurement. A common saying in woodworking is to measure twice and cut once, and it applies here more than anywhere.
Now cut the parts. On a table saw, use a miter gauge or a crosscut sled for safe, square cuts. If you are using a circular saw, clamp a straight board to the plywood as a guide, and let the saw ride along it. Go slow, since plywood can splinter on the bottom side. Placing a strip of masking tape along the cut line helps keep the edges clean.
After cutting, check each piece with your square. The fence must have a perfectly straight edge, because any bend will carry into every part you sand. If an edge looks rough, sand it lightly with a block and sandpaper until it feels smooth.
If you want a runner for a miter slot, rip a thin strip of hardwood to match the slot width. It should slide smoothly but without side to side wiggle. Test it in the slot, and sand a little at a time until the fit feels right.
Lay the base on your bench. Place the fence along one long edge, with its face standing straight up. Use your square to make sure the fence is at a true 90 degree angle to the base.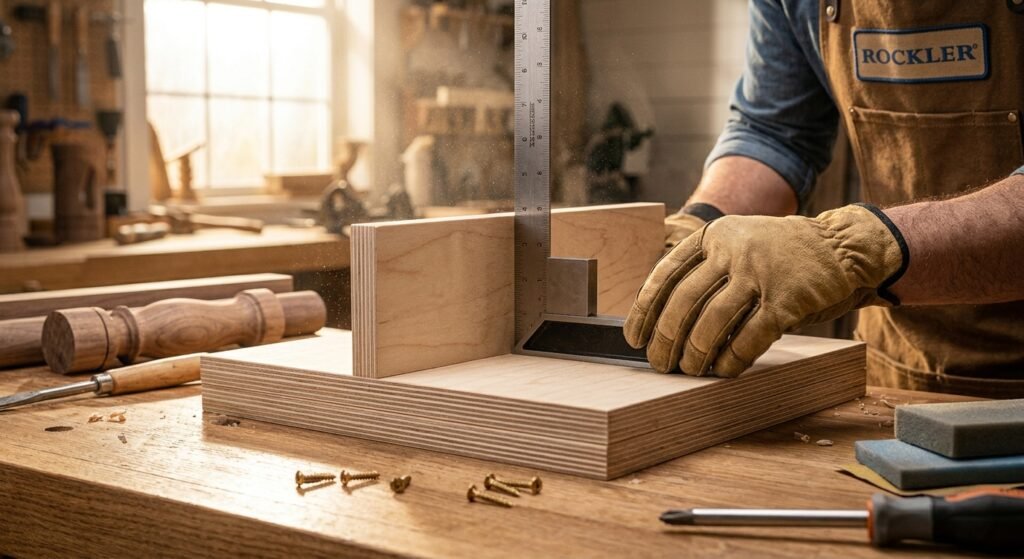 Mark where the fence will sit with a pencil line.
Spread a thin line of wood glue along the bottom of the fence. Set it on the line, and clamp it in place. Then drill pilot holes through the base and into the fence. Pilot holes keep the plywood from splitting when you drive in the screws. Space the screws about 3 inches apart, and use wood screws that are long enough to bite deep without poking through the top.
Drive in the screws, and check the angle again. If the fence has shifted, loosen the clamps and fix it before the glue sets. A small error now becomes a big problem later.
Next, attach the stop block. This block sits on the base and lets you place each part in the same spot every time. Slide a piece of scrap against the fence, mark where it should end, and glue and screw the stop block there. For an adjustable version, drill a slot in the base with a router and a straight bit. Then use a bolt and a wing nut to hold the stop wherever you want it.
If you added a runner, flip the base over and attach it to the underside. Line it up with the miter slot, and use a few screws to hold it. Make sure the jig slides smoothly along the slot with no binding.
Let the glue cure for at least an hour. Then sand off any sharp corners, and rub a little paste wax on the bottom so the jig glides. For added grip, glue a thin strip of sandpaper or rubber to the fence, so your part does not slip as you sand.
A jig makes sanding safer, but it does not make it risk free. A belt sander is still a powerful machine, and good habits matter every time you turn it on. Take a minute to set up properly before you start.
First, wear eye protection and a dust mask. Sanding throws fine dust into the air, and that dust is bad for your lungs. A mask that fits well is a simple fix. Hearing protection is smart too, especially if your sander is loud. Skip loose sleeves and dangling jewelry, and tie back long hair.
Second, check your sander before use. Make sure the belt is tracking in the center and is not torn or frayed. A damaged belt can snap, and that is something you do not want to see up close. Check that the table is locked at the correct angle, and that the jig fits with a small, even gap from the belt.
Third, always sand against the direction of the belt travel when the design calls for it. On a typical benchtop sander, the belt moves downward, and the table sits beneath it. Feed your piece so the belt pushes the work down into the jig, not up and out of it. If you feed it the wrong way, the belt can lift the part and throw it.
Fourth, use light pressure. Let the belt do the cutting. Pushing hard makes the part heat up, and it can burn the wood and wear out the grit. It also raises the risk of a slip. If you need to press hard, try a coarser belt instead.
Fifth, keep your hands clear. Use push blocks or handles on the jig to keep your fingers back from the belt. Never reach over a moving belt to grab a part. Wait until the sander stops fully, then pick up your work.
Finally, tidy your space. Sawdust piles up quickly around a belt sander, and it burns easily. Connect a vacuum if you can, and empty the dust bin often. 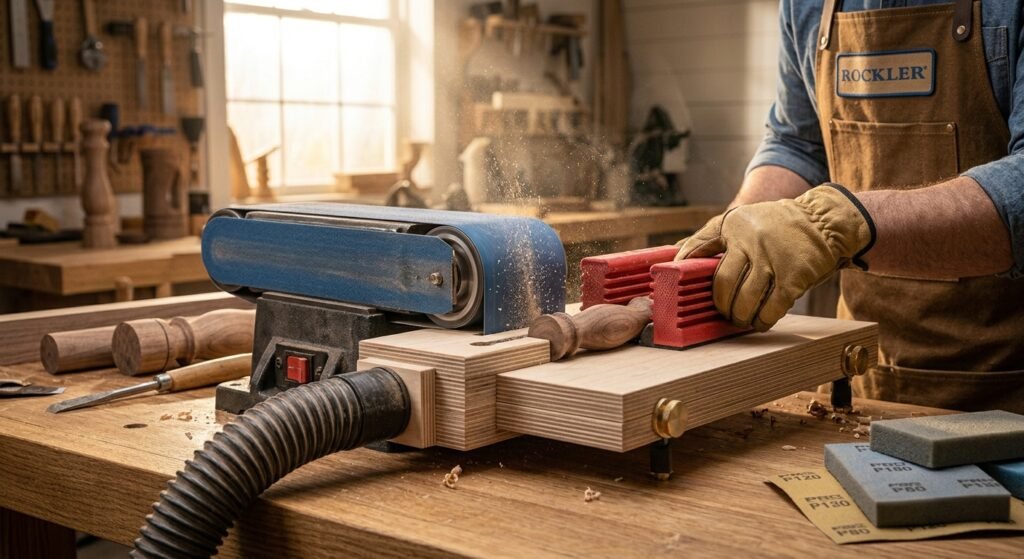 A clean shop is safer for you, and it is easier on your tools too.
Never put your best piece of wood into a new jig on the first try. Test it first with scrap. Grab a few cut offs from the same board you plan to use, and run them through the jig one at a time.
Start with a dry run with the sander turned off. Slide the jig along the table and check that it moves freely. Hold a scrap piece against the fence and see where it meets the belt. Look for gaps, rocking, or places where the jig sticks. Fix those problems now, because they get worse once the belt is moving.
Then turn the sander on and take a light pass. Sand a scrap piece for just a second or two. Turn off the machine, and check the result with a square. Is the end truly square to the face? Is the edge flat from one side to the other? If you see a slight angle, the fence may be a hair off. Shim it with a thin piece of paper or tape, or loosen the screws and nudge it into place.
Try a second scrap and compare it to the first. If both match, you have a consistent jig. If they differ, look for loose parts, a worn stop block, or a bit of dust under the work. Even a few grains of grit can tip a piece slightly and ruin a flat edge.
A good test is to sand two pieces and press the ends together. If they meet with no gap, your angle is good. 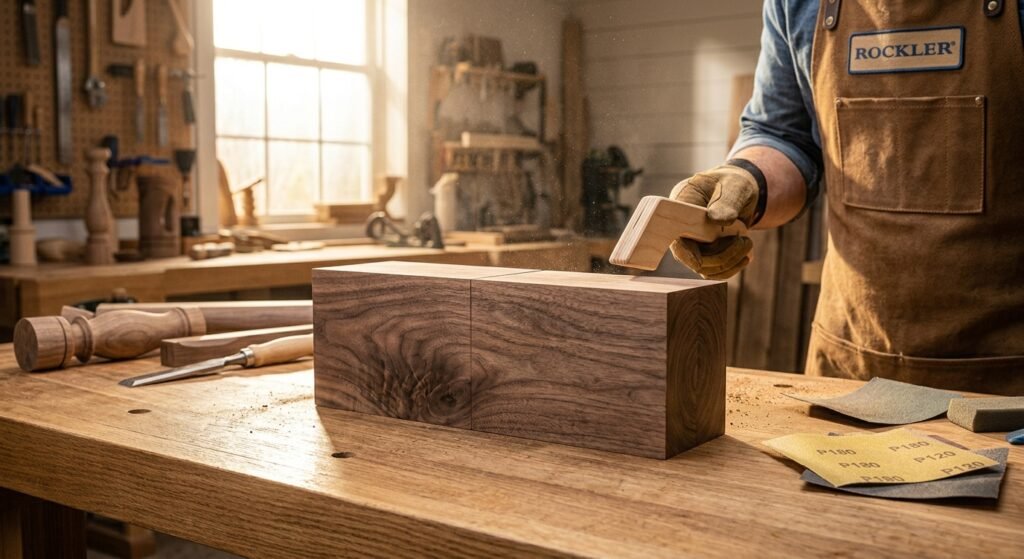 If a thin line of light shows, adjust and test again. Keep going until you get a tight fit.
Make notes while you test. Write down which settings worked on the jig itself with a pencil. If you used a certain belt grit or a certain table angle, record it. Next time, you will not need to guess.
Over time, your jig may wear. The fence can get chewed up by the belt, or the base can warp from humidity. Check it every few months, and replace parts that no longer sit square. A fresh fence takes ten minutes to make and keeps your work sharp.
Once your jig works, a few small habits can bring your sanding up a level. These tips come from real shop use, and most are free.
Choose the right grit for the job. For fast stock removal on rough edges, use an 80 grit belt. For smooth, clean edges, step up to 120 and then 180. Coarse belts cut fast but leave scratches, so do not stay on them longer than you need.
Keep the belt clean. A rubber cleaning stick, sometimes called a crepe block, removes the resin and dust that clog the belt. A clean belt cuts cooler and lasts much longer. Hold it against the moving belt for a few seconds, and watch the gunk fall away.
Move your workpiece across the belt, not just in one spot. If you use only one small area of the belt, it wears out there first. Slide your piece along the width to spread the wear evenly, and you will get more life from each belt.
Build a few different jigs for different jobs. A small parts jig with a toggle clamp is great for knife handles and craft pieces. A longer jig with a miter runner is perfect for frames. A jig with an angled fence can handle tile chamfering or decorative edges. Some makers even make a sharpening jig for chisels and knives with an adjustable locator that sets the bevel angle. The more jigs you build, the more you will use your sander.
Use the right tool for the right task. A belt sander is great for flat edges and ends. An orbital sander attachment is better for broad surfaces. A rotary tool such as a Dremel is better for small details. An angle grinder with a flap disc can shape metal or rough stock, but it is not a gentle tool. Know what each machine does best, and pair it with a jig that suits it.
Keep your fence and base waxed. A light coat of paste wax makes them slide smoother and keeps your work from catching. It also helps the plywood resist moisture.
Store your jigs nicely. A simple French cleat wall mount keeps them within reach and off your bench. You can cut a cleat from scrap plywood in minutes, and a row of them makes a tidy sander wall mount for all of your favorite jigs.
Finally, start simple. A jig does not need to be fancy to be useful. Many professionals still use the plain plywood version they made years ago. Add features only when you actually need them.
Even a good plan can go wrong. Here are the mistakes beginners make most often, along with simple fixes.
Building the jig out of square. If the fence is not truly 90 degrees to the base, every piece will come out crooked. Check with a reliable square during the glue up, and test again once it is dry.
Using weak materials. Thin plywood or soft pine can flex under pressure. A bendy jig gives uneven results. Pick flat, solid sheet stock, such as MDF or Baltic birch.
Forgetting about dust. Dust builds up under the workpiece and tips it out of position. Vacuum the jig between passes, and consider adding a dust port.
Leaving screws too close to the belt. A screw head that sticks out can touch the belt and ruin it. Always sink screws below the surface, and keep metal parts well away from the sanding area.
Skipping the test run. Putting a good piece into an untested jig is asking for trouble. Always try scrap first.
Pushing too hard. Heavy pressure burns the wood, clogs the belt, and can make the jig slip. Use a light, steady push.
Feeding the wrong way. Sanding with the belt lifting the piece out of the jig can throw it across the room. Always know which way your belt moves.
Making the jig too big. An oversized jig can hit the sander frame or hang off the table. Measure first, and make it fit.
Ignoring wear. A chewed up fence or a worn stop block lowers accuracy. Replace worn parts before they spoil your work.
Not clamping small parts. Tiny pieces still need a firm hold. Use a clamp, a vise, or a toggle clamp to keep them steady.
A good sanding jig is one of the smartest projects you can build for your shop. It keeps your hands safe, makes your edges square, and saves you time on every job. Whether you work with a belt sander, a disc sander, or a small benchtop machine, the basic ideas are the same. Measure carefully, build square, test with scrap, and keep your jig clean and waxed.
You do not need expensive parts or special skills. A piece of plywood, a few screws, and an afternoon are all it takes. Once you have made your first jig, you will probably want to make another. That is how many woodworkers grow their skills, one small helper at a time.
So pick a spot on your bench, gather your scrap wood, and start building. Share your results with other makers, or try adding a feature like a dust port or an adjustable stop. If you want to learn more about the machines that go with your new jig, read our Drum Sander Guide next. Your future projects will thank you.
A sanding jig holds and guides a piece of wood while you sand it. It is used to sand square ends, clean edges, angles, and small parts safely and accurately. It also helps you make several matching pieces.
Most jigs can be adapted to any belt sander, but you must measure your machine first. Check the table size, the belt width, and the space between the table and the belt. Then size the jig to fit.
Baltic birch plywood and MDF are the top choices. Both are flat, stable, and easy to cut. Avoid soft or thin wood that can bend under pressure.
Yes, and it is much safer than holding small parts by hand. A jig keeps your fingers away from the belt. Add a clamp or a toggle clamp for extra grip, and always wear eye and dust protection.
Use a good square while you attach the fence, and check it again after the glue dries. Then test with scrap and press two sanded ends together. If no gap shows, the angle is right.
Yes. A disc sander works very well with a jig, especially one with a runner that fits the miter slot. This setup is great for angled ends and miter cuts.
Replace it when it looks chewed up or no longer sits square. For most hobby shops, that means every few months to a year, depending on how often you use it. A new fence takes only a few minutes to make.