Physical Address
304 North Cardinal St.
Dorchester Center, MA 02124
Physical Address
304 North Cardinal St.
Dorchester Center, MA 02124

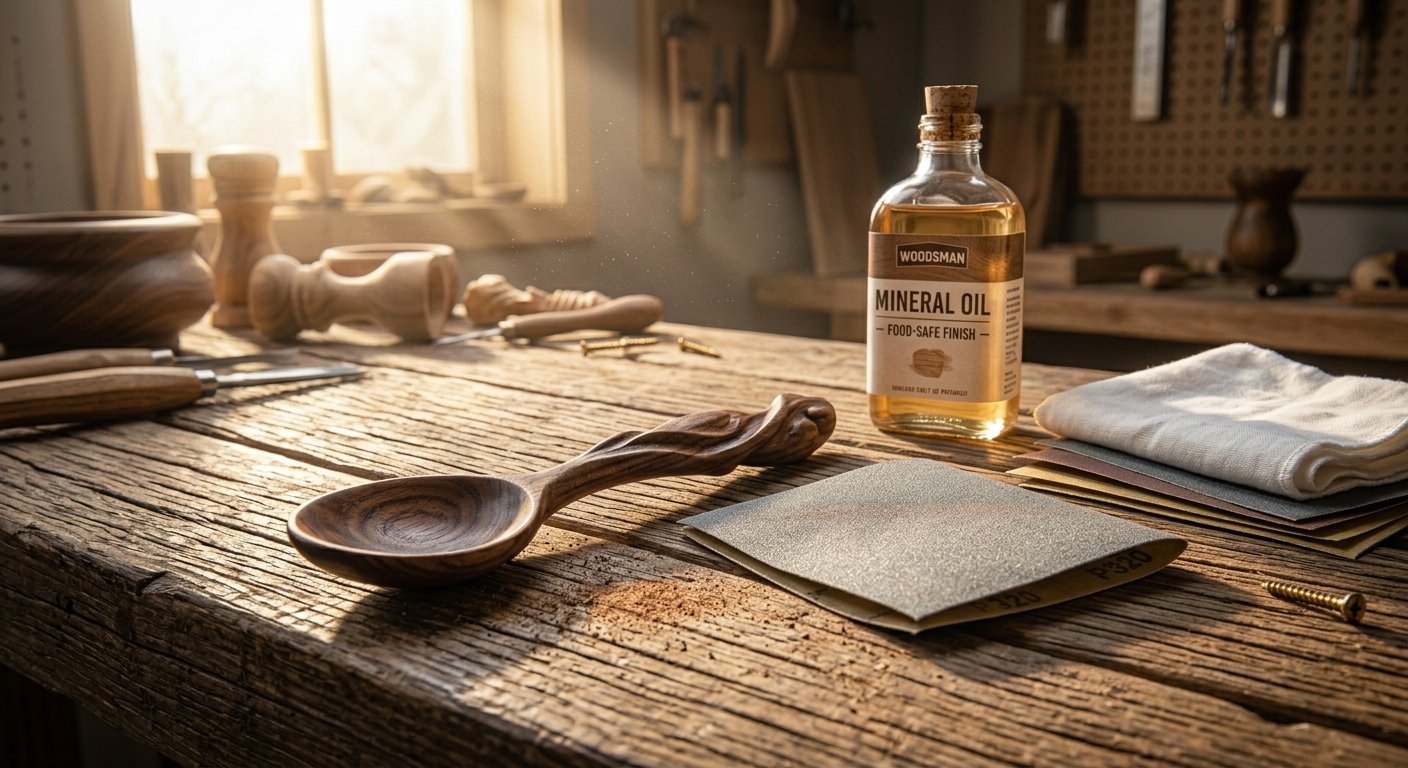
You spent hours with a hook knife and an axe, and your first wooden spoon finally looks like a spoon. Then you run your thumb along the bowl and feel a bunch of tiny ridges and fuzzy spots. That is the moment most new carvers ask the same question: how to sand wooden spoons without ruining the shape they worked so hard to make.
Good news. Sanding is not hard, but it does take patience and a little know-how. Done right, it turns a rough, tool-marked utensil into something smooth, safe for your mouth, and pleasant to hold. Done wrong, it can flatten crisp lines, round off edges you wanted sharp, and leave you with a spoon that looks tired before it ever touches soup.
This guide walks you through every step. You will learn why sanding matters, what to buy, how to prepare the wood, and how to handle the bowl and the handle. You will also learn how to finish the spoon with oil so it lasts for years. Let’s get started.
Think about what a spoon does. It goes straight into your mouth. Lips and tongue are far more sensitive than fingertips, so tiny rough spots that you barely notice by hand can feel like sandpaper on your tongue. Sanding fixes that. It also makes the spoon easier to clean, because a smooth surface gives food less to cling to.
There is a second reason that many beginners miss. Wood is full of tiny fibers. When these fibers stand up and stay rough, they soak up water and food stains faster. A well-sanded spoon with a good oil finish resists both. It stays cleaner, looks better, and holds up through hundreds of washes.
Some spoon carvers skip sandpaper completely and leave the crisp, faceted look that comes straight off the knife. That is a real style and many people love it. If you go that way, you still need to clean up rough areas, and a scraper can do it. But if you want a spoon for eating, especially a spoon for a child or a guest, a smooth finish is the safer choice. It is also the look most people expect from a handmade wooden spoon.
Finally, sanding gives you a chance to inspect your work. As you move over every surface, you will find small cracks, thin spots, and places where the grain tore out. Catching those early saves you from a broken spoon later.
You do not need a fancy shop. A few simple supplies will cover almost everything. Most are cheap, and you may already own some of them.
Start with the basics: sandpaper in several grits, a small piece of scrap leather or a folded cloth, a dust mask, and a clean rag. If you plan to oil the spoon, which you should, add a bottle of food safe oil and a soft cloth. Work gloves can help when you hold the spoon in your off hand during rough shaping, though many people prefer bare hands for the final steps so they can feel the surface.
A scraper is also worth having. Many carvers use an old saw blade or a piece of a cabinet scraper. You can even use the flat back of a knife. A scraper removes small ridges before you ever touch sandpaper, which means less sanding overall.
Grit is just a number that tells you how coarse the paper is. A low number means big, rough grains that remove wood fast. A high number means tiny grains that polish the surface.
For spoons, you will usually use three or four grits. A common set looks like this: 100 grit for fixing rough areas, 150 or 180 for smoothing, 220 for refining, and 400 grit for the final polish. You can skip 100 grit if your knife work was clean. You can also stop at 220 if you like a slightly toothy feel. Going beyond 400 grit rarely makes a visible difference on a spoon.
The rule is simple. Never jump too far between grits. If you go from 100 straight to 400, the fine paper will not remove the scratches left by the coarse paper. You will end up polishing the scratches instead of removing them. Move up step by step and the surface gets smoother each round.
Buy sheets, not pre-cut pads. Sheets are cheaper, and you can tear or fold them to fit the tight curves of a spoon bowl. Get sandpaper that says it works on wood and has a flexible backing, since stiff paper will not follow the curve of the bowl.
For flat parts of the handle, a small sanding block helps you keep a clean line. You can buy one or make your own from a scrap of wood wrapped in paper. Cork blocks also work well and give a little cushion.
For the inside of the bowl, you want something round. A wooden dowel, a short piece of broom handle, or even a smooth stone wrapped in paper can do the job. Some carvers glue a strip of sandpaper to a curved stick and use it like a file. Others wrap paper around a drill bit and turn it by hand. It sounds odd, but it works nicely for small spoons.
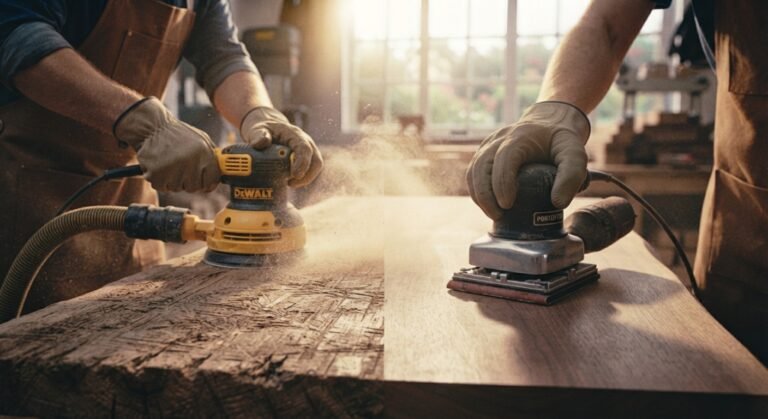
What about power sanders? A small random orbit sander or a drum sander on a drill can save time, especially if you make many spoons. But they are also easy to overdo. A machine can remove the crisp edges you carved in a few seconds. For your first wooden spoon, stay with hand sanding. You will learn how the wood responds, and you will keep full control.
Good sanding starts before the paper comes out. If the carving is messy, no amount of sanding will rescue it. Take a few minutes to check your spoon.
First, look at the wood. Spoons carved from green wood need time to dry before final sanding. Green wood is fresh and wet, and it shrinks and moves as it dries. If you sand a wet spoon, the surface will fuzz up, and the shape may warp afterward. Let it dry for several days in a spot with steady air, but out of direct sun and away from heaters. Drying too fast leads to cracks. A paper bag works well, because it slows the process and lets moisture escape gently.
Once the spoon feels dry, go over it with your knife one last time. This is called shaving the surface clean. Take light, slicing cuts with the grain to remove ridges and high spots. The better your knife work, the less sanding you will need. Many experienced woodworkers say that sanding is only for fixing what the knife could not.
Next, use a hook knife or scraper on the inside of the bowl. Tool marks in a curved surface are the hardest to sand out, so cleaning them with a sharp blade first saves time. Run your finger over the bowl with your eyes closed. You will find bumps your eyes miss.
Now check the wood for weak spots. Press on thin areas where the bowl meets the neck. Look for small cracks, especially near the handle and along the edge of the bowl. If you see a crack, stop and think about whether it will grow. Some can be sanded out. Others mean the spoon is better kept for display only.
Finally, set up your space. Sand where the light is good, and wear a dust mask. Wood dust is not friendly to your lungs, and some species like walnut can cause irritation in sensitive people. Keep a rag nearby to wipe the spoon so you can see the surface clearly.
Here is the process most beginners find easiest. Take your time with each step, and do not rush to the finer grits.
Step one: Start with the right grit. Look at your spoon. If you see clear tool marks or torn grain, begin with 100 grit. If it already looks clean, start at 150 or 180. Starting too coarse wastes effort, and starting too fine leaves marks behind.
Step two: Always sand with the grain. This is the most important rule. Wood grain is like the lines on a piece of straw. If you rub across the grain, the paper cuts little scratches across the fibers, and they show up badly once you add oil. When you sand with the grain, the marks blend into the natural pattern and disappear. Move the paper in long strokes along the length of the handle, and follow the curve of the bowl.
Step three: Use light pressure. Pressing hard does not make sanding faster. It only rounds off edges and makes your hands tired. Let the grit do the work. If you feel you need to press hard, switch to a coarser paper instead.
Step four: Move to the next grit. After the whole spoon feels even, wipe off the dust and switch to the next grit. Sand every surface again. Skipping spots is the number one reason a spoon looks patchy after oiling. Check each side, the back of the bowl, the neck, and the end of the handle.
Step five: Raise the grain.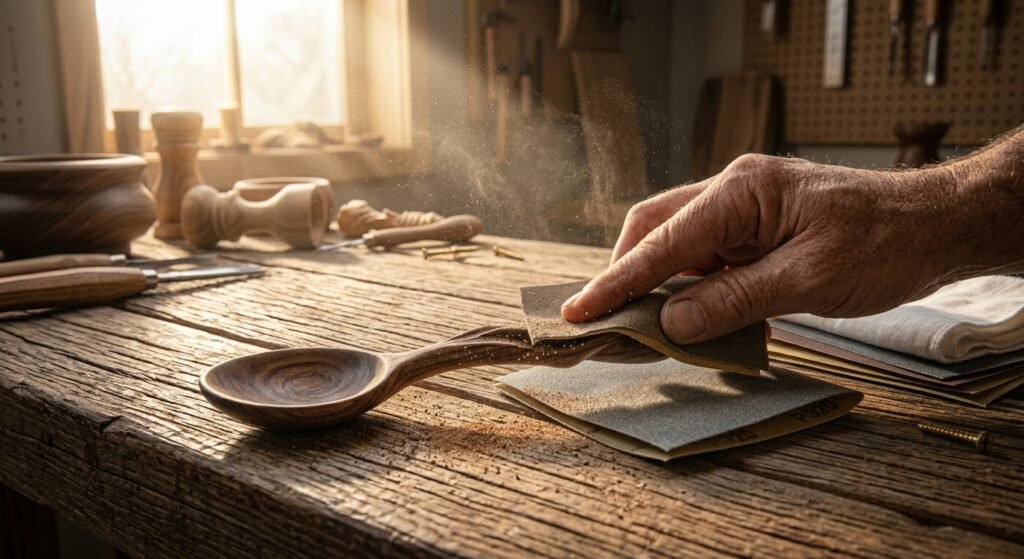 Here is a trick that makes a big difference. Once you reach about 220 grit, wipe the spoon with a slightly damp cloth. This makes the wood fibers swell and stand up. Let it dry completely, which takes about an hour. You will feel a rough, fuzzy texture. Sand again lightly with the same grit to cut those fibers off. Because the fibers are now gone, they will not rise again when you wash the spoon later. This one step is the secret behind spoons that stay smooth for years.
Step six: Finish with fine paper. Go over the spoon with 400 grit for a silky feel. At this point, the surface should look slightly shiny, and your thumb should glide over it without catching.
Step seven: Burnish for extra shine. You can burnish the wood by rubbing it with a handful of fine shavings, a piece of smooth antler, or a scrap of leather. The friction presses the fibers flat and gives a soft glow, even before oil. It is an old trick, and it still works.
The bowl and the handle need different treatment. They have different shapes, and they feel different in use.
The bowl is the hardest part, since it curves in every direction. A flat sheet of paper will not fit. Instead, fold the sandpaper into a small pad, or wrap it around a dowel or the handle of another spoon. Choose a shape that matches the curve inside your bowl.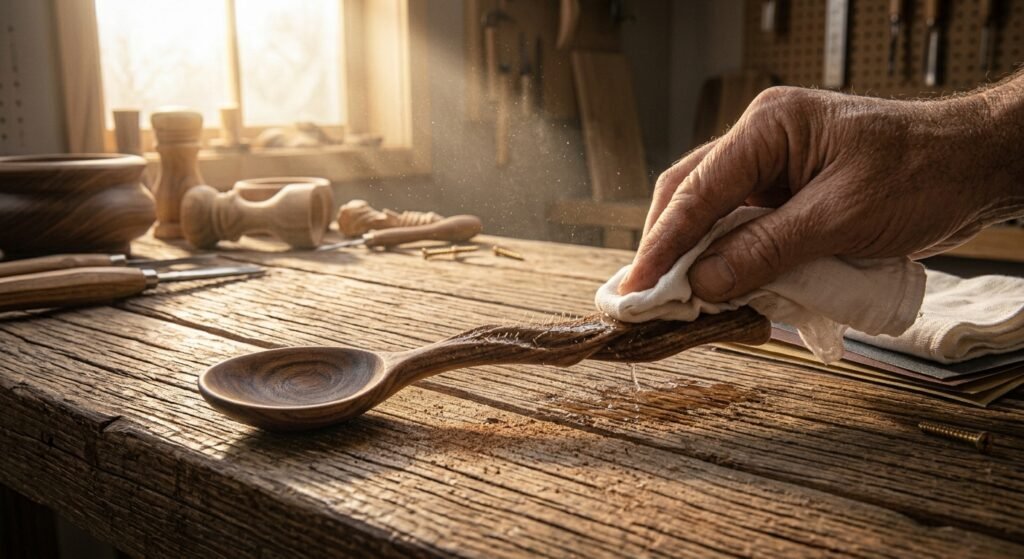
To sand the inside, work in small sections. Use short strokes that follow the direction of the grain, which usually runs along the length of the spoon. Be careful near the bottom of the bowl, because the grain can change direction there. If you notice tearing, slow down and try a lighter touch or switch directions slightly. A sharp scraper can fix the rough spots that sandpaper tends to smear.
Do not over-sand the inside. The bowl of the spoon is thin in places, and heavy sanding can make it thinner and weaker. You want to smooth the surface, not reshape it. Check the thickness often by holding the spoon up to the light. If you can see light glowing through the wood, stop.
The outside of the bowl is easier. It is convex, like the back of a ladle, so you can use your hand with a sanding pad and follow the shape. Pay attention to the line where the bowl meets the handle. This spot often has small bumps from the carving, and it is the place your hand touches most.
The rim of the bowl matters a lot too. It touches your lips, so it should feel soft and even. Round it lightly with 220 grit, then smooth it with 400. A rim that is too sharp feels harsh, and one that is too round feels clumsy.
The handle is where your hand lives, so comfort comes first. Hold the spoon the way you would use it and pay attention to where it feels sharp or rough. Those are the spots to sand more.
Sand the long sides with the grain, using a small block or a folded sheet. You can wrap the paper around the handle and pull it back and forth, as if you were polishing a shoe. This works well on round or oval handles. For flat handles, keep the paper on a block so you do not create dips.
Pay special attention to the end of the handle and any transitions. The end grain, which is the cut end of the wood fibers, drinks up oil and can feel rough even after sanding. Spend extra time here with finer paper. If you added a hole for hanging, use a small rolled piece of paper or a drill bit wrapped in sandpaper to smooth the inside of the hole. It is a tiny detail, but it keeps the string from fraying and makes the spoon look finished.
If the handle has carved patterns, sand lightly so you do not wear them away. Fine detail needs a soft touch or just a quick pass with 400 grit.
Picking the right grit saves time and keeps the spoon looking sharp. Here is a simple way to think about it.
Use coarse paper, around 80 to 100 grit, only when you have a real problem. That might be deep tool marks, a tear in the grain, or a bump that your knife cannot reach. Even then, use it briefly and only on that spot. Coarser grits leave scratches that take effort to remove, so do not use them across the whole spoon.
The middle range, 150 to 220 grit, is where most of your work happens. This is the sweet spot for spoons. It cuts quickly enough to fix small flaws and leaves a surface that is nearly ready for oil. Many woodworkers finish their eating spoons at 220 and find it perfectly smooth.
Fine paper, 320 to 400 grit, is for the final polish. It gives that silky, almost waxy feel. Use it after you have raised the grain and removed the fuzz. If you plan to use beeswax on top of oil, this is a good place to stop.
Wood type changes the choice, too. Soft woods like basswood and poplar sand easily and can become fuzzy if you go too coarse. A light touch with 150 to 220 usually does it. Harder woods like birch, walnut, and fruit woods such as cherry and apple take a finer polish and show scratches more clearly, so a higher final grit like 400 pays off. Dense woods can look almost glassy when sanded well.
A quick test helps. After each grit, wipe the spoon with a damp cloth and look at it in raking light, which means light coming from the side. Scratches pop out in this view. If you still see lines from the previous grit, go back and sand more before moving on.
Sanding gets the surface ready. Oil is what makes it last. Without a finish, a wooden spoon will dry out, stain, and eventually crack. With a good oil finish, it stays flexible and easy to clean.
The best oils for spoons are ones you can safely eat or at least have in direct contact with food. Food grade mineral oil is the most common choice. It is cheap, never goes bad, and has no taste or smell. It stays a liquid, which means it soaks in but never fully hardens. You will need to reapply it from time to time.
Walnut oil is another popular option. It is a natural oil that dries slowly and leaves a gentle, warm look. Be careful, though. If you plan to give the spoon as a gift or sell it, remember that nut allergies are real. Walnut oil can cause problems for some people, even in small amounts. Refined versions are often considered lower risk, but mineral oil is the safer path if you are unsure.
Some carvers like oils that cure, such as pure tung oil or raw linseed oil. These are polymerizing oils, which means they harden inside the wood after a few weeks and form a tough, water-resistant layer. They are great for spoons that see heavy use, but they take patience. Make sure you buy pure tung oil and raw linseed oil, not products labeled “boiled” or “finishing blends,” since those can contain drying chemicals that are not nontoxic.
A mix of mineral oil and beeswax makes a great second layer. The wax sits on top and adds a little extra protection and shine. Many woodcraft shops sell this as spoon butter or board butter, and you can make your own at home.
Before oiling, wipe off every bit of dust. Then pour a small amount of oil onto a soft cloth, not directly onto the spoon. You do not need much. The amount of oil should be just enough to make the wood look wet, not dripping.
Rub it in along the grain. Cover every surface, including the bowl, the back, the handle, and the end grain.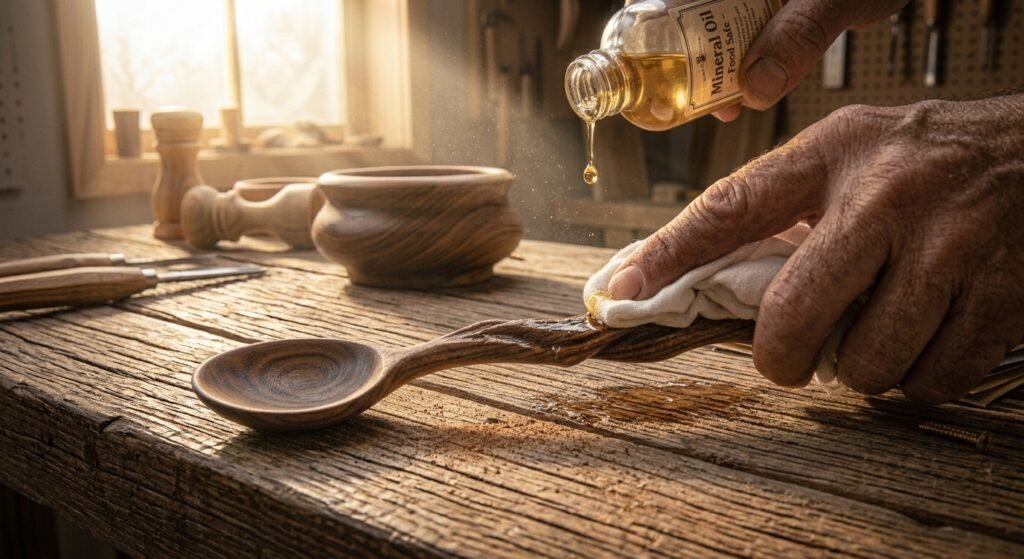 End grain drinks the most oil, so give it extra. Let the first coat soak in for about 20 minutes, then wipe off whatever remains on the surface. If the wood still looks dry, apply a second coat and wait again.
Then let it dry. For mineral oil, a few hours is enough. For walnut oil, give it a day. For tung or linseed oil, give it a week or more before using the spoon with food. The oil should feel dry and smooth, not sticky. If it feels tacky, rub it down again with a clean cloth.
When you are done, your spoon should feel smooth to the touch, with no rough edges or fuzz. Hold it up and run your lips along the rim. If it feels good, you have done it right.
Almost every beginner makes a few of these mistakes. Knowing them ahead of time saves a lot of frustration.
Sanding across the grain. This leaves scratches that look fine until you apply oil. Then they stand out like pencil lines. Always follow the grain, even if it feels slower.
Skipping grits. Jumping from 80 to 320 might seem like a shortcut, but it leaves deep scratches behind. Move up in steps and the surface will look better.
Sanding wet or green wood. Wet wood clogs the paper and gives a fuzzy, uneven surface. It can also lead to cracks as the spoon dries. Let it dry first.
Pressing too hard. Heavy pressure rounds off edges and removes wood in uneven patches. The spoon loses its clean lines and can end up lopsided.
Forgetting to raise the grain. If you skip this step, the first time the spoon touches water, the fibers will swell and the surface will turn rough again. It is a quick fix that prevents a lot of disappointment.
Ignoring dust. Leftover dust trapped between grits can scratch the surface, since loose grains from rough paper end up under the finer ones. Wipe the spoon between every grit.
Using the wrong tool for the bowl. Flat pads leave flat spots in curved places. Match your tool to the shape.
Over-sanding thin areas. The bowl and neck can lose strength fast. Check them often and stop before they get weak.
Rushing the oil. Putting on too much oil, or using the spoon before it cures, leads to a sticky surface. Take it slowly and let the oil settle.
Skipping safety. Fine dust is bad for your lungs, and some woods cause allergic reactions. A cheap mask solves the problem.
Learning how to sand wooden spoons is one of those skills that looks small but changes everything. A well-sanded spoon feels better in the hand, better in the mouth, and lasts much longer. The steps are simple: let the wood dry, clean up with a knife or scraper, sand with the grain through a few grits, raise the grain once, and finish with a food safe oil.
Do not worry if your first wooden spoon is not perfect. Every carver starts with rough, wobbly spoons, and each one teaches you something new. Pay attention to how the wood feels, trust your hands, and keep your tools sharp. Over time you will sand less because your carving gets cleaner.
So grab a piece of birch or basswood, carve a spoon, and try these steps. Then share your results with other spoon carvers or give the spoon to someone who will actually use it. That is the best part of woodworking, after all. A handmade spoon that gets used every day will tell a story for years.
No, but it helps a lot. Some carvers leave the knife marks for a rustic look. If the spoon is for eating, though, a smooth surface is more comfortable and easier to clean. At the very least, use a scraper to remove rough spots.
Most spoons turn out well with 120 or 150 grit followed by 220, and then a final pass with 400 grit. Start coarser only if you have deep marks to fix.
It is better to wait. Green wood is wet and shrinks as it dries, so sanding it often leads to fuzzy surfaces and warping. Let the spoon dry for a few days, then sand.
Food grade mineral oil is the safest and most popular. Pure tung oil, raw linseed oil, and walnut oil also work, but check for nut allergies and let curing oils fully harden before use.
Oil it whenever the wood looks dry or pale, usually every few weeks at first and then every month or two. If you wash it often, oil it more often.
Yes. A well-finished spoon works for both. Just avoid leaving it in water, and skip the dishwasher, since heat and moisture will crack the wood.
Let the oil dry, lightly sand the spot with 400 grit along the grain, wipe it clean, and apply a thin coat of oil again. The spoon should feel smooth to the touch after that.