Physical Address
304 North Cardinal St.
Dorchester Center, MA 02124
Physical Address
304 North Cardinal St.
Dorchester Center, MA 02124

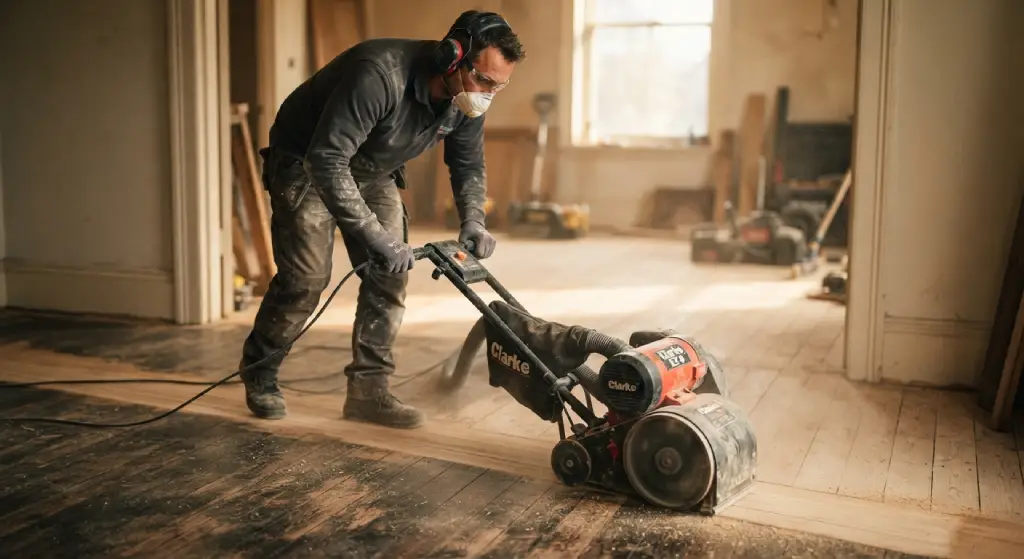
Refinishing a hardwood floor looks simple until you stand in front of a drum sander holding three different rolls of sandpaper, wondering which one to load first. Pick the wrong grit and you could leave deep scratches in your wood floor, or worse, gouge the surface so badly that you need to call in a professional to fix your mistake. This floor sanding abrasive grit guide walks you through everything a beginner needs to know about grit numbers, grit sequence, and how to choose the right sandpaper for hardwood floors, so your project turns out smooth, even, and ready for a beautiful finish.
Whether you’re sanding an old floor covered in decades of finish or prepping new hardwood for its first coat of stain, grit selection is the single factor that determines how your project turns out. Get it right, and the wood grain will look flawless once the finish goes on. Get it wrong, and you’ll spend hours trying to buff out sanding marks that never should have been there. Let’s break down exactly how grit works, why the sequence matters, and how to pick the right grit for your specific floor.
Abrasive grit refers to the small particles bonded to the surface of sandpaper. These particles cut into the wood, stripping away old finish, smoothing rough patches, and preparing the surface for stain or sealer. The size, shape, and density of these particles determine how aggressively the sandpaper cuts and how smooth the surface feels afterward.
In floor sanding, grit isn’t just about one piece of sandpaper. It’s about a system. Each pass with a different grit builds on the last, gradually refining the wood until it’s ready for finishing. Skip a step, rush the process, or choose the wrong grit sandpaper for your floor’s condition, and you’ll see the results in the final finish.
Grit number refers to how many abrasive particles are packed into one square inch of sandpaper. This number tells you how coarse or fine a sheet of sandpaper is.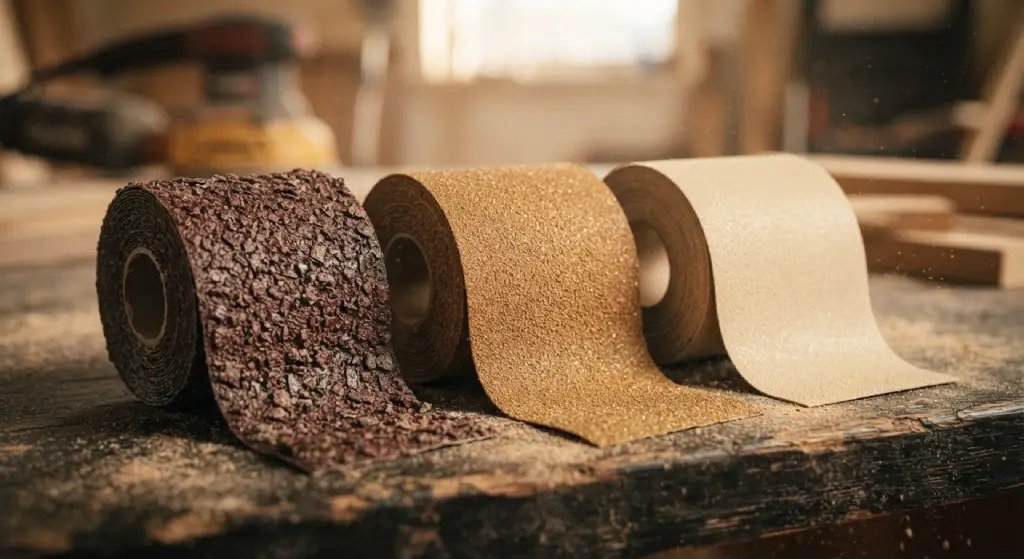
A simple rule to remember: the lower the grit number, the coarser the sandpaper. The higher the grit number, the finer it gets. This applies whether you’re using a drum sander, an edge sander, or a handheld sanding block.
Every grit leaves its own pattern of scratches in the wood. Coarse grit leaves deep scratches because it’s designed to cut fast and remove material quickly. Those scratches need to be sanded out using progressively finer grit, which is why you can’t just jump from 36 grit straight to 120 grit and expect a smooth result.
If you stop too early in the grit sequence, those coarse scratches will still be visible once you apply stain or finish. Stain actually makes this worse because it settles into scratches and makes them darker and more obvious. This is one of the most common reasons DIY floor sanding projects end up looking patchy or uneven. Finer grit also affects how the floor finish absorbs into the wood, so the final grit you use has a direct impact on how even your stain color turns out.
The grit sequence is the order in which you use different grits of sandpaper, moving from coarse to fine. This progression matters because each grit step is responsible for removing the scratch pattern left by the step before it.
Think of it like leveling a hill. The first pass with coarse grit knocks down the high points and strips away old finish or stubborn stains. The next pass, using a slightly finer grit, smooths out the marks left by that first pass. This continues until you reach a fine grit that leaves the wood looking clean and ready for finish.
Skipping grit steps is one of the biggest mistakes in hardwood floor sanding. Jumping from 40 grit to 100 grit, for example, doesn’t give the finer grit sandpaper enough ability to remove the deeper scratches left behind. The result is a floor that looks fine under regular light but shows visible scratch patterns once stain or polyurethane is applied, especially under natural light or at certain angles.
Following a proper sanding grit sequence also protects your wood floor from damage. Using an overly coarse grit for too long, or applying too much pressure during initial sanding, can remove more wood than necessary, which shortens the lifespan of your floor since hardwood can only be sanded a limited number of times over its life.
Floor sanding typically involves three broad categories of grit: coarse, medium, and fine. Each one serves a distinct purpose in the overall sanding stage.
Coarse grit sandpaper, usually ranging from 24 grit to 40 grit, is used at the start of the project. This is your starting grit when dealing with floors that have thick old finish, deep stains, scratches, or an uneven surface. A 36-grit sandpaper is one of the most commonly used starting points for hardwood floor refinishing because it strips away old coatings quickly without taking excessive time.
Coarse sanding is aggressive by design. It removes material fast, which is necessary when leveling an old, damaged, or heavily finished floor. However, because it cuts so deeply, coarse grit should never be the final step. Always follow coarse sanding with at least two finer grit passes.
Medium grit sandpaper, typically 60 grit to 80 grit, picks up where coarse grit leaves off. This stage smooths out the deep scratches created during coarse sanding and starts preparing the wood surface for a more refined finish.
Many professionals use 60 grit or even 80 grit as a middle step, depending on how rough the floor was to begin with. If the floor only needed light sanding to start, you might begin directly at medium grit rather than starting with 36 or 40 grit. This decision depends on the condition of the floor and how much old finish or damage needs to be removed.
Fine grit sandpaper, usually 100 grit to 120 grit, is used for the final sanding pass. This step removes any remaining marks from medium grit and leaves the wood smooth to the touch. Using 100 grit or 120 grit as your last pass ensures the wood grain is even and ready to absorb stain or finish uniformly.
Going beyond 120 grit is rarely necessary for floor sanding and can sometimes cause the wood to become too smooth, which actually makes it harder for stain or finish to penetrate properly. Fine sanding is about achieving balance, smooth enough to look great, but not so polished that it resists absorbing your chosen floor finish.
Here’s a quick side-by-side comparison to help you understand how these three grit categories differ:
Grit Type | Grit Range | Purpose | Common Use Case |
|---|---|---|---|
Coarse | 24–40 grit | Strip old finish, level uneven wood | First pass on heavily damaged or finished floors |
Medium | 60–80 grit | Remove coarse scratches, refine surface | Middle pass, prepping for final sanding |
Fine | 100–120 grit | Smooth wood for staining or finishing | Final pass before applying stain or sealer |
Understanding sandpaper grit in this way makes grit selection much less confusing. Coarse grit does the heavy lifting, medium grit bridges the gap, and fine grit delivers the polish. Each one plays a specific role, and none of them can replace the other.
Choosing the right sandpaper grit isn’t a one-size-fits-all decision. A few factors should guide your grit choice before you even turn on the sanding machine.
Assess the condition of the floor first. A floor with thick layers of old finish, deep gouges, or heavy staining needs a lower starting grit, like 36 grit or 40 grit. A floor that’s only lightly worn might only need to start at 60 or 80 grit.
Consider the wood species. Harder wood species, like maple floors, often resist coarse grit more than softer woods like pine. Maple floors may require a slightly more aggressive starting grit or extra passes to achieve the same smoothness that softer wood reaches more easily.
Think about the final floor finish. If you’re planning to apply a dark stain, finer sanding becomes even more important, because darker stains highlight every imperfection and scratch mark left behind. Lighter finishes are a bit more forgiving, but skipping steps in the grit sequence will still show.
Always sand in the direction of the wood grain. Sanding against the grain, even with the correct grit, can create noticeable sanding marks that are difficult to remove later. This single habit makes a significant difference in how professional the final result looks.
Don’t skip edge sanding. Edge sanding, usually done with a smaller edging machine, needs to follow the same grit progression as the main floor. Using mismatched grit between the center of the room and the edges creates an inconsistent look once finish is applied.
While every floor is different, a standard sanding grit sequence for most hardwood floor sanding projects looks like this:
This four-step grit progression, moving from 36 or 40 grit up to 100 or 120 grit, is one of the most reliable methods for sanding hardwood floors. Some lightly worn floors can skip the 36-grit step and start at 40 to 60 grit instead, but severely damaged floors should always begin with the coarsest grit available.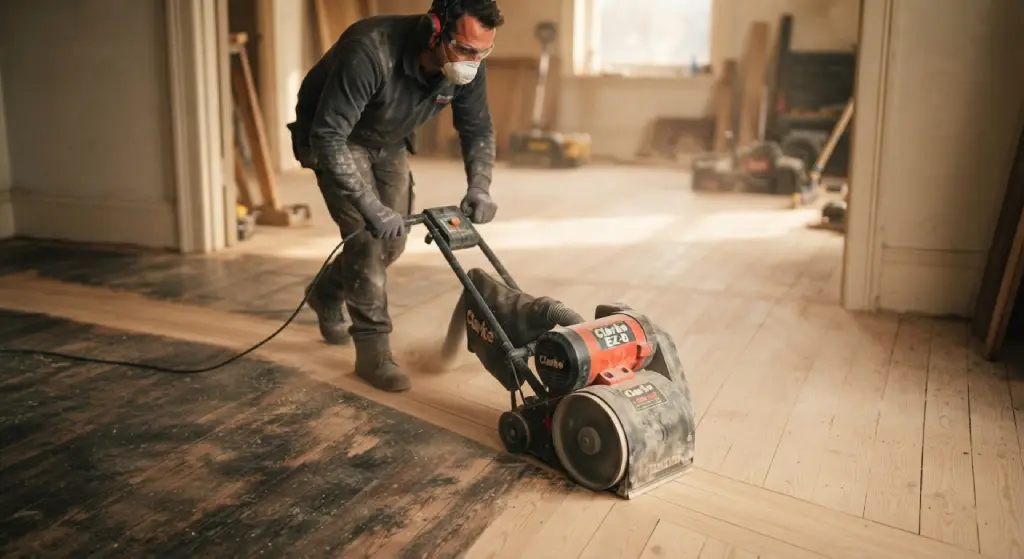
Between each grit change, it helps to vacuum up wood dust thoroughly. Leftover dust can clog sandpaper and reduce its cutting ability, forcing you to use more grit passes than necessary.
Not every wood floor needs the same abrasive approach. Here’s how grit selection can shift depending on the floor type:
Floors with old, thick finish: Start with the coarsest grit, often 24 or 36 grit, to cut through layers of polyurethane or varnish efficiently.
Lightly worn floors needing a refresh: These floors may only need a screening process using a sanding screen, paired with 80 to 120 grit, rather than a full coarse-to-fine sequence.
New, unfinished hardwood: New wood floors typically need less aggressive starting grit since there’s no old finish to remove. Starting at 60 grit and working up to 100 or 120 grit is often sufficient.
Hard wood species like maple or oak: These benefit from a slightly extended sanding stage at each grit level since the dense wood grain resists cutting more than softer species.
Floors with deep gouges or water damage: These require the most aggressive approach, starting as low as 24 grit, with extra passes at each subsequent grit step to fully remove the damage.
Matching the right sandpaper grit to your floor’s specific condition saves time, reduces wasted sandpaper, and protects the wood from unnecessary damage.
Even experienced DIYers make mistakes when it comes to grit choice. Here are the most common ones to watch for:
Skipping grit steps. Jumping from coarse grit straight to fine grit leaves visible scratches that show up once stain is applied. Always work through each grit level in sequence.
Using worn-out sandpaper. Sandpaper loses its cutting ability over time. Continuing to use dull sandpaper means spending more time sanding and getting a worse result, since dull grit tends to burnish the wood rather than cut it cleanly.
Sanding against the wood grain. This creates scratch patterns that are difficult to remove, even with multiple passes of finer grit afterward.
Starting with too fine a grit. Beginning with 80 or 100 grit on a floor that has thick old finish wastes time and sandpaper, since fine grit isn’t built to strip heavy coatings.
Rushing the final sanding stage. The last pass with fine grit is what determines how smooth your floor feels and how evenly it accepts stain. Rushing this step undermines all the work done in earlier stages.
Ignoring edge sanding consistency. Mismatched grit between the main floor area and the edges creates a visible, uneven look once the finish goes on.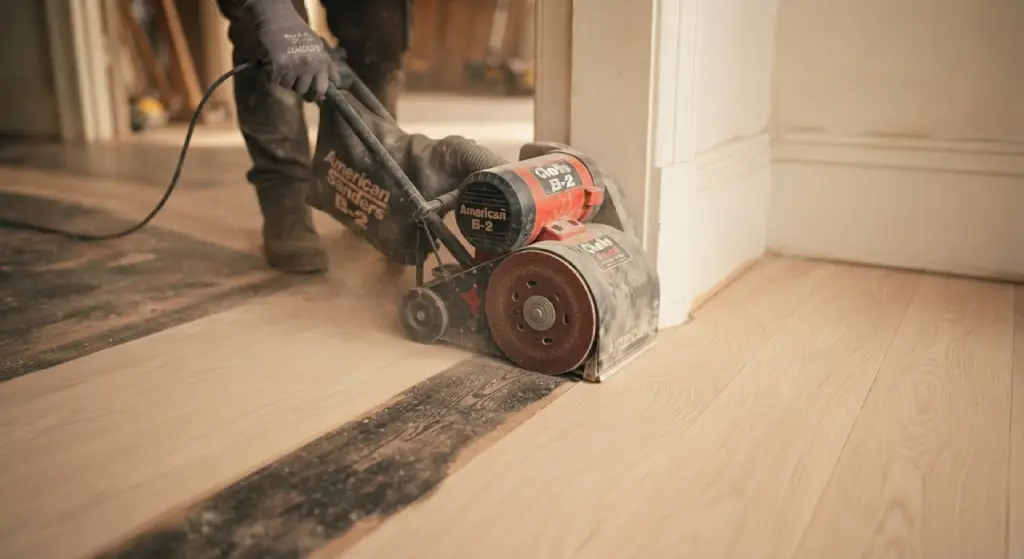
Avoiding these mistakes comes down to patience and following the grit sequence properly, rather than trying to shortcut the process to save time.
Choosing the right grit for hardwood floor sanding isn’t complicated once you understand how grit numbers work and why the sequence matters so much. Coarse grit removes old finish and levels the wood, medium grit smooths out the damage left behind, and fine grit prepares the surface for a flawless finish. Skipping steps or choosing the wrong grit sandpaper almost always shows up in the final result, especially once stain highlights every imperfection.
Take the time to assess your floor’s condition, choose your starting grit carefully, and work through each stage of the grit sequence without rushing. Your patience will pay off with a hardwood floor that looks professionally finished and will hold up beautifully for years to come.
What grit should I start with for hardwood floor sanding?
Most hardwood floors with old finish or visible damage should start with 36-grit sandpaper. Lightly worn floors can often start at 40 or 60 grit instead, depending on the condition of the floor.
Can I skip a grit step to save time?
Skipping grit steps isn’t recommended. Each grit level removes the scratches left by the previous one, so skipping a step leaves deeper scratches that become visible once stain or finish is applied.
What’s the best final grit for sanding hardwood floors?
100 grit or 120 grit is typically the best choice for the final sanding pass. This leaves the wood smooth enough for an even finish without over-polishing the surface.
Do different wood species need different grits?
Yes. Harder wood species, like maple floors, often need extra passes or slightly more aggressive starting grit compared to softer woods, since dense wood grain resists cutting more.
Why does my floor still show scratches after sanding?
Visible scratches after sanding usually mean a grit step was skipped, the sandpaper was worn out, or the floor wasn’t sanded in the direction of the wood grain.
How many times can a hardwood floor be sanded?
This depends on the thickness of the wood, but most hardwood floors can be sanded several times over their lifespan. Using excessive coarse grit or sanding too aggressively shortens this lifespan.
Should edge sanding use the same grit sequence as the main floor?
Yes. Edge sanding should follow the same grit progression as the rest of the floor to avoid an inconsistent appearance once the finish is applied.