Physical Address
304 North Cardinal St.
Dorchester Center, MA 02124
Physical Address
304 North Cardinal St.
Dorchester Center, MA 02124

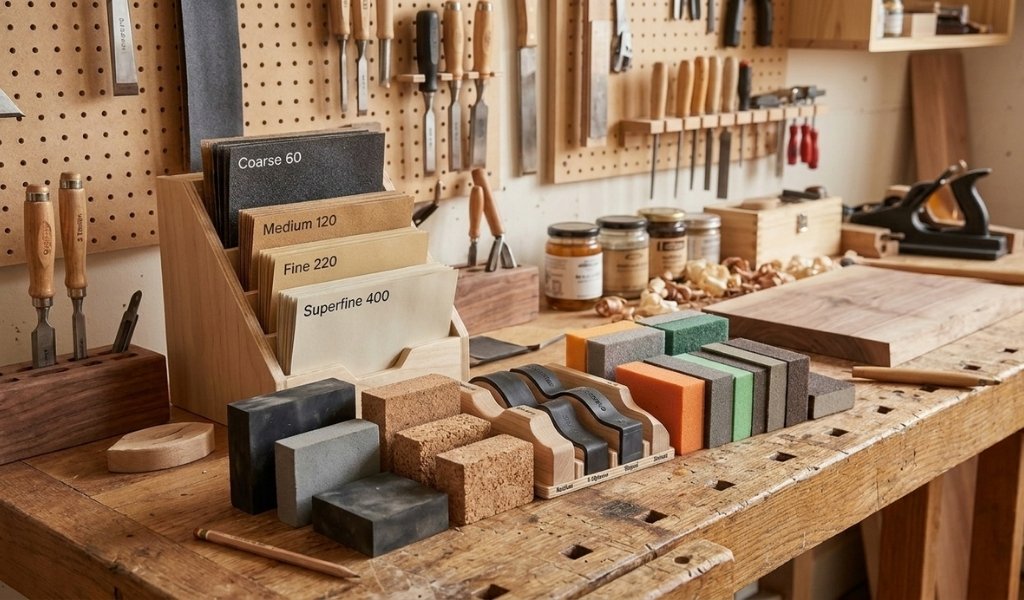
A sanding block is the quiet hero of any woodworking bench. It takes an ordinary sheet of sandpaper and turns it into a precise hand tool, one that flattens surfaces, softens edges, and delivers the even pressure that separates a professional finish from a rushed one. Whether you’re smoothing a raw pine board or reviving an old dresser, the right block changes everything.
Yet most people underestimate how much a good block matters. Press with bare fingers, and you’ll leave dips and waves in the wood. Wrap that same sandpaper around a rigid or flexible block, and suddenly your strokes spread pressure across the whole surface. That’s the difference between a surface that looks intentional and one that looks amateur.
This guide walks through every major type of sanding block, the sandpaper grits that pair best with each, and the specialty designs worth knowing about. If you want to see how blocks fit into the bigger picture of sanding wood, our complete guide to sanding covers the full workflow from coarse stock removal to final polishing. Here, though, we’re zeroing in on the block itself, your most reliable hand sanding tool.
By the end, you’ll know exactly which sanding block belongs in your workshop, how to match it to your project, and how to keep it working for years.
Not every sanding job calls for the same tool. Flat panels, curved chair legs, tight corners, and rounded moldings each demand a different approach. Understanding the main categories of sanding blocks helps you build a kit that handles whatever wood sanding challenge lands on your bench.
Below are the three block families every woodworker should know from rigid contour sets to washable foam sponges and hook-and-loop systems.
Flat blocks work beautifully on flat surfaces. But wood isn’t always flat. Coves, beads, rounded edges, and carved details all need a block that matches their shape and that’s where contoured profile sanding blocks earn their place.
A contour sanding grips set typically includes a range of convex and concave forms. The convex shapes fit into inside curves, while the concave shapes cradle rounded profiles. Brands like Milescraft produce block sets designed exactly for this kind of profile sanding, letting you follow a molding’s contour without flattening its detail.
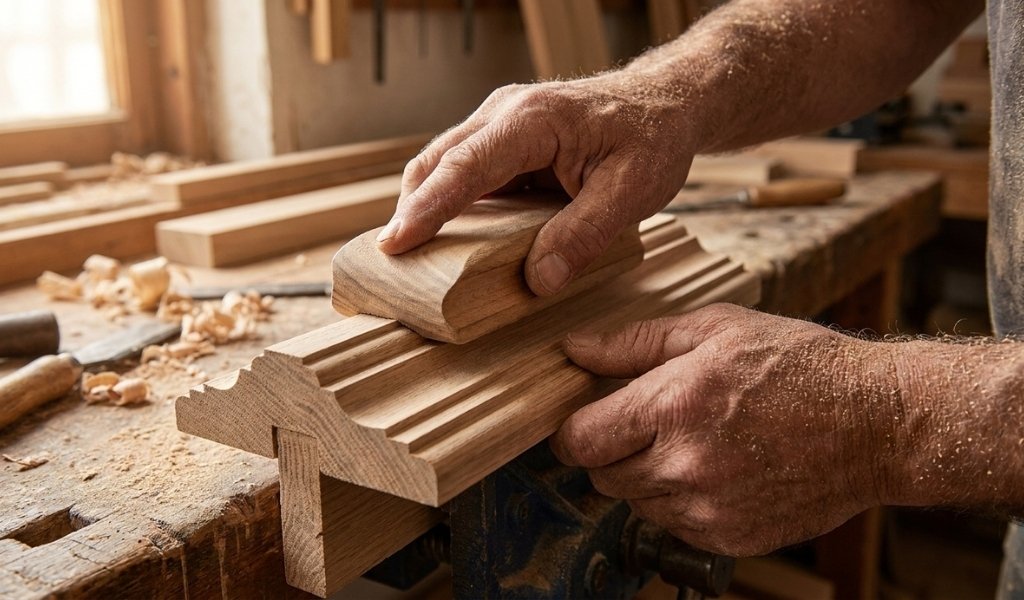
This is invaluable during furniture restoration, where preserving original profiles matters just as much as smoothing them.
These sets shine on softwood trim, decorative arts and crafts pieces, and any project with curves that a rigid flat block simply can’t reach. Wrap sandpaper around the form that matches your surface, apply even pressure, and let the contour do the guiding. For a profile sander approach that keeps your grip comfortable, look for sets with an ergonomic design that reduces hand fatigue during long sessions.
A sanding sponge is one of the most versatile tools in any sanding kit. Built from a flexible foam core often PU foam coated in abrasive, a sanding sponge bends and conforms to shapes that rigid blocks skip right over.
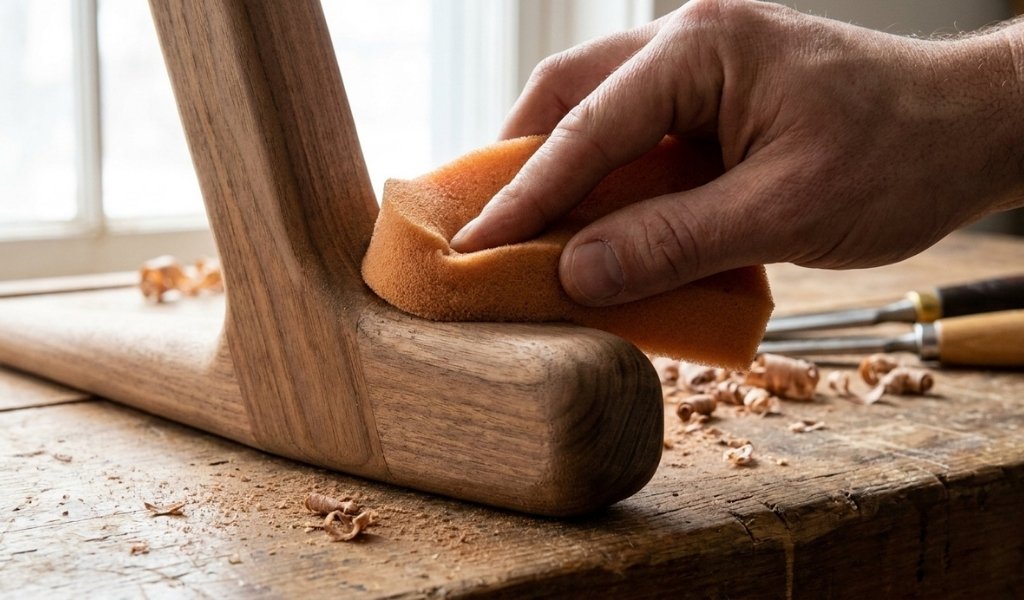
That flexibility makes it a favorite for hand sanding curved furniture, spindles, and irregular surfaces.
The real advantage of a foam sanding pad is reusability. Rinse it under water, let it dry, and it’s ready for the next job. Many are rated for both wet sanding and dry sanding, which extends their life considerably. A single sanding block set of foam sponges can carry you from coarse leveling all the way to superfine finishing, since they come in a full spread of grits.
Sponges also excel at gentle work. Because the foam gives slightly under pressure, they’re forgiving on delicate softwood and thin veneers where a hard block might dig in. For polishing, drywall sanding, or light scuffing between finish coats, a fine-grit sanding sponge is hard to beat. Keep a few grits on hand and you’ll reach for them constantly.
The hook and loop sanding block is the workhorse of modern hand sanding. Instead of clamping loose sheet sandpaper, it uses a Velcro-style backing that grips pre-cut abrasive pads. Swapping grits takes seconds peel off the old pad, press on the new one, and keep working.
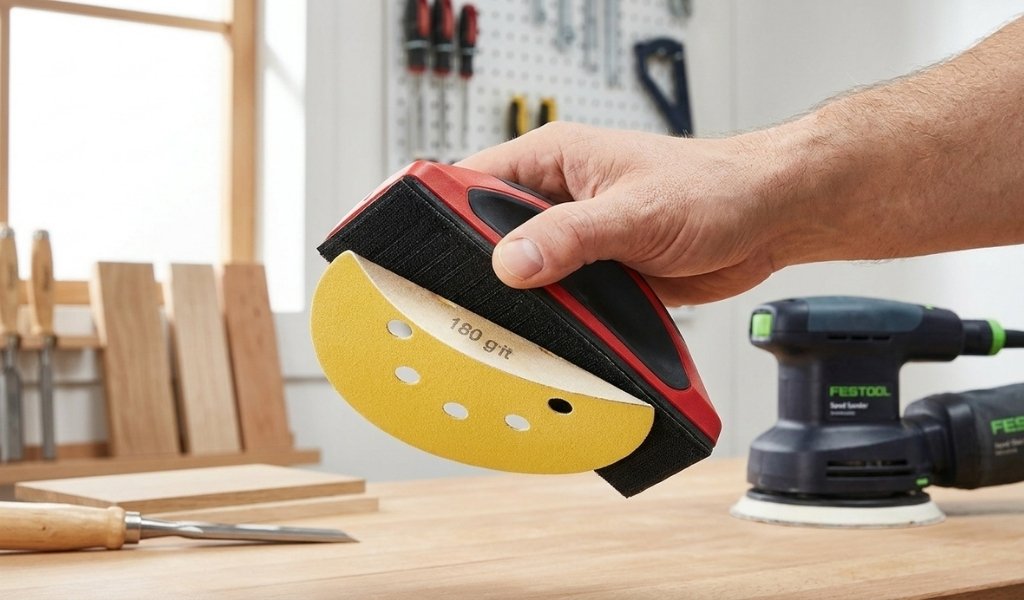
No fumbling, no torn paper.
Rubber-based blocks, meanwhile, are the traditional standard for holding sheet sandpaper. The classic 3M rubber sanding block uses spring-loaded clamps to grip a folded sheet tight, giving you a firm, flat surface with just enough flex to stay comfortable in the hand. These blocks are durable, refillable, and widely used across woodworking and auto body work alike the rubber base absorbs vibration and delivers consistent even pressure.
Choose a hook and loop system if you switch grits often and value speed. Choose a rubber sanding block if you prefer using economical sheet sandpaper and want a proven, long-lasting sandpaper holder. Many woodworkers keep both: hook and loop for quick finish passes, rubber for heavier hand sanding sessions.
A sanding block is only as good as the sandpaper wrapped around it. Grit the size of the abrasive particles bonded to the backing determines whether you’re stripping material fast or refining a surface to a glass-smooth finish. Get the grit sequence right, and your block does exactly what you need at each stage.
The golden rule is simple: work from coarse to fine, never skipping stages. Each grit erases the scratches left by the one before it. Here’s how the progression breaks down for hand sanding.
When you need to remove material fast, reach for coarse abrasive. A 60 grit sheet and anything rougher is built for heavy lifting: stripping old paint, knocking down high spots, flattening cupped boards, or shaping rough softwood stock.
Coarse grit cuts aggressively, which is exactly the point. Wrapped around a firm sanding block, 60 grit chews through rough surfaces quickly and delivers even pressure so you don’t gouge the wood. Brown corundum abrasive (a common aluminum oxide) is a popular choice here because it’s tough and cuts consistently.
The tradeoff is depth. Coarse grits leave deep scratches you’ll need to work out with finer grits later, so use them only when the surface genuinely calls for it. Starting too rough just adds hours of cleanup down the line.
Medium grits roughly 80 to 150 handle the bulk of surface preparation. After coarse sanding removes the worst of it, these grits erase the deep scratches and start leveling the wood into a genuinely smooth surface.
This is where hand sanding with a block really pays off. Move up through 80, 120, and 150 grit in sequence, and each pass refines the last. A 120-grit sheet is a solid starting point for wood that’s already reasonably flat, while 150 grit transitions cleanly into fine work without leaving marks that are hard to remove.
Fine grits from 180 to 220 handle pre-stain prep. At 220 grit, you’re no longer removing material so much as refining texture, closing the grain and creating a uniform surface that lets stain absorb evenly. A final hand sanding pass with 220 grit is standard practice before any finish goes on wooden sanding blocks’ worth of surface.
Superfine grits 400 and above come into play after your first coat of finish has dried, not on bare wood. This is polishing territory.
Lightly sanding between coats with 400 grit knocks down dust nibs, brush marks, and raised grain, creating a flat base for the next layer. A soft foam sanding pad works especially well here because it conforms to the surface without cutting through the finish. Above 600 grit, you’re typically wet sanding using water or mineral spirits as a lubricant to cut gently and produce an ultra-smooth, polished result.
For hand sanding at these grits, light pressure is everything. Let the abrasive do the work, keep the block flat, and check your progress often. The reward is a surface that feels like glass.
Beyond the main categories, a handful of classic designs and specialty tools deserve a spot in your sanding kit. Some have been around for generations; others solve specific problems that standard blocks can’t touch.
Knowing these options helps you pick the exact hand sanding tool for the job whether you’re refinishing a tabletop or working into a corner no larger than your fingertip.
The traditional rubber sanding block remains a benchtop staple for good reason. Its clamps hold sheet sandpaper securely, the rubber body absorbs vibration, and the flat base delivers reliable even pressure across the surface. It’s durable, refillable, and endlessly practical for everyday sanding wood.
A cork sanding block offers a slightly different feel. Cork is lightweight, firm yet forgiving, and provides excellent grip; many woodworkers prefer it for fine hand sanding because it flexes just enough to follow subtle contours while staying flat overall. You can buy a cork block or make one easily by gluing cork sheet to a wooden block, giving you a cheap, effective sandpaper holder.
Plain wooden sanding blocks are the simplest option of all. A scrap of hardwood, a wrapped sheet of abrasive, and you’ve got a functional flat block for pennies. Woodsmith and Popular Woodworking have published plans for DIY blocks for decades, and a homemade wooden block sized to your hand often beats a store-bought one for comfort and control.
Standard blocks can’t reach everywhere. For tight spaces, inside corners, and intricate detail work, you need something smaller and more precise.
A small sanding block sometimes shaped like a point or a mouse-shaped pad fits into corners and narrow gaps that full-size blocks bounce right off. Sanding sticks, essentially abrasive glued to a thin flat stick, work brilliantly for grooves, slots, and fine detail on arts and crafts projects. Both give you the control to sand precisely without marring the surrounding wood.
For custom shapes, improvise. Wrap sandpaper around a dowel to match a concave curve, or fold a strip to reach into a crevice. This is the same principle behind a profile sander or contour block match the tool to the shape, and you get clean, consistent contact every time. Whether you’re doing furniture restoration or a home arts and crafts project, a few detail tools round out your kit for the jobs bigger blocks can’t handle.
The best sanding block depends on your project. For flat surfaces, a rubber or cork block delivers excellent even pressure and control. For curves and profiles, a foam sanding sponge or a contour sanding grips set works best. If you switch grits often, a hook and loop block saves time. Many woodworkers keep several types on hand: a durable rubber block for heavy work and foam sponges for detailed finishing.
Absolutely. A sanding block is one of the most effective hand tools for sanding wood. Wrapping sandpaper around a firm block spreads pressure evenly across the surface, preventing the finger-pressure dips that leave a wooden surface wavy and uneven. On flat surfaces especially, a sanding block almost always produces better results than sanding with bare fingers.
Match the grit to the stage. Use coarse 60 grit for stock removal and heavy shaping, medium 80 to 150 grit for smoothing and leveling, and fine 180 to 220 grit for pre-stain preparation. For polishing between finish coats, move to superfine 400 grit and above. Always work from coarse to fine without skipping grits, so each pass removes the scratches left by the last.
Yes a sanding block is one of the cheapest tools that makes the biggest difference in your results. Blocks distribute even pressure, protect flat surfaces from uneven sanding, and give you far more control than freehand sanding. Reusable foam sponges and refillable rubber or cork blocks also save money over time, since you only replace the abrasive rather than the whole tool.
To make one, glue a piece of cork or wrap sandpaper around a scrap wooden block sized to fit your hand cheap, quick, and surprisingly effective. To clean a foam sanding sponge, rinse it under water and let it fully dry before reuse; most are washable and rated for wet sanding. For rubber and cork blocks, tap out the dust and brush away loose abrasive to keep the surface cutting cleanly.
Plenty of everyday items work in a pinch. Wrap sandpaper around a wooden block, a dowel, a length of hose, or even a stiff sponge to match your surface. For curved profiles, a dowel or PU foam form gives you concave and convex contact. Sanding sticks and folded sheet sandpaper handle tight spaces where standard blocks won’t fit.
Sanding blocks are inexpensive tools. A basic rubber or cork block typically runs from a few dollars to around fifteen, while foam sanding sponges often sell in multi-grit packs for a similar range. Contour block sets and branded systems from makers like Milescraft, 3M, or Rockler cost a bit more but remain affordable, and a DIY wooden block costs next to nothing.
A great finish starts long before the stain goes on it starts with the block in your hand. The right sanding block turns a simple sheet of sandpaper into a precise tool that spreads even pressure, follows contours, and protects your wood from the waves and gouges that freehand sanding leaves behind.
Start with a versatile core: a durable rubber or cork block for flat surfaces, a set of foam sponges for curves and finishing, and a few contour grips or sanding sticks for detail work. Match your grit to each stage coarse for shaping, medium for smoothing, fine for prep, superfine for polishing and work through the sequence without shortcuts.
Do that, and every project comes off the bench smoother, cleaner, and more professional. Ready to put it into practice? Grab a block, pick your grit, and let the sandpaper do the work.