Physical Address
304 North Cardinal St.
Dorchester Center, MA 02124
Physical Address
304 North Cardinal St.
Dorchester Center, MA 02124
If you’ve spent any time in a woodworking shop, you’ve probably asked yourself the same question at least once: bandsaw or table saw?
It’s one of the most debated topics among woodworkers—beginners and seasoned pros alike. Both tools can rip boards, handle joinery, and make straight cuts. But they each have their strengths, their quirks, and their ideal use cases.
Table saw gets used less and his bandsaw gets used more. That shift didn’t happen overnight. It came after years of working with both tools and realizing that a well-tuned bandsaw could do far more than just cut curves.
This guide breaks down the real differences between a bandsaw and a table saw—covering safety, cut quality, joinery, blade selection, and setup. By the end, you’ll have a clear picture of which saw deserves the top spot in your shop.
At first glance, these two tools seem to serve the same purpose. Both can rip lumber. Both can make straight cuts. But the way they do it is quite different.
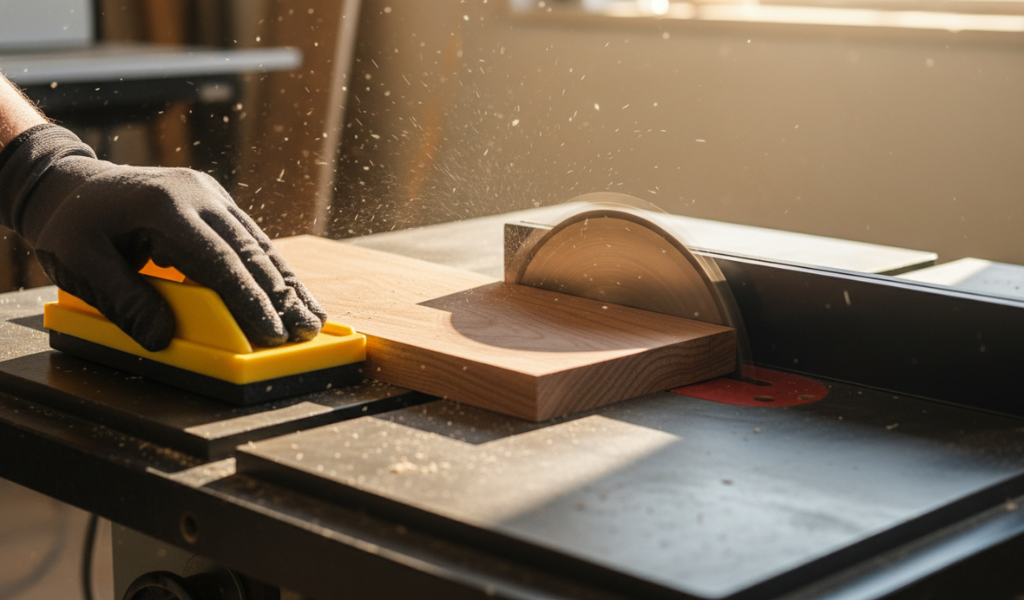
A table saw uses a circular blade that spins upward through a flat table surface. It’s fast, precise, and great for breaking down large sheet goods or cutting hardwoods to width.
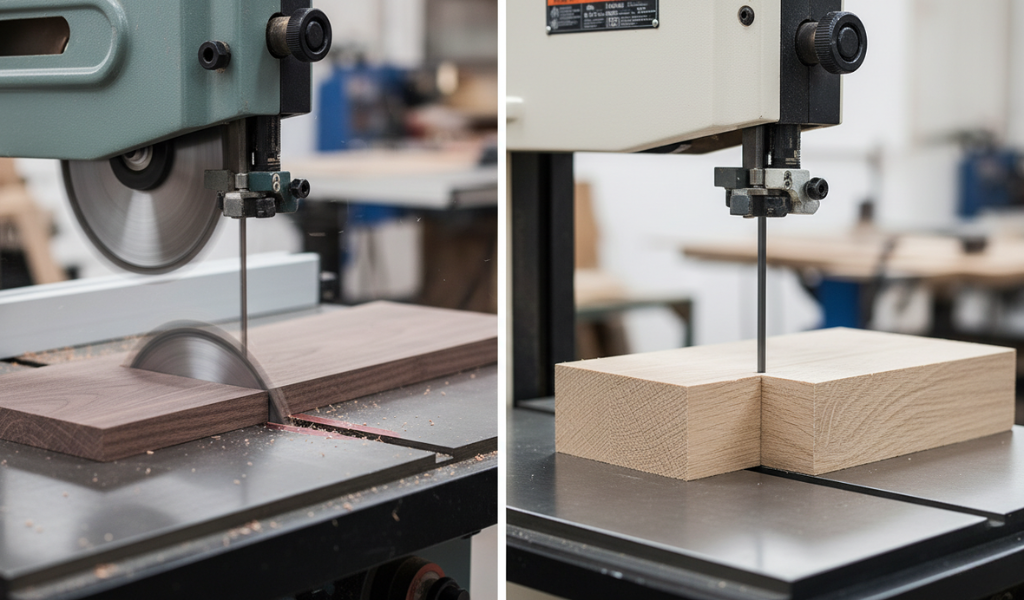
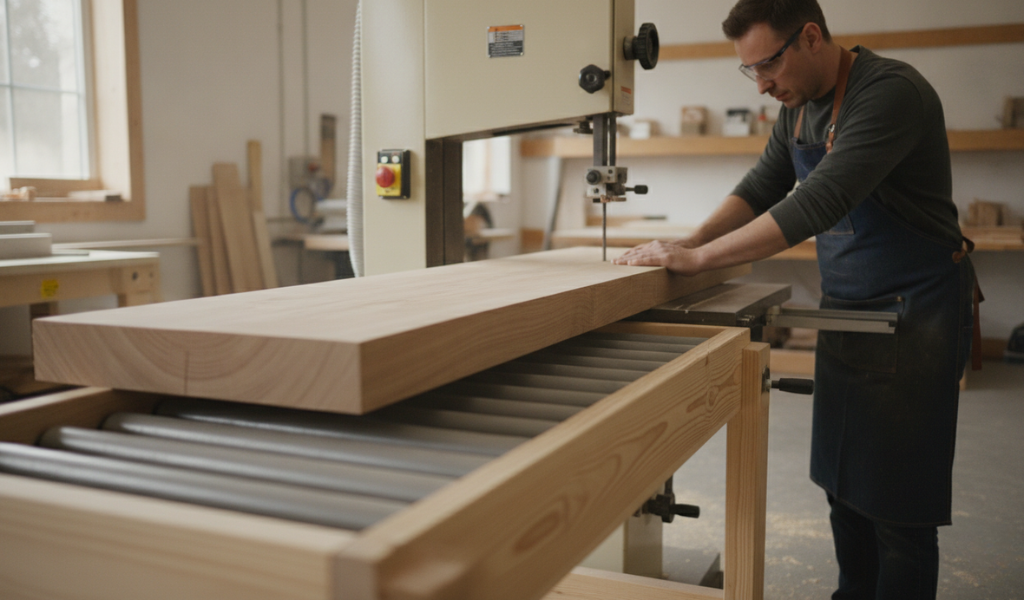
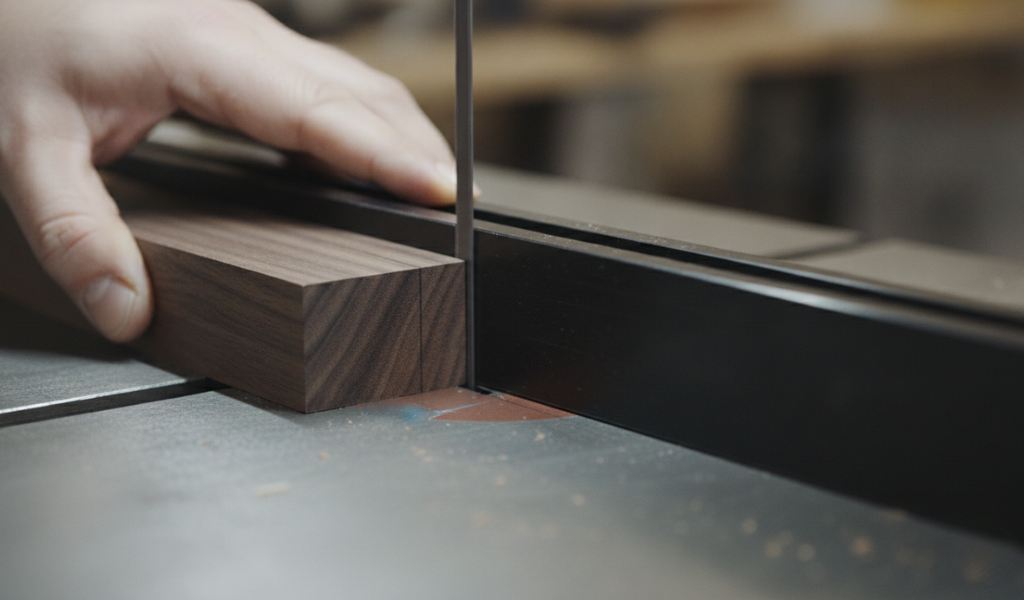
A band saw uses a long, continuous looped blade that moves in a single downward direction. This design makes it ideal for curves, resawing thick stock, and—when properly set up—straight ripping cuts as well.
The key difference isn’t just mechanical. It’s about workflow, safety, and how each tool fits into your projects.
Let’s talk safety—because it matters more than most people admit.
Table saws are responsible for a significant number of workshop injuries every year. The spinning blade, combined with the risk of kickback (where the wood gets pinched and thrown back at the operator), makes it a tool that demands full attention every single time you use it.
A bandsaw, on the other hand, is considerably safer for ripping wood. Here’s why:
This creates a less stressful environment—one that’s less physically taxing and allows you to work more safely for longer periods. That’s not a small thing. Fatigue leads to mistakes, and mistakes with a table saw can be serious.
If you do use a table saw, proper technique is everything. Here are the core safety habits every woodworker should follow:
Learning how to use a table saw safely takes practice and discipline. However, the table saw remains one of the most versatile tools in any woodshop—when used correctly.
Many woodworkers first buy a bandsaw to cut curves or make bandsaw boxes. That’s fair—it excels at those tasks. But a well-tuned band saw can do so much more.
First learned how to resaw veneer on his bandsaw, he had to dial in the setup carefully to get straight, square cuts. After doing so, he made a surprising discovery: the bandsaw cut just as straight and true as his table saw.
The main difference? Cut surface quality. A table saw typically leaves a surface that needs two swipes from a hand plane before applying a finish. A bandsaw might need three or four. In real terms, that’s a minor difference—especially when you factor in the safety benefits and quieter operation.
To use a band saw for ripping effectively:
Getting comfortable with how to use a band saw for straight cuts opens up a whole new range of possibilities in the workshop.
One area where the bandsaw genuinely surprises people is joinery. Once it’s set up for accurate ripping, it’s precise enough to cut half-laps, bridle joints, and tenons.
Cutting tenons on the bandsaw is not only possible—it’s efficient and enjoyable. Tim Rousseau, a respected woodworking instructor, has demonstrated a clean, practical method for cutting tenons on the bandsaw that many woodworkers now prefer over the table saw approach.
The benefits of cutting tenons on the bandsaw include:
If you’ve only ever cut tenons on a table saw, give the bandsaw a try. You might not go back.
Both tools live and die by their blades. Knowing how to select the right saw blade makes a significant difference in cut quality, speed, and finish.
Tooth count: Fewer teeth per inch (TPI) for thick stock and resawing; more TPI for thin stock and fine cuts
Blade width: Wider blades (½ inch or more) for straight cuts; narrower blades (¼ inch or less) for tight curves
Carbide-tipped blades: These are worth the investment. As Farrington points out, carbide bandsaw blades cut smoother and last far longer than standard bi-metal blades. They work best on larger saws that can provide proper blade tension—so check your saw’s specs before purchasing.
In both cases, a dull blade is your enemy. It produces rough cuts, forces you to push harder, and increases the risk of the workpiece binding or kicking back. When in doubt, replace the blade.
A bandsaw is only as good as its setup. Here’s a quick checklist based on what experienced woodworkers recommend:
Tension the blade correctly – Most saws have a tension gauge, but always test by deflecting the blade slightly. It should feel firm without excessive flex.
Set the blade guides – Both the upper and lower guides should be positioned close to the blade without touching it during operation.
Square the table – Use a reliable square to check that the table is 90 degrees to the blade.
Add lighting – It sounds simple, but a small LED light mounted near the blade dramatically improves visibility and cut accuracy.
Add a tape measure to the fence – A small comfort, but it saves time on repeated cuts.
Michael Fortune’s video tutorials on bandsaw setup are widely recommended in the woodworking community and offer a thorough walkthrough of these foundational steps.
To be fair, there are situations where a table saw holds the clear advantage:
Sheet goods: Breaking down full sheets of plywood is faster and more manageable on a table saw with proper outfeed support
Dado cuts: Table saws accept dado blade sets; most bandsaws do not
Repetitive, high-volume ripping: For production environments where speed is critical, the table saw’s faster feed rate wins
Very thin strips: Cutting thin stock consistently is easier with a table saw sled or fence setup
The table saw earns its place in the shop. But it shouldn’t be the default choice for every cut.
The honest answer? Both tools belong in a well-equipped woodworking shop. They complement each other more than they compete.
That said, if you’re deciding where to invest your money and attention first—or you’re rethinking your workflow—don’t overlook the bandsaw. A properly tuned band saw with a good fence, outfeed support, and a quality carbide blade can handle ripping, resawing, curves, and joinery with impressive accuracy and far less risk than a table saw.
The bandsaw rewards patience and setup. Once dialed in, it’s quieter, safer, and capable of more than most woodworkers expect.
Start with the fundamentals: learn how to use a band saw correctly, invest in a quality blade, and take the time to set up your fence properly. From there, explore more advanced techniques—like cutting tenons on the bandsaw—and you’ll find it earns more floor time with every project you finish.