Physical Address
304 North Cardinal St.
Dorchester Center, MA 02124
Physical Address
304 North Cardinal St.
Dorchester Center, MA 02124

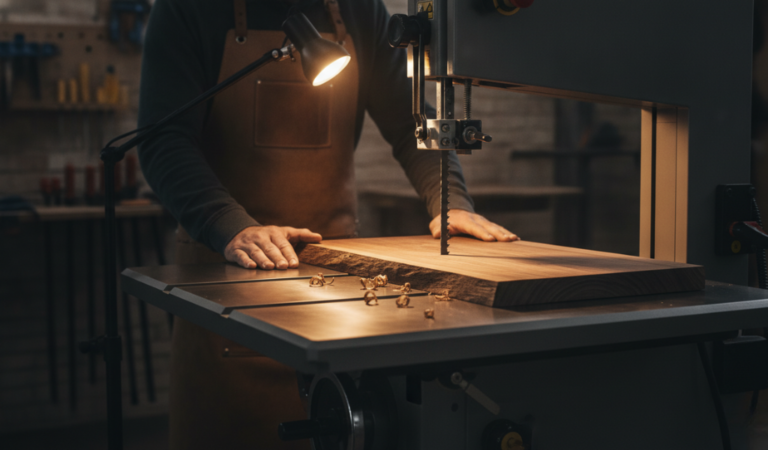
Woodworking is an art form that balances brute force with extreme delicacy. At the center of this balance is your saw. Whether you own a top-of-the-line cabinet saw or a portable job-site model, the machine is only as good as the circular piece of steel attached to its arbor. Many hobbyists spend thousands on the “tool” but pennies on the “edge,” leading to frustration, burnt lumber, and wasted material.
Knowing how to select the right saw blade is arguably the most important skill you can develop in the shop. It is the difference between a joint that glides together perfectly and one that requires hours of sanding to fix a jagged edge. In this comprehensive guide, we will dive deep into the mechanics of saw blades, explore the physics of a saw blade tooth, and help you decide when to reach for ripping blades, combination blades, or specialized crosscutters.
Choosing the right saw blade depends on the type of cut, material, and saw you are using. Ripping blades are best for cutting along the wood grain, crosscut blades provide smoother cuts across the grain, and combination blades handle both tasks for general woodworking. Factors like tooth count, kerf size, blade coating, and tooth geometry all affect cutting speed, finish quality, and overall performance.
Most people assume that if a saw blade is sharp, it will cut wood. While technically true, cutting and performing are two different things. When you understand how to choose the correct blade, you are essentially matching the physics of the tool to the biology of the wood.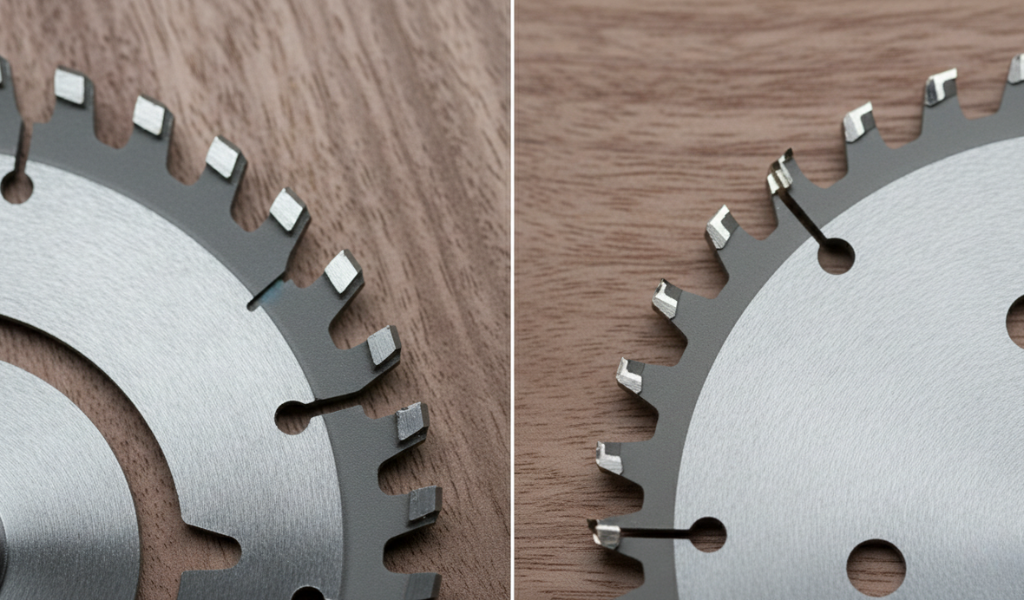
Wood is a fibrous material. Think of a 2×4 as a giant bundle of drinking straws glued together. When you cut along the length of those straws, you are “ripping.” When you cut across them, you are “crosscutting.” Each action requires a completely different mechanical approach. Using the wrong blade isn’t just a matter of a “rougher” look; it can lead to overheating, which draws the temper out of your steel, potentially ruining an expensive blade in a single afternoon.
To speak the language of a pro, you have to understand what makes up the disc. A high-quality blade is carefully designed to handle high RPM speeds while maintaining stability and accuracy during cutting.
The arbor hole is the mounting point. While 5/8-inch is standard for 10-inch saw blades, some American or industrial saws use 30mm or 1-inch arbors. A critical but overlooked detail is the ‘arbor flange’. This is the washer that clamps the blade. If there is even a microscopic piece of sawdust between the blade and the flange, it creates “runout”—a wobble that makes a thin blade behave like a wide, vibrating mess.
You will rarely find “all-steel” saw blades in a modern shop. Instead, we use carbide-tipped teeth. Carbide is a mixture of carbon and tungsten that is significantly harder than steel. However, not all carbide is created equal. Premium blades use ‘micro-grain carbide’, which allows for a sharper edge that resists “leaching” (the chemical breakdown of the binder caused by wood resins).
If you look closely at a professional blade, you’ll see laser-cut paths that look like lightning bolts or shepherd’s crooks. These aren’t decorative. As a blade cuts, friction creates heat. Heat causes metal to expand. Without these slots, the metal would have nowhere to go but “out,” causing the blade to dish or warp. These slots allow the blade to expand and contract while maintaining its ‘dead-flat’ profile.
Ripping Blades: Designed for Cutting Along the Grain
When you are breaking down raw lumber or cutting a board to width, you are ripping. This is the most taxing task for a saw motor because you are removing long, stringy fibers.
Ripping blades typically feature a low tooth count, usually between 22 and 30 teeth for a 10-inch blade. The most defining feature of a ripping saw blade is the gullet—the deep, U-shaped valley in front of each tooth.
When ripping, each saw blade tooth acts like a tiny chisel, gouging out a large chunk of wood. That chunk (the chip) needs to stay somewhere until the tooth clears the top of the wood. If the gullet is too small, the sawdust gets compressed, creating massive friction. This friction leads to “burning,” where the wood literally chars black.
A dedicated ripping saw blade will have a ‘Flat Top Grind’ (FTG). This means the top of the tooth is square. This is perfect for ripping because it is the most efficient way to plow through material. However, it leaves a relatively rough surface. If you are building a tabletop, you will need to run the ripped edge over a jointer or use a hand plane to get it ready for glue-up.
Crosscutting is the act of cutting across the wood fibers. Imagine trying to cut a bundle of straws with a blunt axe; the straws would just crush and shatter. To get a clean cut across wood grain, you need to shear the fibers rather than plow through them.
While a ripping blade has 24 teeth, a dedicated crosscut blade will have 60, 80, or even 100 teeth. This means more “bites” per inch, resulting in a much smoother surface.
Most crosscut saw blades use an ‘Alternate Top Bevel’ (ATB) geometry. Each tooth is ground at an angle, alternating left and right. This creates a knife-like action that scores the wood fibers on the outside of the cut before the rest of the tooth removes the waste. This is why crosscut blades are the gold standard for “show surfaces” and trim work.
For many home woodworkers, the combination blades are the most practical investment. Most people don’t want to stop their workflow to change a blade just to make one quick crosscut after a series of rips.
A classic combination blade is often designed with 50 teeth. These teeth are usually arranged in “groups of five.” There is one large gullet followed by a flat-top ripping tooth, then four ATB crosscutting teeth.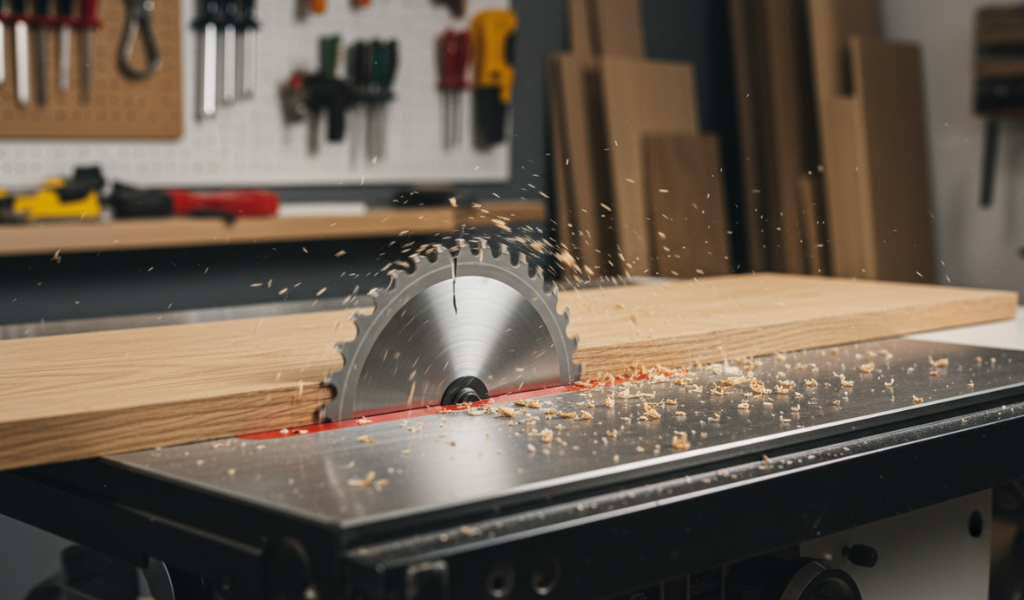
Yes, it is a compromise, but a brilliant one. A combination blade won’t rip 3-inch thick maple as fast as a dedicated ripping saw blade, and it won’t leave a finish as flawless as an 80-tooth crosscut blade on veneered plywood. However, for 90% of furniture building—where you are working with 3/4-inch to 5/4-inch lumber—it performs spectacularly. This makes combination blades a practical choice for most woodworking projects.
If you really want to understand blade selection in woodworking ,you have to look at the tips of the teeth.
“Kerf” refers to the thickness of the cut. In the world of saw blades ,this is a hot topic of debate.
This is the traditional thickness. Because the plate is thicker, it is much more rigid. It is less likely to vibrate or deflect when hitting a hard knot in the wood. However, spinning a 1/8-inch blade through a hardwood board requires a lot of horsepower. If you have a 3HP or 5HP cabinet saw, full-kerf is the way to go.
Thin-kerf blades were popularized by the rise of job-site saws and battery-powered tools. Since they remove 25% less material, the motor doesn’t have to work as hard. This is also a huge benefit when working with “exotic or expensive” woods—less sawdust means more usable wood. The downside? They can “flutter” or flex if you push the wood through too fast, leading to a slightly wavy cut.
Why are some blades red, blue, or gold? It’s not just for branding. High-performance saw blades often feature a ‘Teflon or PFA coating’.
Wood contains resins and moisture. As the blade heats up, these resins bake onto the teeth, forming a hard crust called “pitch.” Pitch increases friction, which increases heat, which leads to more pitch. It’s a vicious cycle. Non-stick coatings help prevent this buildup, keeping the blade cooler and making it much easier to clean.
Have you ever heard a saw blade “scream” or whistle? That’s the vibration. Modern blades have laser-cut “stabilizer vents” filled with silicone or special polymers. These act like shock absorbers, deadening the sound and ensuring the blade stays stable at high speeds. A quieter blade isn’t just a luxury; it’s a sign of a more accurate tool.
Sometimes, a general-purpose blade just won’t cut it (pun intended).
Most people throw away their saw blades way too early. They think the blade is “dull” when it’s actually just “dirty.”
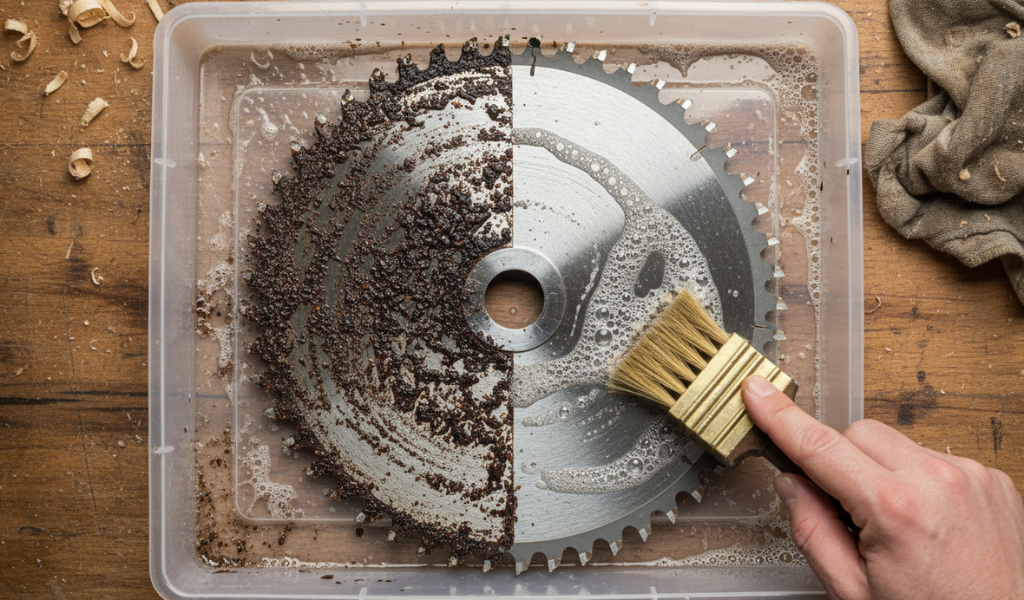
Before you spend money on a new blade, try cleaning your old one. You don’t need fancy chemicals; a simple solution of water and a “citrus-based cleaner” or even laundry detergent will work. Soak the blade for 15 minutes and use a brass-bristled brush to scrub the carbide tips. You will be shocked to find that the “dull” blade was actually just covered in baked-on sap.
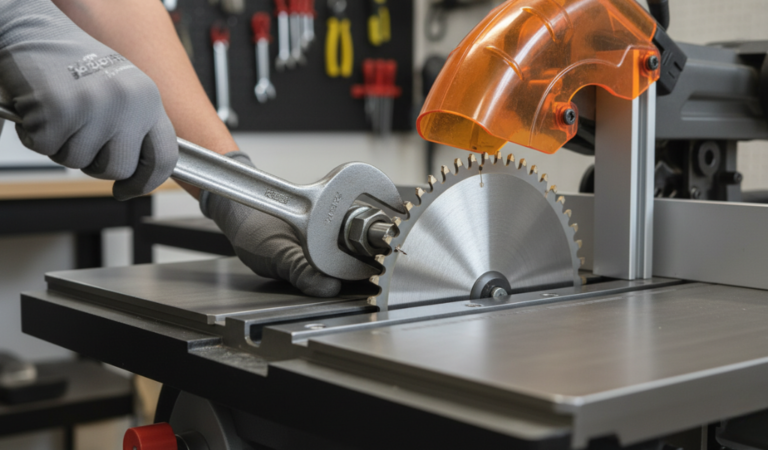
If the carbide is actually rounded or chipped, take it to a professional. A professional sharpening service uses CNC grinders to remove a microscopic layer of carbide, returning the blade to “factory sharp” or better. A $100 blade can usually be sharpened 4 or 5 times for about $20 per session. It is the most cost-effective way to maintain a high-end shop.
Choosing the proper saw blade is about matching the blade to your woodworking needs. If you are just starting out, don’t feel like you need to buy five different blades.
Start with a high-quality 40 or 50-tooth combination blade. This will get you through almost any DIY project.
Add a dedicated 24-tooth ripping blade once you start working with thick hardwoods (over 1 inch thick).
Invest in an 80-tooth crosscut blade when you begin doing fine furniture or installing crown molding.
Respect your blades, keep them clean, and always remember: the blade is the only part of the saw that actually touches your project. Make sure it’s a good one.