Physical Address
304 North Cardinal St.
Dorchester Center, MA 02124
Physical Address
304 North Cardinal St.
Dorchester Center, MA 02124
Imagine opening the access panel of a newly commissioned industrial machine, an advanced server rack, or even a custom automotive build, only to find a chaotic bird’s nest of loose, sagging wires. Over time, those unsecured lines rub against vibrating metal edges, slowly shaving away their protective insulation until—pop. A short circuit occurs, bringing your entire operation to an unexpected downtime.
This nightmare scenario happens all too often, but it is completely preventable. Learning how to choose the right cable clamps is a fundamental skill that separates amateur work from professional cable management. Whether you are a field technician running electrical conduits, a product designer structuring heavy machinery, or a DIY enthusiast tidying up a workshop project, selecting the correct hardware keeps your systems safe and operational.
In this comprehensive guide, we will break down the mechanics of cable fasteners, explore how different environmental stressors dictate your material choices, and provide a step-by-step blueprint for a flawless installation.
Cable clamps are fastening devices used to secure and organize wires, cables, hoses, and conduits. They help prevent cable movement, reduce wear from vibration, improve safety and keep wiring systems clean and organized. To know better you can check our The Basics of Wire Rope Clamps article.
Before evaluating weight capacities or tensile strengths, let us answer a basic question: what are cable clamps and how to use cable clamps ? At their core, these devices are mechanical anchors engineered to secure, guide, and organize electrical wires, conduits, hoses, and fiber-optic lines. Unlike temporary solutions like standard tape, these dedicated fasteners wrap entirely around a bundle to eliminate unwanted shifting.
These structural hardware elements are available in an array of form factors—including hook designs, adjustable locking configurations, and wrap-around bands. They utilize various mounting mechanisms ranging from quick-release industrial foam adhesives to heavy-duty screw mounts. By eliminating physical slack, they help reduce cable movement and strain.
In industrial and mechanical setups, a wire bundle experiences constant environmental stress. Without proper support, its structural integrity degrades rapidly. Implementing high-quality clamps throughout your system yields long-term reliability benefits.
Whenever a machine moves or an engine runs, it creates kinetic vibrations. If your wiring rests directly against a hard, sharp structure, these micro-movements turn the mounting surface into sandpaper.
Over weeks of operation, this friction shaves away the outer protective jacket, exposing bare copper conductors. A precise cable fastener absorbs these vibrations internally, holding the line completely motionless relative to the frame.
Long runs of copper wire are heavy. Over time, gravity pulls unsupported spans downward, creating unsightly sags. In an open factory environment or server room, these drooping loops can snag on passing machinery, forklifts, or personnel. This leads to unexpected disconnections, structural damage, or severe workplace injuries.
When an electrical fault occurs, time is money. A technician trying to trace an unmapped, tangled maze of wires will spend hours identifying a single broken line.
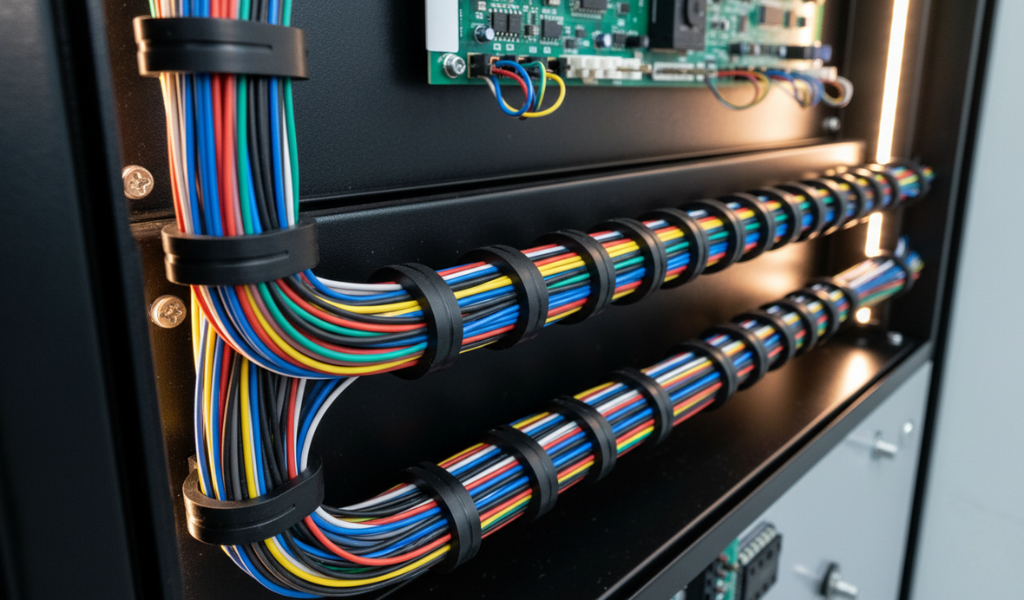
Utilizing structured cable clamps organizes your electrical lines into distinct, logical channels. This clean presentation makes it simple to visually audit your system, isolate specific circuits, and execute rapid swap-outs during routine maintenance.
Selecting a random option out of a workshop bin is a recipe for premature joint failure. If you want to know how to choose the right cable clamps like a seasoned engineer, you must evaluate The Ultimate Guide to Cable Clamps with the unique operational footprint of your specific application against five key criteria.
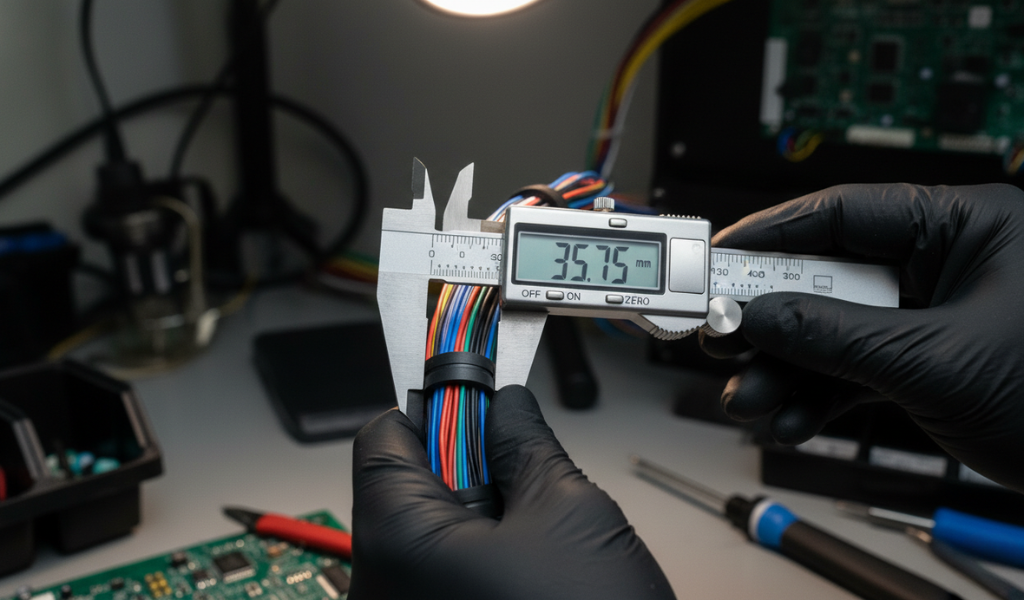
You must accurately calculate the total outside diameter of your wire bundle using a digital caliper.
Additionally, consider total physical weight; heavy, multi-conductor industrial power cables require heavy-duty metal bands, while lightweight data lines can safely use light polymer anchors.
Where will your hardware live?
The physical material of your mounting wall determines how you anchor your hardware:
Consider how often you will need to modify your layout. If you are building a temporary test system or an evolving network rack that requires frequent upgrades, choose adjustable, ladder-style locking designs that open and close without tools.
For permanent installations where the layout will remain locked for a decade, specify one-shot, screw-tightened ‘P’ clips that offer maximum long-term security.
To select the right option for your project, you must familiarize yourself with the specific advantages and limitations of different commercial form factors.
The table below breaks down the structural differences between popular industrial options:
| Fastener Profile | Standard Material Composition | Maximum Mechanical Grip | Optimal Use Cases |
| Self-Adhesive Flat Clamps | Nylon 6 (UL 94 V-2) with rubber foam backing | Moderate | Low-profile ribbon cables, internal consumer appliances, telecommunication racks. |
| Self-Adhesive Round Snap Clamps | Nylon 6 with acrylic high-bond backing | Moderate | Fixed-diameter automotive wiring harnesses, smooth panel routings. |
| Adjustable Ladder Clamps | Heavy-duty flexible Nylon polymer | High | Variable-diameter wire bundles, rapidly evolving prototype layouts. |
| Traditional Nylon ‘P’ Clips | Ruggedized unreinforced Nylon 6 | Very High | Permanent industrial machinery wiring, white goods, control panel routing. |
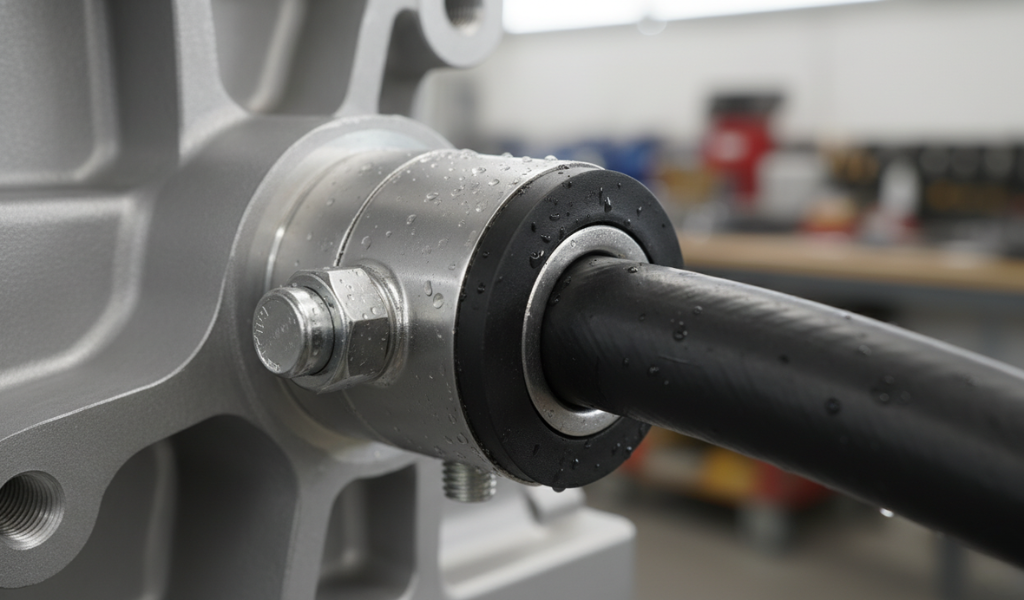
| Metal Cushioned ‘P’ Clamps | Zinc-plated steel or stainless steel with EPDM rubber lining | Exceptionally High | Heavy-duty hydraulic lines, aerospace engine bays, severe industrial vibration zones. |
Most non-conductive plastic clips are molded from premium Nylon 6. This advanced engineering polymer delivers an exceptional strength-to-weight ratio, high chemical resistance against oils and industrial solvents, and excellent electrical insulation. When searching for reliable daily performance, nylon is your trusted default material standard.
Even a premium industrial anchor will fail prematurely if installed incorrectly. Follow this rigorous step-by-step installation blueprint to guarantee your wiring framework remains solid for years to come.
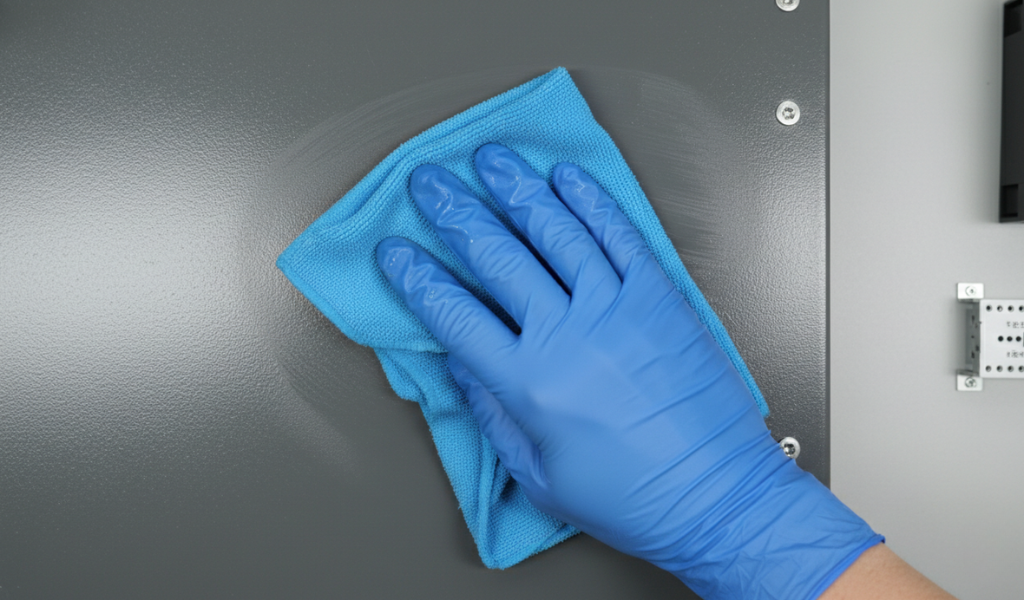
If you are deploying self-adhesive options, the absolute most critical step is surface preparation. Use a clean microfiber cloth saturated with a 70% isopropyl alcohol solution to scrub the mounting area. This removes hidden greases, protective manufacturing oils, and fine dust. Let the surface dry completely. Skipping this step reduces your adhesive bonding power by up to 80%, causing the clip to fall off under the weight of the wire.
Never place your fasteners randomly along a path. Use a tape measure and a pencil to map out uniform spacing intervals.
For long, horizontal runs of standard data or power cables, aim for a support anchor every 12 to 18 inches (30 to 45 cm). Spacing anchors too far apart causes the bundle to sag over time, putting excessive mechanical strain on the nearest remaining support points.
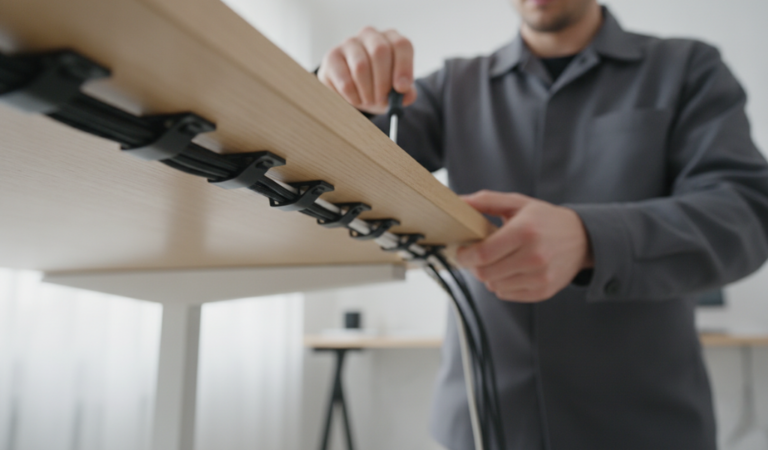
Lay your wire bundle cleanly into the open cradle of the fastener. Close the latching arm or tighten the retention screw down firmly.
The bundle should sit snug within the housing without shifting back and forth. However, it should not be squeezed so tightly that the outer insulation jacket begins to bulge or pinch around the edges of the plastic clip.
Once your entire run is securely clamped down, inspect both ends of your cable path.
Ensure there is a small, intentional amount of slack right before the line enters a termination block, electrical plug, or moving hinge joint. This strain relief loop prevents the wires from pulling tight and ripping out of their connection terminals if the system shifts or vibrates during daily operation.
When managing high-voltage electrical arrays, your cable routing choices directly impact the overall safety of your facility. Keep these critical engineering rules in mind during your build.
Electrical lines naturally warm up under heavy power loads. If you pack a tight bundle into a small space and block the ventilation channels with large, bulky fasteners, that thermal energy gets trapped.
Ensure your routing paths do not block cooling fan exhaust ports or internal heatsinks. Maintain an open perimeter around your wire runs so natural ambient air currents can cool the system and prevent dangerous thermal degradation.
Learning how to choose the right cable clamps is a vital investment in the long-term safety, efficiency, and durability of your electrical setups. By matching your bundle diameter to the correct fastener size, selecting materials that thrive in your operating environment, and following a clean installation workflow, you can easily protect your hardware from abrasive wear and unexpected failures.
Take a few moments to audit your current projects. Check for sagging wire spans, replace any brittle or sun-damaged plastic fasteners, and map out a structured routing plan. Proper cable management takes a little extra planning upfront, but the payoff is a clean, professional system that continues working reliably for years.
No. Standard interior adhesive backings are typically made with basic rubber-based foam sheets that break down rapidly when exposed to humidity, rain, and fluctuating outdoor temperatures. Outdoor installations require specialized acrylic weather-resistant adhesives or, ideally, permanent screw-in mechanical fasteners that cannot be degraded by weather.
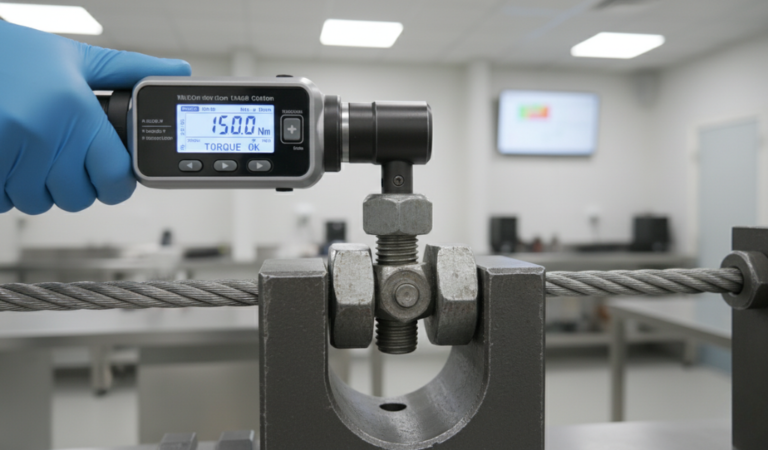
Over-tightening applies crushing forces to the internal structure of the cable. This can permanently deform or pinch the internal copper conductors, which alters electrical resistance, degrades signal transmission speeds in data lines, and can even crack the insulation jacket, creating a dangerous short-circuit hazard.
You should specify a metal option (such as zinc-plated steel or stainless steel) when dealing with exceptionally heavy wire bundles, high-vibration heavy machinery, or ambient operating temperatures that exceed 185°F (85∘C). For optimal protection, always choose a metal clip lined with an EPDM rubber cushion to prevent the sharp metal edges of the fastener from cutting into your wires.
For vertical cable routing, gravity works against the entire length of the line. Therefore, you should place your anchors slightly closer together than you would on a horizontal surface. Aim for a support anchor every 10 to 12 inches (25 to 30 cm) to ensure the weight of the bundle is distributed evenly and does not cause sagging or strain at the top connection point.
To safely remove a strong adhesive base, use a handheld hair dryer or a heat gun set to low heat to gently warm up the plastic base for 30 seconds. The targeted heat softens the internal adhesive core. Once warmed, gently slide a piece of dental floss or a thin plastic putty knife underneath the foam pad to slice through the bond without scratching or peeling the underlying paint.
As a strict safety standard, never route high-pressure hydraulic lines or fluid hoses inside the exact same fastener bundle as your electrical wiring. If a hydraulic hose experiences a pinhole leak or failure, it can spray flammable fluids directly into your electrical lines, presenting an immediate fire hazard. Keep fluid lines and electrical networks isolated in separate routing channels.