Physical Address
304 North Cardinal St.
Dorchester Center, MA 02124
Physical Address
304 North Cardinal St.
Dorchester Center, MA 02124
Can you use an orbital sander on drywall? If you’ve ever wondered about the secret weapon for a smoother, professional finish in your DIY drywall projects, you’re in the right place. In just a few scrolls, you’ll discover the ins and outs of using an orbital sander to level up your home improvement game.
Get ready to bid farewell to those pesky imperfections and hello to a flawless finish! Let’s dive right in and unveil the magic behind this handy tool.
Key Summary: Can you use orbital sander on drywall?
You can use an orbital sander on drywall. It’s effective for smoothing and prepping drywall surfaces, but dust control is crucial. Ensure proper safety gear and a dust collection system for a cleaner and safer experience.
[amazon_auto_links id=”11426″]
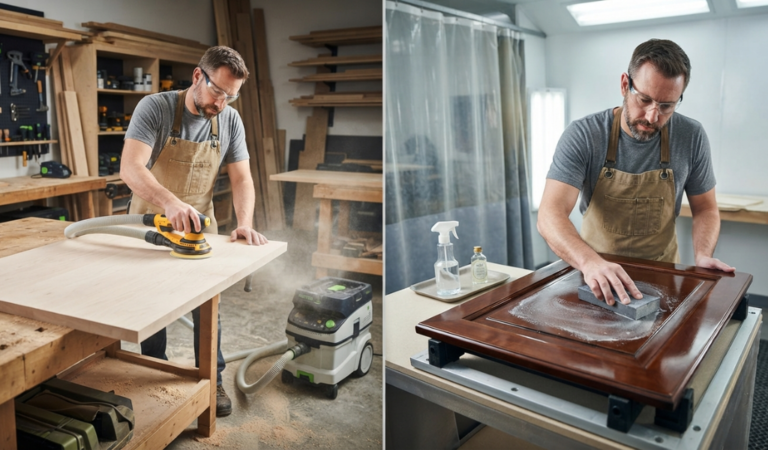
When it comes to tackling drywall projects, the right tools can make all the difference. If you’re wondering whether an orbital sander is suitable for smoothing out those drywall surfaces, you’ve come to the right place. In this article, we’ll dive deep into the world of drywall and orbital sanders, exploring their compatibility, benefits, and the best practices for achieving stellar results.

Drywall, also known as plasterboard or wallboard, is a ubiquitous building material used to create smooth, even walls and ceilings in homes and commercial spaces. It consists of a layer of gypsum sandwiched between two sheets of heavy paper. Drywall is a popular choice due to its affordability and ease of installation.
Now, let’s introduce our star player: the orbital sander. An orbital sander is a versatile power tool designed for sanding various surfaces, and it operates in a circular or orbital motion. This motion helps prevent swirl marks on the material, resulting in a smoother finish.
When it comes to drywall, an orbital sander can be a game-changer. Its ability to quickly and efficiently sand large surface areas makes it an attractive choice for those looking to achieve a flawless finish. However, there are some essential considerations to keep in mind.

Using an orbital sander on drywall offers several key advantages:
One of the primary benefits of employing an orbital sander for drywall work is the speed and efficiency it brings to the table. Sanding large drywall surfaces by hand can be a time-consuming and physically demanding task. The orbital sander’s rapid sanding action streamlines the process, helping you complete your project more quickly and with less effort.
Achieving a consistent finish is crucial when working on drywall. Uneven surfaces or visible imperfections can mar the final result. Orbital sanders excel in delivering a uniform finish, minimizing the chances of uneven areas or rough patches on your drywall.
Sanding drywall can be a dusty affair, but orbital sanders are designed to keep dust to a minimum. Many models come equipped with dust collection systems, which capture and contain the majority of the dust generated during the sanding process. This not only keeps your workspace cleaner but also contributes to a healthier breathing environment.
Orbital sanders are known for their ease of use. Even if you’re not a seasoned DIY enthusiast, you’ll find these tools relatively simple to operate. Their ergonomic designs and lightweight construction make them comfortable to handle, reducing user fatigue during extended use.
While orbital sanders are excellent for drywall, they’re also versatile tools that can be used for a range of other projects. From refinishing furniture to preparing surfaces for painting, these sanders prove handy in various applications, making them a valuable addition to your toolkit.
Incorporating an orbital sander into your drywall project can significantly enhance the quality and efficiency of your work. It’s essential to follow specific steps and guidelines to ensure the best results and safety.

Now that we’ve explored the benefits of using an orbital sander on drywall, let’s dive into the practical aspects. Sanding drywall with an orbital sander requires a methodical approach to achieve that coveted smooth finish. Here’s a step-by-step guide to help you master the art:
Before you begin sanding, ensure you have the necessary safety gear. This includes safety glasses or goggles to protect your eyes from dust and debris and a dust mask to prevent inhalation of fine particles.
Carefully inspect the drywall surface for any visible imperfections, such as bumps, ridges, or seams. Mark these areas with a pencil to ensure you give them the attention they need during sanding.
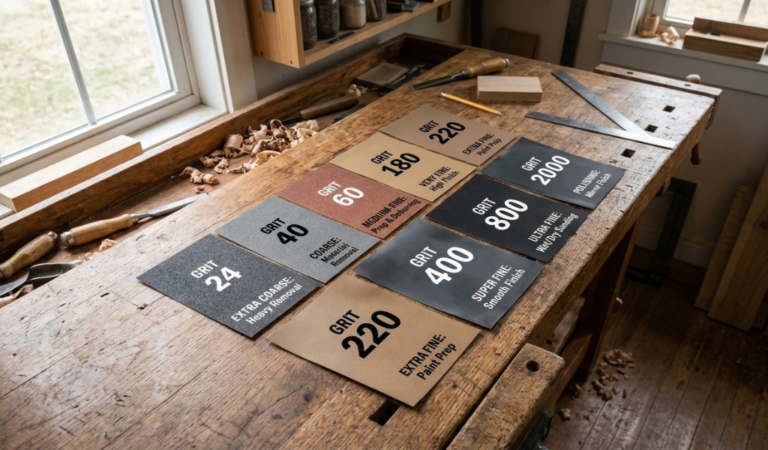
Choose the appropriate sandpaper grit for your initial pass. A coarser grit (around 80-100) is suitable for smoothing rough patches and imperfections. For subsequent passes, switch to finer grits (between 120-220) to achieve a smoother finish.
Hold the orbital sander firmly with both hands, keeping it flat against the drywall surface. Move the sander in slow, overlapping passes, applying gentle, even pressure. Avoid pressing too hard, as this can leave gouges in the drywall.
As you sand, pay attention to the dust collection system on your orbital sander. Empty or replace the dust bag or container as needed to maintain effective dust control. Alternatively, you can connect the sander to a vacuum for improved dust collection.
Periodically stop and inspect the sanded area to ensure you’re achieving a uniform finish. Look for any remaining imperfections and address them accordingly.
For the final pass, switch to a fine-grit sandpaper to create a smooth, blemish-free surface. This step is crucial for achieving a professional-looking result.
Once you’ve completed the sanding process, turn off the sander and carefully clean up the workspace. Dispose of the collected dust and debris properly, and store your tools in a safe place.
While an orbital sander can be a valuable ally in your drywall endeavors, it’s essential to be aware of potential challenges and how to address them:
Over-sanding can occur when excessive pressure is applied to the orbital sander, resulting in the removal of too much drywall material. This can lead to uneven surfaces and the need for additional repairs.
Solution: Use a light touch when operating the sander, and avoid pressing too hard. Start with a coarser grit to address imperfections, then progressively move to finer grits for a smoother finish.
Drywall sanding generates a significant amount of dust, which can be bothersome and potentially hazardous to your health.
Solution: Invest in an orbital sander with an effective dust collection system or connect it to a vacuum. Additionally, wear appropriate personal protective equipment, such as a dust mask and safety goggles, to minimize exposure.
Drywall seams, where two pieces of drywall meet, can be challenging to sand evenly without creating noticeable depressions.
Solution: Feather the edges of the seams by sanding at an angle to create a gradual transition between the seam and the surrounding surface. This technique helps achieve a seamless finish.
While orbital sanders are excellent tools for many drywall projects, there are situations where they may not be the best choice:
If you’re working with freshly applied drywall mud or joint compound, it’s best to wait until it has fully dried before sanding. Attempting to sand wet or partially dried mud can clog the sander and lead to uneven results.
In cases where the drywall surface is extremely uneven or has deep gouges or cracks, it may be more efficient to use a joint compound or spackle to level the surface before sanding. An orbital sander may struggle to address severe imperfections.
For delicate or detailed drywall work, such as intricate textures or decorative patterns, it’s advisable to use hand sanding methods. Hand sanding provides greater control and precision, allowing you to preserve intricate designs.
Orbital sanders are not well-suited for sanding tight corners and edges. In these areas, consider using sanding blocks or specialized hand sanding tools to achieve the desired finish.
Understanding when to opt for alternative methods ensures that you achieve the best results in all your drywall projects. While orbital sanders are versatile and efficient, they may not always be the perfect solution for every situation.
In conclusion, using an orbital sander on drywall is indeed a viable option for achieving smoother and more polished surfaces. However, it’s essential to prioritize safety by wearing appropriate gear and employing effective dust control methods to minimize health risks and maintain a clean workspace. When used correctly, an orbital sander can be a valuable tool for drywall projects.
Yes, an orbital sander is a suitable tool for sanding drywall. It helps achieve a smooth finish efficiently, making it a popular choice for drywall projects.
Absolutely! Orbital sanders are versatile and can be used on walls as well. Whether it’s drywall or painted surfaces, they can help you achieve a uniform finish.
While there are various sanders available, orbital sanders are often considered the best choice for drywall. They provide speed, efficiency, and a consistent finish.
Hand sanding can be precise but is time-consuming. Power sanding, particularly with an orbital sander, is generally more efficient and can deliver a professional finish with less effort.
An orbital sander is best for drywall because it offers speed, even sanding, and minimal dust. It excels at smoothing large drywall surfaces efficiently.
While orbital sanders are primarily designed for wood and drywall, some heavy-duty models can handle concrete. However, it’s essential to use the right abrasive discs and follow safety guidelines.
You use an orbital sander on drywall to achieve a smooth, uniform finish quickly and efficiently. It minimizes the manual effort required for sanding and helps create professional-quality results in drywall projects.