Physical Address
304 North Cardinal St.
Dorchester Center, MA 02124
Physical Address
304 North Cardinal St.
Dorchester Center, MA 02124

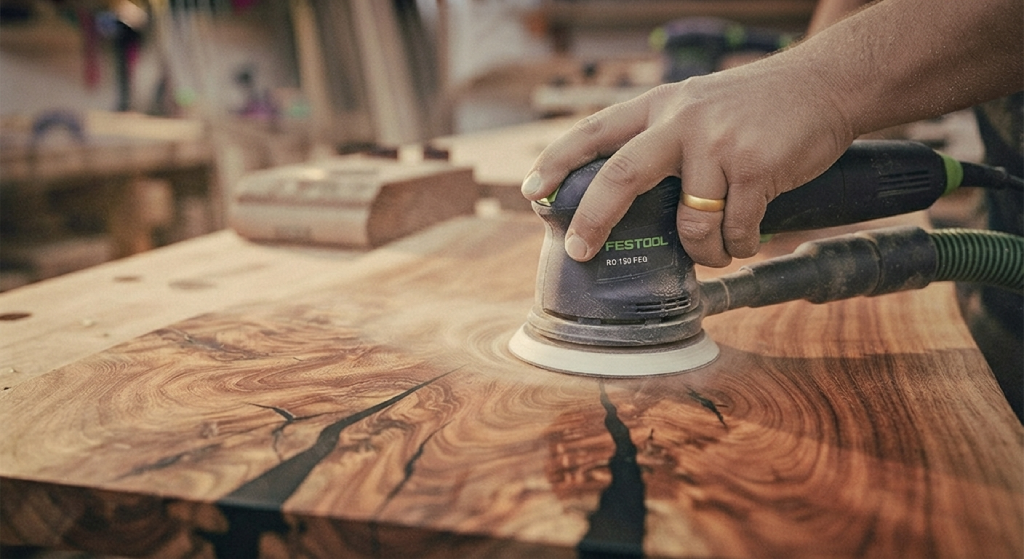
Mesquite is one of those woods that makes woodworkers stop and stare before they even start cutting. The deep reddish brown color, the wild grain patterns, and the natural voids and cracks give every mesquite slab its own personality. But sanding mesquite wood is not quite like sanding oak or maple. It is dense, it is unpredictable, and it comes with its own set of quirks that catch a lot of woodworkers off guard the first time they work with it.
This guide walks through everything you need to know about sanding mesquite wood, from understanding why this hardwood behaves the way it does, to picking the right grit progression, to getting the surface ready for a finish that really shows off the grain. Whether you are building a small picture frame, a full tabletop, or working on mesquite flooring, the steps below will help you get a smooth, professional result without fighting the wood the whole way.
Mesquite trees grow slowly and under tough conditions, which is exactly why the wood that comes from them is so dense and durable. This slow growth packs the grain tightly together, giving mesquite a hardness that rivals or even beats oak. That density is part of what makes mesquite furniture and mesquite flooring so long lasting, but it also means the wood puts up more resistance when you are sanding or cutting it.
Mesquite is also known for its unpredictable grain. Instead of running in one neat direction like a lot of common hardwoods, mesquite often twists, swirls, and changes direction within just a few inches. This is part of what makes it so beautiful once finished, but it is also why tearout is such a common complaint among woodworkers who are new to the species. The grain simply does not behave the way maple or pine does under a blade or sanding disc.
Another thing to expect with mesquite is natural defects. Cracks, voids, bug holes from wood boring beetles, and even small pockets of bark inclusion are common, especially in slab form. These are not flaws to be ashamed of, in fact most woodworkers lean into them, filling voids with black epoxy or a contrasting epoxy wood filler to turn a defect into a design feature. Knowing this ahead of time changes how you approach both repair and sanding, since you will likely be working around these spots rather than sanding through them.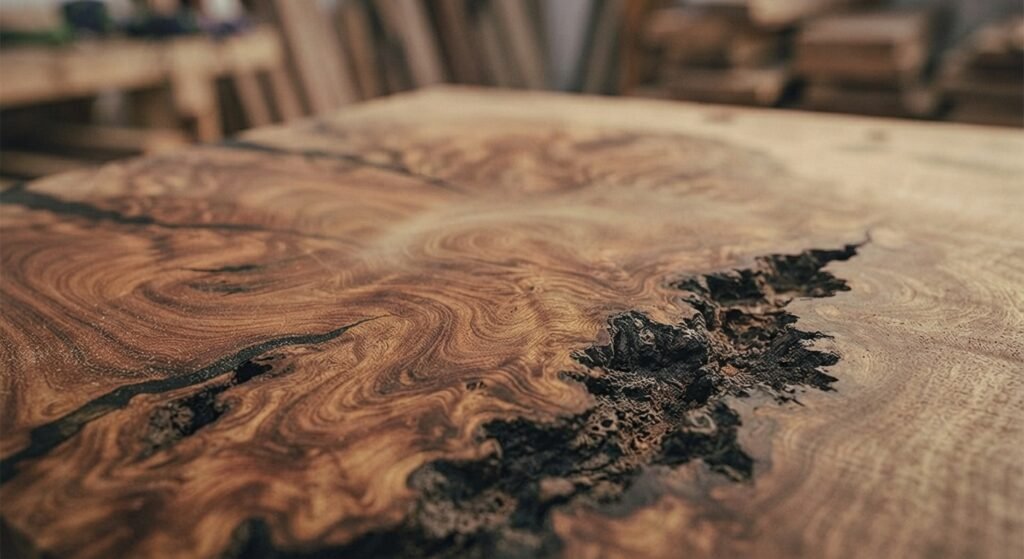
Before any sandpaper touches the surface, mesquite needs a bit of prep work that other woods might not require. Start by making sure the wood is properly dry. Mesquite is notorious for holding onto moisture longer than people expect, and sanding wood that is not fully dry leads to warping and cracking later, sometimes weeks after the project looks finished. If you are working with a mesquite slab, check the moisture content with a meter before you commit to sanding and finishing.
Next, inspect the piece closely for cracks, voids, and loose bark. Any structural cracks should be stabilized or filled before sanding begins, since running a sander over an unstable crack can make it worse or cause the sandpaper to catch and tear. Many woodworkers use a thin epoxy to soak into hairline cracks first, letting it cure fully before any sanding starts. This step alone prevents a lot of headaches later in the process.
If the piece has come straight from milling or a planer, check for machine marks and tearout left behind from cutting against the grain. These spots often need a bit of extra attention at the start of your sanding process, since mesquite’s grain reversals mean tearout can hide in surprising spots. Wipe the surface down to remove dust and debris, and take a moment to really look at the grain direction across the whole board or slab before you decide where to start.
Getting the grit sequence right matters more with mesquite than with softer woods, mainly because its density means each grit needs to do its job fully before you move on. Skipping steps or jumping grits too fast leaves scratches that are hard to notice until stain or finish goes on and suddenly every mark is visible.
Start with 60 to 80 grit if the surface has visible machine marks, rough spots, or noticeable high areas. Mesquite’s hardness means coarse grit does not cut nearly as fast as it would on a softer hardwood, so be patient and let the sandpaper do the work rather than pressing down hard. This stage is about leveling the surface, not achieving smoothness yet.
Once the rough marks are gone, move to 100 to 120 grit. This is where you start smoothing out the scratch pattern left by the coarse grit and begin to really see the grain come alive. Take your time here, since mesquite’s grain reversals mean some areas will smooth out faster than others, and rushing this stage often means going back to fix spots you missed.
Finish with 150 to 220 grit, and for a piece that will get a glossy topcoat like polyurethane or lacquer, consider going up to 320. Fine grit sanding on mesquite really pays off because of how tight and attractive the grain is. A well sanded piece of mesquite almost glows once oil or finish is applied, so it is worth the extra pass.
Begin with a full visual inspection under good light, marking any problem spots like tearout, glue squeeze out, or rough patches with a pencil so you know exactly where to focus. Start sanding with your coarse grit only in those marked areas if the rest of the surface is already reasonably flat, then blend outward so you do not create a dip.
Move to medium grit across the entire surface, working in overlapping passes. Mesquite is dense enough that you will feel the sandpaper start to load up with fine dust faster than you might expect, so change your paper often rather than trying to squeeze extra life out of a worn sheet. Worn sandpaper on mesquite tends to burnish the surface instead of cutting it, which can actually make it harder for stain or oil to soak in evenly later.
Finish with your fine grit, sanding the entire piece one more time to erase any remaining scratch marks. Wipe the surface down with a slightly damp cloth between grits to see the true condition of the wood and to remove dust that can clog your sandpaper. By the final pass, the surface should feel silky smooth with no rough patches or fuzzy fibers standing up.
Sanding with the grain matters on every wood species, but it matters even more on mesquite because of how often the grain changes direction. On a straight grained board, this is simple, just sand in the direction the lines run. On mesquite, you will often find the grain curving or reversing within the same board, especially near knots or grain swirls.
In these tricky spots, sand at a slight angle rather than straight against the grain, and use lighter pressure to avoid digging in. Some woodworkers find that a random orbital sander handles these grain reversals better than sanding strictly by hand, since the orbital motion is more forgiving of direction changes. Whichever method you use, always finish with a light pass in the dominant grain direction so any faint cross grain marks get erased before you move to finish.
Pay close attention around edges and near voids or epoxy repairs, since the grain often shifts direction right at these transition points. A little extra care here prevents the kind of scratch pattern that becomes obvious the moment you apply stain or oil.
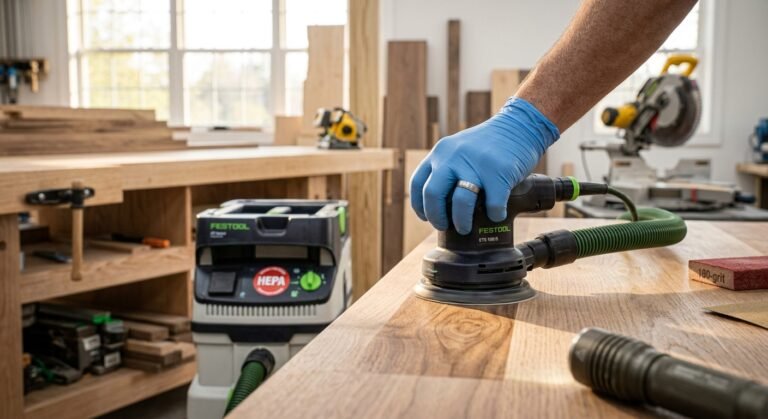
Both hand tools and power tools have a place in sanding mesquite wood, and most experienced woodworkers use a mix of both depending on the project. Power sanders, especially a random orbital sander, save enormous time on larger surfaces like a slab tabletop or mesquite flooring. The orbital motion handles mesquite’s dense grain and directional changes better than a straight line sander, and it is less likely to leave visible marks.
Hand sanding still has its place though, particularly for detail work, edges, and any areas near epoxy filled voids where a power sander might catch and chip the epoxy. A sanding block gives you more control in these tight spots, and for small furniture or picture frames, hand sanding the whole piece is often just as fast as setting up power tools.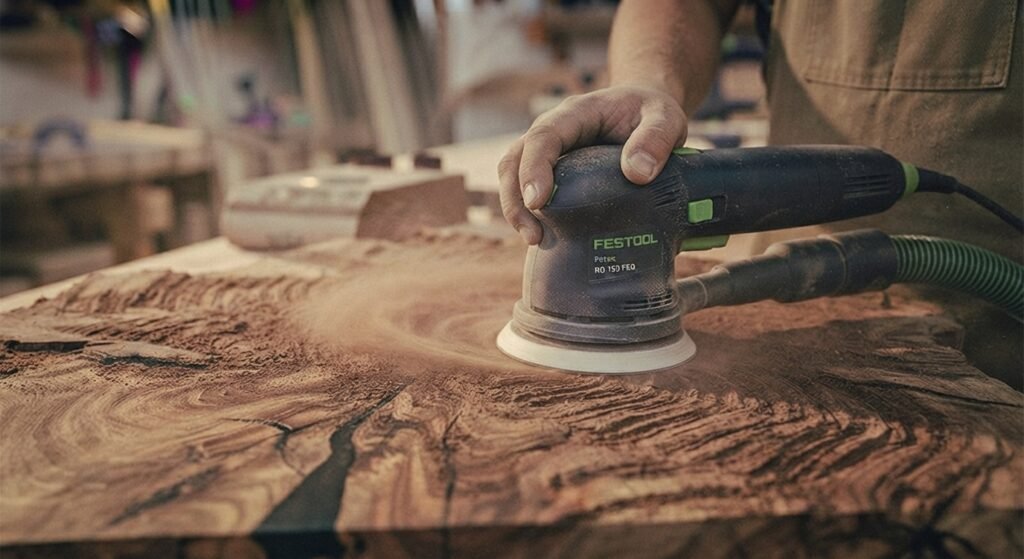
For turning projects on a lathe, sanding technique changes again. While the piece is spinning, hold sandpaper against the surface with light, even pressure, moving through the grits the same way you would on a flat piece. Mesquite turns beautifully and takes a smooth finish well, but the density means you should let the grit progression do its job rather than rushing with coarse paper the whole time.
Edges and curves need a different approach than flat surfaces. On straight edges, a sanding block wrapped with paper keeps the edge crisp and even, preventing the rounding over that can happen when sanding freehand. Work through your grits the same way you would on the flat surface, checking often that the edge stays square unless you are intentionally softening it.
Curved edges and shaped profiles are trickier, especially on mesquite because of grain direction changes along the curve. A flexible sanding pad or a piece of sandpaper folded around a dowel lets you follow the curve while still applying even pressure. Go slowly around any tight curves, since mesquite can chip or tear at a curve if you push too hard in one spot.
For furniture pieces with rounded corners or carved details, working through the grits with a smaller sanding tool, even just a folded piece of sandpaper held in your fingers, gives you the control needed to avoid flattening details you want to keep crisp. Always check your work by running a hand along the edge and curve to feel for any remaining rough spots that your eyes might miss.
Once your final grit pass is done, the cleanup step matters just as much as the sanding itself. Start by removing all visible dust with a soft brush or a vacuum with a brush attachment, getting into any voids, cracks, or carved details where dust likes to hide. A tack cloth or a slightly damp rag works well for the final wipe down, picking up the fine dust that a brush alone leaves behind.
With the surface clean, inspect it closely under raking light, meaning light coming across the surface at a low angle. This lighting makes even small scratches, missed spots, or leftover tearout easy to spot. Run your hand across the entire surface too, since touch often catches things your eyes miss, especially in mesquite’s darker areas where scratches can be harder to see visually.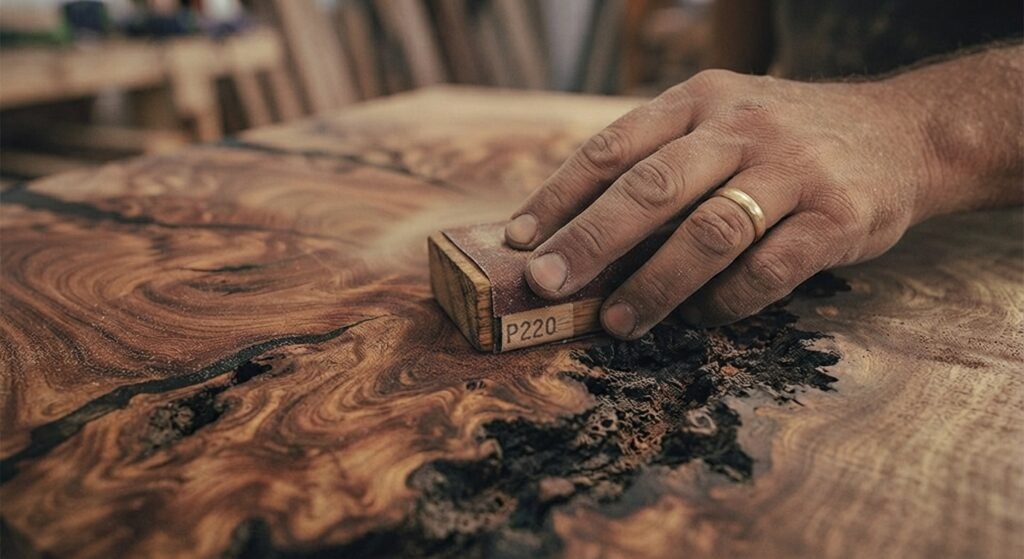
If you find any remaining rough spots or scratches at this stage, go back with your finest grit and correct them now rather than after finish has been applied. Fixing a small problem before finishing takes minutes, but fixing it after a coat of tung oil or polyurethane has gone on means sanding through your finish and starting that section over.
Mesquite’s natural color is often rich enough that many woodworkers skip stain entirely and go straight to a clear finish, letting the wood’s own reddish brown tones do the talking. If you do want to darken the wood slightly or even out color variation between boards, test any stain on a scrap piece first, since mesquite can absorb stain unevenly given its density and grain pattern.
For finish choice, tung oil is a favorite among mesquite woodworkers because it soaks into the grain and brings out the natural depth of the wood without building a thick plastic looking layer on top. Apply it in thin coats, wiping off the excess after it has had time to soak in, and let each coat dry fully before adding the next. Wax can be applied over tung oil for extra sheen and a bit more protection against moisture.
For furniture or flooring that needs more durability, polyurethane is a solid choice. Apply it as a wipe on poly for better control over mesquite’s dense grain, building up thin coats rather than one heavy coat that can pool in voids or low spots. Sand lightly between coats with a fine grit to keep everything smooth, and always let each coat cure fully before adding the next layer.
If your project includes epoxy filled voids, be aware that epoxy and wood absorb finish differently. The epoxy will stay glossy and non porous while the surrounding mesquite drinks in oil or poly, so multiple thin coats on the wood side help even out the sheen across the whole surface.
Sanding mesquite wood takes a bit more patience than working with softer, more predictable hardwoods, but the payoff is worth it. Few woods reward careful sanding the way mesquite does, with grain patterns and color depth that really come alive once the surface is smooth and finished properly. Take your time working through the grits, pay attention to grain direction changes, and do not rush the cleanup and inspection steps before finish goes on.
Next time you have a mesquite slab or a furniture project waiting in the shop, work through each grit patiently and check your progress under good light. That extra care at the sanding stage is what turns a good looking piece of mesquite into a genuinely stunning one.
Why is mesquite wood so hard to sand?
Mesquite is a very dense hardwood with grain that frequently changes direction, which makes it resistant to fast cutting and prone to tearout if you rush the process or use the wrong grit sequence.
What grit should I start with when sanding mesquite?
Start with 60 to 80 grit for rough surfaces or visible machine marks, then move through 100 to 120 grit for smoothing before finishing with 150 to 220 grit or finer.
How do I deal with cracks and voids in mesquite before sanding?
Stabilize cracks with thin epoxy and let it cure fully before sanding. Larger voids are often filled with a colored epoxy wood filler, which should also cure completely before you begin sanding around it.
Is tung oil or polyurethane better for finishing mesquite?
Tung oil brings out the natural grain and color with a more natural look, while polyurethane offers more durability for furniture or flooring that sees heavy use. Many woodworkers choose based on how much protection the piece needs.
Can I use a power sander on mesquite, or should I sand by hand?
Both work well. A random orbital sander speeds up work on larger surfaces and handles grain reversals nicely, while hand sanding gives better control near edges, curves, and epoxy filled voids.
Why does my mesquite project have uneven color after staining?
Mesquite’s dense grain can absorb stain unevenly, especially between boards with different grain patterns. Testing stain on a scrap piece first and considering a clear finish instead can help avoid blotchy results.
How do I know mesquite wood is dry enough to sand and finish?
Check the moisture content with a moisture meter before starting. Mesquite holds moisture longer than many other hardwoods, and sanding or finishing wood that is not fully dry can lead to warping or cracking later.