Physical Address
304 North Cardinal St.
Dorchester Center, MA 02124
Physical Address
304 North Cardinal St.
Dorchester Center, MA 02124

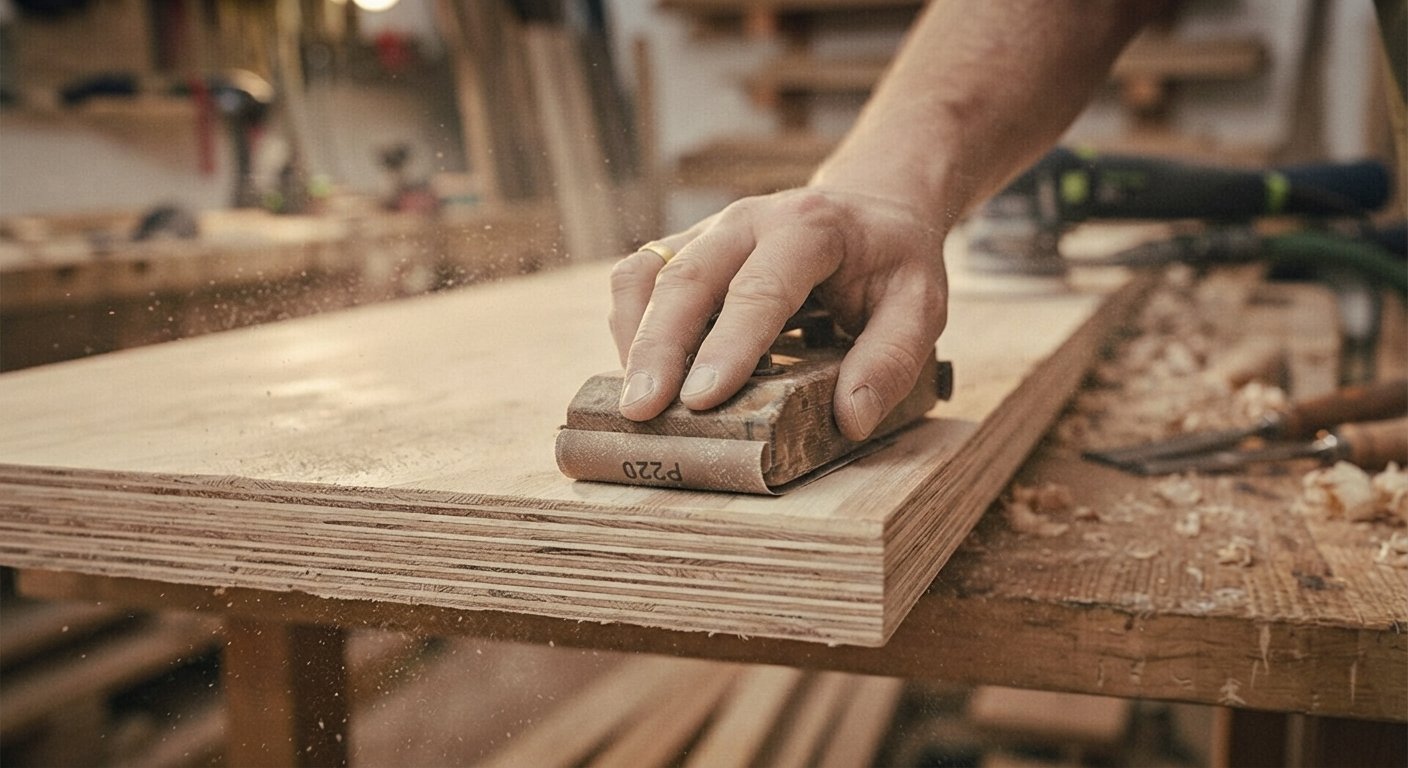
Anyone who has ever run a finger along the raw edge of a plywood sheet knows the problem right away. Those exposed layers are rough, splintery, and full of tiny gaps that make the edge look unfinished no matter how nice the rest of the piece turns out. Sanding plywood edges smooth is a skill every woodworker needs, whether you are building a bookshelf, a cabinet, or a simple plywood box for storage.
Plywood edges behave very differently than the flat face of the sheet or even solid wood. Because plywood is made of thin layers glued together, sanding it the wrong way can tear at those layers instead of smoothing them, leaving you with a worse mess than you started with. The good news is that with the right approach, tools, and a bit of patience, you can get plywood edges looking clean and polished enough to stain, paint, or leave bare.
This guide covers the entire process from start to finish, including how to avoid splintering and which sanding method works best for your project. If you are also working with natural wood slabs, our guide on Sanding Live Edge Wood: Complete Guide for a Smooth Finish covers a similar process for solid wood with organic edges, though plywood requires its own specific techniques because of how the material is layered and glued together.
Let’s get into exactly how to smooth out those rough plywood edges the right way.
Plywood is manufactured by gluing together several thin layers of wood veneer, with the grain direction alternating in each layer to add strength and stability. While this layered construction makes plywood strong and resistant to warping, it also means the cut edges expose all those individual layers at once, creating a rough, uneven surface that looks nothing like the smooth face of the sheet.
Raw plywood edges are prone to small splinters, visible gaps between layers, and a slightly fuzzy texture caused by the cutting process, whether you used a table saw, circular saw, or jigsaw. Left untreated, these edges will not accept stain or paint evenly, often soaking up far more product than the surrounding wood and creating a blotchy, inconsistent appearance once finished.
Beyond appearance, unsanded plywood edges can also be uncomfortable or even mildly dangerous to handle, especially on furniture pieces that people will touch often, like shelves, drawer fronts, or tabletops. Taking the time to properly sand these edges is what separates a professional looking project from one that clearly still needs work.
Having the right supplies on hand before you start makes the entire sanding process go much more smoothly and saves you from stopping halfway through to hunt down a missing tool. At minimum, you will need a selection of sandpaper in a few different grits, ranging from coarse to fine, since plywood edges typically require more than one pass to get truly smooth.
A sanding block is helpful for hand sanding since it distributes pressure evenly and prevents your fingers from digging grooves into the softer edge material. For larger projects or multiple pieces, an orbital sander or belt sander will save significant time compared to sanding entirely by hand, though both tools require a bit of care to avoid damaging the thin veneer layers along the edge.
Other useful items include a tack cloth or soft brush for removing dust, wood filler for filling gaps between plywood layers before sanding, and safety gear such as a dust mask and eye protection, since plywood dust can be irritating and contains glue particles that are worth avoiding when breathing in for extended periods. A clamp or vice to hold your workpiece steady also makes the entire process far more controlled and precise.
Start by inspecting the edge closely under good lighting to spot any chips, gaps between layers, or splintered sections that need attention before sanding begins. If you notice larger gaps or voids between the plywood layers, now is the time to fill them with wood filler, allowing it to fully dry and cure according to the product instructions before moving forward.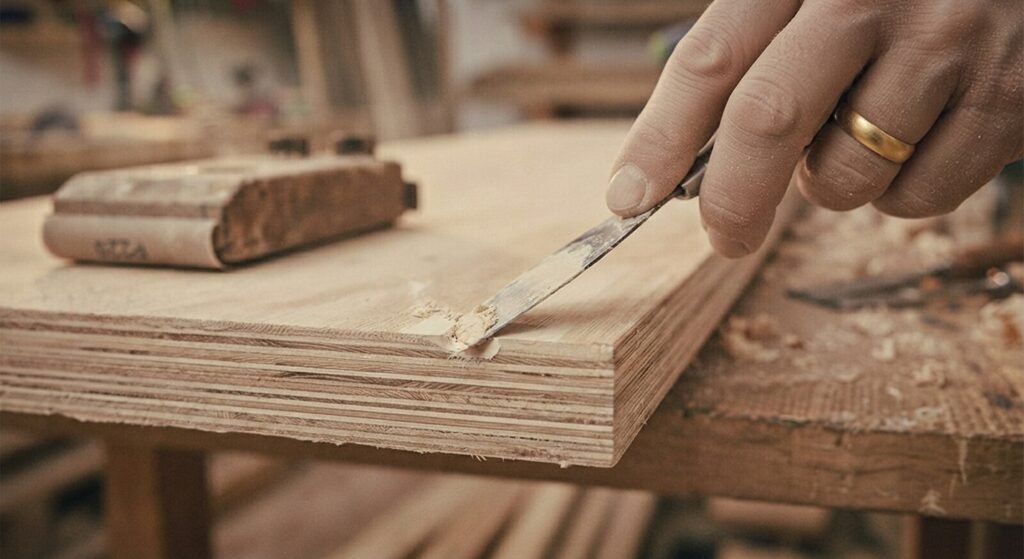
Once the edge is ready, begin with a coarser grit sandpaper, typically in the 80 to 100 range, to knock down any major roughness or unevenness left behind from cutting. Work in one consistent direction along the length of the edge rather than sanding back and forth randomly, which helps prevent uneven wear and keeps the edge line straight.
After the coarse pass, move to a medium grit around 120 to 150 to smooth out the scratches left by the first round of sanding. Wipe away dust between each grit change, since leftover particles can interfere with how evenly the next grit sands the surface. Finish with a fine grit, usually 180 to 220, to achieve that smooth, ready to finish texture that feels good under your hand and accepts stain or paint evenly.
Splintering is one of the most common frustrations when sanding plywood edges, and it usually happens when sandpaper catches on one of the internal layers and pulls up a small sliver of wood instead of smoothing it down. Preventing this starts before you even pick up sandpaper, right at the cutting stage.
Using a sharp blade when cutting plywood in the first place dramatically reduces splintering, since a dull blade tends to tear through the layers rather than cutting cleanly. Scoring the cut line with a utility knife before cutting with a saw is another trick many woodworkers use to keep the top veneer layer from chipping during the cut itself.
When it comes time to sand, always work in the direction of the outer veneer grain rather than against it, since sanding against the grain is one of the fastest ways to lift and tear small splinters from the surface. Applying light, even pressure rather than pressing hard also helps, since aggressive pressure increases the chances of catching and pulling at the thin layers.
Hand sanding remains one of the most reliable methods for plywood edges, particularly on smaller projects or pieces where precision matters more than speed. Wrapping sandpaper around a sanding block gives you a flat, even surface to work with, which helps maintain a straight edge line instead of accidentally rounding it unevenly in some spots.
Hold the block at a slight angle and use long, steady strokes along the length of the edge rather than short choppy motions. This technique distributes pressure evenly and produces a much more consistent result than sanding in random directions. For curved or irregular edges, a sanding sponge works better than a rigid block since it can flex and conform to the shape without losing contact in the tighter spots.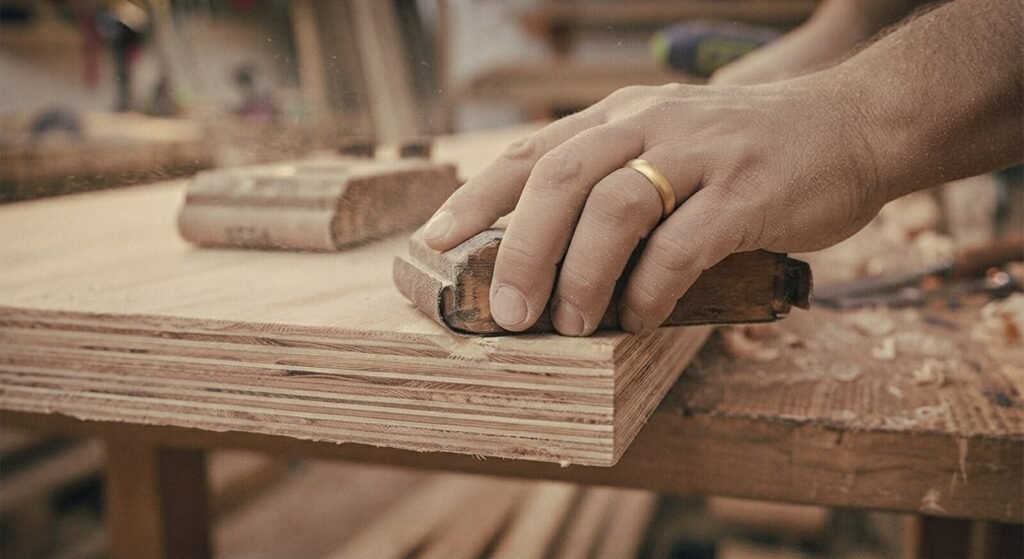
Hand sanding takes more time than power tools, but it offers a level of control that is especially valuable when working near corners or edges that meet at an angle, where a power sander can easily remove too much material if you are not careful. Many woodworkers use hand sanding as a final step even after power sanding, just to catch any small imperfections a machine might have missed.
An orbital sander is a popular choice for plywood edges because its small circular motion reduces the risk of visible swirl marks while still sanding much faster than doing it entirely by hand. This makes it a great middle ground for projects where you need decent speed without sacrificing too much control.
When using an orbital sander on plywood edges, keep the tool moving constantly rather than letting it sit in one spot, since pausing even briefly can create a dip or uneven low spot in the thin edge material. Let the sander do the work rather than pressing down hard, since too much pressure can cause the pad to dig into the softer inner layers of the plywood.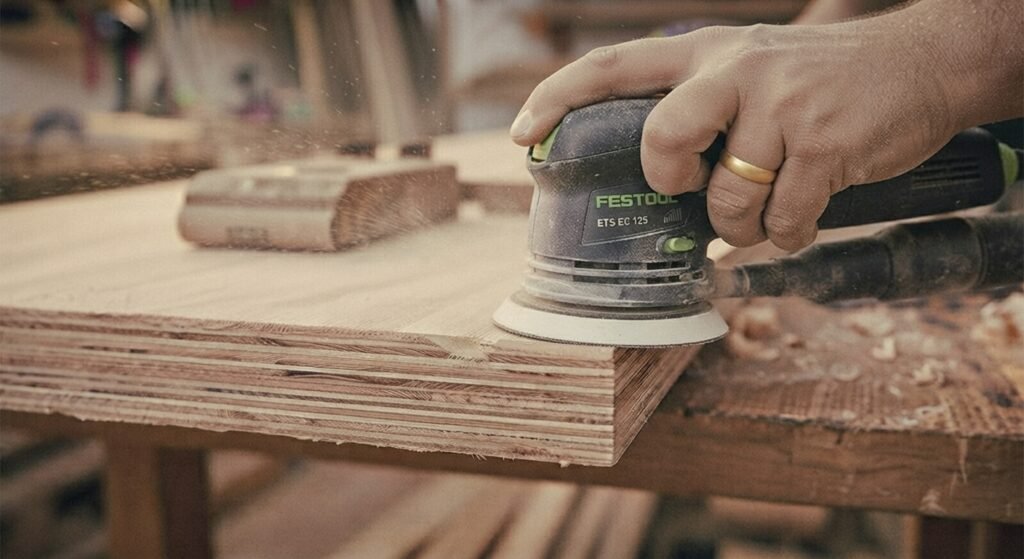
For narrow edges, a smaller detail orbital sander or a standard sander turned on its side can help you maintain better control without accidentally sanding into the adjacent flat face of the plywood sheet. Moving through your grit progression with an orbital sander follows the same coarse to fine sequence as hand sanding, just at a noticeably faster pace.
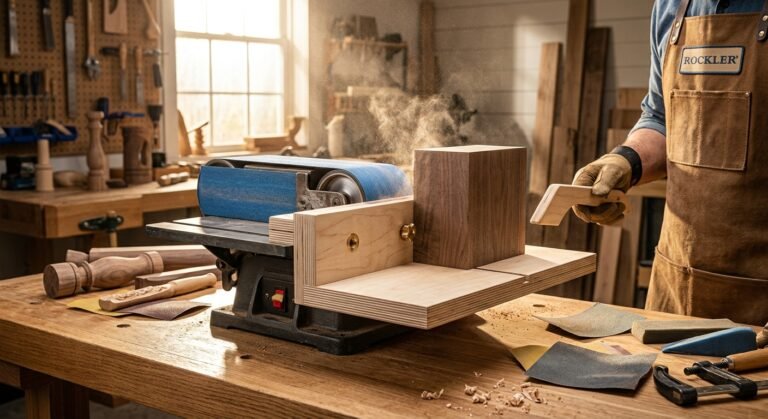
A belt sander is the most aggressive option on this list and works well for leveling multiple plywood edges quickly, particularly when you are working with several boards that need to match up evenly, such as on a set of shelves or cabinet doors. Because it removes material fast, it also carries the highest risk of taking off too much if you are not paying close attention.
When using a belt sander on plywood edges, keep the tool moving at all times and use light, even pressure, letting the weight of the sander do most of the work rather than pushing down yourself. Sanding at a slight angle across multiple stacked pieces, a technique sometimes called gang sanding, can help you get several edges perfectly level and matching in one pass, which is especially useful for cabinet doors or drawer fronts that need to line up precisely.
Because belt sanders remove material so quickly, they are best reserved for the initial coarse sanding stage rather than the final smoothing pass. Switching to an orbital sander or hand sanding for the medium and fine grit stages gives you better control and reduces the risk of accidentally rounding over an edge that needs to stay sharp and square.
Once your plywood edges are fully sanded through all the grit stages, a few final steps ensure the surface is truly ready for stain, paint, or a clear finish. Start by wiping the entire edge down thoroughly with a tack cloth, paying close attention to the small gaps between plywood layers where fine dust tends to collect and hide.
If you plan to stain the edge, keep in mind that plywood edges often absorb stain differently than the flat face of the sheet, since you are looking at the end grain of several layers at once rather than a single continuous surface. Applying a thin coat of sanding sealer or wood conditioner before staining helps even out this absorption and prevents the edge from looking noticeably darker or blotchier than the rest of the piece.
For edges that will be painted rather than stained, a thin skim coat of wood filler or grain filler applied and sanded smooth can help hide the visible layer lines completely, giving you a seamless painted finish that does not reveal the plywood underneath. Running your hand along the finished edge one final time before applying any product is the best way to catch any last rough spots that still need a bit more attention.
Sanding plywood edges smooth takes a bit more care than sanding a flat surface, mostly because of how those layered materials are put together and how easily they can splinter if you rush the process. Moving through the right grit progression, choosing the right tool for the job, and paying attention to grain direction all come together to give you an edge that looks clean, professional, and ready for whatever finish you have planned.
Take your time, check your progress by touch along the way, and do not skip the finer grits even when you are eager to move on to staining or painting. A well sanded plywood edge is one of those small details that makes a huge difference in how finished and polished your final project actually looks.
What grit sandpaper is best for starting on plywood edges?
Most plywood edges benefit from starting around 80 to 100 grit, especially if the edge shows visible saw marks or rough spots left over from cutting.
Can I use a router instead of sanding plywood edges?
A router with a rounding or chamfer bit can help shape the edge and reduce roughness, but it typically still needs a light sanding afterward to remove any remaining fuzz or small imperfections.
Why does my plywood edge look fuzzy even after sanding?
This usually happens when sanding is done against the grain or with too fine a grit too early in the process. Going back to a slightly coarser grit and working in the correct direction usually fixes it.
Do I need to fill gaps in plywood edges before sanding?
Yes, filling visible gaps or voids between layers with wood filler before sanding gives you a much smoother, more even surface than trying to sand around the gaps.
Is it better to sand plywood edges by hand or with a power tool?
It depends on the project. Power tools save time on larger projects, while hand sanding offers more control for smaller pieces or delicate corners where precision matters most.
How do I keep plywood edges from splintering while cutting?
Using a sharp blade and scoring the cut line beforehand significantly reduces splintering, making the sanding process afterward much easier and faster.
Can painted plywood edges hide the layers completely?
Yes, applying a thin coat of wood filler or grain filler before painting can smooth over the visible layer lines, giving you a clean, seamless painted finish.