Physical Address
304 North Cardinal St.
Dorchester Center, MA 02124
Physical Address
304 North Cardinal St.
Dorchester Center, MA 02124

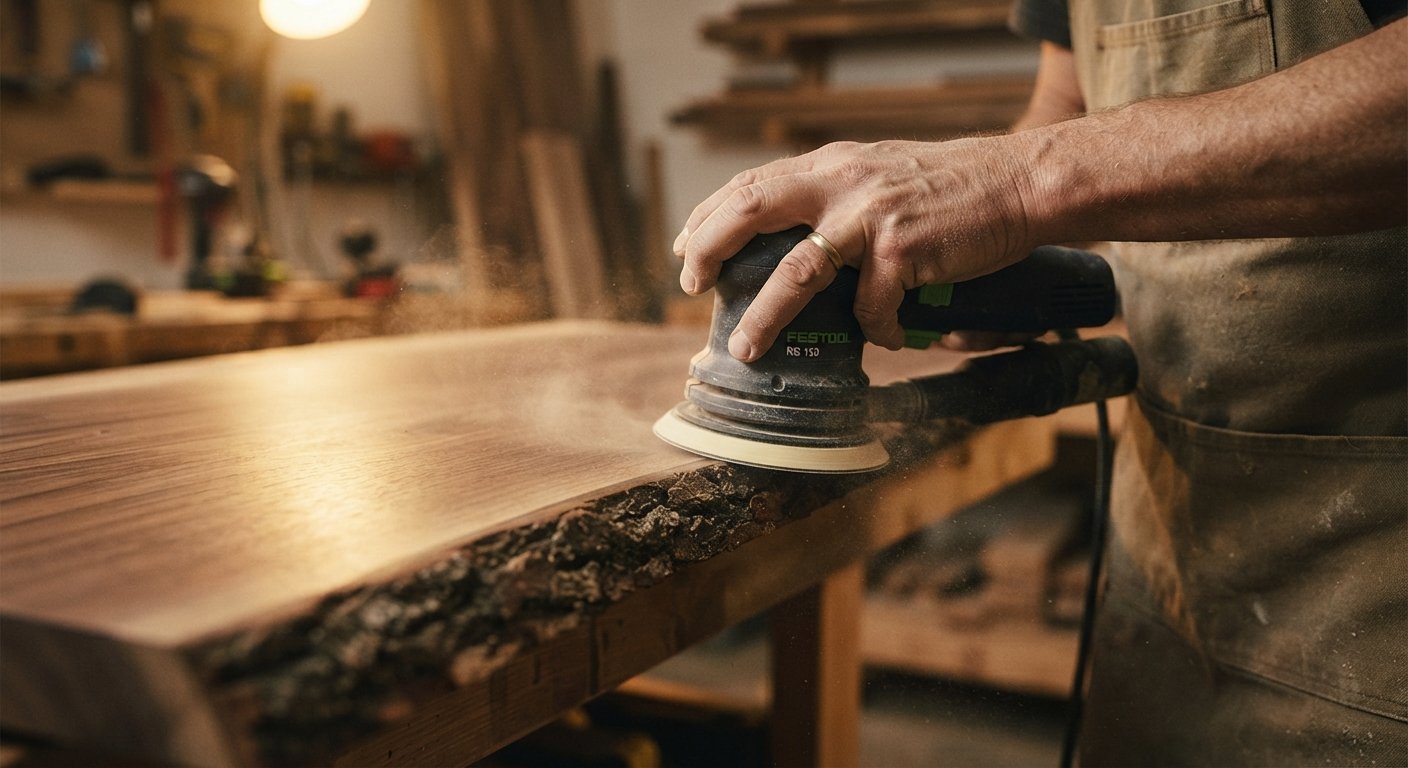
There is something deeply satisfying about running your hand across a live edge slab and feeling nothing but smooth, silky wood where rough bark and jagged grain used to be. Sanding live edge wood is one of those woodworking tasks that separates a beautiful finished piece from something that still looks half done. It takes patience and the right technique, but the payoff is a tabletop or shelf that shows off the natural beauty of the wood without a single rough patch.
Unlike sanding a regular flat board, live edge pieces come with unpredictable curves, bark pockets, knots, and uneven surfaces that make the process a little more involved. Choosing the right tools matters just as much as technique here. Many woodworkers find themselves comparing a random orbital sander vs belt sander before starting a project, and understanding when to use each one can save you hours of extra work and prevent damage to that gorgeous natural edge you worked so hard to preserve.
This guide walks you through the entire process, from prepping your slab to picking the right grit, so you end up with a finish that feels as good as it looks.
Live edge wood refers to lumber that keeps the natural, unmilled edge of the tree intact, usually including the bark line or the shape the tree naturally formed as it grew. This is what gives live edge furniture its organic, one of a kind look that you simply cannot get from standard milled lumber with perfectly straight edges.
Because live edge slabs retain their natural shape, they often come with characteristics that regular lumber does not have. Bark inclusions, knots, cracks, and uneven thickness are common, and each of these features affects how you approach sanding. A slab cut from a walnut tree will behave differently under sandpaper than one cut from maple or oak, since wood density and grain pattern vary significantly between species.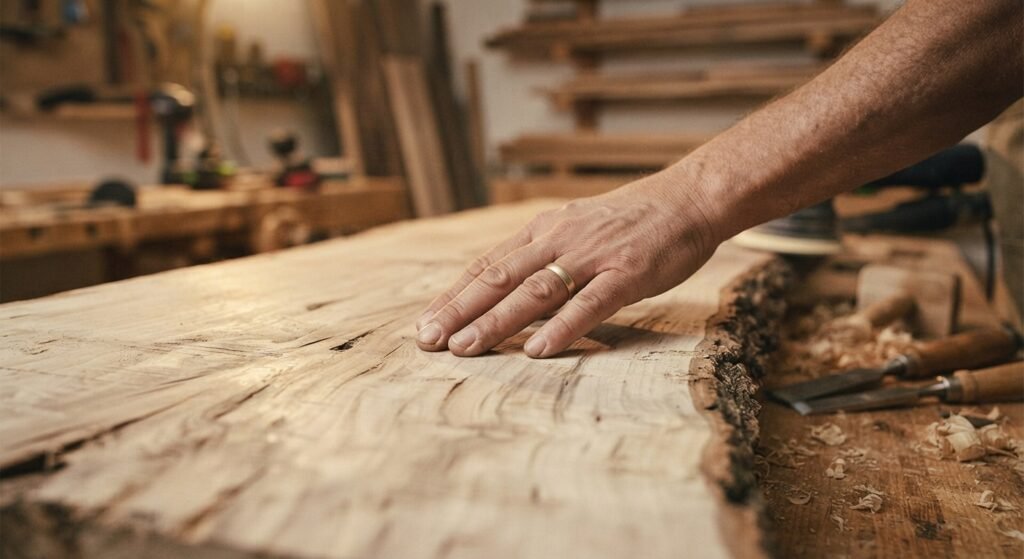
Before you even pick up a sander, it helps to study your specific slab. Run your hand across the surface to feel for high spots, soft areas, or embedded bark that might need special attention. Understanding these quirks ahead of time means fewer surprises once you start sanding and helps you plan which areas will need extra passes with coarser grit.
Good preparation makes the entire sanding process faster and far less frustrating. Start by making sure your slab is completely dry. Green or partially seasoned wood sands poorly, clogs sandpaper quickly, and can lead to warping later even after you have put in all that finishing work. Most live edge slabs need to sit and dry for months or even years depending on thickness, so confirming moisture content with a simple moisture meter before you begin is a smart step many beginners skip.
Next, clear the slab of any loose bark, debris, or old finish if you are reworking a piece. Loose bark along live edges should be gently worked to check if it is securely attached. If it flakes off easily, it is often better to remove it now rather than have it fall off after the piece is finished. A small amount of wood glue can help stabilize loose bark you want to keep for aesthetic reasons.
Set up your workspace with good lighting and, ideally, natural daylight, since it makes flaws and rough patches much easier to spot than under artificial light alone. Secure the slab firmly to your workbench using clamps or a non-slip mat so it does not shift while you are working, which is especially important when you get to the more delicate live edge areas later in the process.
Sandpaper grit is measured by a number, and the lower the number, the coarser and more aggressive the sandpaper. Moving through the right sequence of grits, rather than jumping straight to a fine finish, is what actually produces that smooth, professional looking surface everyone wants from a live edge piece.
Start with something in the 60 to 80 grit range if your slab has rough saw marks, uneven thickness, or deep surface imperfections left over from milling. This coarse grit removes material quickly and levels out the worst of the unevenness, but it also leaves visible scratch marks that need to be sanded out with finer grits afterward. 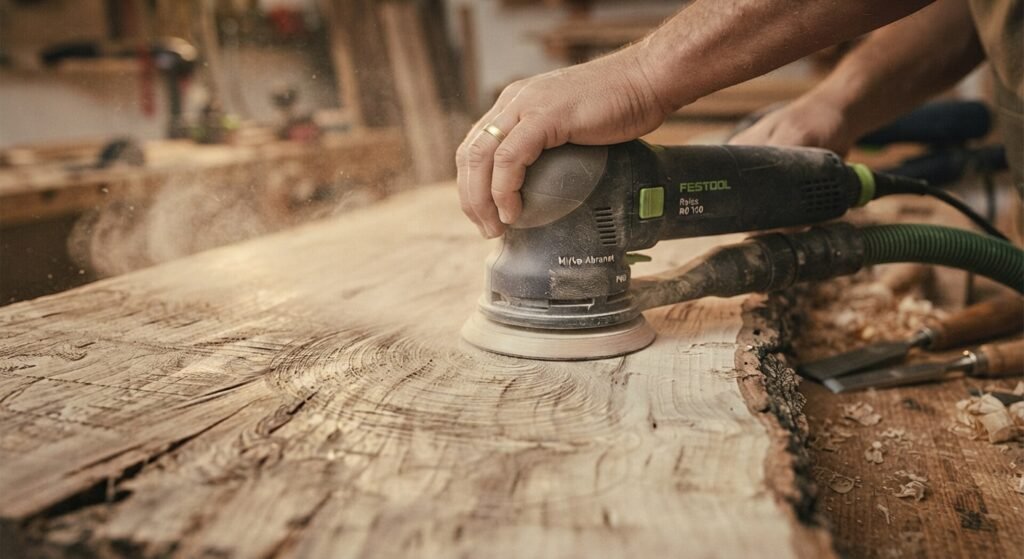 Take your time here since rushing through this stage with too aggressive a grit can gouge softer areas of the wood, particularly around knots or grain that runs in different directions.
Once the surface is relatively level, move up to 100 or 120 grit sandpaper. This stage focuses on smoothing out the scratches left behind by the coarser grit and evening out the overall texture of the slab. Most of the visible unevenness should disappear during this phase, and the wood will already start to feel noticeably smoother under your hand.
Take extra care around the live edge itself during this stage, since bark pockets and irregular curves can be more delicate than the flat interior of the slab. Light, even pressure works better than pressing hard, which can dig into softer grain and create dips that are difficult to fix later.
The final stage uses 150 to 220 grit sandpaper to achieve that silky smooth finish before applying stain or a protective coating. Some woodworkers go even further, up to 320 grit, particularly for pieces that will be handled often, like a dining table or coffee table surface. Fine grit sanding brings out the natural color and grain pattern of the wood, giving the finished piece the polished look that makes live edge furniture so popular.
Always sand with the grain during this final stage, since sanding against it at this point can leave faint scratches that become much more visible once stain is applied, undoing a lot of your earlier hard work.
Begin with the flat top surface of the slab, working through your grit progression from coarse to fine before moving on to the edges. Sand in the direction of the grain whenever possible, using long, even strokes rather than short choppy motions that can create uneven patches.
After finishing the top surface at each grit level, wipe the slab down with a tack cloth or slightly damp rag to remove dust before moving to the next grit. Skipping this step means fine dust particles from the previous grit can interfere with how evenly the next grit sands the surface.
Once the top is smooth, flip the slab and repeat the same process on the underside if it will be visible or handled, such as with a floating shelf or bench. Finally, move to the live edge itself, which requires a slightly different approach since it involves curves and inconsistent surfaces rather than a flat plane. Work slowly through each grit stage on the edge just as you did on the flat surfaces, checking frequently by running your bare hand along the wood to feel for any remaining rough spots.
One of the biggest mistakes beginners make is sanding the live edge too aggressively and accidentally flattening or reshaping the natural curves that make the piece special in the first place. The whole appeal of live edge furniture comes from preserving that organic silhouette, so a lighter touch is essential here compared to sanding the flat surfaces of the slab.
Use your hands to guide the sandpaper along the natural contours rather than forcing it into a straight line. A sanding sponge or flexible sanding pad works particularly well along the live edge since it conforms to curves and dips far better than a rigid sanding block. For areas with deep grooves or tight curves, wrapping sandpaper around a dowel or pencil can help you reach spots that flat tools simply cannot access.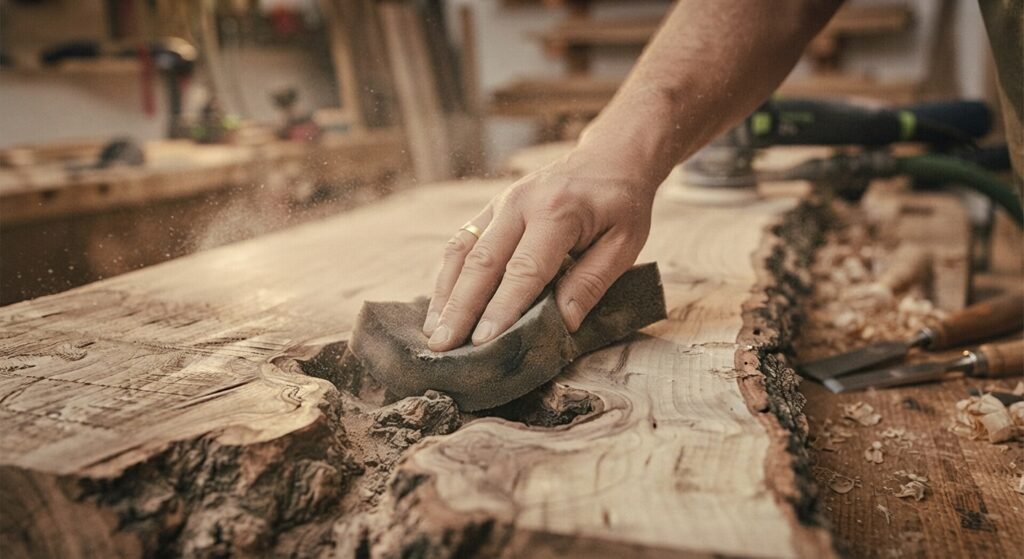
Pay close attention to bark pockets and knot areas along the edge, since these spots often have grain running in multiple directions at once. Sanding too hard in one direction here can tear out small fibers and create rough patches instead of smoothing them, so light, patient strokes checked frequently by touch tend to produce the best results.
Deciding between hand sanding and power tools comes down to the size of your project and how much control you need in a given area. For large, flat surfaces like the main body of a tabletop, power sanding saves enormous amounts of time and delivers a more even result across a big area than hand sanding alone typically could.
A random orbital sander is the go-to choice for most live edge projects because it moves in small random circles that reduce the risk of visible swirl marks, and it works well on both flat surfaces and the gentler curves along the edge. A belt sander, by comparison, removes material much faster and is better suited to leveling seriously uneven surfaces or thick saw marks early in the process, but it is also far more aggressive and can gouge soft wood or an uneven live edge if you are not careful with pressure and angle.
For the live edge itself, along with bark inclusions, tight curves, and any delicate detail work, hand sanding still tends to give you the most control. Many experienced woodworkers use a combination approach, relying on power sanders for the bulk of the flat surface work and switching to hand sanding for the trickier, more irregular sections where precision matters more than speed.
Live edge slabs often include tight curves, cracks filled with epoxy, or areas where the bark has left behind uneven texture that standard sanding tools struggle to reach. These trouble spots require a bit of creativity and extra patience compared to the rest of the slab.
For epoxy filled cracks, start sanding once the epoxy has fully cured, using a coarser grit first to level the epoxy flush with the surrounding wood before moving through your usual grit progression. Epoxy sands differently than wood, often requiring a bit more pressure initially, so checking your progress frequently prevents you from sanding a visible dip into the surrounding wood surface.
Detail sanding tools, small handheld sanders with pointed or narrow attachments, work well for getting into tight curves that a standard sander cannot reach. For extremely tricky spots, folded sandpaper used entirely by hand remains one of the most reliable methods, since your fingers can feel exactly how much pressure is needed as you work around an irregular contour.
Once your final sanding pass is complete, thoroughly removing dust becomes just as important as the sanding process itself. Any leftover dust trapped in the wood grain will interfere with stain absorption and can create a cloudy, uneven finish once a protective coat is applied.
Start by vacuuming the entire surface with a soft brush attachment, paying extra attention to grain lines, cracks, and the live edge where dust tends to settle and hide. Follow this with a tack cloth, which is specifically designed to pick up fine dust particles that a vacuum alone often misses.
For particularly stubborn dust in tight grain or bark texture, a slightly damp cloth can help lift remaining particles, though you should allow the wood to fully dry again afterward before applying any stain or finish. Compressed air is another useful option for blowing dust out of cracks, bark pockets, and other hard to reach areas along the live edge.
With sanding complete and dust removed, your slab is almost ready for stain or a protective topcoat, but a few final checks make a real difference in how the finished piece turns out. Run your hand across the entire surface one more time, checking for any spots that still feel rough or inconsistent compared to the rest of the wood.
If you plan to apply a wood conditioner before staining, particularly useful for species prone to blotching like pine or cherry, apply it evenly and allow it to fully absorb according to the product instructions before moving forward. This step helps the stain go on more evenly across the entire piece, including the live edge, which can otherwise absorb color unevenly due to its irregular grain pattern.
Test your stain on a scrap piece from the same slab if possible, since color often looks different on live edge wood compared to standard milled boards due to grain variation near the bark line. Taking this extra step before committing to the entire piece can save you from an unwanted surprise once the stain has fully dried.
Sanding live edge wood takes more patience than working with standard milled lumber, but the results are absolutely worth the extra time. Moving carefully through each grit stage, protecting the natural curves of the live edge, and choosing the right combination of hand and power sanding all come together to create a piece that highlights the wood’s natural character instead of fighting against it.
Take your time with each stage, check your progress often by touch, and do not rush the final fine grit pass before finishing. A little extra patience during sanding is what turns a good live edge project into a genuinely stunning finished piece you will be proud to show off for years to come.
What grit sandpaper should I start with on live edge wood?
Most slabs benefit from starting around 60 to 80 grit if there are rough saw marks or uneven surfaces, though slabs that are already fairly smooth can often start at 100 grit instead.
Can I use a belt sander on the live edge itself?
It is not recommended. A belt sander is too aggressive for the curves and delicate bark areas of a live edge and can easily gouge the wood. Hand sanding or a detail sander works much better in that area.
How long does it take to sand a live edge slab?
This depends heavily on slab size and starting condition, but a medium sized tabletop typically takes anywhere from three to eight hours of total sanding time across all grit stages.
Do I need to seal the bark on a live edge piece?
Yes, applying a thin coat of sealer or clear finish to the bark helps stabilize it and reduces the chance of pieces flaking off over time, especially on furniture that gets regular use.
What is the best sandpaper grit to finish with before staining?
Most projects look best finished at 150 to 220 grit. Going beyond 220 can actually make the wood too smooth to properly absorb stain, so more is not always better here.
Can I sand live edge wood that still has visible bark?
Yes, but sand around the bark carefully rather than directly over it, since bark has a different texture than wood and can tear or crumble under aggressive sanding pressure.
Why does my live edge wood still feel rough after sanding with fine grit?
This usually means a step was skipped in the grit progression, or dust was not fully removed between stages. Going back one grit level and working through the sequence again typically resolves the issue.