Physical Address
304 North Cardinal St.
Dorchester Center, MA 02124
Physical Address
304 North Cardinal St.
Dorchester Center, MA 02124


If you have ever pulled a board off the planer and noticed faint ripples or shallow grooves running across the surface, you already know the frustration of planer marks sanding wood problems. These small imperfections might look harmless under shop lighting, but they show up fast the moment stain or finish hits the wood. The good news is that removing them is a straightforward process once you understand why they happen and how to approach sanding the right way.
In this guide, we will walk through everything you need to know about planer marks, why they form, and the exact sanding steps that woodworkers use to get a smooth, finish ready surface every time.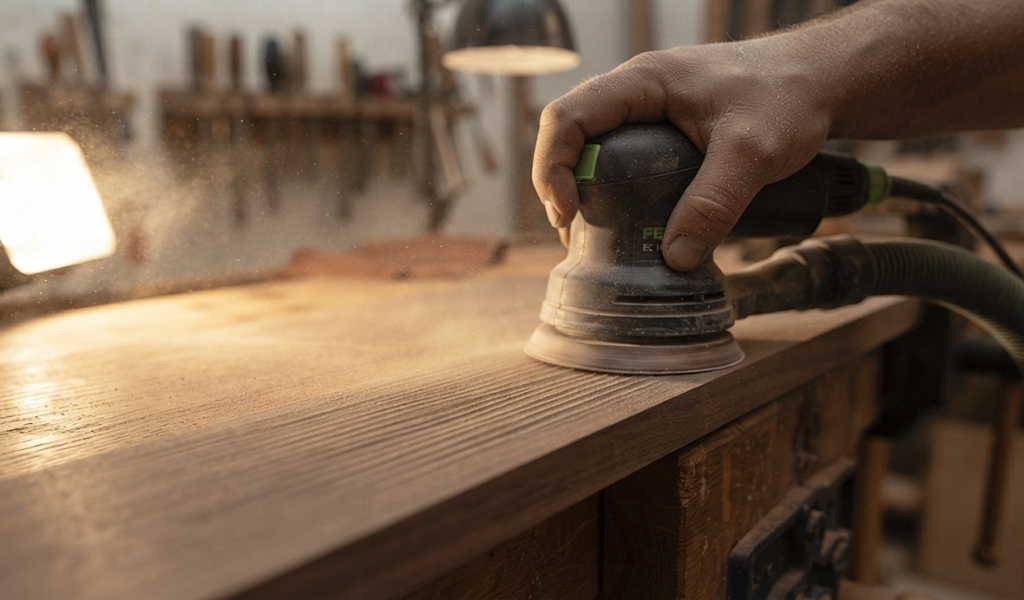
Planer marks are the small ridges or waves left behind on a board after it passes through a planer. They are also commonly called mill marks because they come from the milling process itself. Even a well tuned planer will leave some trace of the cutterhead behind, and that trace becomes obvious once you run your hand across the board or catch it under raking light.
There are a few different marks woodworkers run into. Snipe shows up as a deeper cut near the ends of a board, usually because the wood was not supported evenly as it entered or exited the machine. Chatter marks look like small repeating waves along the surface, often caused by vibration or a dull blade. Then there are plane tracks, which are lighter and more linear, usually left by a hand plane rather than a power tool. Each of these marks reacts differently to light, which is why inspection under a raking angle is so important before you commit to a finish.
Planer marks form because the cutterhead spins and takes tiny bites out of the wood as it moves through the machine. No blade cuts a perfectly flat line, so the surface ends up with a slight wave pattern. Dull knives, fast feed rates, or a poorly supported board can all make these marks more noticeable. Even high end mills leave some marks behind, which is why sanding after planing is considered a standard part of the woodworking process rather than an optional step.
Sanding is not just about making a board feel smooth. It is about preparing the wood so it will accept stain and finish evenly. If you skip sanding and go straight to finishing, planer marks and mill marks will telegraph right through the stain, especially under natural light. This is especially true with hardwood species like maple, which tends to show every flaw once dye or stain is applied. A few extra minutes of sanding now can save you from redoing an entire finish later.
Understanding the cause helps you prevent excessive marks in the future. A dull blade is the most common culprit, since a sharp cutterhead slices cleanly while a dull one tears and bounces across the fibers. Feeding the board too quickly through the machine is another factor, since faster feed rates leave wider spacing between cutter passes, which shows up as more visible ripples. Machine vibration, an unstable infeed table, or wood with inconsistent grain direction can also contribute. Even the type of wood matters, since softer species tend to compress under the cutter while harder woods resist and can chip slightly, creating more texture.
Before grabbing sandpaper, take a moment to properly inspect the board. Hold a work lamp or shop light at a low angle across the surface. This raking light technique reveals every dip, ridge, and scratch that normal overhead lighting hides. Many woodworkers also use pressure light, angling a flashlight almost parallel to the board, to catch shallow defects that are nearly invisible otherwise.
Run your palm across the grain and against it to feel for high spots or divots. 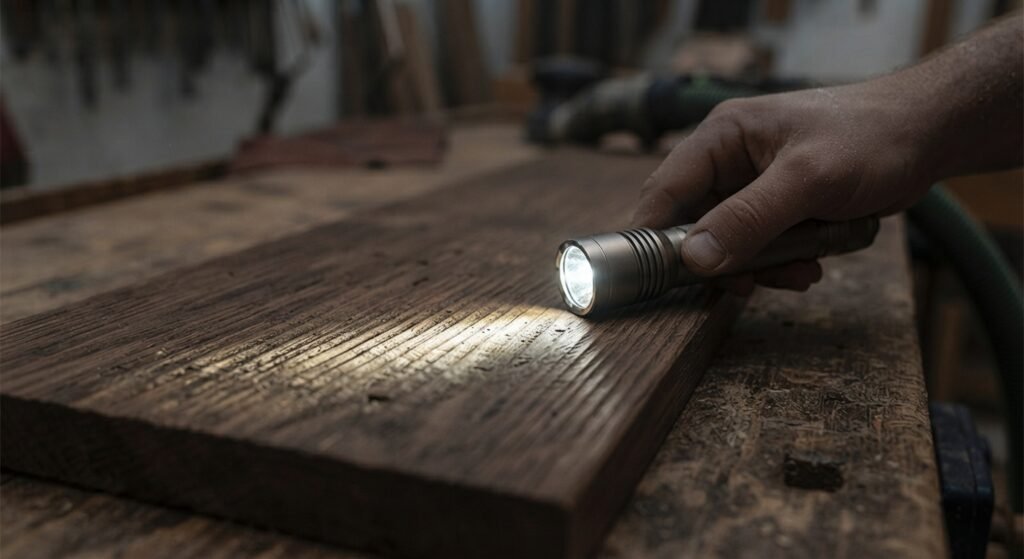 A quick inspection now prevents you from applying stain over marks you missed, which is a mistake that is far harder to correct once the finish has soaked into the fibers.
Picking the correct grit is one of the most important decisions in this entire process. Using the wrong grit either wastes time or damages the wood surface. For a full breakdown of grit numbers and what each stage accomplishes, many woodworkers reference a Wood Sanding Grits: Complete Grit Progression Guide, which lays out the entire path from coarse material removal to fine polishing before finish is applied. Following a logical grit progression instead of jumping straight to a fine grit is the difference between a flat, professional surface and one that still shows faint waves once stain is applied.
If the planer marks are deep or the board has noticeable snipe, start with 80 grit. This coarser paper removes material fast and flattens out ridges that finer grits would just skate over. A belt sander is often the best power tool for this stage because it removes stock quickly and evens out a wide surface in less time than hand sanding alone.
Once the deep marks are gone, move to 100 or 120 grit. This stage smooths out the scratch pattern left by the coarse paper and begins preparing the surface for finishing. A random orbital sander, often shortened to ROS by woodworkers, works well here because its spinning and oscillating motion helps blend out linear scratch marks left by the belt sander.
The final sanding stage usually calls for 180 or 220 grit. This step smooths the fibers and prepares the wood to accept stain evenly. Going beyond 220 grit on most hardwoods is unnecessary and can actually close the wood pores too tightly, making it harder for stain to penetrate properly.
Here is a simple approach that works for flat panels, tabletops, and molding alike.
First, inspect the board under raking light and mark any problem areas lightly with a pencil so you know where to focus. Second, start with your coarse grit and work only on the marked areas until they blend into the surrounding wood. Third, move up through medium grit across the entire board to even out the surface. Fourth, finish with a fine grit pass, always following the direction of the grain. Fifth, wipe the surface with a tack cloth or clean rag to remove dust, then inspect again under the same raking light you used at the start.
This final pass under strong light is where many woodworkers catch stray remaining marks before they become a costly mistake.
Sanding across the grain, even briefly, leaves scratches that are almost impossible to hide once stain is applied. Always sand in the same direction the wood fibers run, moving your sander or sanding block in long, even strokes. If you are working on curved molding or detailed profiles, a card scraper or cabinet scraper can help you get into tight areas without leaving cross grain scratches that a sander might create.
Hand sanding along the grain, even after using a power sander, is a smart final step. It blends out the last of the swirl marks that random orbital sanders sometimes leave behind, especially on lighter colored woods where those marks are easier to spot.
A random orbital sander is the workhorse for most flat surfaces because its random spin pattern prevents the repetitive swirl marks you get from a standard orbital sander. Keep the sander moving at all times, use light pressure, and let the sandpaper do the work rather than pressing down hard. Pressing too hard can create new divots or uneven pressure that shows up as low spots.
For areas a power sander cannot reach, such as inside corners or detailed molding, a hand plane or hand sanding block gives you more control. A sharp hand plane can also shave down stubborn ridges before sanding even begins, which saves time and reduces how much sandpaper you burn through. Just make sure the blade has a clean bevel and is properly sharpened, since a dull hand plane will tear the grain instead of slicing it cleanly.
Checking your work as you go prevents surprises later. Continue using raking light after each grit change, since it is the fastest way to catch leftover marks. Another trick many woodworkers use is wiping the surface with mineral spirits or denatured alcohol. This temporarily wets the wood the way finish would, revealing any marks, scratches, or flaws that dry wood tends to hide. Once the solvent evaporates, the wood returns to normal, but you will have already spotted problem areas to address before moving forward.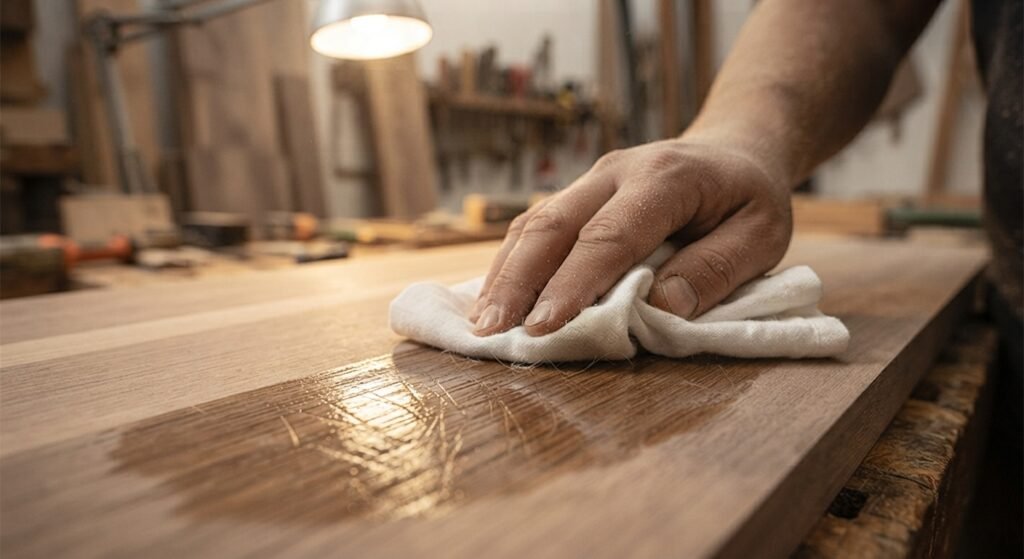
This preview step is especially useful before staining, since it shows you almost exactly how the finished piece will look once the real stain goes on.
Even experienced woodworkers run into a few recurring problems when trying to remove planer and mill marks.
Using a grit that is too fine on deep marks is one of the most common mistakes. It feels like progress because the surface gets smoother, but the underlying ridge is still there, just harder to see. If a mark does not disappear after a reasonable amount of sanding, drop back down to a coarser grit rather than fighting it with fine paper. A drum sander or belt sander can speed up this process significantly on larger flat panels.
Another common issue is skipping the medium grit stage entirely. Jumping straight from 80 grit to 220 grit leaves deep scratches from the coarse paper that the fine grit cannot remove on its own. Working through each grit stage in order, without skipping steps, is the fastest and most reliable way to reach a truly flat, finish ready surface. It takes a bit more elbow grease up front, but it saves time overall since you avoid backtracking.
Once sanding is complete, the wood needs a final check before finish goes on. Wipe away all dust with a tack cloth, since leftover sanding dust can clog the wood grain and create a hazy finish. Inspect one more time under raking light and with a mineral spirits wipe if you want extra certainty.
If you are working with glue lines from panel glue ups, make sure those areas are perfectly flush, since stain will highlight any unevenness at the seams just as much as it highlights planer marks. For projects headed to a jointer or additional milling, always plan your final sanding after all machining is complete, since further cutting can reintroduce marks you already removed.
A well sanded surface should feel uniformly smooth in every direction and show no visible ridges under strong light. At that point, the wood is ready for stain, dye, or a clear finish to bring out the natural grain and fiber pattern without any distracting marks showing through.
Removing planer marks from wood is not complicated once you understand the process. Inspect the surface carefully, choose the right grit progression, sand with the grain, and check your work under raking light at every stage. Whether you are finishing a small molding piece or a large tabletop, this approach gives you a clean, professional result that holds up beautifully once stain or finish is applied. Take your time with each grit stage, and your next project will have the kind of flawless surface that makes all the sanding effort worth it.
What causes planer marks on wood?
Planer marks come from the rotating cutterhead of the planer taking small bites out of the wood as it passes through. Dull blades, fast feed rates, and machine vibration all make these marks more noticeable.
What grit should I start with to remove planer marks?
Start with 80 grit for deep marks, then move through 100 or 120 grit before finishing with 180 or 220 grit for a smooth, stain ready surface.
Can I use a hand plane instead of sanding?
Yes, a sharp hand plane can shave down ridges quickly, but you will still need to sand afterward to smooth the surface and prepare it for finish.
Why do planer marks show up after staining even though the wood felt smooth?
Stain penetrates unevenly into shallow ridges, making faint marks far more visible than they were on bare wood. This is why checking with mineral spirits or denatured alcohol before staining is so helpful.
Is a random orbital sander enough to remove all planer marks?
For most surfaces yes, especially after starting with a coarser grit. Deep marks or heavy snipe may need a belt sander or drum sander first.
How do I know if I sanded enough before applying finish?
Wipe the surface with mineral spirits or check it under raking light. If no ridges or scratches appear, the wood is ready for stain or finish.
Should I sand across the grain to remove marks faster?
No, sanding across the grain leaves scratches that are difficult to remove and will show clearly once finish is applied. Always sand in the direction of the grain.