Physical Address
304 North Cardinal St.
Dorchester Center, MA 02124
Physical Address
304 North Cardinal St.
Dorchester Center, MA 02124

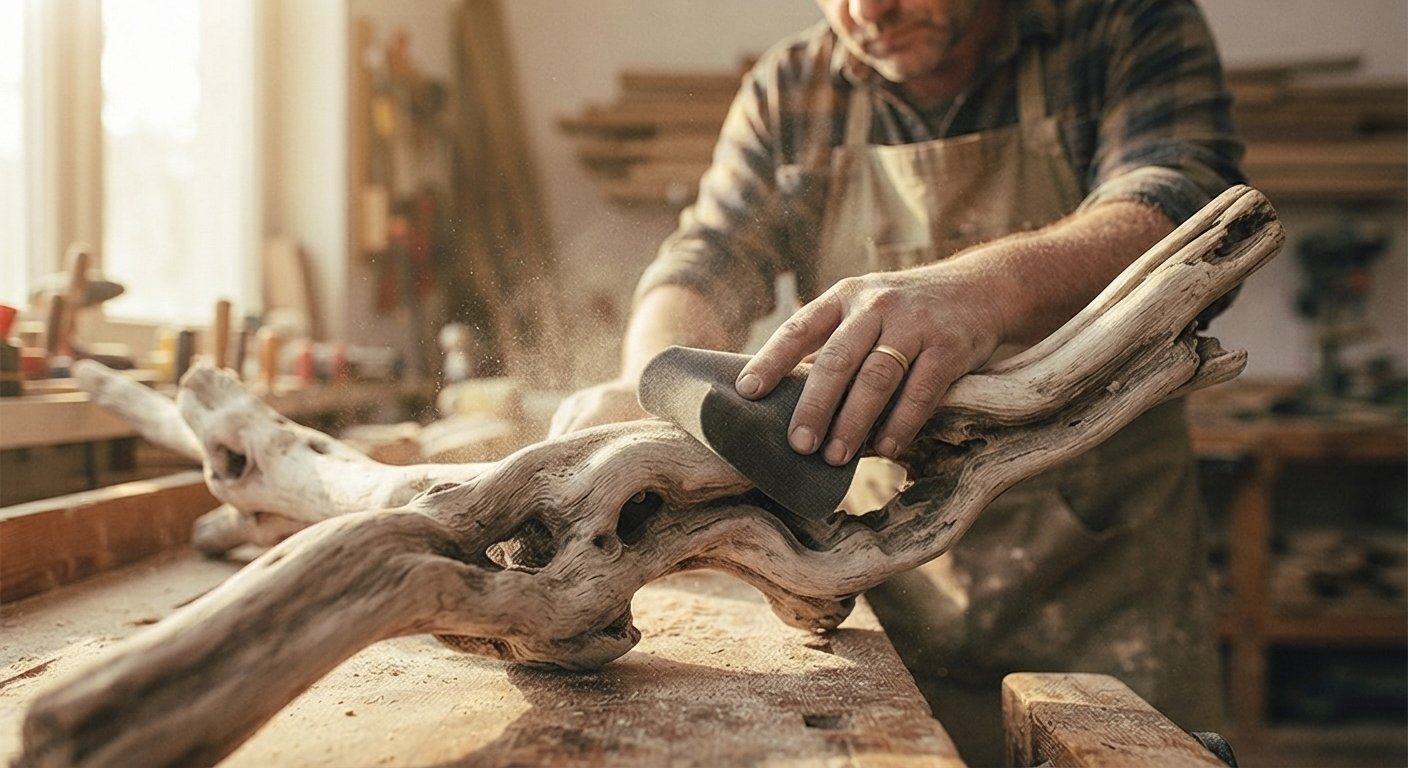
There is something almost magnetic about a piece of driftwood sitting on the shoreline, bleached silver by the sun and shaped by years of tumbling through waves. Bringing that piece home is the easy part. Sanding driftwood so it looks polished and intentional, rather than like a stick you dragged out of the ocean, is where the real skill comes in. This is The Complete Guide to Sanding Wood that has already been shaped by nature, and it works a little differently than sanding a fresh board from the lumber yard.
Whether you found your piece on a quiet beach walk or picked one up at a craft store, this guide covers everything from cleaning off the grime to choosing the right grit, so you can turn a weathered log into a centerpiece, a shelf, or a wall art piece that actually looks finished.
Driftwood is not like ordinary lumber, and treating it the same way usually ends in disappointment. Understanding what makes it different is the first step to sanding it well.
Wood that has spent months or years in saltwater or a river goes through a slow transformation. The outer layers soften as the fibers absorb and release water again and again, while the sun bleaches the surface to that familiar silvery gray. This constant swelling and drying also warps the grain, so instead of running in neat straight lines like a pine board, driftwood grain often twists, splits, and changes direction without warning. Some sections may feel almost spongy while others, especially old knots, stay rock hard. Sanding this kind of wood means paying attention to each section individually rather than assuming the whole piece will behave the same way under the paper.
This is really a creative decision as much as a technical one. Part of what makes driftwood beautiful is the texture time has carved into it, the small ridges, worm holes, and soft grooves left by years of weathering. Sand too aggressively and you strip away that character, ending up with a piece that looks like ordinary wood. Most people sanding driftwood aim for a middle ground, smoothing away splinters and rough patches while leaving the deeper texture and shape alone. If you are making something functional, like a shelf edge or a coat hook base, you will want smoother, safer surfaces in the areas people will actually touch, while keeping the natural look everywhere else.
Before any sanding begins, the wood needs to be clean and dry. Using the right tools at each stage saves a lot of frustration later.
A stiff wire brush is often the first tool to reach for, especially on pieces covered in dried algae, loose bark, or crusted sand. Scrubbing along the grain lifts away debris without gouging the softer wood underneath. For tougher, more stubborn buildup, a nylon abrasive wheel attached to a rotary tool can clean into grooves and cracks that a hand brush cannot reach. These wheels are gentler than a metal wire wheel, which matters a lot on driftwood since the surface is often more fragile than it looks.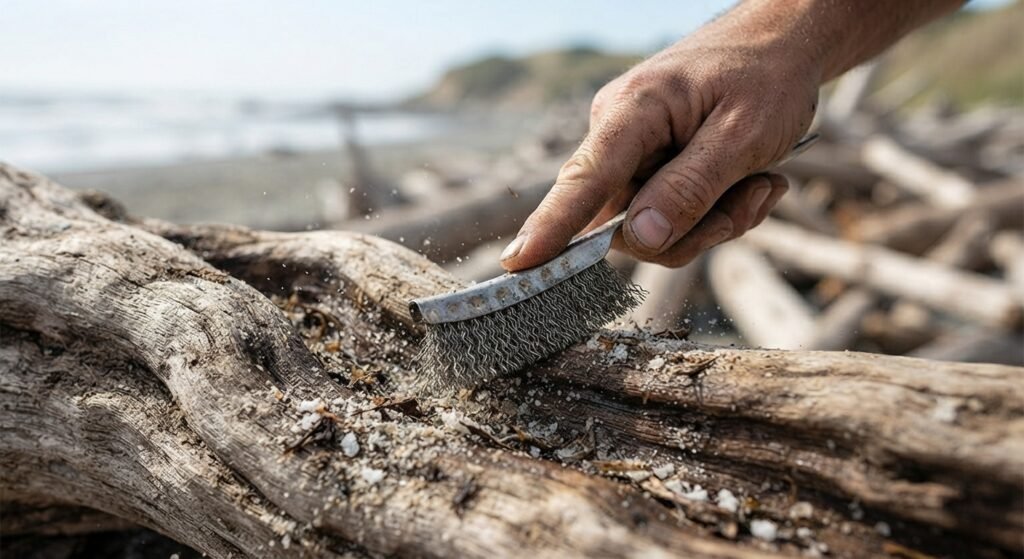
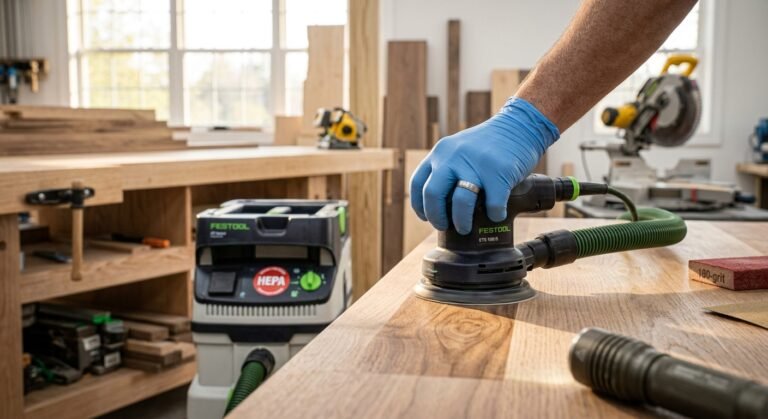
Once the debris is cleared, the actual sanding tools come into play. Flexible sanding sponges are extremely useful here because driftwood is rarely flat. The sponge bends around curves, knots, and twisted sections in a way that a rigid block simply cannot. Small detail blocks help with tight crevices or narrow branch forks, while a handheld power sander, like a small palm sander, can speed things up on larger flat sections such as a slab meant for a table top. Keep the power sander moving at all times though, since driftwood sands down faster than most people expect and it is easy to remove more material than planned in one soft spot.
Skipping the cleaning stage is one of the most common mistakes people make, and it almost always shows up later as clogged sandpaper or a musty smell that never fully goes away.
Start by rinsing the piece thoroughly under running water, using the wire brush to work loose any embedded sand or grit caught in the grain. Saltwater driftwood needs extra attention here, since leftover salt can attract moisture later and interfere with any finish you plan to apply. A mild soap and water solution, scrubbed in with a brush and rinsed well, helps break down any organic grime or algae that plain water alone will not lift. For pieces with a strong odor or visible mold, a diluted vinegar soak before rinsing can help neutralize both.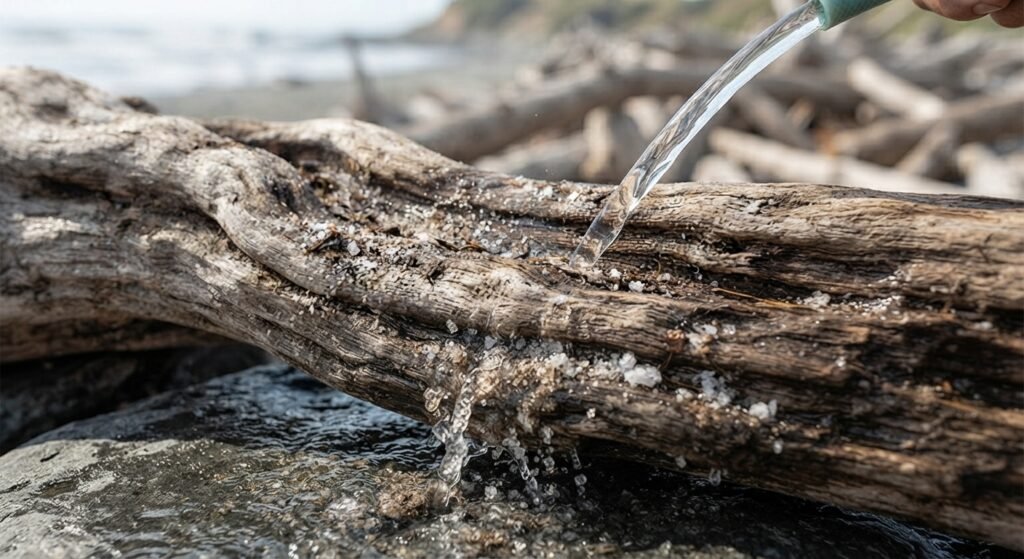
This step takes patience, and rushing it is where a lot of projects go wrong. Driftwood needs to dry slowly and completely before any sanding or sealing happens. Set the piece in a dry, shaded spot with good airflow rather than direct sun, which can cause the outer surface to dry faster than the inside and lead to cracking. Larger, thicker pieces can take several weeks to fully dry out. If you sand or seal wood that still holds moisture inside, that trapped water can lead to rot or mold growing beneath the surface later, so it really pays to wait until the piece feels consistently dry and lightweight.
With the wood clean and dry, the actual sanding can begin. This stage is where the wood starts to show its final character.
Start with a coarser grit, somewhere around 60 to 80 grit, if the piece has rough splinters, sharp edges, or uneven high spots that need real shaping. Work slowly and in the direction of the grain where possible, though remember that driftwood grain often shifts direction across the same piece, so you may need to adjust your angle as you move along it. Once the rough shaping is done, step up to a medium grit around 120 to keep smoothing without removing too much of the natural texture. 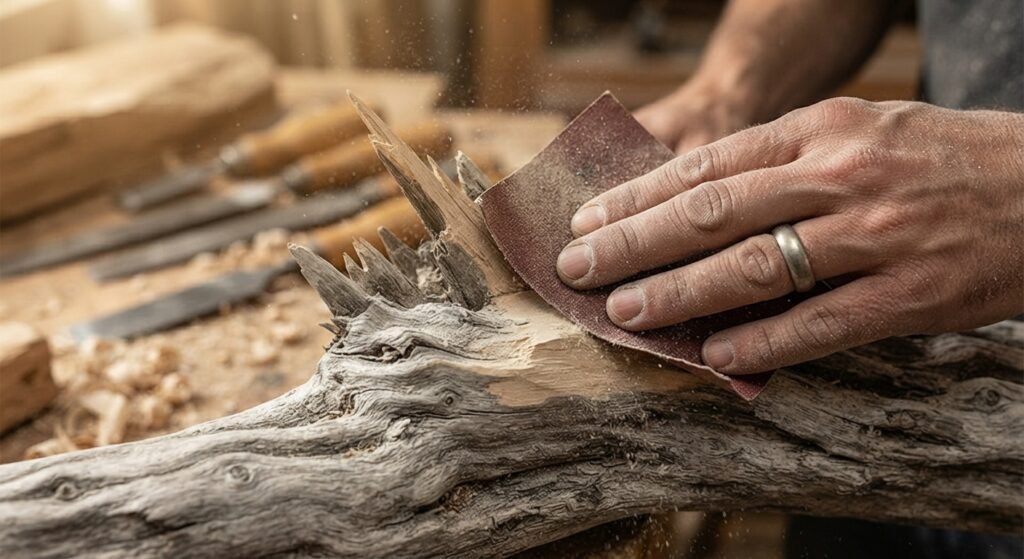 Finish with a fine grit, around 220, for any areas that will be handled often or that you want to feel silky smooth. Softer, punkier sections of the wood will sand down much faster than the denser, harder parts, so check your progress often rather than sanding on autopilot. A lot of people find that working in short sessions with frequent breaks gives a more even result than trying to power through the whole piece in one sitting.
As you work through the grits, keep an eye out for soft, punky patches that feel spongy compared to the rest of the wood. These areas often need a little extra sanding to firm them up, or in some cases a light application of wood hardener before you continue. Loose fibers that lift and snag on the sandpaper are also common on driftwood, and a light pass with a fine grit or a sanding sponge usually smooths them down without damaging the surrounding texture.
Once the sanding is complete, the final step is locking in that hard earned smoothness and protecting the wood for the long run.
A light coat of natural oil, like mineral oil or a food safe finishing oil, brings out the grain and deepens the color slightly while keeping that authentic weathered look intact. For pieces that will sit outdoors or handle more wear, a clear polyurethane seal offers stronger protection against moisture and everyday bumps. Wax finishes sit somewhere in between, giving a soft sheen and light protection without changing the wood’s appearance much at all. Whichever finish you choose, apply it in thin coats and let each one dry fully before adding another, since driftwood can still be somewhat absorbent even after drying.
Anyone who has sanded a full piece of driftwood for a decor project will tell you the same thing, patience matters more than speed here. A friend who turned a large beach find into a floating shelf spent almost as much time drying and cleaning the wood as she did on the actual sanding and finishing. Working outdoors or in a garage helps a lot too, since sanding driftwood creates fine dust just like any other wood project, and pieces with embedded sand can also dull your sandpaper faster than clean lumber, so keep a few extra sheets on hand.
Sanding driftwood is part craft and part patience, but the results are worth the extra care. Clean the wood thoroughly, let it dry completely, then work through the grits slowly while respecting the natural twists and soft spots that make each piece one of a kind. Finish with an oil, seal, or wax that suits how the piece will be used, and you will end up with something that still tells the story of where it came from while looking like it belongs in your home. Grab a piece from your next beach walk, set aside a weekend, and give it the finish it deserves.
What grit sandpaper is best for sanding driftwood?
Start with a coarser grit around 60 to 80 for shaping, move to 120 for general smoothing, and finish with 220 for a soft, smooth feel on areas that will be handled often.
Do I need to sand driftwood before sealing it?
Yes, sanding removes splinters and loose fibers and gives the surface a cleaner texture for oil, wax, or sealant to bond to properly.
How long should driftwood dry before sanding?
This depends on the size of the piece, but smaller pieces may take a week or two while larger, thicker pieces can take several weeks in a dry, shaded spot.
Can I use a power sander on driftwood?
A handheld power sander works well on larger flat sections, but keep it moving constantly since driftwood often has soft spots that sand down much faster than expected.
How do I clean driftwood before sanding it?
Rinse the piece thoroughly, scrub with a wire brush and mild soap to remove sand and grime, and let it dry completely before any sanding begins.
Should I sand away all the natural texture on driftwood?
Not usually. Most people sand just enough to remove splinters and rough patches while keeping the natural grooves and weathered look intact for a more authentic finish.
What is the best finish to use after sanding driftwood?
Natural oil works well for enhancing the grain, wax offers a light protective sheen, and clear polyurethane is best for pieces that need stronger protection from moisture and handling.