Physical Address
304 North Cardinal St.
Dorchester Center, MA 02124
Physical Address
304 North Cardinal St.
Dorchester Center, MA 02124

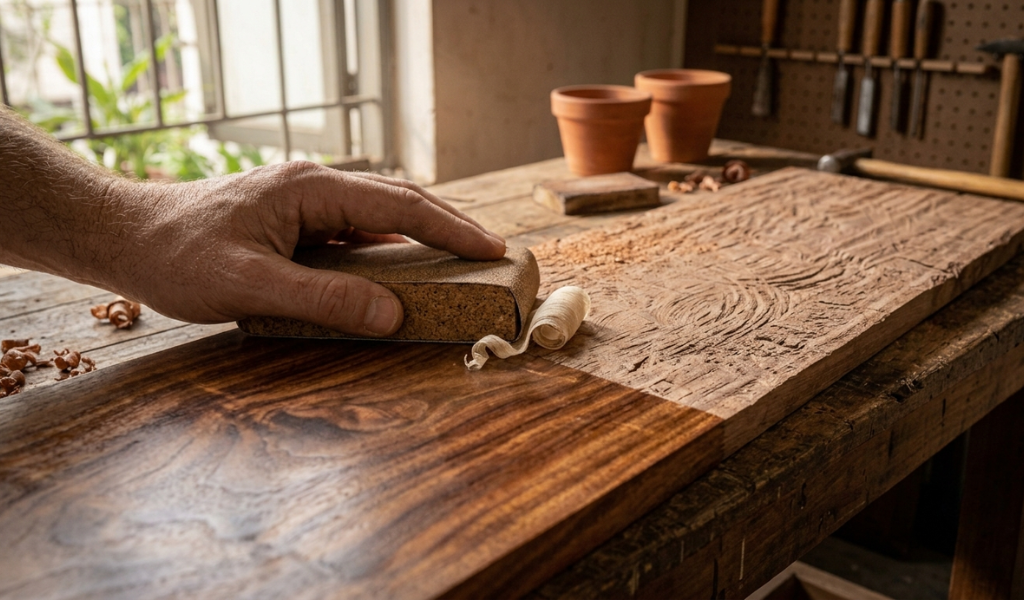
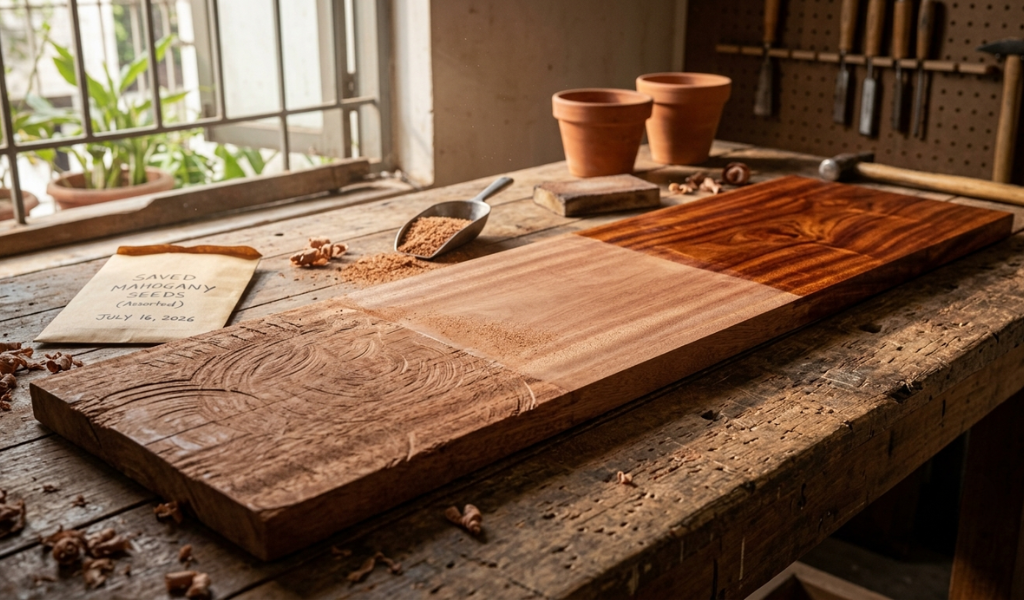
Most people assume sanding is simple just rub some sandpaper across a surface until it looks smooth. But anyone who has tried finishing wood, prepping a car hood, or restoring old furniture knows that poor sanding technique can ruin even the best materials. Scratches, uneven texture, and blotchy stain absorption are almost always the result of one thing: ignoring the golden rule of sanding.
So, what is the golden rule of sanding? In short, it comes down to two core principles: always sand with the grain, and progress gradually from coarse to fine grits. Follow both, and you will get a smooth, professional-quality finish every time. Skip either one, and you will spend more time fixing mistakes than doing the actual work.
This guide breaks down the golden rule of sanding in full detail :what it means, why it works, and how to apply it across different sanding projects. Whether you are refinishing hardwood floors, painting furniture, or sanding drywall before a topcoat, these principles apply across the board.
The golden rule of sanding is a fundamental principle that guides how abrasive materials are used to smooth a surface effectively. It has two parts: sand in the direction of the wood grain, and move through grits progressively starting with a coarser grit and working your way toward finer grits.
This rule exists because sanding is not just about removing material. It is about removing material in a controlled, predictable way. Each grit level leaves behind a pattern of scratches. The goal is to make those scratches progressively shallower until they become invisible to the eye and smooth to the touch.
When you follow the golden rule of sanding, you spend less time correcting errors and more time getting a finish that actually looks good.
Wood has a natural fiber direction called the grain. When you sand with the grain, you are moving your sandpaper parallel to those fibers. Sanding across the grain or at an angle to it cuts through the fibers rather than following them, which leaves visible scratches that no amount of finishing will fully hide.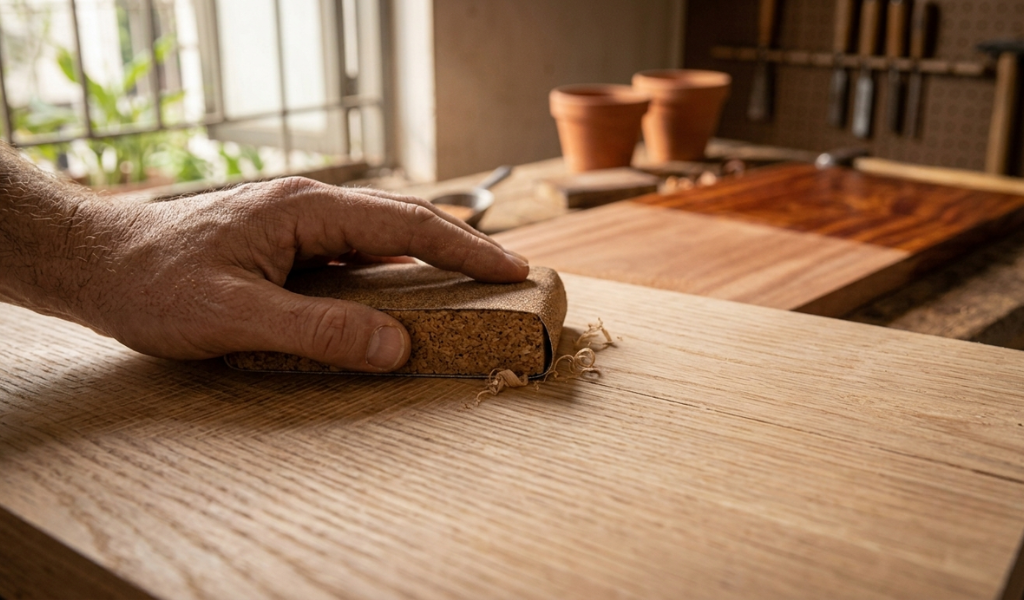
On a practical level, sanding with the grain means looking at your piece of wood and identifying which direction the lines run, then making sure your strokes follow that same path.
The scratches left by abrasive particles follow the direction of your strokes. With the grain, those scratches blend into the natural pattern of the wood and become invisible once a stain or finish is applied. Cross-grain scratches reflect light differently from the surrounding surface, making them stand out especially under a clear coat or stain.
This is not just an aesthetic concern. Cross-grain marks can affect how evenly a stain absorbs into the wood, leading to a blotchy or inconsistent appearance. For any project where the final finish matters, sanding with the grain is non-negotiable.
On materials like metal, automotive panels, or drywall, the concept of grain does not apply in the same way. In these cases, the principle shifts slightly: use consistent, overlapping strokes in one direction to maintain an even scratch pattern. On automotive surfaces in particular, circular or random orbital motion is common, but the idea of maintaining a consistent pattern still holds. The key is avoiding chaotic, multi-directional sanding that creates an uneven texture.
Sandpaper is graded by grit number. A lower number means a coarser grit with larger abrasive particles—these remove material quickly but leave deep scratches. A higher number means finer grits with smaller particles—these remove less material but leave a smoother surface.
A typical grit progression might look like this:
Each step in this sequence removes the scratches left by the previous grit. That is the whole point. You are not just making the surface smoother—you are systematically replacing deep marks with shallower ones until the surface is ready for its final coat.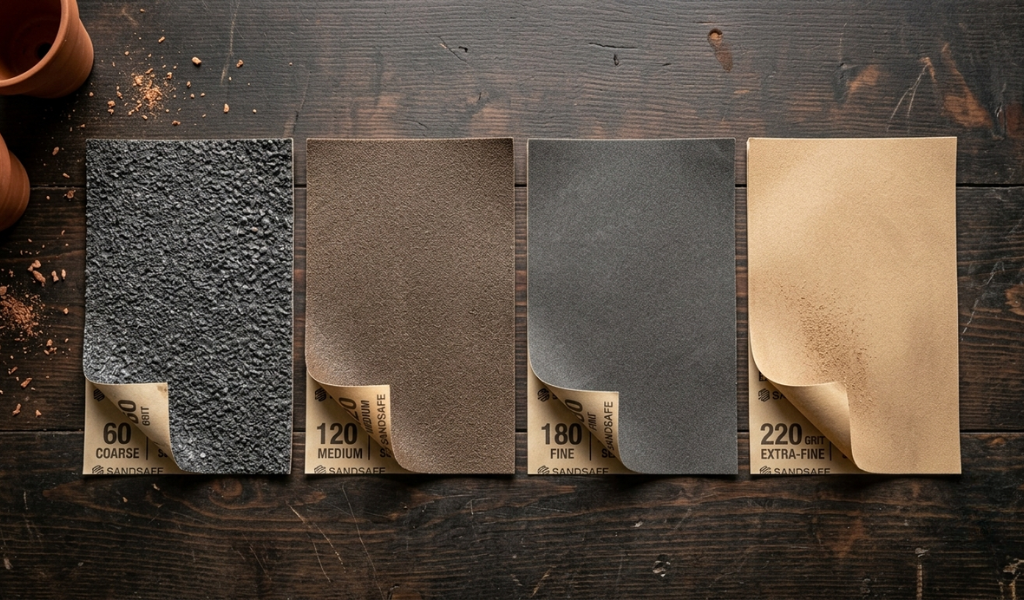
Jumping from a very coarse grit directly to a very fine one is one of the most common sanding mistakes. When you skip grits, the fine sandpaper cannot remove the deep scratches left by the coarser grit. Those marks stay trapped beneath the surface, and they show up clearly once a stain or finish goes on.
Moving through grits gradually takes more time upfront, but it is far faster than having to strip and re-sand a piece because the scratches are visible under the topcoat.
Before you start sanding, check the surface for any nails, staples, or debris that could tear the sandpaper or scratch the material. Remove any old finish, paint, or rust that might prevent the abrasive from making proper contact. A clean surface at the start makes every step after it easier.
Start with the grit that matches the condition of your surface. If you are working with rough, unfinished wood or a surface with deep scratches or old paint, begin with a coarse grit. If the surface is already relatively smooth, you can start with a medium grit and skip the initial heavy removal stage.
From there, work through each grit level in sequence. Sand each grit until the scratches from the previous grit are no longer visible, then move to the next level. Do not move on just because a set amount of time has passed—inspect the surface carefully before changing grits.
Scratches and swirl marks are the most visible sign that the golden rule was not followed. They appear when sanding is done across the grain, when grits are skipped, or when power sanders are used carelessly. By sanding with the grain and progressing through grits one step at a time, these marks are prevented at the source rather than dealt with after the fact.
A smooth surface does not just look better. It also helps stain and finish absorb more evenly, adhere more firmly, and last longer. A surface that has been properly sanded through a full grit sequence will accept a topcoat in a way that a poorly sanded surface never will—regardless of how good the finish product is.
Hand sanding gives you the most control, especially on curved surfaces, tight corners, and delicate pieces. Wrap the sandpaper around a sanding block to maintain even pressure and prevent the paper from flexing unevenly across the surface. Hand sanding is ideal for final passes and detail work where a power tool would be too aggressive.
Power sanders cover large, flat surfaces quickly and consistently. Random orbital sanders are among the most popular because they move in a pattern that reduces swirl marks. Belt sanders are effective for heavy removal on rough surfaces. The key with any power sanding tool is to keep it moving and avoid pressing too hard in one spot.
Mesh sanding discs allow dust to pass through, which keeps the abrasive surface cleaner for longer and reduces clogging. Foam sanding pads conform to curved or irregular surfaces, making them useful for contoured furniture and moulding. Both are good additions to a sanding toolkit and help support the gradual grit progression the golden rule calls for.
Coarse grit sandpaper is designed for aggressive material removal. Use it when you need to strip old paint, remove rust, flatten a warped surface, or shape raw wood. The scratches it leaves are deep and very visible this is expected. The goal at this stage is not smoothness but efficient removal.
Coarser grits wear out faster than finer ones because the abrasive particles take on more friction. Replace the sandpaper when it starts to feel smooth or stops cutting efficiently.
Medium grits bridge the gap between heavy removal and fine finishing. After starting with a coarser grit, medium grits refine the surface and begin to remove the deep scratches left behind. This is often where the most sanding time is spent because it takes patience to fully work through each scratch pattern before moving on.
The right starting grit depends on the condition of the surface. A rough, unfinished board needs a coarse starting point. A surface that has already been sanded once or has only minor imperfections can start at a medium grit. Choosing a grit that is too fine for the initial work means spending far more time than necessary before the surface is ready to progress.
When in doubt, start one step coarser than you think you need. It is faster to move up than to go back.
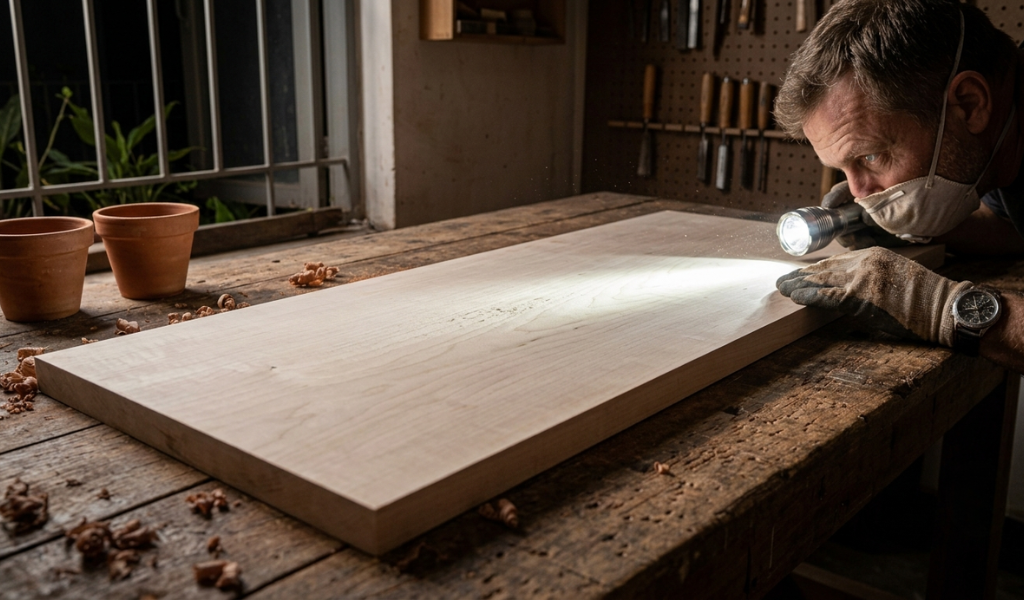
Before moving from one grit to the next, wipe the surface clean and examine it closely ideally with a raking light source held at a low angle. This makes scratches far easier to see. If you can still see marks from the previous grit, keep sanding at the current level. Only move up when the surface is consistently scratch-free at that stage.
Sanding Across the Grain
This is the single most common and damaging mistake. Cross-grain scratches are notoriously difficult to remove and become highly visible once a stain or finish is applied. Always check grain direction before you start and keep your strokes aligned with it.
Applying Too Much Pressure
More pressure does not mean faster results. Heavy-handed sanding causes uneven material removal, premature wear on the sandpaper, and increases the risk of gouging the surface. Let the abrasive particles do the work—use light, consistent pressure and let the grit do its job.
Skipping Grits
Skipping from 60 grit to 220 grit sounds like a time saver, but it almost always results in rework. The fine sandpaper simply cannot remove the deep marks left by the coarse grit. Those scratches will show under any finish. Follow the sequence.
Oversanding Softwoods
Softwoods like pine are easy to oversand, which can close the wood’s pores and prevent stain from absorbing evenly. On softwoods, finishing at 150 grit is often sufficient. Going finer can actually make the surface harder to stain.
Once you have completed the full grit sequence, the surface needs one more round of attention before finishing. Remove all dust with a vacuum and a tack cloth. Even a thin layer of sanding dust can affect how well a stain or topcoat adheres.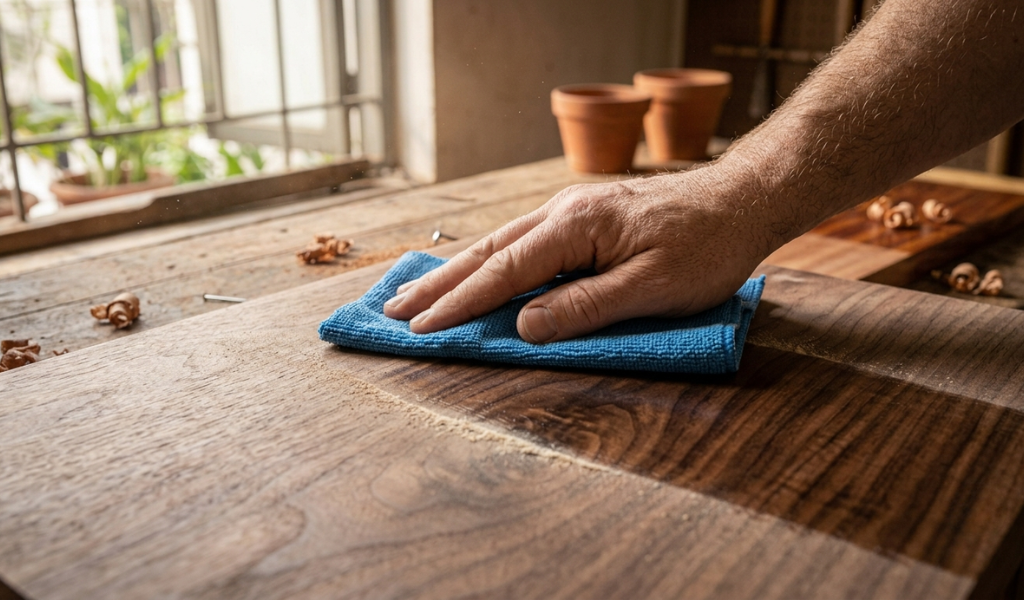
On wood, consider raising the grain slightly by wiping the surface with a damp cloth and letting it dry fully. This causes the wood fibers to swell and then stiffen, which you can then knock back with a very fine grit pass. The result is a surface that is less likely to feel rough after the first coat of finish is applied.
After all dust is removed and the surface is clean, you are ready to apply your finish.
The golden rule of sanding is simple to understand, but it requires discipline to apply consistently. Sand with the grain. Progress gradually from coarser to finer grits. Check your work between each stage.
These two principles will not just improve your results—they will save you time in the long run by preventing the kind of mistakes that require stripping everything back and starting over. Whether you are working on a small woodworking craft or a full automotive panel, the fundamentals stay the same.
Good sanding is not glamorous work, but it is the foundation of every great finish. Get the sanding right, and everything that follows becomes easier.
The most common mistake is sanding across the grain. This leaves visible cross-grain scratches that are very difficult to remove and become especially noticeable once a stain or finish is applied. Another frequent error is skipping grits, which leaves deep scratches from a coarse grit that finer sandpaper cannot fully remove.
The 100 grit rule is a general guideline suggesting that you should not skip more than 100 grit numbers between sanding stages. For example, jumping from 60 grit to 180 grit skips too large a gap, leaving scratches from the 60 grit that the 180 cannot remove effectively. Moving in smaller increments such as 60 to 80 to 120 gives each grit level the chance to remove the marks left by the one before it.
A standard grit progression moves from coarse to fine: typically starting at 40–80 grit for heavy removal, moving to 100–120 grit for smoothing, then 150–180 grit for final prep, and 220 grit or higher for finishing or sanding between coats. The exact starting point depends on the condition of the surface.
Yes—this is a reasonable jump and one of the more common progressions in rough surface prep. Moving from 40 to 80 grit follows the gradual progression principle without skipping too many steps. After 80 grit, move to 120, then 150 or 180 before finishing.
The best way to check is to wipe the surface clean and examine it under a raking light. If you can still see scratches from the current grit level, keep sanding. Only move up when the surface looks consistently smooth at that stage and the previous scratch pattern is no longer visible.
The golden rule of sanding refers to two core principles: always sand with the grain of the material, and progress gradually from coarser grits to finer ones. Following both ensures a smooth, even surface that accepts a finish cleanly and evenly without visible scratches or uneven texture.
Skipping grits is not recommended. Each grit removes the scratches left by the previous one. If you skip a grit level, the finer sandpaper does not have the cutting power to remove the deeper marks left by the coarser grit. This results in scratches that become clearly visible once a finish is applied, often requiring you to strip the surface and start over.