Physical Address
304 North Cardinal St.
Dorchester Center, MA 02124
Physical Address
304 North Cardinal St.
Dorchester Center, MA 02124

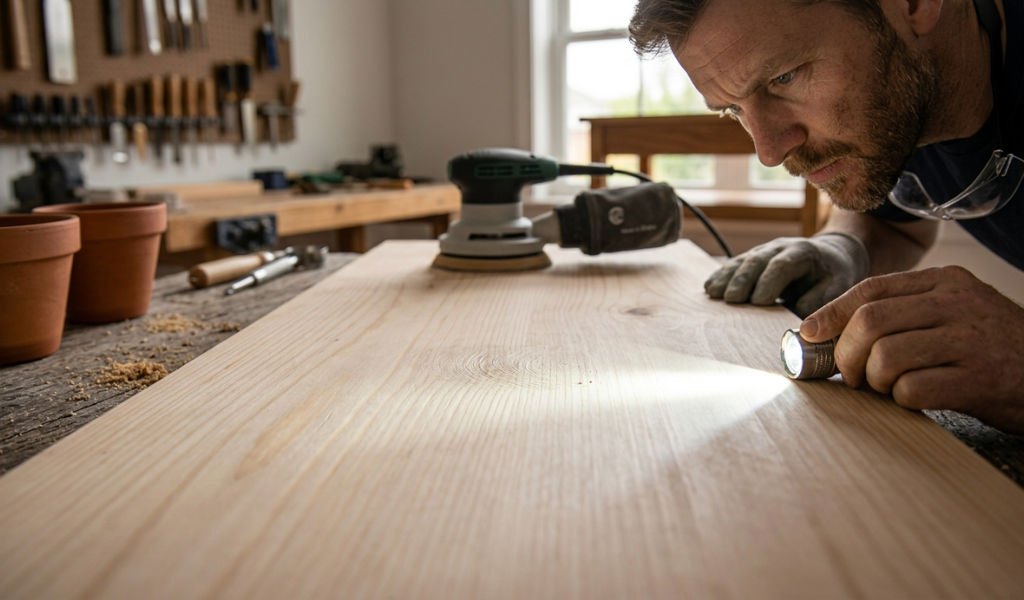
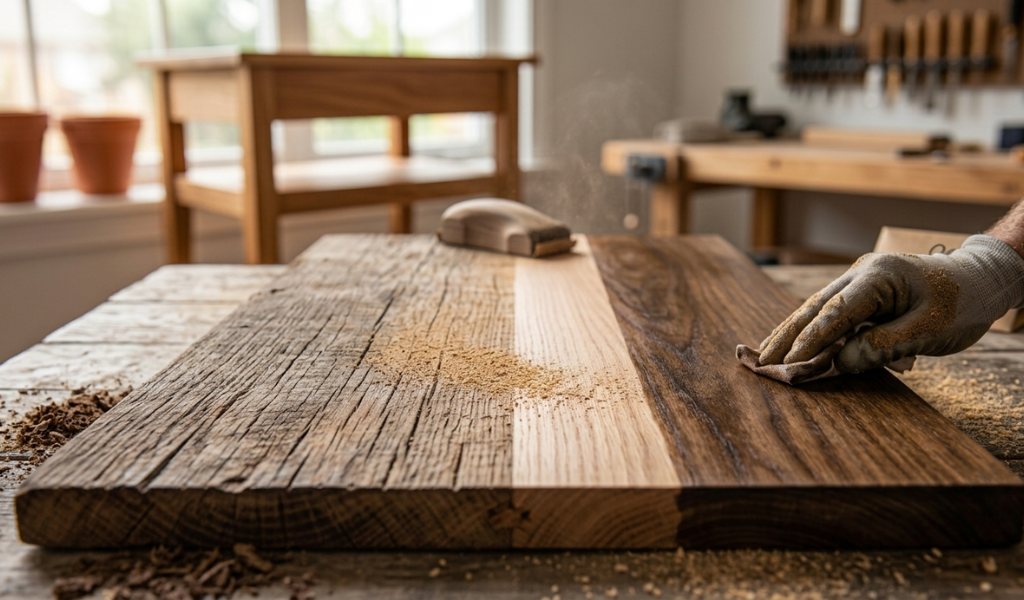
The best way to sand wood is to start with a coarse grit sandpaper (around 80-grit) to remove rough spots, then work your way up through medium and fine grits, always sanding in the direction of the wood grain. Finish with 220-grit sandpaper for a smooth, stain-ready surface.
Sanding wood sounds simple enough. Grab some sandpaper, rub it back and forth, and you’re done, right? Not quite. Bad sanding technique is one of the most common reasons DIY wood projects end up looking rough, blotchy, or uneven. Whether you’re refinishing a piece of furniture or starting a brand new woodworking project, knowing the proper way to sand wood makes all the difference.
This guide covers everything you need to know from choosing the right type of sandpaper and understanding sandpaper grits, to using power sanders correctly and fixing common mistakes. By the end, you’ll have a clear, step-by-step process for getting a smooth finish every time.
Raw wood is rarely smooth straight off the saw. It has rough patches, raised wood fibers, mill marks, and surface inconsistencies that show up even more once you apply a stain or finish. Sanding removes all of that, giving you a clean, even surface that absorbs stain evenly and holds paint or varnish better.
Beyond aesthetics, sanding also matters for safety. Splinters and rough edges on wood furniture or wood projects can cause cuts and scratches. A properly sanded surface is not only nicer to look at it’s safer to handle.
For anyone refinishing an old piece of furniture, sanding is what strips away the old finish and lets the raw wood breathe again. Without it, new stain or paint won’t bond properly, and the result will peel or look patchy.
Not all materials sand the same way, and wood has its own set of rules. Wood has a grain a natural pattern of fibers running in one direction. Sanding against the grain tears those fibers instead of cutting them cleanly, leaving visible scratches on the wood surface that are very hard to remove later.
The type of wood also changes how you approach sanding. Softwoods like pine are easy to sand but dent easily under too much pressure. Hardwoods like oak or walnut take more effort but give a finer finish. Knowing your material before you start sanding saves you a lot of frustration.
Choosing the right type of sandpaper for your wood project is the first step toward a great result. There are three main options.
Aluminum oxide sandpaper is the most popular choice for wood sanding, and for good reason. It’s durable, long-lasting, and works well on both hand sanding and power sander applications. Most sanding discs you’ll find at a hardware store are aluminum oxide. It’s great for both raw wood and wood furniture refinishing projects.
Silicon carbide is harder and sharper than aluminum oxide but wears out faster. It’s typically used for wet sanding or for sanding between finish coats. If you’re doing final sanding on a lacquered surface, silicon carbide is a solid pick.
Garnet sandpaper is a natural abrasive that’s softer than the other two. It cuts more slowly but leaves a finer scratch pattern, which makes it a favorite for hand sanding furniture before applying a stain. It’s not ideal for power sanders since it wears out quickly under high speed.
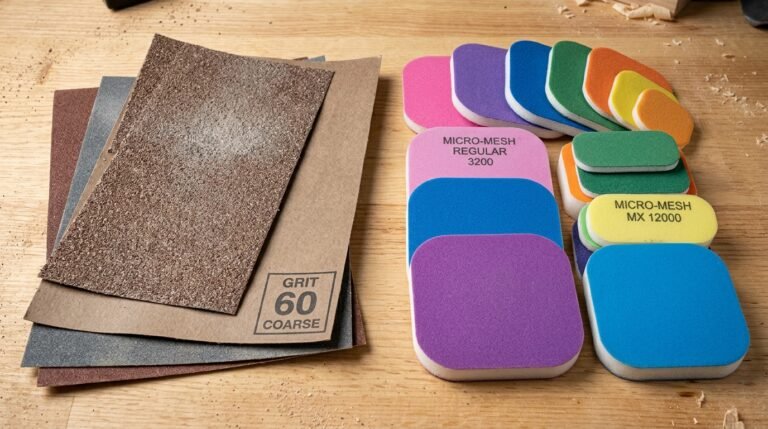
Grit refers to the number of abrasive particles per square inch on the sandpaper. The lower the number, the coarser the sandpaper. The higher the number, the finer and smoother the cut. Getting the sandpaper grit right is crucial for good results.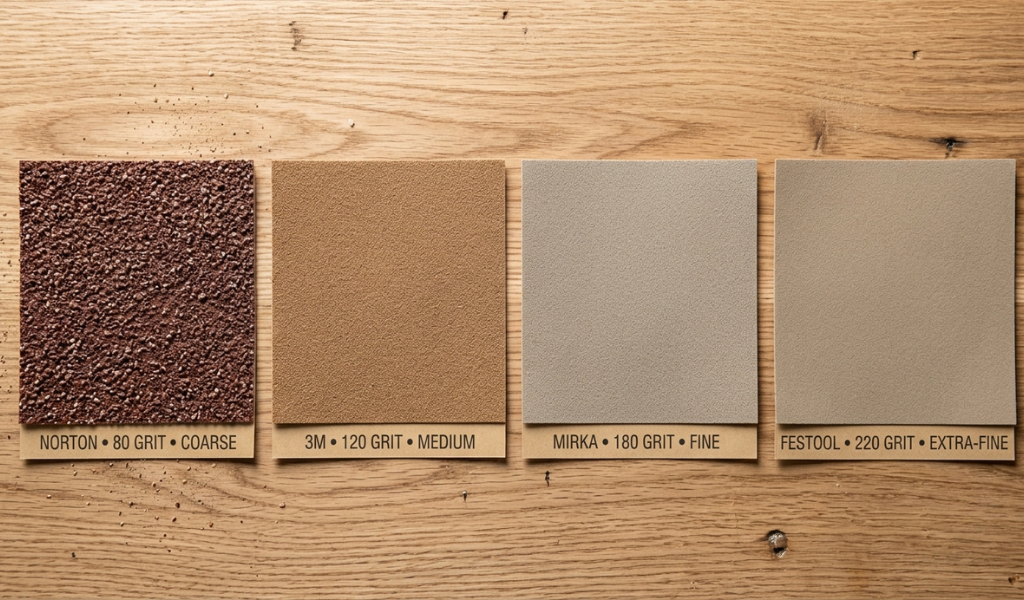
Coarse sandpaper is used for heavy material removal stripping old paint, leveling badly uneven surfaces, or shaping raw wood. 40-grit and 60-grit sandpaper cuts fast and aggressively. Only use it when the surface really needs it, because it leaves deep scratches that take several passes with finer grits to remove.
This is where most sanding projects actually begin. Starting with 80-grit sandpaper is standard practice for wood projects. It removes rough spots and prepares the surface without cutting too aggressively. 100 to 150-grit sandpaper is used to smooth things out further after the initial rough sanding is done.
Fine grit sandpaper is for finishing work. 180 to 220-grit sandpaper is used for final sanding before applying stain, paint, or a clear coat. Sanding with 220-grit leaves the wood surface smooth and ready to absorb finish evenly. 320-grit is useful between coats of finish to knock down any dust bumps.
Extra fine grits are used almost exclusively for wet sanding or polishing between topcoats. You’d use 400 to 600-grit sandpaper when finishing high-gloss surfaces. 1000 to 2000-grit is for auto-body work or extremely fine woodworking finishes.
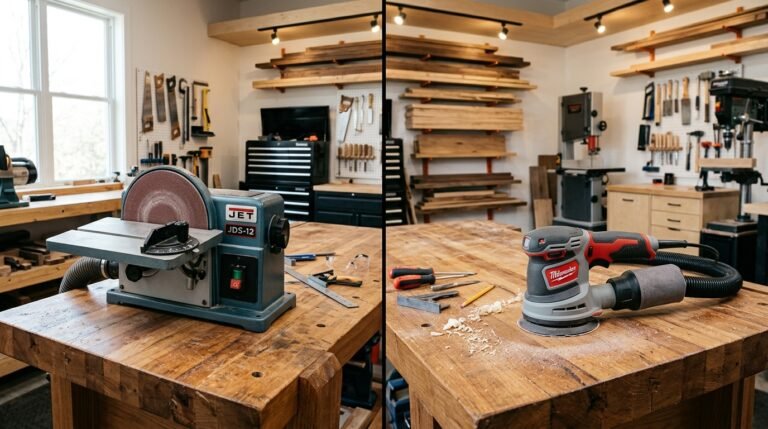
There are three main methods for sanding wood. Each has its place depending on the project, the wood surface, and the finish you’re after.
Hand sanding gives you the most control. It’s the best option for detail work, curved surfaces, and light hand sanding between coats of finish. Always sand in the direction of the wood grain never across it. Use a sanding block to keep even pressure across flat surfaces and avoid rounding over edges accidentally.
Start with 80-grit sandpaper to remove rough spots, then move to 120-grit, and finish with 220-grit sandpaper. Wipe the wood surface between grits with a clean cloth to remove wood dust and check your progress.
Power sanding is faster and more consistent over large, flat surfaces. A random orbital sander is the most versatile option or sanding tool for general wood sanding it moves in a random pattern that minimizes visible scratch marks. For large, open surfaces like tabletops or floors, a belt sander removes material quickly but requires a steady hand to avoid gouging the wood.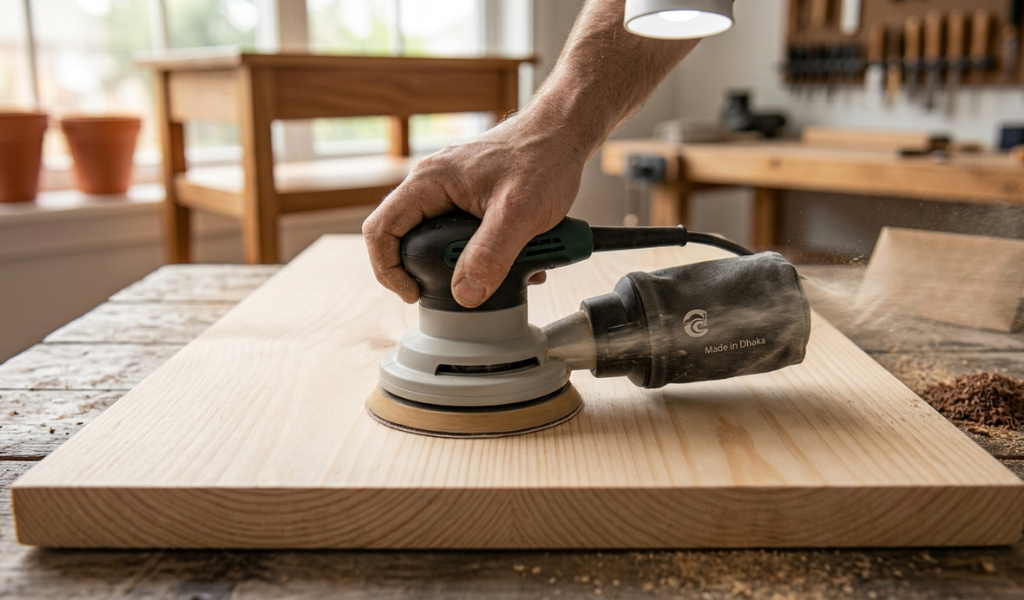
Always let the sander do the work. Pushing down too hard creates uneven spots and burns through sandpaper faster. Move the sander in the direction of the grain and keep it moving at all times.
Wet sanding is used for finish coats—not raw wood. You use water or a lubricant with fine grit sandpaper (typically 400-grit and above) to smooth out a dried finish without cutting through it. The liquid prevents the paper from clogging and helps you achieve a high-gloss result. It’s common in automotive finishing and high-end furniture making.
The random orbital sander is the go-to power sander for most DIY wood projects. It uses round sanding discs and moves in an elliptical pattern, which reduces the chance of leaving circular scratch marks. It works on flat surfaces and handles medium to fine grit sandpaper well. Great for both beginners and experienced woodworkers.
A sanding block is simply a block of rubber, cork, or wood with sandpaper wrapped around it. It distributes pressure evenly across the wood surface, which prevents the dips and waves you can get from sanding with just your fingers. Essential for hand sanding flat panels and edges.
Also called a palm sander or sheet sander, a finish sander uses quarter or half sheets of standard sandpaper. It’s lighter and less aggressive than a random orbital, making it ideal for finish sanding on flat surfaces where you just need to smooth things out before staining.
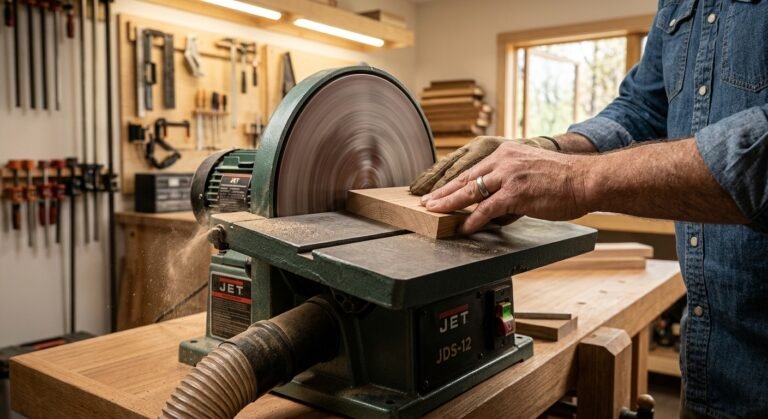
A belt sander is a heavy-duty tool for fast material removal on wide, flat surfaces. It uses a continuous loop of sandpaper and cuts aggressively, so it’s better suited to experienced users. A detail sander (or mouse sander) has a triangular pad that gets into tight corners and intricate shapes that other sanders can’t reach.
Uneven sanding shows up as high spots, low spots, or visible swirl marks on the wood surface. The fix is to go back to a lower grit. If you used 120-grit and ended up with an uneven surface, drop back to 80-grit sandpaper, work the problem area evenly, then work your way back up through the grits again.
For small dips or gouges, wood filler can level the surface before sanding. Apply it, let it dry fully, then sand it flush with the surrounding wood. Always sand with even pressure and keep the sander or sanding block moving to avoid digging in.
For raw wood, always sand dry. Wet sanding on bare wood raises the wood fibers and can cause swelling, which creates more work. Dry sanding cuts cleanly and allows you to track your progress by wiping away wood dust and inspecting the surface.
Wet sanding is reserved for finished lacquer, varnish, or paint that has already dried. The moisture acts as a lubricant that prevents the fine grit sandpaper from clogging while smoothing out imperfections in the topcoat.
Scratches usually come from skipping grits, sanding against the grain, or using a worn piece of sandpaper. Here’s how to avoid them.
Always progress through grits in order. Going from 80-grit straight to 220-grit sandpaper skips steps and leaves the coarser scratches behind, which will show up under a finish. Moving from 80 to 120 to 180 to 220 gives each grit a chance to remove the scratches left by the previous one.
Sand with the grain always. Sanding against the grain tears wood fibers and leaves cross-grain scratches that are visible after staining.
Check your paper regularly and replace it when it feels smooth. Worn sandpaper doesn’t cut it just burnishes the surface and leaves shiny, hard-to-stain patches.
Skipping grits. It’s tempting to jump ahead, but each grit in the sanding process serves a purpose. Skipping grits means you’re trying to remove deep scratches with paper that isn’t aggressive enough. The result is a surface that looks smooth but reveals marks the moment finish goes on.
Sanding against the grain. This is the number one beginner mistake in wood sanding. Always sand in the direction as the wood grain.
Using too much pressure. Let the abrasive do the work, especially when using a power sander. Too much pressure causes uneven sanding, overheating, and faster wear on your sanding discs.
Not cleaning between grits. Wood dust left on the surface can clog the next grit of sandpaper and scratch the wood. Wipe the wood down with a clean cloth or tack cloth between each grit change.
Stopping too early. Many people stop at 120-grit and think they’re done. For a surface that will be stained, always finish with at least 180 to 220-grit sandpaper for a smooth result.
Wood dust is a health hazard, especially from certain hardwoods. Always wear a dust mask or respirator when sanding. Safety glasses protect your eyes from flying particles, and hearing protection is smart when using power sanders for extended periods.
Work in a well-ventilated space and use a shop vacuum or dust collector when possible. Fine wood particles settle on surfaces and stay airborne for a while, so good airflow matters.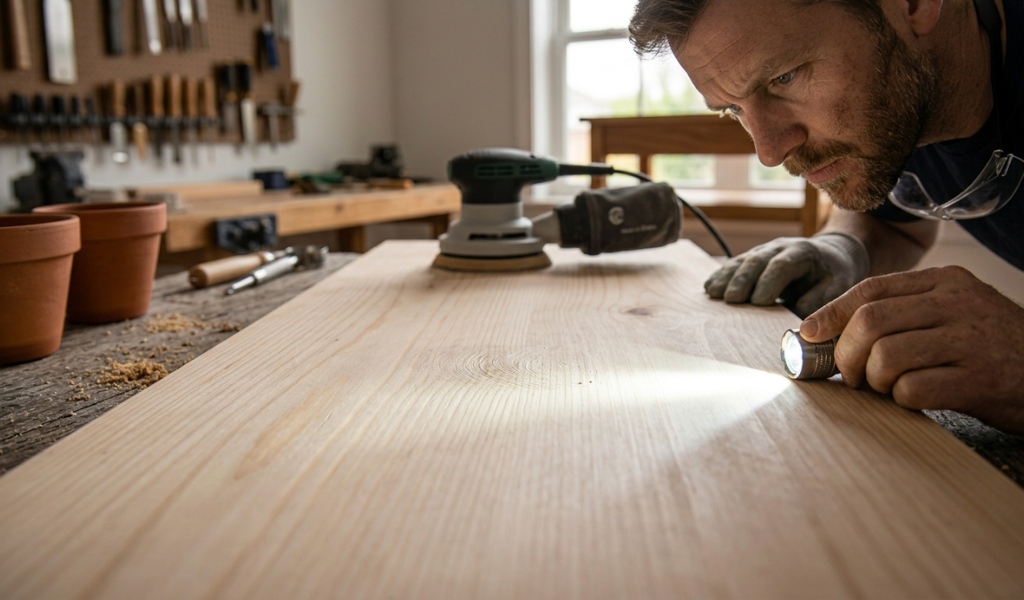
A few pro tips worth keeping in mind:
Getting the best results from wood sanding comes down to patience, the right tools, and working through the grits in the right order. There’s no shortcut that skips the process and delivers a smooth finish. But once you understand how sandpaper grit works, which type of sandpaper to use, and why sanding with the grain matters, the whole thing becomes straightforward.
Whether you’re hand sanding a small piece of furniture or running a random orbital sander over a large wood surface, the fundamentals stay the same: start coarse, finish fine, always follow the grain, and take your time between each step.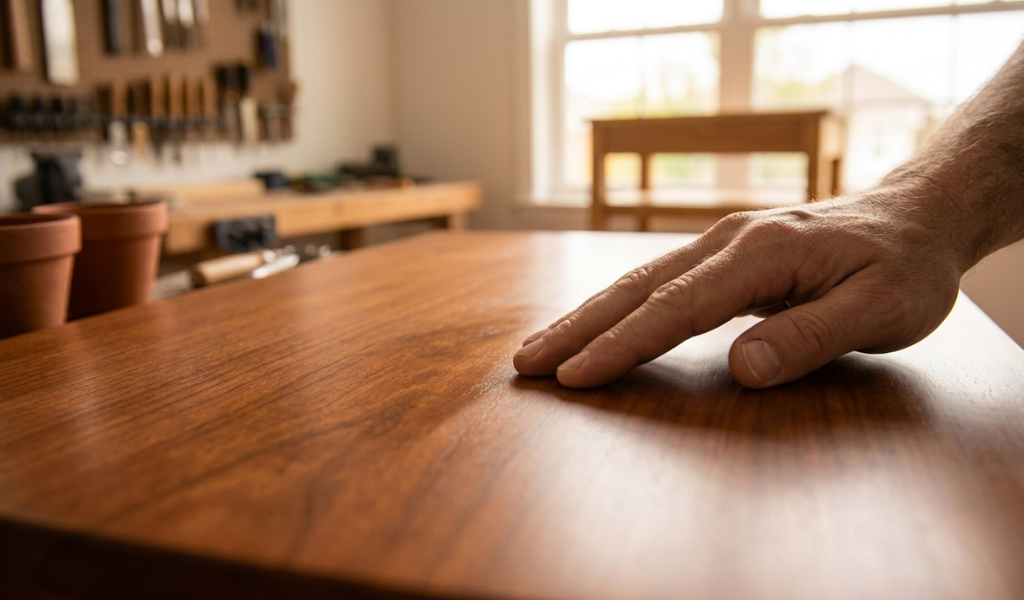
Good sanding is the foundation of every great wood project. Get that right, and everything that comes after staining, painting, finishing gets a whole lot easier.
It depends on the project. A random orbital sander is faster and more consistent for large, flat surfaces like tabletops or panels. Hand sanding gives more control for detail work, curved surfaces, and light sanding between finish coats. Most wood projects benefit from a combination of both.
The most common mistake is skipping sandpaper grits. Jumping from 80-grit straight to 220-grit sandpaper leaves deep scratches behind that a fine grit can’t fully remove. Always work through the grits in sequence: 80, 120, 180, then 220.
Always sand in the direction of the wood grain. Sanding against the grain tears wood fibers and creates cross-grain scratches that become very visible once stain or finish is applied. This is the single most important rule in wood sanding.
Sanding prepares the wood surface for finishing. It removes roughness, mill marks, raised wood fibers, and old finish, giving stain and paint something smooth and even to bond to. Without proper sanding, finishes look blotchy, peel faster, or highlight every imperfection.
A belt sander removes material the fastest, but it’s aggressive and harder to control. For most DIY wood projects, a random orbital sander with 80-grit sandpaper is the most efficient way to start sanding quickly without risking damage to the wood surface.
Standard random orbital sanders work best on flat surfaces. For curved or contoured wood, hand sanding with a flexible sanding block is more effective. A detail sander with a triangular pad can also