Physical Address
304 North Cardinal St.
Dorchester Center, MA 02124
Physical Address
304 North Cardinal St.
Dorchester Center, MA 02124


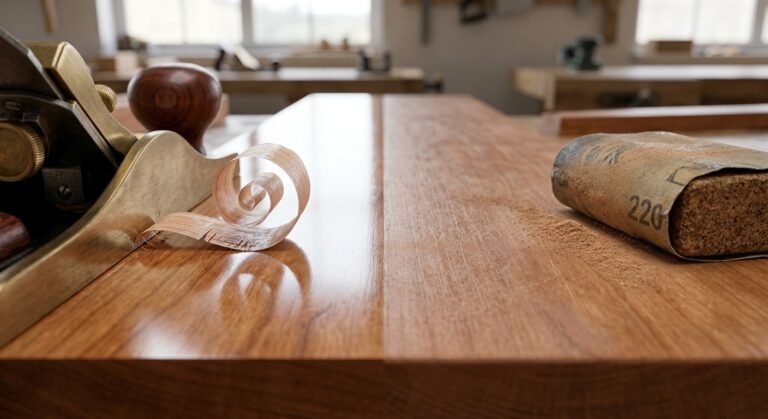
Walk into any woodworking shop and you’ll find two camps: those who swear by dry sanding for everything, and those who’ve discovered the transformative power of wet sanding on a cured finish. Both groups are right and both are wrong when they apply their preferred method in the wrong situation.
Choosing between wet sanding and dry sanding wood isn’t about personal preference. It’s about understanding what’s happening at the surface level, what stage of the project you’re at, and what result you’re trying to achieve. Get it wrong, and you’ll raise the grain on bare timber, load up your sandpaper with clogged residue, or spend hours chasing scratches you introduced yourself.
This guide covers everything you need to know: the fundamental differences between wet and dry sanding, when to use each technique, how to choose the right sandpaper grit, how to manage dust and lubrication, and the most common mistakes woodworkers make. For a broader look at abrasive techniques across different project stages, see our ultimate guide to woodworking sanding techniques it provides the foundational context that makes this comparison much easier to apply.
At the most basic level, the difference between wet sanding and dry sanding comes down to whether a lubricant is present during the sanding process. Dry sanding uses no liquid. Wet sanding introduces water, mineral spirits, or another liquid to the sanding surface to reduce friction, minimize dust, and improve the quality of the finish.
Both methods use abrasives. Both progress through sandpaper grits. But they’re designed for different stages of woodworking and using one where the other belongs causes real, often irreversible, problems.
Dry sanding is the default method for working with bare wood. You’re using abrasive paper typically aluminum oxide or garnet without any lubricant, and you’re removing material to shape, smooth, and prepare the wood surface before applying a finish.
The sanding process typically starts with a coarser grit to remove mill marks, old finishes, or surface imperfections. You then progress through finer grits say, from 80 to 120, then 150, then 220 grit until the wood surface is smooth and ready for staining or finishing.
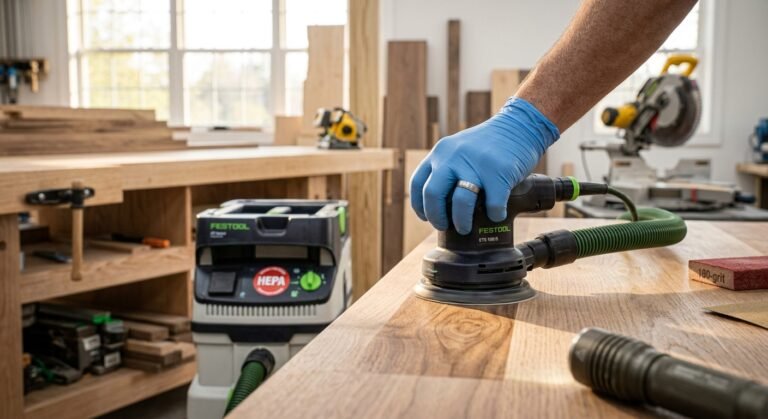
Dry sanding generates a significant amount of dust, which is why dust control measures are critical at this stage. It also generates heat when power sanders are involved, which can scorch softer woods or burn through veneer.
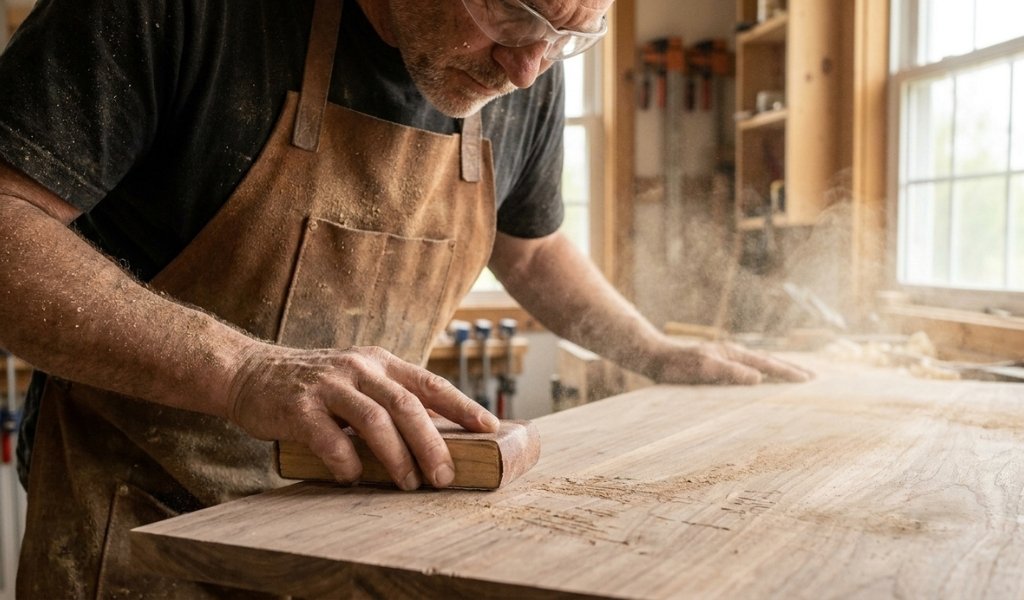
Wet sanding is a finishing technique, not a stock removal method. It’s applied after a clear coat, lacquer, varnish, or polyurethane has fully cured never on bare timber.
The lubricant (water, soapy water, or mineral spirits) serves multiple purposes. It keeps the sanding surface cool, prevents the abrasive from clogging with cut residue, and creates a fine slurry that actually helps fill microscopic scratches as you work. The result is a level, even finish that dry sanding simply cannot replicate at fine grits.
Wet sanding typically starts at 400 grit or higher, progressing through 800 grit, 1000 grit, and beyond depending on the smoothness required.
Dry sanding is where most woodworking projects begin. It handles the heavy lifting shaping, flattening, and preparing a wood surface before any finish touches it.
Dry sanding is non-negotiable on bare wood. Applying any liquid to unfinished timber raises the grain a phenomenon known as grain popping or grain swelling which leaves the surface rough and requires additional sanding to correct. That extra step wastes time and removes more material than necessary.
The typical dry sanding workflow for bare wood follows a grit progression:
Skipping grits is one of the most common mistakes at this stage. Each grit leaves a scratch pattern. The next grit removes that pattern and replaces it with a finer one. Jump too far say, from 80 straight to 220 and the coarser scratches remain hidden beneath the surface, only to become visible once a finish is applied.
Pros of dry sanding:
Cons of dry sanding:
For dry sanding wood, aluminum oxide sandpaper is the most versatile and widely used abrasive. It’s durable, self-sharpening, and suited for both hand sanding with a sanding block and use with power sanders.
Garnet paper cuts more finely and is a traditional choice for finish sanding bare wood by hand though it wears faster than aluminum oxide.
When it comes to wood sanding tools, the right equipment dramatically affects results. Random orbital sanders reduce swirl marks on flat surfaces. Belt sanders handle rapid stock removal but require a controlled hand. Detail sanders and sanding blocks give precision on edges and profiles. For a deeper breakdown of which tool suits which application, our sub-pillar resource on wood sanding tools covers the full range of options with project-specific recommendations.
Wet sanding is where a good finish becomes a great one. Used correctly, this technique polishes cured coatings to a glass-smooth, professional finish that reflects light evenly and feels flawless to the touch.
The goal of wet sanding is to level a cured coating removing brush marks, dust nibs, orange peel texture, and any surface imperfections that appeared during application. Wet sanding lacquer, polyurethane, or acrylic clear coats at 1000 grit or finer produces a smoother surface than dry sanding ever could at the same stage.
The technique is straightforward: use wet/dry silicon carbide sandpaper, apply your chosen lubricant, and work in overlapping passes with consistent, even pressure. The fine slurry created by the lubricant and sanding residue acts as a mild polishing compound, filling and smoothing the surface simultaneously.
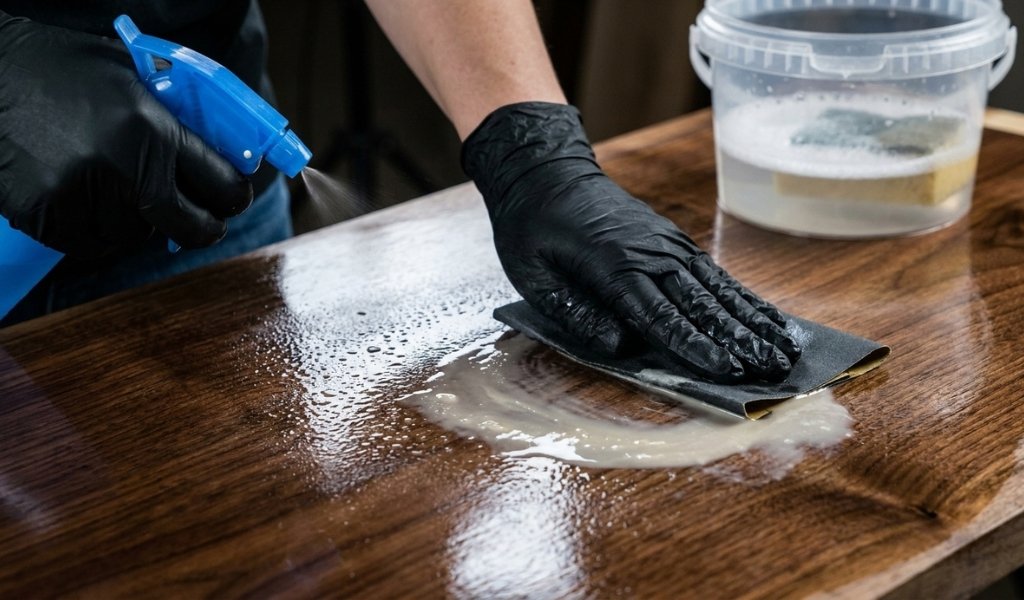
After wet sanding, most woodworkers follow up with a polishing compound and a soft buff to bring the finish to its final gloss level.
One of the most practical benefits of wet sanding is dust control. The lubricant captures airborne particles, keeping your workspace cleaner and reducing the risk of inhaling fine abrasive dust. This makes wet sanding particularly valuable in enclosed spaces or workshops without dedicated dust extraction.
The liquid also reduces heat generated at the sanding surface. Heat is the enemy of clear coats it can cause hazing, micro-cracking, or adhesion failure. Wet sanding keeps the surface cool, allowing you to work at finer grits for longer without damaging the coating.
Sandpaper longevity also improves significantly. Dry sanding at fine grits causes the abrasive to clog rapidly with cut material. Wet sanding helps prevent sandpaper from clogging, extending the life of each sheet and reducing waste across a project.
Not every lubricant suits every finish. Here’s how to choose:
Always allow the finish to dry fully before introducing any liquid more on that in the common mistakes section.
Dry sanding removes material faster. At 80 or 100 grit, it cuts through wood, old finishes, and surface defects quickly. Wet sanding, by contrast, removes very little material its purpose is surface refinement, not stock removal.
If you need to reshape, flatten, or strip, dry sand. If you’re chasing smoothness and gloss on a cured coat, wet sanding allows you to achieve a level of surface quality that dry sanding cannot match at equivalent grits.
Clogging where the abrasive fills with cut particles and stops cutting effectively is a persistent issue with dry sanding, particularly on resinous woods like pine or cherry. Anti-loading coatings help, but they don’t eliminate the problem entirely.
Wet sanding largely solves this. The lubricant suspends cut material in the slurry rather than allowing it to pack into the abrasive. Silicon carbide paper, used for wet sanding, also holds its cutting edge longer than most dry-use abrasives, making each sheet go further.
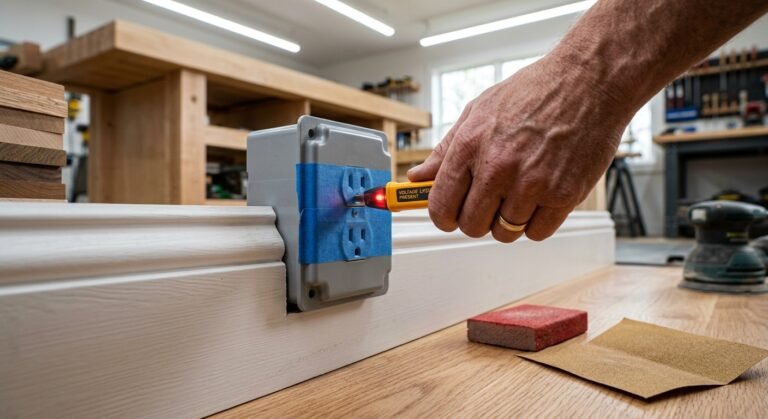
Wet sanding is almost always done by hand. Introducing water or mineral spirits near electric power tools creates serious electrocution risks a belt sander or random orbital sander should never be used with liquid lubricants unless the tool is explicitly rated for wet use.
Manual wet sanding with a sanding block is the safe, controlled approach. It also gives you better tactile feedback, which matters when you’re working at fine grits and trying to level a finish without cutting through it.
Dry sanding with power tools requires dust management a dust mask rated for fine particulates (N95 or higher), dust extraction connected to your sander, and adequate ventilation. Wood dust is a known respiratory hazard; don’t underestimate it.
Standard aluminum oxide or garnet sandpaper uses a paper backing that disintegrates when wet. It falls apart mid-project, contaminates the finish with paper debris, and becomes completely useless within minutes.
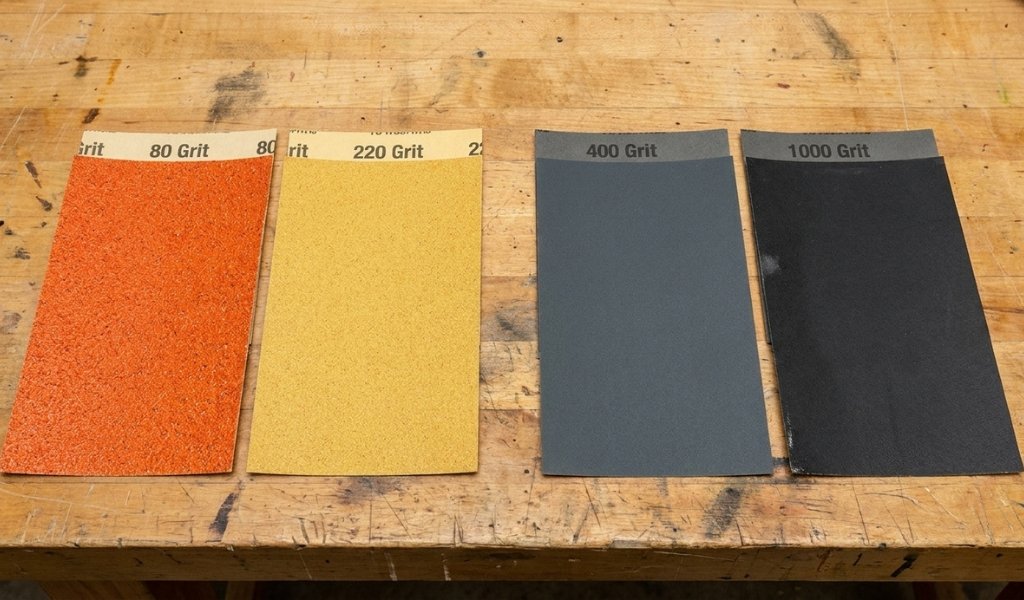
Wet sanding requires wet/dry sandpaper silicon carbide abrasive bonded to a waterproof synthetic backing. It’s typically dark gray or black and sold specifically for wet applications. Using the wrong paper is an easy mistake to avoid once you know why the distinction matters.
Applying water or any water-based lubricant to bare, unfinished wood raises the wood grain. The moisture causes wood fibers to swell and stand up, leaving a rough, fuzzy surface that requires re-sanding.
Bare wood must be dry sanded to its final grit before any liquid is applied. If you want to reduce grain raising when applying a water-based stain or finish, lightly dampen the wood with clean water, allow it to dry fully, then sand lightly with 220 grit to knock down the raised fibers before finishing. This is a controlled grain conditioning technique not wet sanding.
The grit progression through dry sanding stages must be complete before wet sanding begins. Each grit introduces a scratch pattern; the next grit removes it. If you skip steps jumping from 150 grit straight to applying a finish and then wet sanding at 400 grit the coarser scratches from 150 grit will telegraph through the finish coating, visible as dull, irregular lines beneath the surface.
Complete the full dry sanding progression on bare wood. Apply your finish coats and allow each to cure. Then begin wet sanding on the cured surface, starting at 400 grit and progressing finer as needed. The discipline of following each step is what separates a professional finish from a frustrating one.
Neither method is universally better they serve different purposes. Dry sanding is essential for bare wood preparation and material removal. Wet sanding is superior for leveling and polishing cured finish coats. The best results come from using dry sanding first, then transitioning to wet sanding once a finish has fully cured.
No. Regular sandpaper uses a paper backing that breaks down when exposed to water or mineral spirits. Wet sanding requires wet/dry silicon carbide sandpaper with a waterproof synthetic backing. Using standard paper will cause it to fall apart and contaminate your finish.
Wet sanding must be done by hand power tools and liquid lubricants create serious safety hazards. It also requires patience, as the process is slower than dry sanding. Cleanup involves managing the slurry created during sanding, and if done incorrectly (wrong grit, wrong lubricant, or on uncured finish), it can damage the surface.
No. Applying moisture to bare wood raises the grain, causing surface fibers to swell and stand up. Always dry sand bare timber. If you’re conditioning the grain before applying a water-based finish, dampen the wood lightly, allow it to dry completely, then lightly sand with 220 grit to knock down raised fibers this is a controlled pre-conditioning step, not wet sanding.
Wait times vary by product, temperature, and humidity, but as a general rule, water-based finishes need 24 hours before wet sanding and oil-based finishes typically need 48–72 hours. Always follow the manufacturer’s cure time recommendations. Sanding an uncured finish gums up the sandpaper and damages the coating.
Complete the full dry sanding grit progression on bare wood before applying any finish. Once the finish has fully cured, begin wet sanding at an appropriate starting grit (typically 400). Never skip grit steps in either phase each stage removes the scratch pattern left by the previous one, and skipping ahead leaves hidden imperfections that surface under the final finish.
Meta title
Wet vs Dry Wood Sanding: Which Should You Use?
Meta description
Learn the key differences between wet and dry sanding wood when to use each technique, the right sandpaper grits, lubricants, and mistakes to avoid for a flawless finish.