Physical Address
304 North Cardinal St.
Dorchester Center, MA 02124
Physical Address
304 North Cardinal St.
Dorchester Center, MA 02124

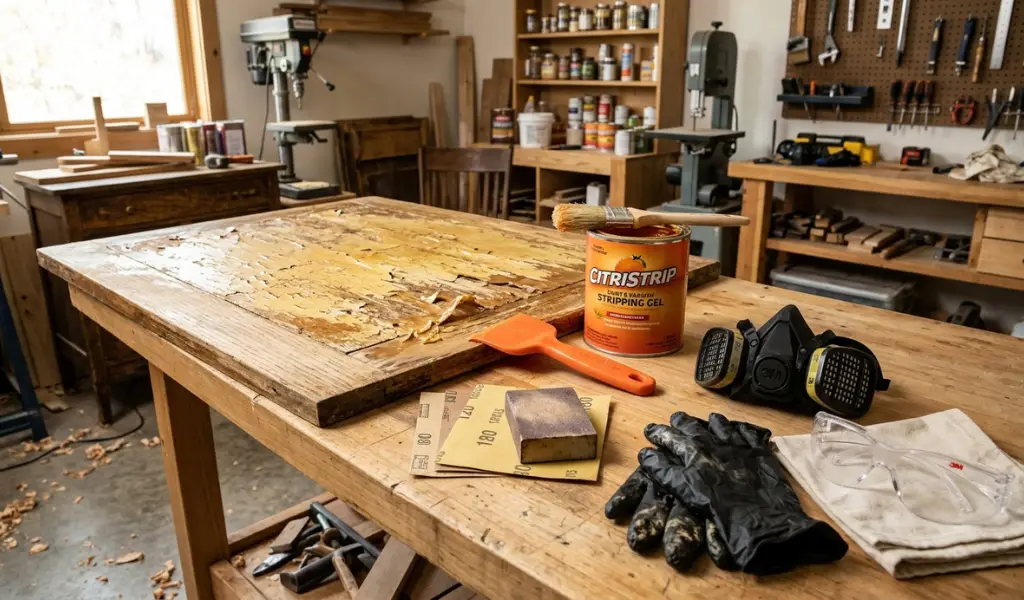
You love the table but the finish does not love you back. It is yellow and sticky in spots and scratched everywhere else. A new coat will not fix it because fresh poly will only sit on top of the mess. If this sounds familiar you need to know how to remove polyurethane from wood the right way. Done well it gives you clean bare wood that is ready for a brand new look. Done badly it leaves gouges and gummy patches that take hours to repair.
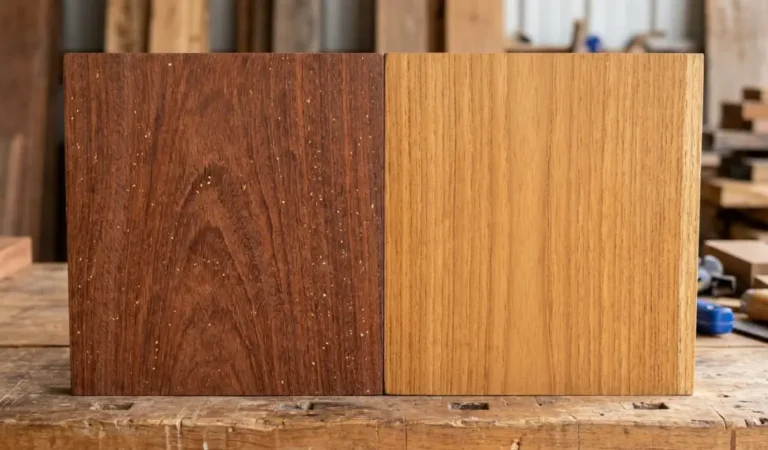
The good news is that you do not need fancy skills. You need the right removal method and a bit of patience. Many woodworking fans start with a simple project like an old dresser. If you are still choosing which timber to build with, our guide on Rubber wood vs Teak Wood will help you pick a wood that is worth finishing well. Once you have the piece in hand this guide takes you through every step.
We will cover how to tell your finish type and how to pick between sanding and chemical stripping. Then we go through each way to remove polyurethane in simple steps and finish with prep for a new finish.
Polyurethane is a clear plastic type of coating. It protects wood from water and scratches and it comes in a few forms. Knowing which one you have makes the job easier because each type reacts a little differently to a stripper or sandpaper.
Oil-based poly is thick and slow to dry. It adds a warm amber tint that deepens over the years. That is why an old table can look yellow or orange even when the stain underneath was pale. It is very tough and it builds up in a hard layer. Cured polyurethane of this type can resist many mild solvents so it often needs a real stripper.
Water-based poly dries clear and fast. It does not add much colour and it has a lighter smell. Some people call it a latex style finish because it cleans up with water but it is not the same as latex paint. It is a little softer than the oil type which makes it somewhat easier to scrape or sand.
Start with a simple test in an inconspicuous spot like the underside of a table. Rub a cotton swab with denatured alcohol on the surface. If the finish gets sticky it may be shellac. Try lacquer thinner next. If the finish melts it is probably lacquer. If both tests do nothing you most likely have polyurethane. A yellow cast is a clue for the oil type while a clear and cool look points to a water-based coat. Other old finishes such as varnish can behave in a similar way so always test first.
There are two main ways to strip polyurethane. You can sand it off or you can use a chemical stripper. The best choice depends on the shape of the piece and the finish thickness. It also depends on how much mess you can handle.
Sanding is great for flat surfaces like tabletops and doors. It is fast and it needs no harsh fumes. It also creates a lot of dust and it has a real risk of damaging the wood. On a thin wood veneer a few strong passes can go right through to the glue layer. Sanding also struggles on carved parts and curved legs.
Chemical stripping is the better pick for detail work. The stripper softens the old finish so you can lift it out of grooves and corners. It protects the wood grain on delicate pieces and it works well on veneer. The downside is that it is messy and slow. It also needs good ventilation and the right safety gear.
Here is a simple rule. Use sanding for large flat wood with a thin finish. Use a chemical or mechanical mix for anything with curves or carving or thick layers of old poly. Many pros do both. They strip most of the finish with gel and then sand lightly to clean up. Home Depot and most hardware stores stock both options so you can choose after you check your piece.
Strippers and fine dust can both harm you. Wear a respirator with organic vapor cartridges when you use any stripper. A cheap paper mask will not stop the fumes. For sanding use a dust mask rated for fine particles. Add eye protection and long sleeves. Basic latex gloves often break down when they touch strong solvents so choose thicker chemical resistant gloves instead. Open windows and run a fan to keep ventilation strong. Keep the work area away from open flames because many solvents burn easily.
A chemical stripper is a strong solvent mix that breaks the bond between poly and wood. Gel types cling to the surface which is a big help on vertical parts. Older strippers used methylene chloride and it worked fast. It is also nasty stuff that can seriously harm your health and consumer sales have been restricted in many places. Today most store brands such as Minwax use gentler ingredients. They work more slowly but they are much safer to handle. Always read the label and follow the directions on the can.
You may also see products called paint stripper or varnish remover. Many are made for poly too but check that the label lists polyurethane or clear finish. Some strippers only handle paint and will do very little to a clear coat.
Start by moving the piece outside or into a well ventilated space. Lay down plastic sheeting since this job will make a mess. Put on your respirator and gloves and eye protection.
Test the stripper first on a small hidden area. This shows you how long it needs and how the stain underneath reacts. Some stained wood may lighten a little so you want to know before you treat every square inch.
Pour some stripper into a metal or glass container and brush it on with a cheap natural bristle brush. Apply a thick layer in one direction and avoid brushing back and forth. Overworking it lets the solvent dry out too soon. The thick coat is what keeps the chemical reaction going.
Now let it sit. Most products need 15 to 30 minutes and some need longer. You will see the finish bubble and wrinkle as it softens the polyurethane. 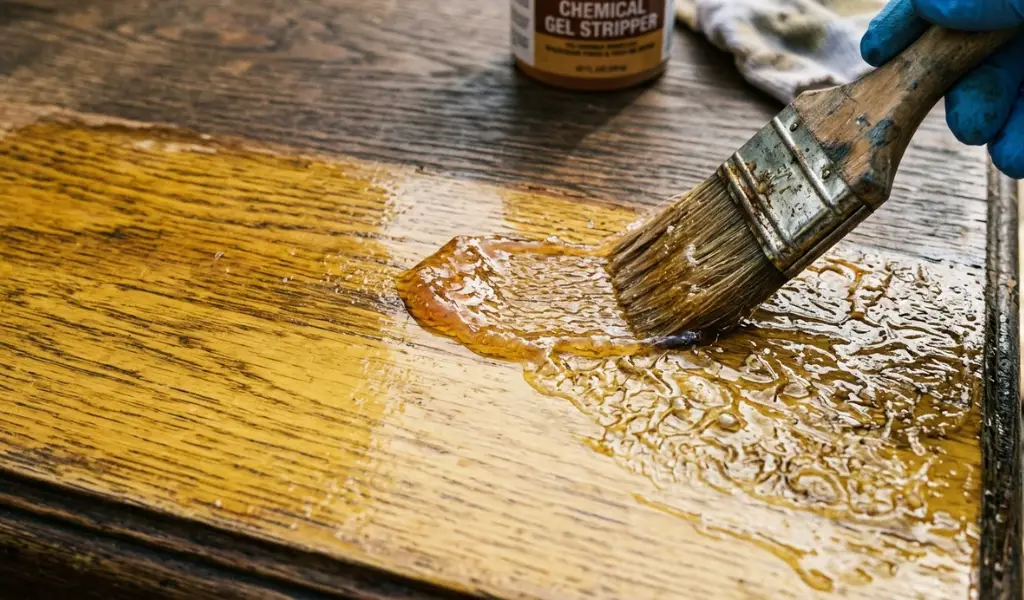 Check a corner with a scraper. If the finish slides off like soft butter it is ready. If it still feels hard give it more time and do not rush.
Use a plastic scraper on soft woods and delicate pieces. Metal scrapers work well on flat surfaces but they can dig in if you push hard. Always scrape with the grain and keep the blade at a low angle. 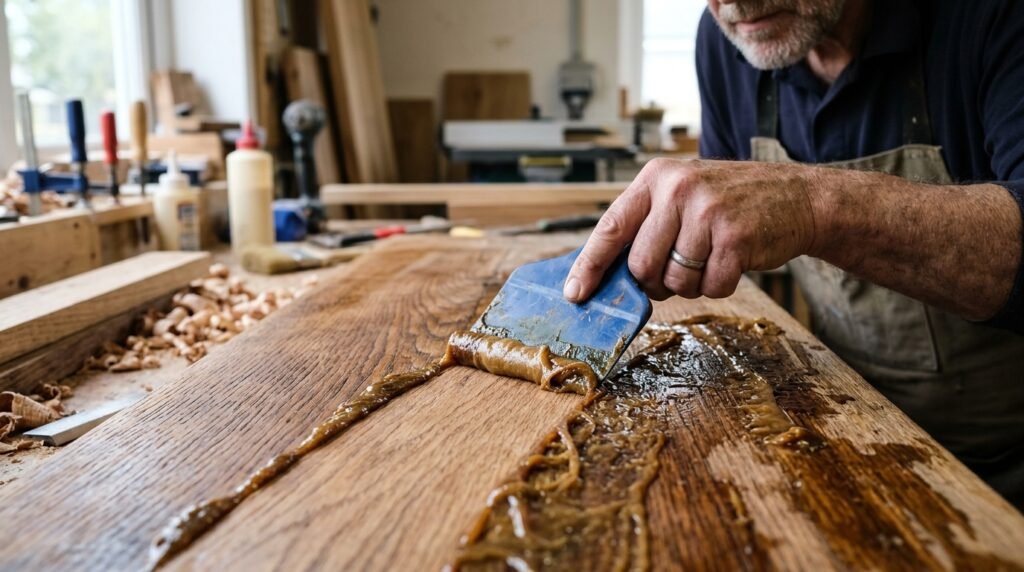 Collect the sludge on cardboard or old newspaper. For carved areas use a stiff brush or a pick tool and a ball of 0000 steel wool to get into the grooves.
A tough finish may need a second round. A couple of layers of poly is common on old tables and floors. Reapply the stripper to any spots where residue remains and repeat the same steps. Patience matters more than force here.
Once the finish is gone wipe the whole surface with a clean rag so you can wipe it away completely. Then move to the neutralizing step covered later in this guide. Dispose of used rags and sludge as the label directs because soaked rags can get hot and catch fire if left in a pile.
Sanding is the way to remove polyurethane when you want a dry and chemical free process. It works best on flat parts like tabletops and shelves. The trick is to let the sandpaper do the job without pressing hard. A good sander and a steady hand protect the wood underneath.
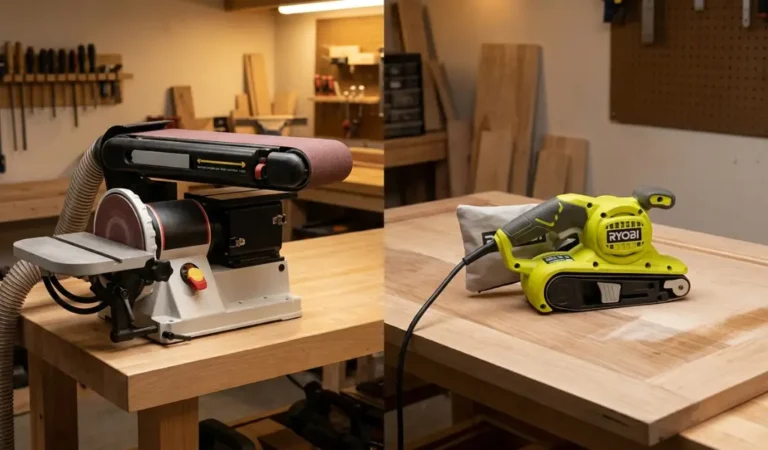
A random orbital sander is the easiest tool for most people.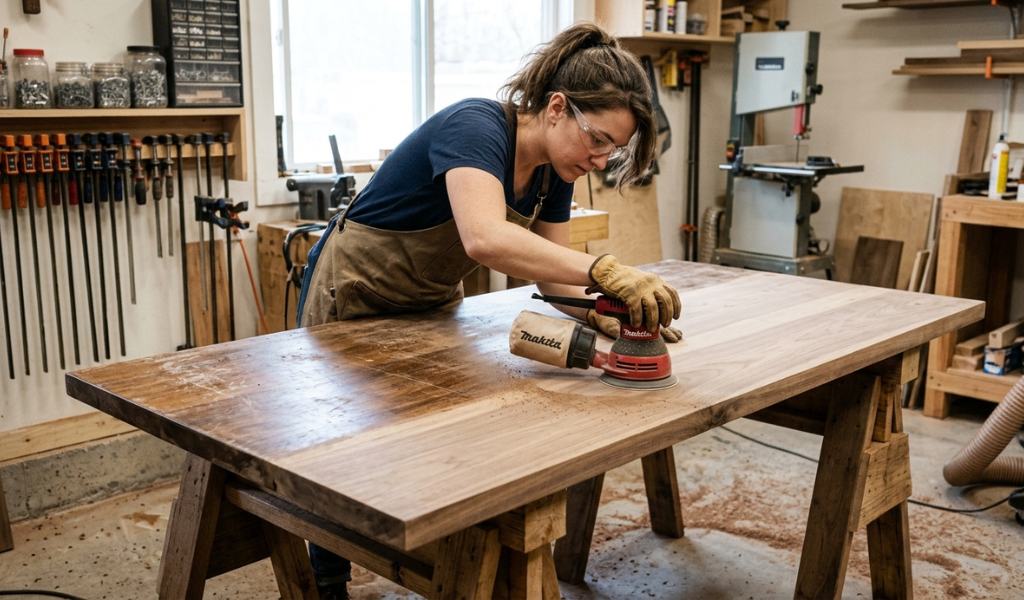 It moves in small circles and rarely leaves deep lines. A belt sander is faster but it can eat a groove into the surface in seconds. For corners and edges use a sanding block or fold the sandpaper in your hand.
One note on gum. Poly can clog the paper quickly because it softens with heat. If your sandpaper turns shiny and stops cutting change it right away. Fresh paper cuts cool and a clogged sheet burns the finish into the wood.
Grit is the number on the back of the paper. A low number is coarse and cuts fast. A high number is fine and leaves a smooth surface. The goal is to step up slowly so each grit removes the scratches from the last one.
For thick or cured polyurethane start with 60 grit or 80 grit. Use 60 grit only on very thick layers and keep your strokes light. Sand until the gloss is gone and you see bare wood. Always sand with the grain because cross scratches show up badly once you add stain.
Move to 120 grit next. This pass removes the deep marks from the first round. Then use 150 grit to smooth the surface further. Finish with 180 grit or 220 grit depending on the finish you plan to apply. For most stained furniture 180 grit is plenty. A finer finish than 220 grit can close the pores and stop stain from soaking in evenly.
Skip no more than one step in the grit order. Jumping from 80 to 220 leaves scratches you will see later. Wipe the dust away between each grit so loose particles do not scratch the surface.
A real life tip comes from a hobby woodworker who refinished a pine coffee table. She sanded with 80 grit and then went straight to 220 because she was in a hurry. After staining the table showed shiny scratch lines across the top. She had to sand it all again. The extra ten minutes for the middle grits would have saved her a full weekend.
On veneer take extra care. The top layer can be thinner than a sheet of paper. Use a fine grit and a light touch or choose chemical stripping instead. If you see a different colour or the glue showing stop right away.
Removal is only half the job. Prep decides how good your new finish will look. If you skip this step the new coat may not stick or may look blotchy.
If you used a chemical stripper you must clean off the leftover solvent. Check the label for the right cleaner. Many gel products call for mineral spirits while others need plain water. Wipe the wood with a rag soaked in the cleaner and flip the rag often. Do this a few times until the rag stays clean. Denatured alcohol is a good option for a final wipe because it dries fast and leaves no oily film. Let the wood dry fully for at least a day. Wet wood can trap moisture under the new finish.
Even after stripping the surface may feel rough or fuzzy. Do a light hand sanding with 180 grit or 220 grit to even things out. Wood that has had chemical contact often raises its grain a bit. If you plan to use a water-based finish you can lightly wet the wood first and let it dry. Then sand the raised fibres off so they do not pop up later.
Run your hand across the surface and look at it from the side under a bright light. Any leftover shine means polyurethane remains in that spot. Go back and remove it or the stain will not soak in evenly.
Vacuum the piece first and then wipe it with a tack cloth. This sticky cloth picks up fine dust that a rag leaves behind. Avoid pressing hard because it can leave wax on the wood. For old finish on carved work use a soft brush to clear the grooves.
When the surface is clean you can stain or recoat. Think about what you want to protect. A table needs a hard top coat while a decorative shelf can use something softer. A clear finish like new poly in satin or gloss gives strong protection. A high gloss shows every flaw so satin is a safer pick for beginners. Between coats scuff the surface with a very fine abrasive pad such as a grey Scotch-Brite and wipe off the dust. This helps each layer bond to the last one. If your old finish was oil-based you can use 0000 steel wool for this step but avoid it with water-based products since tiny steel bits can rust and leave dark marks.
Removing old poly is not hard but it does ask for time and care. Chemical stripping is the best choice for carved pieces and thin veneer and anything with tight corners. Sanding is faster for large flat tops when you use the right grit progression. Many projects work best with a mix of both.
The steps that matter most are simple. Test your finish first and protect yourself with the right gear. Work with the grain and clean off every trace of residue before you refinish. Then take your time because rushing is what leaves scratches and sticky patches.
Now it is your turn. Pick one small project this weekend and test a stripper or a sheet of 80 grit on a hidden spot. Once you see clean bare wood you will wish you had started sooner.
For flat pieces sanding with an orbital sander is usually the easiest way. For carved or curved pieces a gel stripper is easier because it softens the finish and lets you scrape it out of tight spots.
Yes. A chemical stripper can remove most of the finish with no sanding at all. You may still need a very light hand sanding afterward to smooth the grain before you apply a new coat.
No. Mineral spirits clean wax and dirt but they will not dissolve cured polyurethane. It is useful for wiping residue after you use a stripper but it is not a stripping product on its own.
Most strippers need 15 to 30 minutes but some take hours. Follow the label and test a corner with a scraper. If the finish still feels hard let it sit longer and reapply if needed.
Use 80 grit for most jobs. Choose 60 grit only for very thick layers. Then move up through 120 grit and 150 grit and end at 180 grit or 220 grit before you stain.
Sometimes. If the old coat is in good shape you can scuff it and add a fresh layer. If it is peeling or yellow or sticky you need to strip it first so the new finish bonds well.
It is better to work outside. If you must work inside open windows and use a fan and wear a respirator with organic vapor cartridges. Keep pets and children away until the fumes are gone.