Physical Address
304 North Cardinal St.
Dorchester Center, MA 02124
Physical Address
304 North Cardinal St.
Dorchester Center, MA 02124

Refinishing a tired old floor can feel like magic. One day you have scratched, dull boards, and a few days later you have a smooth surface that looks brand new. The secret behind that transformation is the right wood floor sanding equipment. Without it, even the most patient person will struggle to get an even, professional finish.
This guide walks you through every tool you need, from big drum machines to the small hand tools that handle tight corners. Whether you plan to tackle a single room yourself or you want to understand what the pros use, you will find clear, practical advice here. By the end, you will know which machines to rent, which sandpaper grits to buy, and how to protect yourself while you work.
Let’s get into it.
Wood floor sanding equipment is the collection of machines and tools used to strip away old finishes, level uneven boards, and smooth a timber surface before you stain or seal it. The category covers large powered sanders that cover open floor space, smaller edge machines that reach along walls, and a range of hand tools for detail work.
Most jobs use a combination of these tools rather than a single machine. A big sander handles the main floor area, an edger takes care of the borders, and hand tools finish off corners and awkward spots. Together they prepare the wood so your finish soaks in evenly and lasts for years.
You can buy this gear outright, but many people rent the larger machines from a hardware store or hire shop. Renting makes sense for a one-off project, since the big sanders are expensive and take up a lot of storage space.
Using the right timber floor refinishing tools is the difference between a floor you are proud of and one you regret. The wrong machine, or one you don’t know how to control, can leave deep gouges, uneven patches, or waves across the boards. These marks show up clearly once you apply a finish, and fixing them means starting the sanding process all over again.
Good equipment also saves you time and effort. A powerful, well-maintained sander removes old varnish in a single pass, while a weak or worn machine forces you to go over the same spot again and again. That extra work tires you out and wears down your sandpaper faster.
There is a safety angle too. Quality machines run smoother and vibrate less, which means better control and less strain on your hands and back. When you invest in the correct tools, you protect both your floor and yourself.
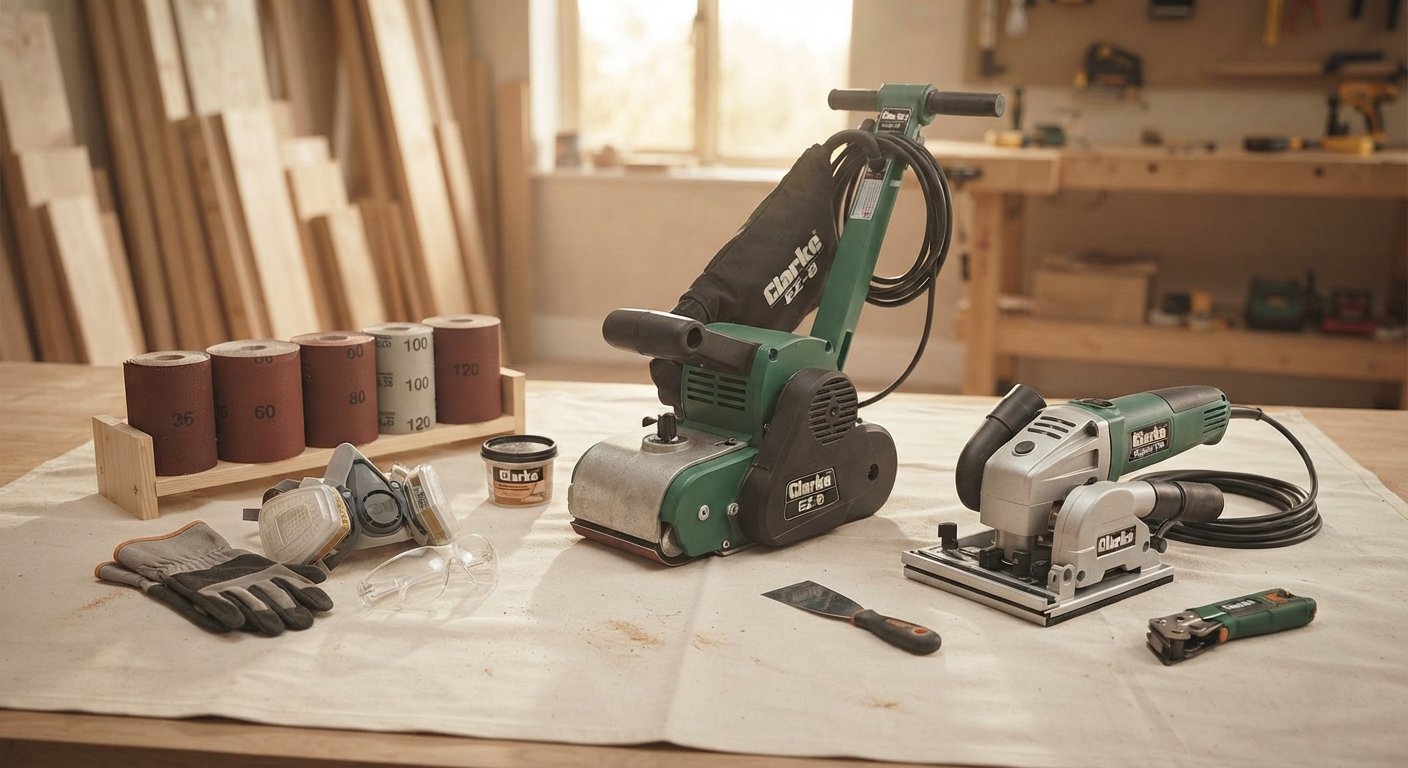
Before we look at each machine in detail, here is a quick picture of what a full sanding kit includes. You will typically need a main floor sander for the open areas, an edge sander for the perimeter, and a scraper or detail sander for corners.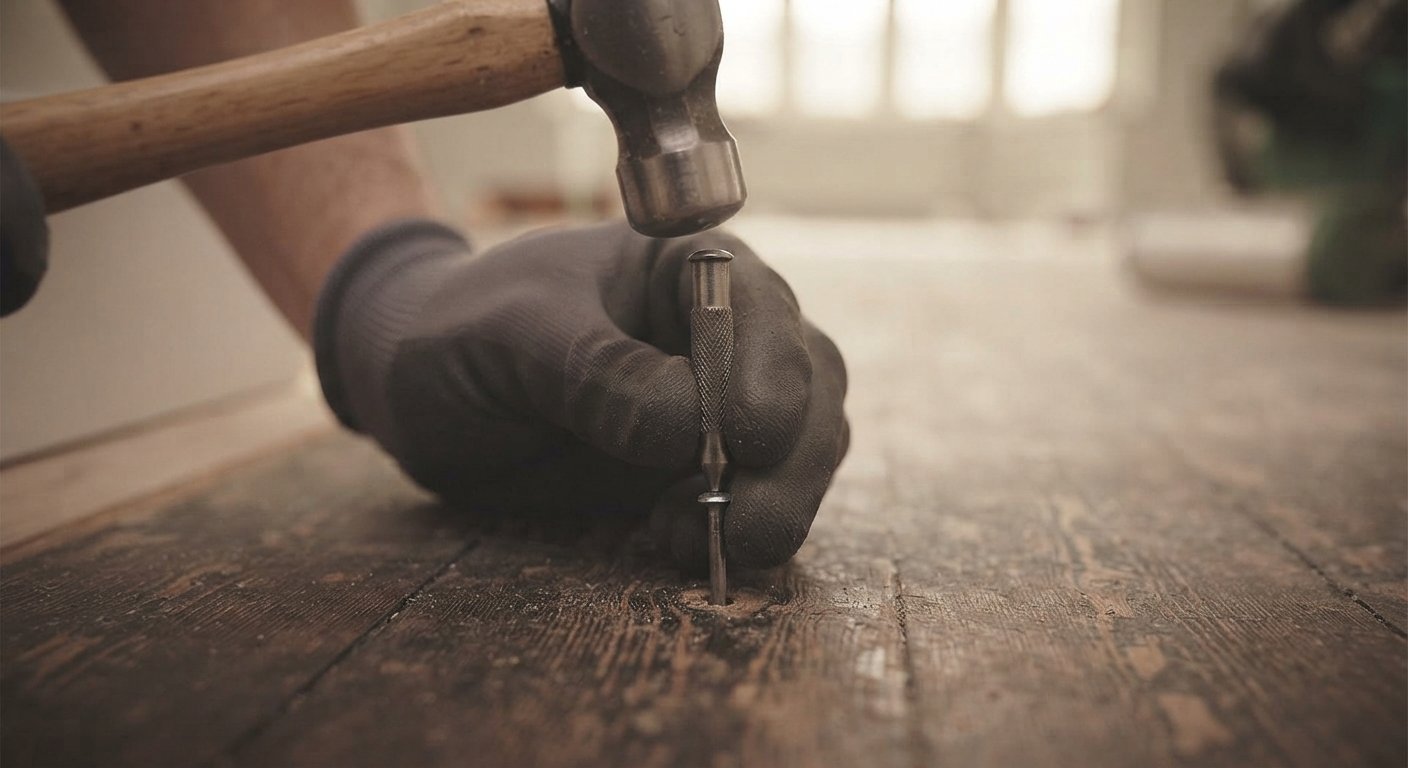
Beyond the sanders, you need a good supply of sandpaper in several grits, a vacuum for dust, and cleaning cloths. Preparation tools like a hammer and nail set come in handy for dealing with raised nails before you start.
Safety gear rounds out the list. A dust mask or respirator, eye protection, and ear defenders are not optional. Sanding creates a lot of fine dust and noise, so protecting yourself is just as important as protecting the floor.
There are several machines built for sanding wood floor, and each one has a job it does best. Knowing the strengths of each will help you pick the right one for your project.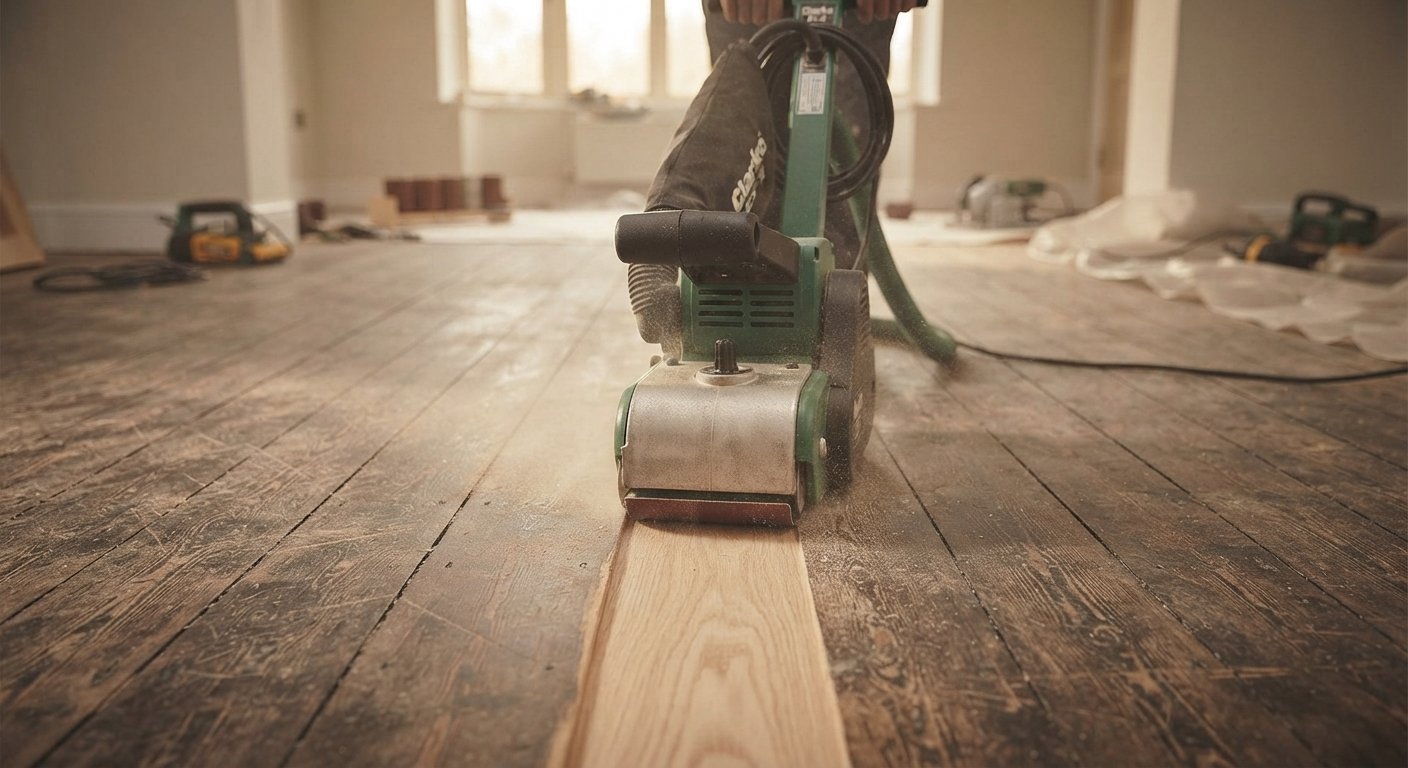
A drum sander is the heavy hitter of floor refinishing. It uses a rotating drum wrapped in sandpaper that spins fast and cuts through old finishes quickly. This machine is powerful, so it works well on large rooms and floors with thick, stubborn coatings.
The trade-off is control. A drum sander can dig into the wood if you leave it sitting in one spot or lower it too fast. Always keep the machine moving and lift the drum before you stop. Many first-timers find drum sanders a little intimidating, so practice on a hidden section first if you can.
Floor belt sanders work in a similar way to drum sanders but use a continuous sanding belt instead of a wrapped drum. Many people find them a touch more forgiving because the belt spreads pressure over a wider area, which lowers the chance of gouging.
They still remove material fast, so the same rule applies: keep moving. Belt sanders suit medium to large floors and are a popular rental choice for confident DIY users.
An orbital floor sander is the gentle option. Instead of a spinning drum, it uses a flat pad that vibrates in small circles. This makes it much harder to damage the wood, which is why beginners often prefer it.
The downside is speed. An orbital sander removes finish slowly, so it is not ideal for floors with heavy old coatings. It shines when you need a light sanding, want to smooth between finish coats, or feel nervous about using a more aggressive machine.
An edge sander, sometimes called an edger, is a smaller round machine designed to reach the areas a big sander cannot. The main floor sanders leave a gap of several inches along each wall, and the edger cleans up that border.
Edgers are powerful for their size, so control matters here too. Keep the machine moving in small arcs and blend the edges into the main floor so there is no visible line between the two areas.
Picking the correct hardwood floor sanders comes down to a few simple questions about your project. Think through these before you head to the rental shop.
The size of your room is a big factor. For a small bedroom or hallway, an orbital sander may be all you need. For large open-plan spaces or several rooms, a drum or belt sander will save you hours of work. Renting a bigger machine for a big job almost always pays off.
Take a close look at your boards. If they are covered in thick old varnish or badly worn, you need an aggressive machine like a drum sander to cut through it. If the floor is in decent shape and only needs freshening up, a gentle orbital sander will do the trick without removing too much timber.
Powerful machines work faster but demand more skill to control. If you are new to this, weigh speed against how comfortable you feel. An orbital sander is slow but safe, while a drum sander is quick but less forgiving. Be honest about your experience level and choose accordingly.
Sandpaper does the actual cutting, and grit is the number that tells you how coarse or fine the paper is. Lower numbers are rough, higher numbers are smooth. A proper sanding job moves through three stages, starting rough and finishing fine.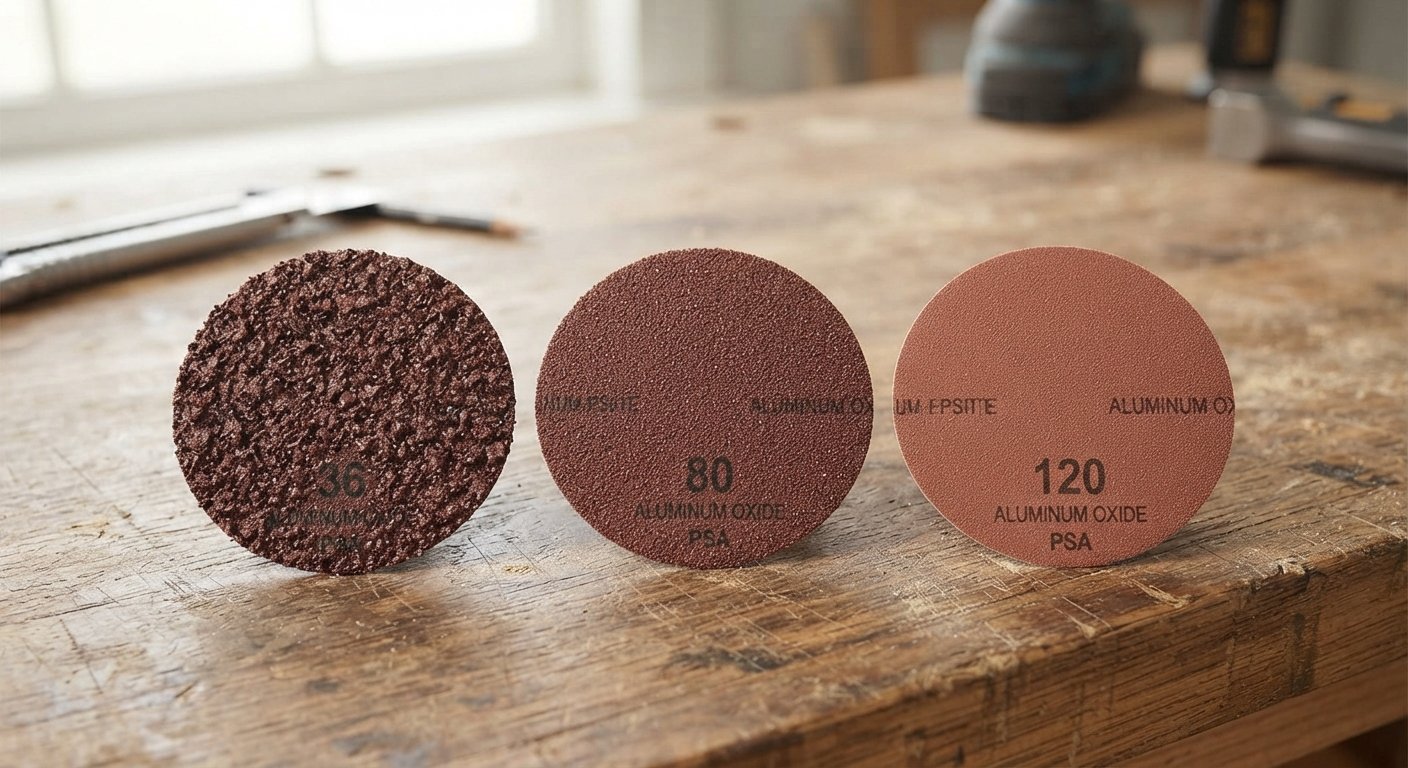
Coarse grit, usually in the 24 to 40 range, is where you begin. This rough paper strips away old varnish, paint, or stain and levels out any high spots in the boards. It cuts fast, so it does the heavy lifting at the start of the job.
Once the old finish is gone, switch to a medium grit around 60 to 80. This stage removes the scratches left by the coarse paper and starts to smooth the surface. Skipping this middle step is a common mistake that leaves floors looking rough under the finish.
The last pass uses a fine grit of 100 to 120. This creates the silky smooth surface you want before staining or sealing. Fine sanding opens the grain just enough for the finish to grip, without leaving visible scratch marks.
Good preparation makes the sanding go smoothly. A few basic tools help you get the floor ready before any machine touches it.
Old floors often have nails that have popped up over time. A raised nail head can tear your sandpaper or damage the sander drum. Use a hammer and a nail set to punch these nails just below the surface of the wood before you start.
A hand scraper is useful for lifting stubborn patches of old glue, paint, or finish that the sander struggles with. It also reaches into corners and along edges where the machines cannot go. A sharp scraper saves a lot of frustration.
Keep a vacuum and some cloths nearby throughout the job. Clearing dust between grit changes lets you see your progress and stops loose grit from scratching the surface. A clean floor also helps you spot spots you may have missed.
Knowing how to run the machines properly is just as important as owning them. Here is a simple approach that works for most projects.
Clear the room completely and remove any furniture, rugs, and curtains. Seal doorways with plastic sheeting to keep dust from spreading through the house. Then walk the floor, punch down any raised nails, and give the boards a good sweep.
Begin with your coarse grit to remove the old finish. Fit the paper firmly and check it is secure before you switch the machine on. Starting with the right grit means you don’t waste time trying to strip varnish with paper that is too fine.
Always sand in the direction of the wood grain, and keep the machine moving at a steady, even pace. Overlap each pass slightly so you don’t leave untouched strips. Work through your grits in order, coarse then medium then fine, vacuuming between each stage.
The big sanders can’t reach right up to the walls, so you need separate tools for the borders and corners. This detail work makes the whole floor look finished.
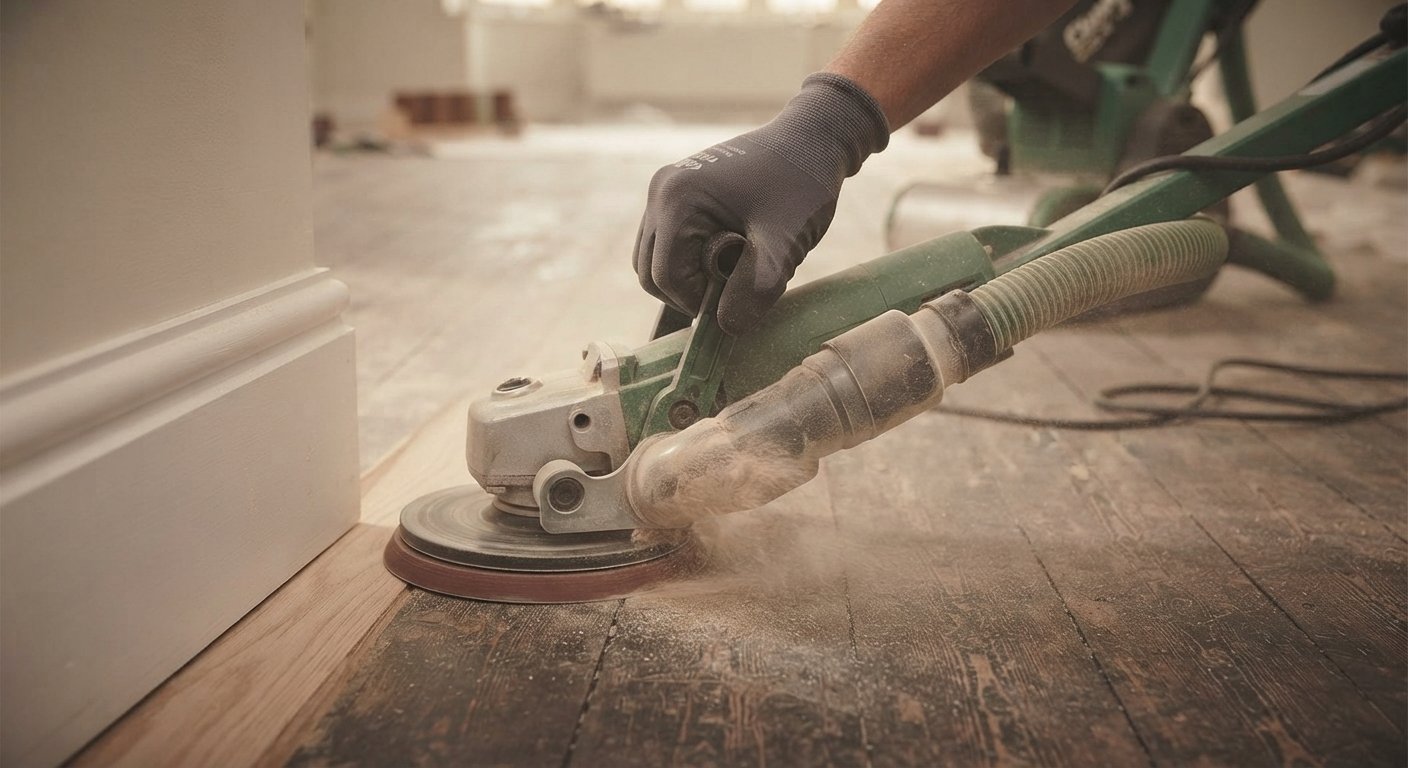
Run the edge sander along the walls in smooth, overlapping arcs. Match your grit sequence to the main floor so the border blends in. Take your time here, since edgers are powerful and can leave swirl marks if you rush or hold them in one place.
Even an edger can’t reach into sharp corners. For these spots, use a hand scraper or a small detail sander. Sand with the grain and check the result against the surrounding floor so the corner matches the rest of the surface.
Sanding a floor throws up a huge amount of fine dust. Most modern floor sanders come with a dust bag or a port you can connect to a vacuum, and using it makes a big difference. Good dust collection keeps the air cleaner, protects your lungs, and helps you see the floor as you work.
A powerful shop vacuum is worth its weight in gold. Vacuum the floor between each grit change and give the whole room a thorough clean once sanding is done. Wipe surfaces with a tack cloth before you apply any finish, because even a little dust can ruin a smooth coat. Leftover grit trapped under a finish shows up as bumps you cannot sand away later.
Sanding is noisy, dusty work, and the machines are powerful. Protecting yourself is not something to skip.
Fine wood dust is bad for your lungs, and some old finishes contain harmful chemicals. Wear a proper dust mask or, better still, a respirator rated for fine particles. This is the single most important piece of safety gear on a sanding job.
Flying dust and debris can hurt your eyes, so wear safety glasses or goggles the whole time. Floor sanders are also loud, and long exposure can damage your hearing. Ear defenders or earplugs keep the noise at a safe level.
Read the instructions for any machine you rent, and never start a drum or belt sander while it rests on the floor. Keep the cord behind you and out of the sanding path. Unplug the machine before you change sandpaper, and never leave a running sander unattended.
To make things simple, here is a breakdown of what you need depending on your project and stage.
For a home project, aim to keep things manageable. A rented orbital or belt sander, a small edger, and a hand scraper cover most needs. Add sandpaper in coarse, medium, and fine grits, a shop vacuum, a hammer and nail set, and your safety gear.
Pros lean on heavier machines. A commercial drum sander, a powerful edger, and multiple detail sanders let them work fast across big areas. They also carry a full range of grits, industrial dust extractors, and backup parts so a breakdown doesn’t stall the job.
Once the sanding is done, the finishing begins. You will want tack cloths for the final clean, brushes and rollers or a lambswool applicator, your chosen stain and sealant, and painter’s tape to protect skirting boards. Plan this stage before you start so you are not caught short when the floor is ready.
Refinishing a timber floor is a big job, but the right gear makes it far more achievable. Match your main sander to the size and condition of your floor, work carefully through coarse, medium, and fine grits, and never cut corners on dust collection or safety. Add an edger and a few hand tools for the borders, and you have everything needed for a smooth, even result.
If you are planning a project soon, start by measuring your rooms and inspecting your boards. That will tell you which machines to rent and how much sandpaper to buy. When in doubt, ask the staff at your local hire shop for advice, and don’t be afraid to practice on a spare board before you commit to the whole floor.
Ready to get started? Grab your checklist, book your equipment, and bring those old floors back to life.
How long does it take to sand a wood floor?
For an average room, expect the sanding itself to take a full day once you factor in edge work and grit changes. A larger space or a floor with thick old finish can push the job to two days. Preparation and finishing add extra time on top of that.
Is it cheaper to rent or buy floor sanding equipment?
For a one-off project, renting is almost always cheaper. Quality drum and belt sanders are costly to buy and hard to store. Buying only makes sense if you plan to sand floors regularly, such as for a business.
Can a beginner use a drum sander?
A beginner can, but with care. Drum sanders are powerful and can gouge the wood if handled poorly. If you are nervous, start with a gentler orbital sander or practice on a hidden area first before moving to the main floor.
What grit should I start with when sanding an old floor?
Start with a coarse grit in the 24 to 40 range to strip the old finish and level the boards. Then move up to a medium grit around 60 to 80, and finish with a fine grit of 100 to 120 for a smooth surface.
Do I really need an edge sander?
Yes, if you want a clean result. Large floor sanders leave a gap of several inches along every wall. An edge sander reaches into that border so the whole floor looks even once you apply the finish.
How do I keep dust under control while sanding?
Use a sander with a built-in dust bag or vacuum port, seal off doorways with plastic sheeting, and vacuum between every grit change. A good shop vacuum and a final wipe with a tack cloth keep dust from ruining your finish.
What safety gear do I need for floor sanding?
At a minimum, wear a fine-particle dust mask or respirator, safety glasses, and ear protection. Fine wood dust harms your lungs, flying debris can injure your eyes, and the machines are loud enough to damage your hearing over time.