Physical Address
304 North Cardinal St.
Dorchester Center, MA 02124
Physical Address
304 North Cardinal St.
Dorchester Center, MA 02124

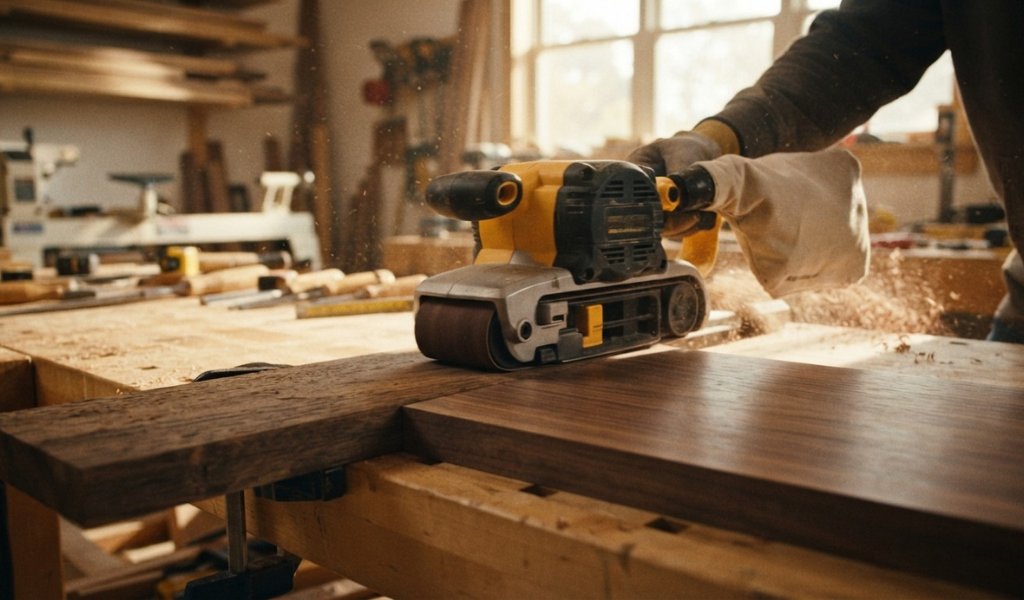
If you have ever spent an afternoon trying to smooth a rough board with a piece of sandpaper wrapped around a block, you already know how slow that job can be. A belt sander changes everything. This powerful tool strips away paint, flattens uneven wood, and shapes stubborn surfaces in a fraction of the time. Whether you are a weekend hobbyist or a full-time woodworker, learning how to use a belt sander well can save you hours and give your projects a cleaner finish.
In this guide, you will learn what a belt sander is, how it works, and the different types available. We will walk through choosing the right model, picking the correct sandpaper grit, and using the sander step by step. You will also find honest comparisons with other sanders, practical safety advice, and the most common mistakes people make so you can avoid them.
Think of this article as The Complete Guide to Sanding Wood with a belt-driven power tool. By the end, you will feel confident enough to pick up a sander, load a belt, and tackle your next project without second-guessing yourself.
A belt sander is a power tool that uses a continuous loop of sandpaper stretched over two rotating drums. As the drums spin, the sanding belt moves in one direction and grinds down whatever surface it touches. Because the belt runs so fast and covers a wide area, this sander removes material quicker than almost any other sanding tool.
Woodworkers reach for a belt sander when they need to handle big jobs. Flattening a tabletop, sanding down a rough deck board, or stripping old varnish from a door are all tasks where this tool shines. It is built for speed and heavy stock removal rather than delicate finishing work.
You will find belt sanders in home garages, busy workshops, and professional cabinet shops alike. They come in handheld models you can carry to the workpiece and larger fixed versions that sit on a bench. No matter the size, the basic idea stays the same: a fast-moving abrasive loop that does the hard work for you.
The heart of a belt sander is its motor. When you switch it on, the motor spins a drive drum, which pulls the sanding belt in a continuous loop. A second drum, called the idler, keeps the belt tight and tracking straight. Together these two drums keep the abrasive surface moving smoothly across your material.
As the belt travels over the flat platen underneath, it presses the grit against the wood. The moving grit scrapes off tiny shavings with each pass. Since the belt never stops or changes direction, the cutting action stays steady and aggressive. That is why this sanding machine can level a warped board in minutes.
Most models let you adjust the belt speed and control how tightly the belt tracks. A tracking knob shifts the idler drum slightly so the belt stays centered instead of drifting off the edge. Getting comfortable with this adjustment is one of the first skills every new user should master.
Understanding the parts of your sander makes it far easier to use and maintain. The motor provides the power, while the drive drum and idler drum work as a pair to move and tension the belt. Between them sits the platen, a flat metal plate that presses the belt against your workpiece for even contact.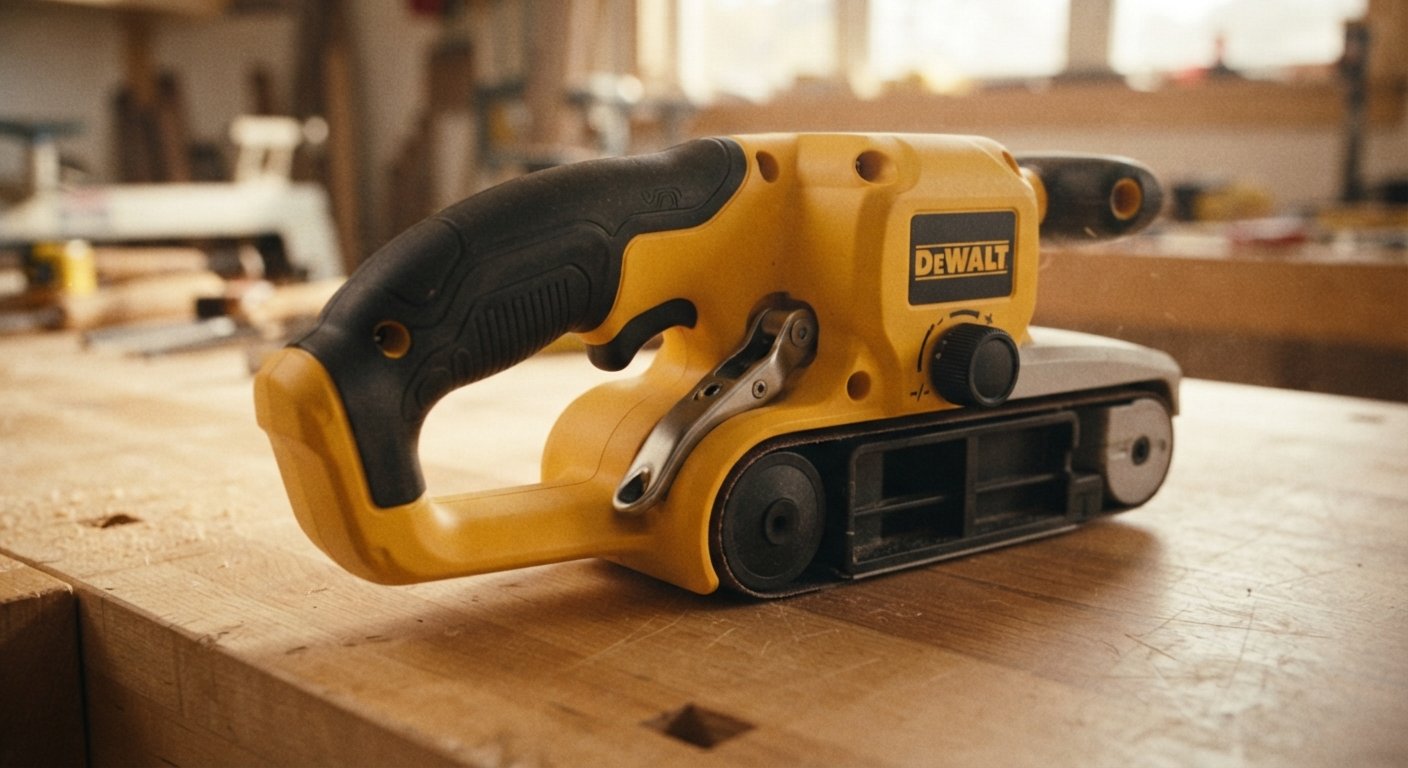
On top you will find the handle and front grip. These give you two solid points to guide the tool and keep it steady. The tension lever lets you release or reload the sanding belt in seconds, and the tracking knob keeps that belt running true.
Many belt sanders also include a dust collection bag or port. As you sand, fine wood dust flies everywhere, so this feature pulls the mess away from your work area. Some units connect directly to a shop vacuum for even cleaner results. Knowing where each of these parts sits will help you swap belts, fix tracking problems, and keep the tool running well for years.
A belt sander earns its keep on jobs that need speed and muscle. It is not the tool for gentle touch-ups, but when you have a lot of material to remove, nothing beats it. Below are the three tasks where this tool truly stands out.
Stripping old paint by hand is exhausting. A belt sander cuts through layers of paint, varnish, or stain in seconds. Fit it with a coarse belt and run it across an old door or table, and you will watch years of buildup disappear. Just keep the tool moving so you do not dig into the bare wood underneath.
Fresh-cut lumber and reclaimed boards often feel rough and splintery. A belt sander smooths those surfaces fast, turning a scratchy plank into something you can run your hand across safely. This makes it a favorite for prepping wood before you move on to finer sanding steps.
Sometimes a board sits higher on one side, or two glued pieces do not line up perfectly. A belt sander flattens these uneven spots and can even shape curves and edges. Furniture makers use it to level tabletops, while builders rely on it to true up doors and frames.
Not all belt sanders are the same. The right one depends on the kind of work you do and how much space you have. There are three main types to consider.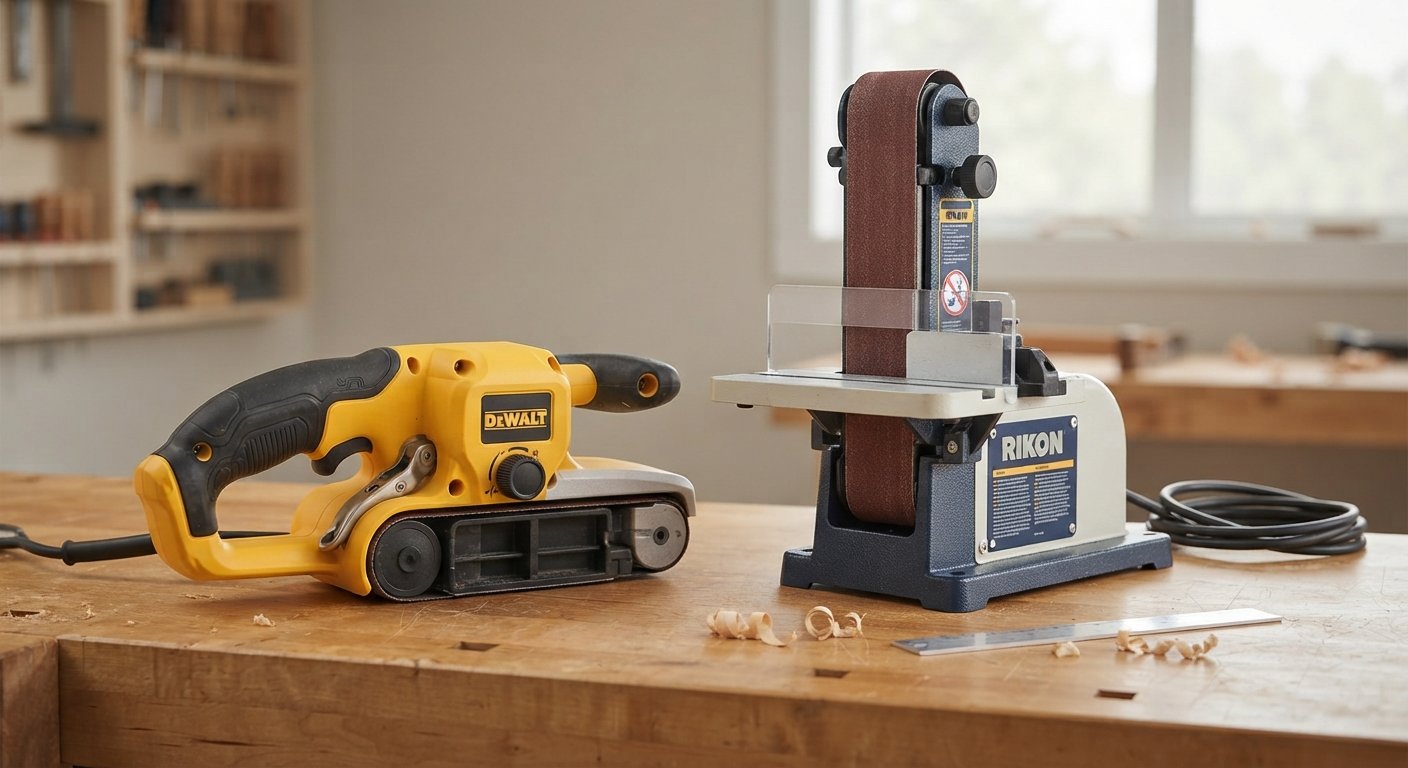
Handheld models are the most common choice for home users. You hold the tool and move it across the wood, which gives you the freedom to sand large surfaces like floors, decks, and tabletops. They are portable, easy to store, and perfect for jobs where you bring the sander to the workpiece.
A benchtop belt sander bolts to your workbench and stays in one place. Instead of moving the tool, you bring the wood to it. This setup gives you better control for smaller pieces and detailed shaping. Many models pair the belt with a small disc sander for extra versatility.
Stationary belt sanders are the heavy hitters found in professional shops. They are larger, more powerful, and built to run for long stretches without overheating. If you sand wood every day or work with large volumes of material, a stationary machine offers the durability and precision that lighter tools cannot match.
Picking the right sander comes down to matching the tool to your projects. Buy too small, and you will struggle with big jobs. Buy too large, and you may find it clumsy for detail work. Focus on these three factors before you spend your money.
Motor power decides how much material the sander can remove and how well it holds up under pressure. For most home projects, a motor between 7 and 10 amps works well. Look for a model with variable speed control too, since slower speeds give you more finesse on delicate work while higher speeds tear through rough stock.
Belt sanders come in common sizes such as 3 by 18 inches or 3 by 21 inches. A wider, longer belt covers more surface with each pass, which speeds up large jobs. Smaller belts, on the other hand, fit into tighter spots and give you better control. Match the belt size to the scale of your usual projects.
A heavy sander presses down with its own weight, which helps on flat surfaces but tires your arms quickly. A lighter model is easier to guide but may need more effort to keep steady. Test the grip and balance if you can. Comfortable handles and a well-balanced body make a long sanding session far less painful.
The grit number on a sanding belt tells you how coarse or fine it is. Lower numbers mean rougher grit and faster cutting, while higher numbers mean finer grit and smoother results. Choosing the right grit for each stage is the secret to a flawless finish.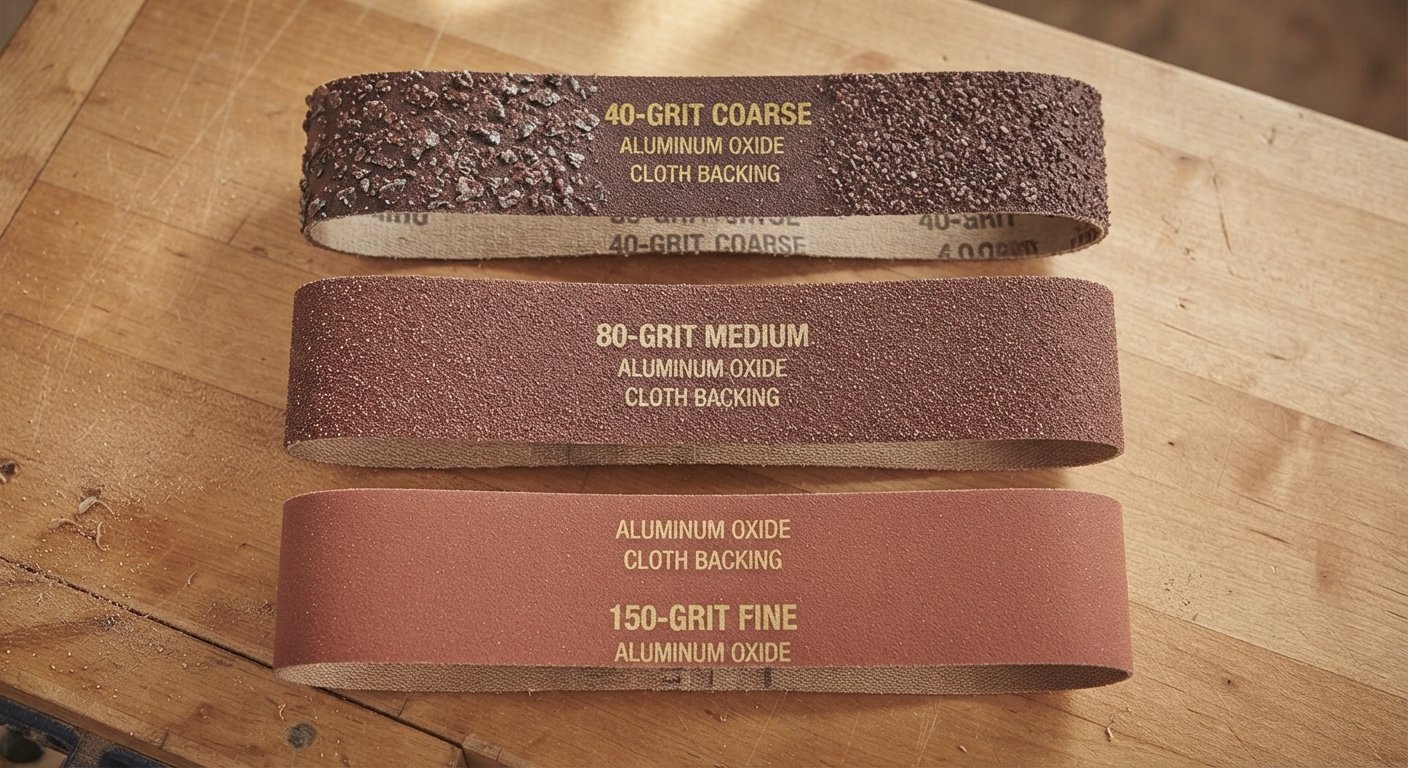
Coarse belts in the 40 to 60 grit range chew through material quickly. Reach for these when stripping paint, leveling rough boards, or removing a lot of wood in a hurry. They leave deep scratches, so you will always follow up with finer grits later.
Medium grits around 80 to 120 clean up the scratches left by coarse belts. This stage smooths the surface and gets it ready for finishing. Most general sanding jobs spend the bulk of their time in this range because it balances speed with a decent finish.
Fine belts from 150 grit and up create a smooth, polished surface. Use them for the final passes before you apply stain, paint, or a clear coat. Fine grit removes very little material, so its job is to refine rather than reshape.
Using a belt sander is simple once you know the routine. Follow these steps in order, and you will get clean results while keeping the tool under control.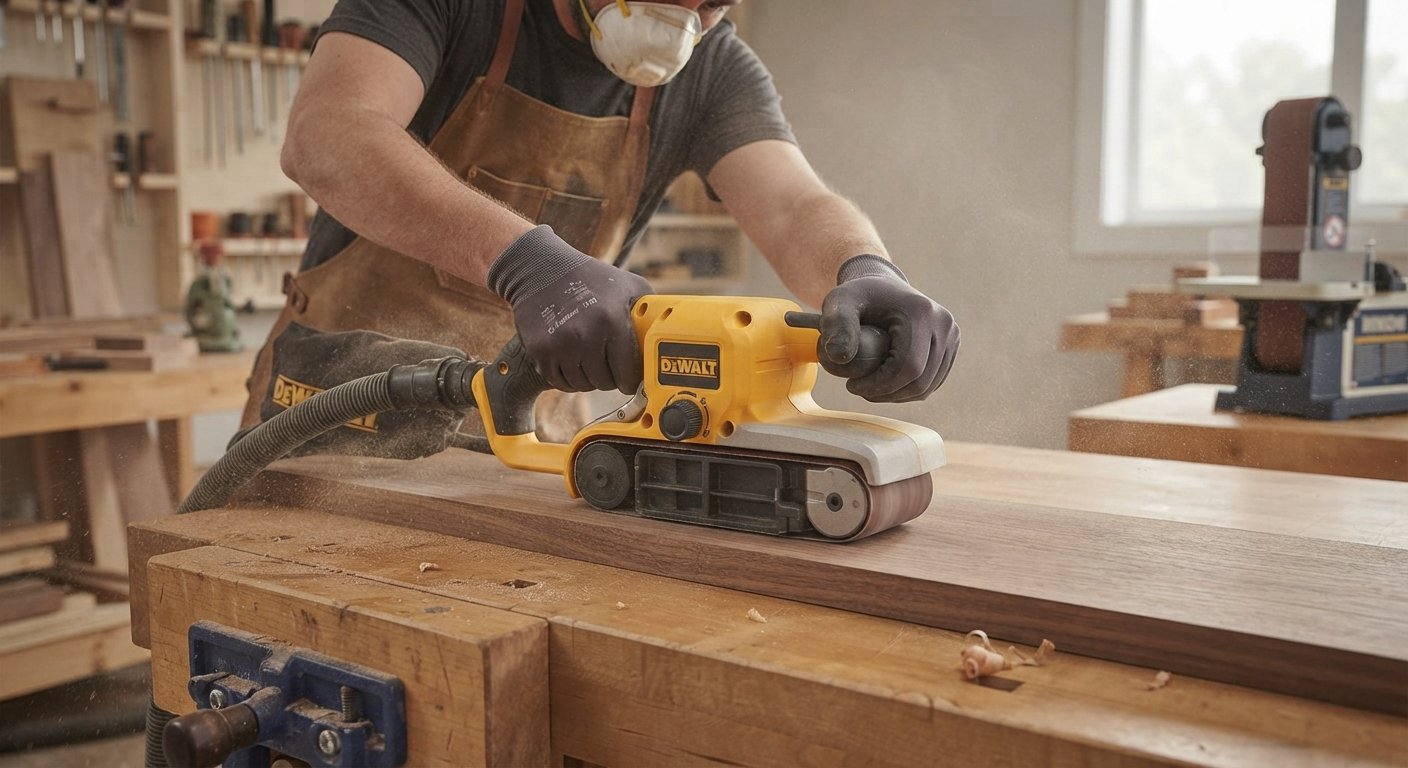
Start by clamping your wood firmly to a bench or worktable. A loose board can shoot across the room the moment the belt touches it. Remove any nails, screws, or staples, since hitting metal can tear the belt and damage the drums.
Release the tension lever, slide the old belt off, and fit the new one so its arrow matches the sander’s direction of rotation. Snap the tension back into place, then run the tool briefly and adjust the tracking knob until the belt stays centered.
Turn the sander on before it touches the wood, then lower it gently onto the surface. Let the weight of the tool do the work. Pressing hard does not speed things up, it only causes gouges and wears out the motor and belt faster.
Guide the sander back and forth in smooth, overlapping strokes. Keep it moving at a steady pace and never stop in one spot. Overlapping each pass by about half its width ensures you cover the whole surface evenly without leaving ridges.
A belt sander is powerful, but it is not always the right choice. Knowing how it compares with other sanders helps you pick the best tool for each job.
An orbital sander spins a round pad in small circles, which makes it gentle and great for fine finishing. A belt sander removes material far faster but leaves a rougher surface. Use the belt sander to knock down the big stuff, then switch to an orbital sander for a smooth final pass.
A sheet sander, sometimes called a finishing sander, uses a flat piece of sandpaper and vibrates gently. It is quiet, light, and ideal for delicate work, but painfully slow on heavy jobs. The belt sander wins on power, while the sheet sander wins on finesse.
Reach for a belt sander whenever the job calls for speed and heavy stock removal. Leveling a tabletop, sanding a rough deck, or stripping old paint are all perfect matches. For light touch-ups and fine finishing, a smaller sander will serve you better.
Sanding wood well takes more than just switching on the tool. A few simple habits separate a smooth, professional result from a scratched, uneven mess.
Always move the sander in the same direction as the wood grain. Sanding across the grain leaves ugly scratches that show up badly once you apply a finish. Following the grain keeps the surface looking clean and natural.
Keep the sander flat and moving at all times. Tipping the tool onto one edge or pausing in place will dig a hollow into the wood almost instantly. Steady, even strokes protect your workpiece from those costly dips.
Work through the grits in order, starting coarse and ending fine. Jumping straight from a rough belt to a fine one leaves deep scratches behind. Each grit removes the marks left by the one before, building toward a surface that feels smooth to the touch.
A belt sander is a fast, aggressive tool, so treating it with respect matters. A few basic precautions keep both you and your project safe.
Sanding throws grit and dust into the air, and these tools are loud. Safety glasses shield your eyes from flying particles, while ear protection guards against hearing damage during long sessions. A dust mask is smart too, since fine wood dust is easy to breathe in.
Wood dust builds up fast and can irritate your lungs. Use the sander’s dust bag or hook it up to a shop vacuum to keep the air cleaner. Working in a well-ventilated space and sweeping up regularly also helps keep your workshop healthy.
Never sand a board that is not held down. Clamp your wood tightly or use a bench stop so it cannot slide or fly loose. A secured workpiece lets you guide the sander with both hands and stay in full control.
Even experienced users slip up now and then. Watching out for these common errors will save you from ruined projects and wasted time.
Leaning on the sander feels like it should work faster, but it does the opposite. Heavy pressure gouges the wood, strains the motor, and shortens the belt’s life. Let the tool’s own weight and the moving grit handle the cutting.
Pausing the sander in a single place, even for a second, digs a dip into the surface. Keep the tool gliding at all times. Only lift it off the wood once it has come to a complete stop, and set it down carefully afterward.
Grabbing a fine belt for a heavy job wastes time, and using a coarse belt for finishing leaves deep scratches. Match the grit to the task and change belts as the surface improves. The right belt makes every stage easier.
It is tempting to stop once the wood looks flat, but skipping the finer grits leaves a rough finish that shows through paint or stain. Take the extra few minutes to work up to a fine grit. That final polish is what makes your project look truly finished.
A belt sander is one of the most useful tools you can own for woodworking and home projects. It strips paint, smooths rough lumber, and levels stubborn surfaces faster than any hand tool. The keys to success are simple: choose the right model for your work, match the sandpaper grit to each stage, keep the tool moving, and always sand with the grain.
Start with a scrap piece of wood to practice your control before you tackle a real project. Once you get a feel for how the sander glides and cuts, you will wonder how you ever managed without one. Ready to put these tips into action? Load up a fresh belt, clamp down your workpiece, and see the difference a well-used belt sander makes on your next build.
Is a belt sander good for beginners?
Yes, but with a little care. Belt sanders are powerful and remove material fast, so beginners should practice on scrap wood first. Once you learn to keep the tool moving and use light pressure, it becomes easy to control.
What is the difference between a belt sander and an orbital sander?
A belt sander uses a fast-moving loop of sandpaper for quick, heavy material removal. An orbital sander spins a round pad in small circles for gentle finishing. Many woodworkers use the belt sander first, then switch to an orbital sander for a smooth final result.
What grit should I start with on a belt sander?
Start with a coarse grit between 40 and 60 for removing paint or leveling rough wood. Move up to medium grit around 80 to 120 for smoothing, then finish with 150 grit or higher before applying a finish.
Can a belt sander be used on metal?
Yes, many belt sanders can sand metal if you fit them with the correct abrasive belt. They work well for removing rust, smoothing welds, and shaping metal edges. Always wear eye protection since sanding metal creates sparks.
Why does my sanding belt keep slipping off?
A belt that drifts or slips off usually needs tracking adjustment. Turn the tracking knob while the sander runs until the belt sits centered on the drums. A worn or stretched belt can also cause the problem, so replace it if adjusting does not help.
How long does a sanding belt last?
Belt life depends on the grit, the material, and how often you use it. A belt can last anywhere from a few projects to many, but you should replace it once it stops cutting well or looks worn and glazed over.
Do I need dust collection with a belt sander?
Dust collection is highly recommended. Belt sanders create a lot of fine wood dust that can harm your lungs and clog your workspace. Use the built-in dust bag or connect a shop vacuum to keep the air clean and your view clear.