Physical Address
304 North Cardinal St.
Dorchester Center, MA 02124
Physical Address
304 North Cardinal St.
Dorchester Center, MA 02124

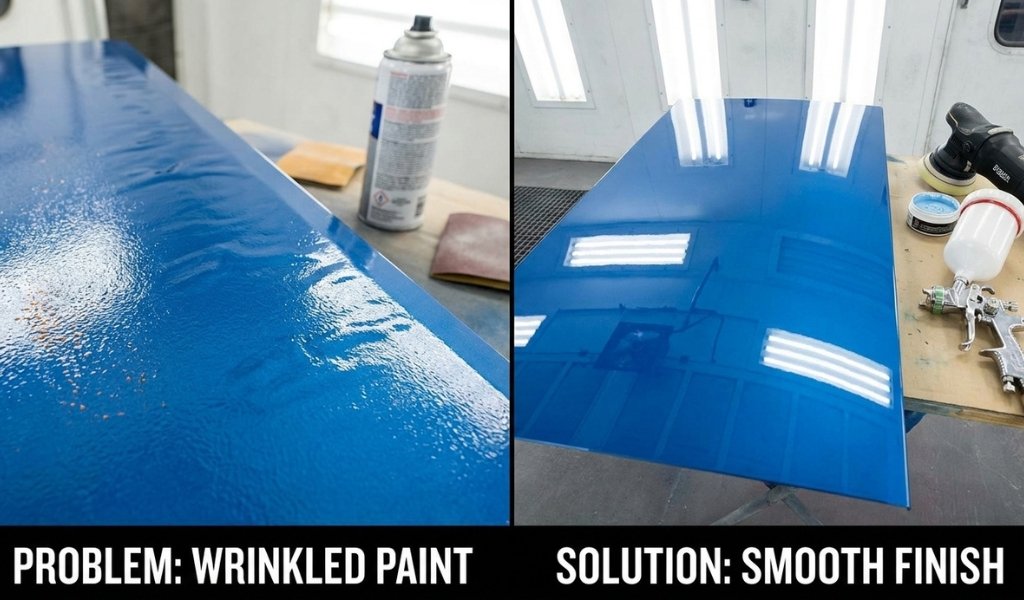
Few things are more frustrating than stepping back to admire a freshly sprayed surface only to find the paint has wrinkled, rippled, or crinckled into an uneven mess. Spray paint wrinkling is one of the most common problems DIY painters encounter, yet it’s also one of the most preventable. Understanding exactly why paint wrinkles form is the first step toward achieving the smooth, professional finish you’re after.
This guide breaks down every major cause of spray paint wrinkle issues, walks you through a clear step-by-step repair process, and shares proven prevention strategies so the problem never comes back. For a broader foundation on technique, check out our ultimate guide to spray painting techniques before diving in it covers everything from surface selection to finish types.
Whether you’re refinishing bare metal, refreshing furniture, or tackling an automotive project, the principles here apply across the board. By the time you finish reading, you’ll know exactly how to fix wrinkled paint and how to prevent wrinkling on every future project.
Paint wrinkles occur when the outer layer of a spray paint film dries and hardens before the paint beneath has had time to release its solvents. As the underlying layers continue to dry and shrink, they pull and push against that hardened top skin creating the characteristic rippled, crinkled, or wrinkle-like texture you see on the surface.
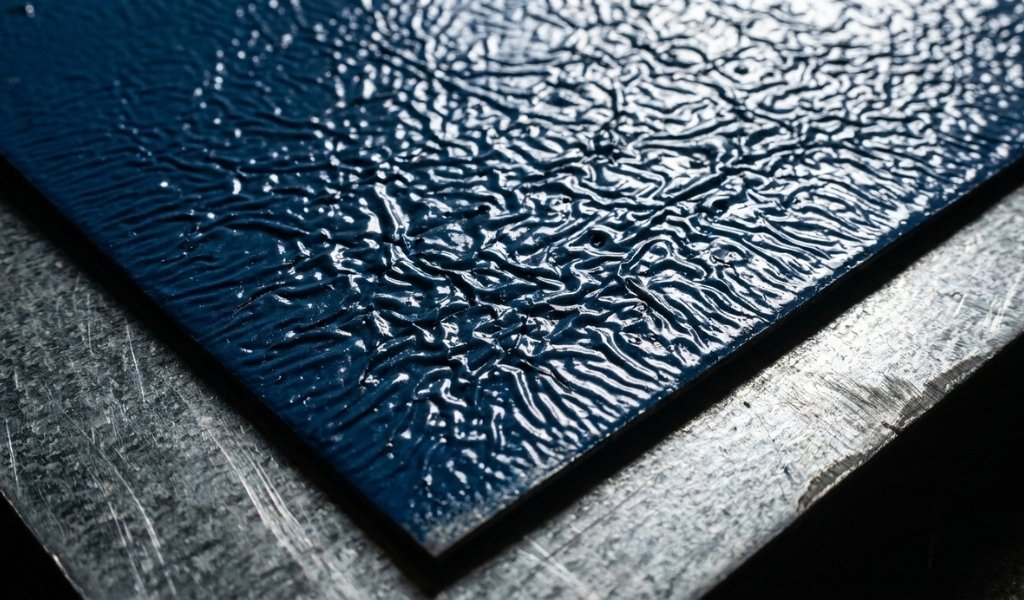
This isn’t just a cosmetic annoyance. A wrinkled paint surface signals that the paint film hasn’t cured correctly, which weakens adhesion and leaves the coating vulnerable to peeling, chipping, and early failure.
One of the leading causes of spray paint wrinkle problems is misunderstanding the recoat window. Every spray paint product whether it’s a standard aerosol, Rust-Oleum, or a professional lacquer has a defined window during which the next coat can be applied safely.
Apply the second coat too soon, and the solvents in the new coat penetrate the partially dried first coat, softening it. The top layer skins over quickly while the paint beneath remains wet and mobile. As the paint dries, internal movement causes the surface to wrinkle as it dries rather than flatten out.
Miss the recoat window on the other end waiting too long between coats without proper sanding and the cured surface may reject adhesion from the next coat, causing lifting or delamination instead.
Reading the label and respecting the time between coats isn’t optional. It’s foundational.
Not all paints, primers, and solvents are compatible. Applying an oil-based paint over a lacquer base coat, or using the wrong solvent as a thinner, creates a chemical conflict at the substrate level. The incompatible solvent in the new coat attacks and partially dissolves the layer beneath causing the paint film to buckle and wrinkle before it has a chance to level out.
The substrate itself matters too. Applying spray paint directly onto oily, waxy, or incompatible surfaces without a bonding primer introduces adhesion failure from the start. Always match your paint system primer, base coat, and top coat to both each other and the substrate you’re working on.
While the recoat window and chemical incompatibility are major culprits, several other factors cause wrinkling in spray paint applications. Most failures come down to three categories: technique, environment, and surface preparation.
Applying spray paint too thickly in a single pass is arguably the most common DIY mistake. When paint is applied too thickly, the surface of the coat skins over and traps solvent underneath. That trapped solvent needs to evaporate, but it can’t escape through the hardened outer layer so it pushes upward, creating wrinkles, bubbles, or an orange peel texture.
The solution is always thin coats. Multiple thin coats of paint build up more reliably, dry more evenly, and produce a far smoother finish than one heavy application. Give each coat sufficient drying time before applying the next coat and never rush this stage, even if the surface feels dry to the touch. Dry to the touch is not the same as fully cured.
Temperature and humidity levels directly affect the drying process of spray paint. High humidity slows solvent evaporation significantly, leaving paint wet and vulnerable far longer than expected. When the second coat is applied over a coat that hasn’t fully dried due to humidity, wrinkling is almost inevitable.
Extreme heat creates the opposite but equally damaging problem. Applying spray paint in direct sunlight or high ambient temperatures causes the surface of the paint to dry almost instantly before the paint beneath has had time to flatten and level. This rapid surface cure traps solvents below and causes the coat to wrinkle and crinkle as internal pressure builds.
The ideal spraying conditions sit between 50°F and 85°F (10°C–30°C), with relative humidity below 85%. Avoid spraying in the hottest part of the day, and never spray in direct sunlight.
Skipping proper surface preparation is a shortcut that almost always leads to paint failure. Contaminants like oils, grease, wax, silicone, and dust create a barrier between the substrate and the paint film. When spray paint is applied over a contaminated surface, adhesion is compromised from the first coat leading to lifting, peeling, and wrinkling down the line.
Before applying any paint, wipe down the surface thoroughly with an appropriate degreaser, then allow it to dry completely. On bare metal or bare wood, always apply a compatible primer before the base coat. Primer improves adhesion, seals the substrate, and gives the top coat a stable, uniform layer to bond with.
Your choice of spray painting tools also plays a role here using the right nozzle tip, maintaining the correct spray distance, and keeping even pressure throughout each pass all contribute to consistent coat thickness and better adhesion. For more on equipment selection, visit our dedicated guide on spray painting tools.
Wrinkled paint cannot simply be painted over without addressing the damage first. Attempting to apply a new coat of paint directly over a wrinkled surface will result in the same failure, or worse. Here’s the correct process to fix wrinkled paint from start to finish.
Before reaching for sandpaper, let the wrinkled paint fully cure. Attempting to sand wet or partially dried paint will smear the damaged layer, clog your sandpaper, and spread the problem. Depending on the product, full cure can take anywhere from a few hours to 24–48 hours. Check the product label for cure times specific to your paint.
Once the paint is completely cured and hardened, you’re ready to move to the next step. Trying to fix wrinkled paint before it’s fully cured will make the repair significantly harder.
Using 120–220 grit sandpaper, sand down the wrinkled paint until the surface is flat and the damaged layers have been removed. For more severe wrinkling, you may need to strip back to bare substrate completely especially if the wrinkle extends through multiple coats.
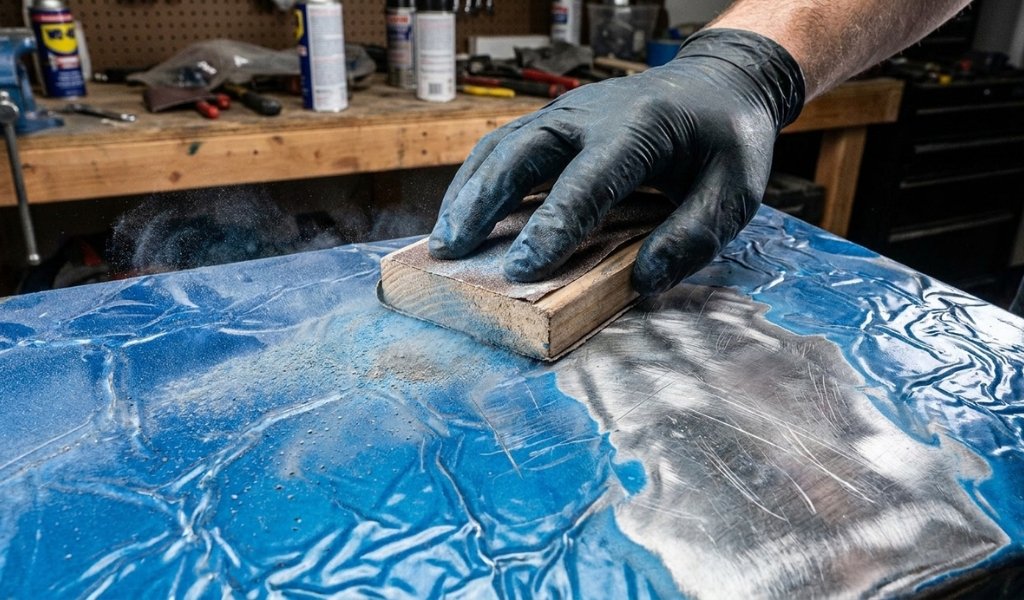
Work in smooth, even passes and check your progress frequently. The goal is a clean, flat surface free of ridges, texture, and any remnants of the original paint that caused the failure. Once you’ve sanded down to a smooth base, move to 320–400 grit paper for a final light pass to ensure a fine, even surface ready for recoating.
After sanding, clean away all dust thoroughly a tack cloth works best for this. Any dust left on the surface will embed in the next coat and compromise the finish.
Once the surface is clean and smooth, apply a light coat of appropriate primer. Allow the primer to dry fully before applying the first coat of paint. This step is non-negotiable primer seals the sanded surface, improves adhesion, and gives the new coat of paint the best possible foundation.
When applying paint, use light, sweeping passes and apply thin coats. Keep the can or spray gun at the manufacturer-recommended distance typically 10–12 inches from the surface. Apply the first coat and allow it to dry completely before applying the second coat of paint. Make sure you give each coat ample drying time, and resist the temptation to apply the next coat before the previous coat has properly dried.
Build up your finish gradually with two coats minimum, checking adhesion and smoothness between each application.
Prevention is far easier than repair. Once you understand what causes spray paint to wrinkle, avoiding the problem becomes a matter of consistent habits and good technique.
The time between coats is the single most important variable to control. Always follow the recoat window printed on the product label applying the second coat too soon is the fastest route to a wrinkled paint job. If the label specifies a recoat window of 5–10 minutes or 24 hours, treat that timeframe as a hard rule, not a suggestion.
When recoating after the full cure window has passed, lightly sand the surface first and wipe it clean before applying the next coat. This ensures the new coat bonds correctly to the previous coat without causing adhesion issues.
To achieve a smooth, professional finish, apply thin, even coats of paint throughout the entire project. Each coat should be light enough that it appears slightly translucent when first applied it will build opacity as you add layers.
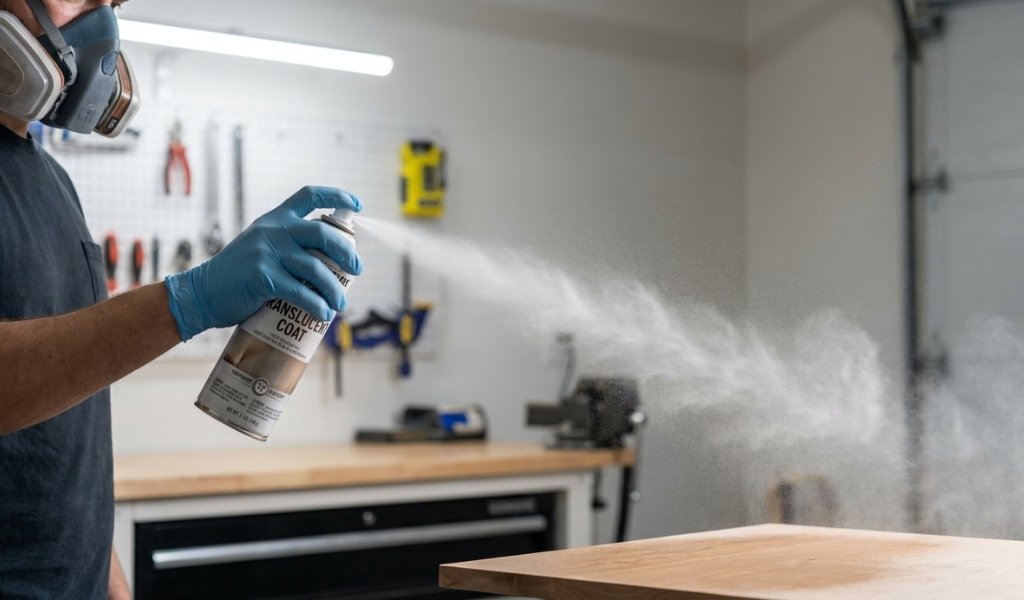
Maintain consistent spray distance, keep the can or gun moving at a steady pace, and overlap each pass slightly to avoid heavy buildup at the edges. Never attempt to cover a surface in one pass. Spray paint is always more effective and more durable when applied in multiple thin coats rather than a single thick one.
Set your project up for success by choosing the right conditions. Spray in a shaded, well-ventilated area away from direct sunlight. Monitor humidity levels before starting high humidity will slow the drying process enough to make even a properly applied coat vulnerable to wrinkling.
During cooler months, be aware that low temperatures also slow solvent evaporation and can cause paint to sag or wrinkle. Keep your paint can at room temperature before use, cold aerosols produce inconsistent spray patterns and poorly atomized paint droplets that land too thick on the surface.
Controlling your environment is a simple, often overlooked step that pays significant dividends in finish quality.
If spray paint wrinkles, stop adding more coats immediately. Allow the wrinkled paint to fully cure, then sand down the affected area until the surface is flat and smooth. Clean away all dust with a tack cloth, apply a compatible primer, and re-apply paint in thin, even coats respecting the recoat window between each pass. Painting over wrinkled paint without sanding will only embed the problem deeper into the finish.
Rust-Oleum paint keeps wrinkling most often due to applying coats too thick or recoating outside the product’s designated recoat window. Rust-Oleum products have specific recoat windows typically either within the first 1 hour or after 24–48 hours depending on the formula. Applying a second coat between these windows traps solvents and causes the paint to wrinkle. Always read the label, apply thin coats, and ensure the substrate is clean and properly primed before starting.
Spray paint ripples or crinckles as it dries when the outer surface skins over before the paint beneath has fully dried. This is typically caused by applying the paint too thickly, painting in direct sunlight, or spraying in high humidity. The surface layer hardens while trapped solvents in the lower coat continue to evaporate and move pushing against the hardened skin and creating ripple or crinkle patterns across the finish.
No. Applying a new coat of paint directly over wrinkled paint without sanding will not fix the problem the new coat will either wrinkle again or peel away as the damaged layer beneath continues to fail. The wrinkled layer must be sanded down to a flat, stable surface before any new paint is applied. In cases of severe wrinkling, stripping back to bare substrate and starting from fresh primer is the most reliable approach.
The most common mistakes that cause the paint to wrinkle include: applying coats too thick, recoating too soon or too late, spraying in high humidity or direct sunlight, skipping primer on bare metal or bare wood, and using incompatible paint systems where the solvent in one product attacks the layer beneath. Proper surface preparation including cleaning with a degreaser and using a compatible primer eliminates most of these failure points before the first coat is ever applied.