Physical Address
304 North Cardinal St.
Dorchester Center, MA 02124
Physical Address
304 North Cardinal St.
Dorchester Center, MA 02124

Stained wood sitting in your living room, begging for a refresh but the thought of hauling out the sandpaper and spending an entire weekend covered in dust? That stops most DIYers before they even start.
Here’s the good news: you can absolutely paint over stained wood without sanding, provided you use the right prep process. The no-sand method relies on chemical deglossers and high-adhesion bonding primers to replace the mechanical roughening that traditional sanding provides. Before we go further, it’s worth understanding what is sanding and why it matters. Sanding creates a micro-abraded surface for paint to grip. When you skip it, you need chemistry to do that job instead.
This guide walks through exactly how to do that. You’ll learn which products actually work, where the no-sand approach is reliable, and where cutting corners will cost you a repaint job six months later. Whether you’re tackling kitchen cabinets, a wood furniture makeover, or interior trim, this is the complete, no-fluff breakdown of how to paint stained wood the right way without heavy sanding.
Yes but the honest answer comes with conditions. On smooth, sealed, and structurally sound surfaces like cabinets, dressers, and trim, skipping sanding is entirely feasible. The no-sand approach works because chemical deglossers and quality bonding primers compensate for what sandpaper would otherwise do: remove gloss, open the surface, and create mechanical adhesion.
What you cannot do is simply brush a fresh coat of paint over old stain and expect it to adhere. Without disrupting the surface either mechanically or chemically paint will peel within weeks, especially in high-traffic areas. The process still requires real preparation. You’re not skipping prep altogether; you’re substituting one method for another.
Stain penetrates wood fibers and often gets sealed with varnish, polyurethane, or lacquer. That topcoat creates a glossy, non-porous barrier. When you apply latex paint or any standard coat of paint directly over a glossy sealed surface, the paint has nothing to grip. The result is poor paint adhesion, bubbling, and peeling often within the first few weeks of use.
Coats of stain combined with a varnish layer are particularly problematic because they create two separate barriers to adhesion. Oil-based finishes are even harder for water-based paint to bond with.
No-sand methods work by breaking down or etching that glossy topcoat chemically. A liquid deglosser sometimes called liquid sandpaper uses solvents to scuff the surface at a molecular level, creating the same kind of texture that 150-grit sandpaper would leave behind. Follow that with a stain-blocking bonding primer, and you’ve built a proper foundation for your new paint to adhere to without having to sand wood at all.
Before any deglosser touches the surface, the wood needs to be genuinely clean. Grease, wax, furniture polish, and grime all prevent chemical deglossers from doing their job properly.
Krud Kutter is one of the most widely recommended heavy-duty cleaners for paint projects. It cuts through built-up wax and grease without damaging the wood tone underneath. You can find it at Home Depot and most paint stores.
Once clean, a liquid deglosser brand like Wilbond or Klean-Strip’s liquid sandpaper is applied with a cloth to dull the glossy surface. This step is non-negotiable when you want to paint stained wood without sanding. The deglosser chemically scuffs the sealed layer, giving your primer something to grip. For best results, work in sections and let the deglosser fully flash off before moving to the next step.
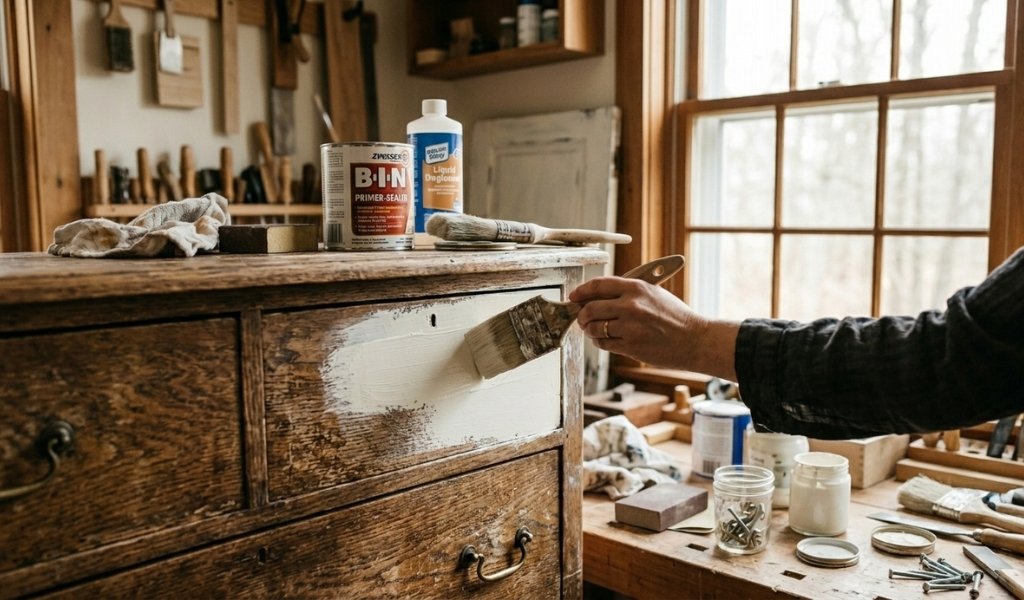
This is where most DIY paint projects either succeed or fail. A stain-blocking bonding primer does two critical jobs: it adheres aggressively to slick or previously stained surfaces, and it seals in tannins the natural compounds in wood that bleed through paint and cause yellowish or brownish discoloration.
Dark stain and wood species like oak, mahogany, and walnut are notorious for tannin bleed-through. Without a proper stain-blocking primer, tannins will migrate through your paint, turning a white or light-colored finish brown within weeks.
Top-performing options include:
For surfaces with a heavy dark stain or oil-based varnish, an oil-based primer will outperform water-based options in adhesion strength. When in doubt, use at least one coat of primer from the shellac-based or oil-based category.
Not every type of paint performs equally over stained surfaces. Here’s how to choose:
Avoid using spray paint as your only finish on heavily stained surfaces without proper priming. Spray paint can deliver a smooth, even coat, but adhesion will suffer without a bonding primer underneath.
Fill a bucket with warm water and mix in a degreasing cleaner like Krud Kutter. Wipe down the entire surface every panel, every edge, every recessed area with a lint-free cloth or scrub pad. For a piece of furniture or cabinets with years of polish buildup, you may need two rounds of cleaning.
Rinse with clean water and let it dry completely.
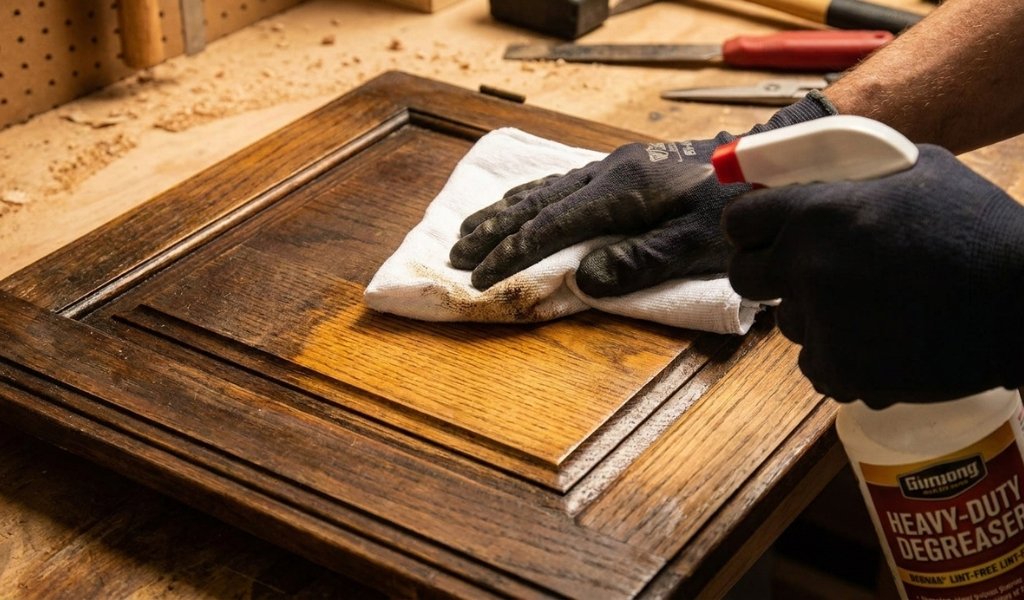
Any remaining wax or grease will prevent the deglosser and primer from bonding properly. Don’t rush this step.
Put on gloves and work in a ventilated space. Pour the liquid sandpaper or chemical deglosser onto a clean cloth and don’t apply it directly to the wood. Wipe it across the surface in the direction of the wood grain using firm, even pressure.
Work in manageable sections and let each section flash off before moving on.
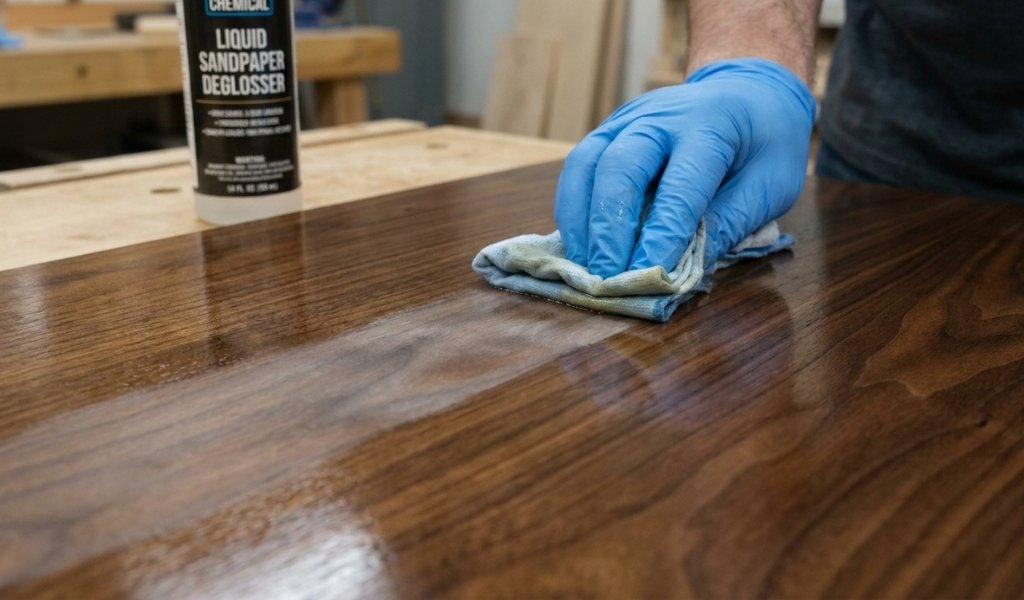
You won’t see dramatic visual change, but the surface will shift from glossy to slightly matte as the solvent does its work. That’s exactly what you want. This step is what makes it possible to skip sanding without sacrificing paint adhesion.
Let the surface dry for the time recommended on the product label typically 15 to 30 minutes.
Apply your chosen bonding primer with a quality paint brush or a short-nap roller. For furniture or cabinets, a brush gives you more control around edges and hardware holes.
One coat of primer may be enough on lightly stained surfaces. For dark stain, heavily varnished wood, or surfaces prone to tannin bleed-through, apply two coats of primer, allowing each coat to dry fully.
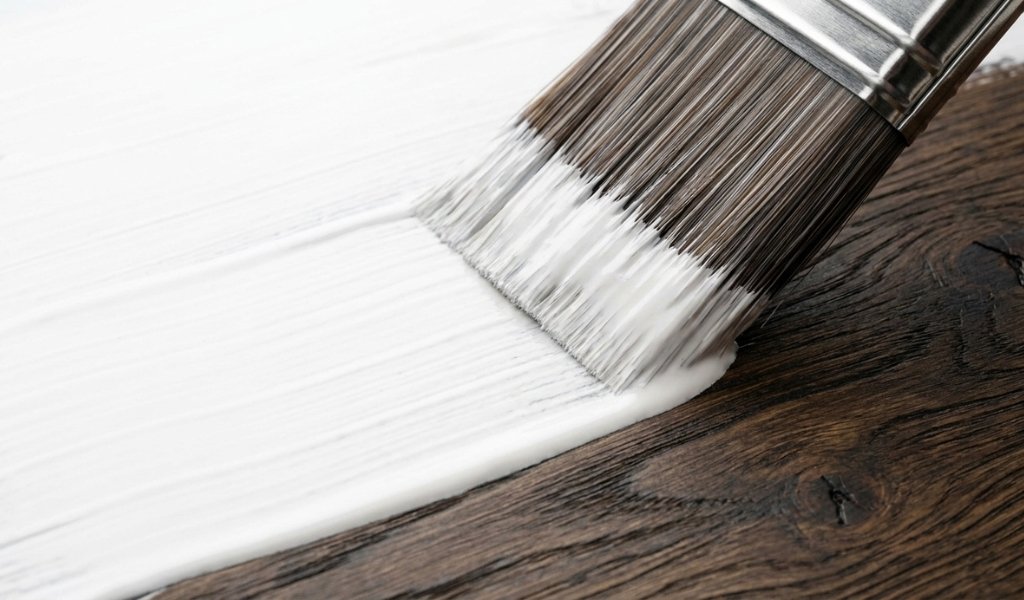
Don’t skip or rush this step; a good primer is the foundation that holds everything together.
Sand lightly between coats of primer only if you notice raised grain or rough patches. A quick scuff with 220-grit sandpaper (not heavy sanding, just a pass to smooth bumps) keeps the surface flat. Wipe away dust with a tack cloth before applying the next coat.
Thin coats of paint are the key to a smooth, professional result. Apply your first coat of paint using a high-quality brush or foam roller, working in long, even strokes in the direction of the wood grain. Avoid overloading the brush thick coats lead to drips, brush marks, and poor leveling.
Let each coat dry completely before applying the next. Most projects require two to three thin coats of paint for full coverage. Lightly scuff with 220-grit sandpaper between coats if you’re after an ultra-smooth finish, wiping away dust before each subsequent coat. For latex paint on kitchen cabinets, a satin or semi-gloss finish in two to three coats will give you durability without looking flat.
For furniture, a topcoat is essential especially on surfaces that see daily use. Options include:
Apply the sealer in thin, even coats using a brush or foam applicator. Let it dry fully between coats and apply at least two layers for adequate protection. Allow the final finish to cure for the manufacturer’s recommended time typically 24 to 72 hours before returning items to heavy use.
The no-sand approach works best on smooth, sealed surfaces in good structural condition. Specifically:
In these scenarios, a quality bonding primer and thorough deglosser application will give you results that rival traditional sanding prep.
There are situations where the no-sand method is simply not enough:
In these cases, reaching for sandpaper or even a paint stripper is the correct decision. The no-sand method is a smart shortcut, not a universal solution.
Yes, you can paint over stained wood without sanding, provided the existing finish is in good condition, not peeling or flaking. The process requires a chemical deglosser to etch the glossy surface and a high-adhesion stain-blocking bonding primer to ensure the new paint adheres properly and tannin bleed-through is prevented.
Clean the surface thoroughly with a degreaser like Krud Kutter, apply a liquid sandpaper or chemical deglosser, prime with a stain-blocking bonding primer (one to two coats), then apply thin coats of paint, allowing full drying between each coat. Finish with a protective topcoat for durability. Following this sequence is essential skipping steps will compromise adhesion.
Latex paint, chalk paint, and mineral paint are all suitable options for painting over stained wood without sanding. Chalk paint and mineral paint offer better natural adhesion and require less intensive prep. Latex paint in a satin or semi-gloss finish is ideal for kitchen cabinets and trim but requires a proper bonding primer underneath to adhere well.
Yes, KILZ primer, particularly KILZ 2 All-Purpose or KILZ Original oil-based, is formulated to adhere to previously stained and sealed surfaces without sanding. For surfaces with dark stain or heavy tannin content, KILZ Original (oil-based) or Zinsser BIN shellac primer will provide stronger stain-blocking performance. Always apply it over a deglossed surface for the best results.
Skipping prep and primer is one of the most common causes of paint failure on stained wood. Without a deglosser, paint will not adhere to the glossy sealed surface. Without a stain-blocking primer, tannins will bleed through and discolor the new paint often within days. The result is peeling, bubbling, and blotchy discoloration that typically requires a full strip and repaint to fix properly.