Physical Address
304 North Cardinal St.
Dorchester Center, MA 02124
Physical Address
304 North Cardinal St.
Dorchester Center, MA 02124


Most woodworkers learn sanding the hard way. They grab a sheet of sandpaper, work through a few grits, and wonder why their finish still looks uneven. The real question isn’t just how to sand it’s knowing when to sand wet or dry, and why that decision changes everything about your final result.
So, is it better to sand wood wet or dry? The short answer is: it depends on the stage you’re at. Dry sanding handles raw wood and material removal. Wet sanding refines the finish. Pros don’t choose one over the other they use both, at the right time, in the right order. For a better look at how sanding fits into every stage of a project, start with our ultimate guide to woodworking sanding techniques , which covers everything from tool selection to finishing sequences.
This guide breaks down the full workflow, from raw lumber to a smooth, mirror-like finish. Whether you’re a hobbyist trying to level out a polyurethane coat or a production woodworker looking to tighten up your process, you’ll walk away with a clear system that actually works.
Dry sanding is exactly what it sounds like: sanding wood without any liquid lubricant. You work the sandpaper directly against the surface, removing material through friction. It’s the standard starting point for almost every woodworking project.
Most woodworkers begin with a rougher grit (like 80 or 100) to flatten surfaces and remove mill marks, then work up through progressively finer grits, typically 120, 150, 180, and sometimes 220, before applying any sealer or finish.
The sanding process strips away the wood’s surface fibers, opening up the pores and preparing the grain to accept stain, oil, or a topcoat evenly. Done correctly, dry sanding leaves you with a clean, smooth wood surface that’s ready for the next step.
When you’re working on large panels, tabletops, or cabinet faces, dry sanding is simply faster. Belt sanders, random orbital sanders, and wide drum sanders all work best in dry conditions. They remove material quickly, and the debris is pulled away through dust extraction systems.
Wet sanding on raw wood would create a paste-like slurry of wood fiber and water that clogs your sandpaper almost immediately and makes a mess that’s difficult to manage. With dry sanding, the abrasive stays cleaner for longer, especially when you’re using open-coat sandpaper designed to resist clogging.
One of the biggest practical advantages of dry sanding is that you can move straight from one stage to the next. Sand the surface, brush or vacuum away the dust, and you’re ready to apply a sealer or stain. There’s no waiting for the wood to dry out before you can proceed.
This matters enormously in production environments where time equals money. Introducing water to raw wood raises the grain and forces you to stop and wait, which breaks your workflow.
Dry sanding works across the full range of wood species, from tight-grained hardwoods like maple and cherry to open-grained species like oak and ash. It’s also the only safe option when you’re working with wood that hasn’t been sealed, since raw wood absorbs moisture unevenly and can warp or buckle if you apply water at this stage.
Wet sanding uses a liquid lubricant, usually water with a small drop of dish soap to reduce surface tension, to keep the sandpaper from clogging and to carry away the fine abrasive slurry created during sanding. The sandpaper used for wet sanding is a specific type called wet-or-dry sandpaper, typically made with silicon carbide abrasive bonded to a waterproof backing.
Instead of removing bulk material, wet sanding is a precision technique. You’re working at very fine grit levels, often 400, 600, 800, 1000 grit or higher, to level out micro-imperfections in a cured finish coat.
The process is simple in principle. You apply water to the surface using a spray bottle or a wet sponge, then sand with light, even pressure. The lubricant keeps the grit paper gliding smoothly rather than biting into the finish, which prevents deep scratches and gives you much finer control.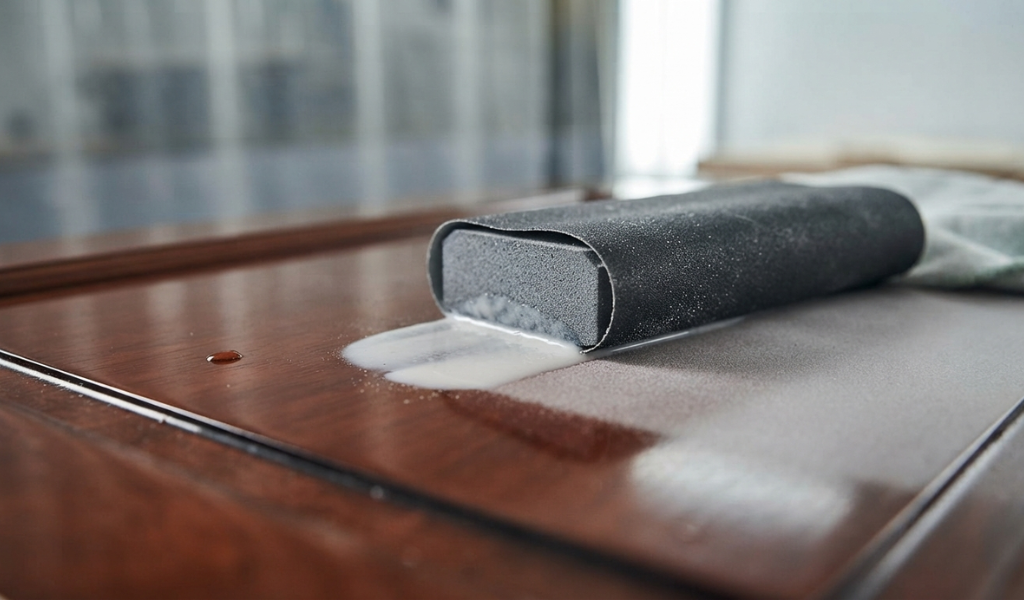
No matter how clean your shop is, dust particles settle into wet finish coats. Once the finish cures, those tiny bumps, called nibs, create a rough texture that looks and feels unprofessional. Wet sanding with 400 to 600 grit sandpaper knocks those nibs down without cutting through the finish layer.
Because the water acts as a lubricant, you’re polishing rather than cutting aggressively. The result is a uniform, flat surface that’s ready for the next coat or for final buffing.
Polyurethane and lacquer are common topcoats in woodworking, but they don’t always lay down perfectly flat. You can end up with brush marks, orange peel texture, or uneven sheen across the surface. Wet sanding between coats and after the final coat corrects these problems.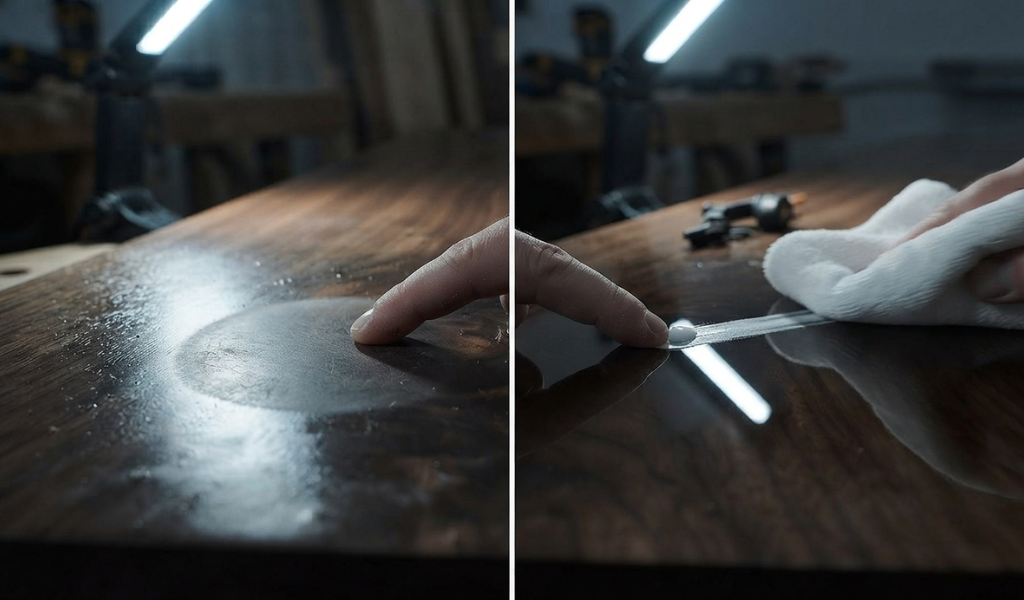
The technique here is to use wet or dry sandpaper at around 800 to 1000 grit, work in consistent passes, and wipe away the slurry with a clean paper towel or cloth as you go. After sanding, you buff the surface with a polishing compound to restore clarity and bring up the sheen.
This is how a standard finish becomes a mirror-like finish. The sanding removes the unevenness, and the polishing removes the fine scratches left by the sandpaper.
This question comes up constantly, and the answer that actually helps is this: dry sanding and wet sanding do different jobs. Asking which one is better is like asking whether a chisel or a handplane is better. They’re not competing. They each have a purpose.
Dry sanding is better for:
Wet sanding is better for:
If you use wet sanding on raw wood, you’ll raise the grain and create uneven absorption when you apply your finish. If you only use dry sanding and skip wet sanding on your finish coats, you’ll struggle to get a truly smooth, professional result.
In a production shop, the decision comes down to what stage you’re at. Experienced woodworkers think of the sanding process in stages, not as a single task. Each stage has a method that fits it, and mixing them up wastes time or damages the work.
When raw lumber comes into the shop, you start with dry sanding. Begin at a grit appropriate for the condition of the wood. Rough, uneven stock might call for 60 or 80 grit. Pre-surfaced material from the mill might start at 100 or 120.
Work through your grit levels progressively. Don’t skip more than one grit at a time, or you’ll leave scratches behind that show through your finish. Finish this stage at 180 or 220 grit, and vacuum or blow off all the dust before moving forward.
After your first coat of sealer or stain, the wood fibers absorb moisture and stand up slightly. This is called grain raising, and it creates a rough surface even on wood you just sanded smooth. At this stage, a light dry sanding with 220 or 320 grit knocks down the raised grain without cutting through the thin sealer coat.
Wipe down the surface with a tack cloth, and you’re ready to apply your next coat.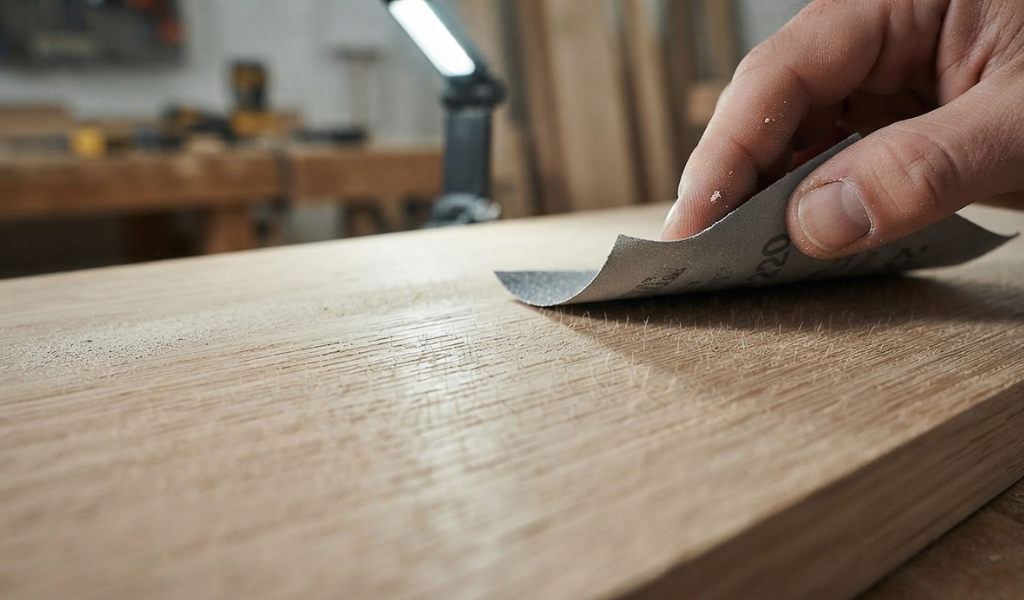
Once you have one or two full finish coats down and fully cured, wet sanding comes into the workflow. Use 400 grit wet-or-dry sandpaper with water and a drop of dish soap as your lubricant. Sand lightly and evenly, wipe away the slurry, and inspect the surface before applying the next coat.
After your final coat, wet sand up to 800 or 1000 grit to level the finish completely. Then buff with a polishing compound to bring up the sheen. This is the step that separates a good finish from a great one.
Dry sanding is aggressive and efficient. It’s the tool for shaping and prepping, removing scratches from machining, flattening glue joints, and getting the wood surface to exactly the level of smoothness you need before you apply anything to it.
Trying to do this work with wet sanding would be slow and impractical. Fine grit wet-or-dry sandpaper doesn’t remove material fast enough, and the water would cause problems at this stage of the process.
A smooth finish isn’t just about how it feels. It’s also about how it looks. Light scatters off an uneven surface and creates a hazy, dull appearance. Wet sanding at fine grit levels flattens the micro-topography of the finish so that light reflects evenly, creating that clear, glass-like look.
This is why wet sanding is standard practice in automotive finishing, instrument making, and high-end furniture production. Whenever optical clarity matters, wet sanding is the tool that gets you there.
For dry sanding, a good dust extraction system is non-negotiable. Sanding dust is a health hazard, and it also settles back onto surfaces and ruins your finish coats. A dedicated shop vacuum or central extraction system connected to your sander keeps the air clean and the surface clear.
Many random orbital sanders now come with integrated dust collection ports. Pair these with good quality, open-coat sandpaper, and you’ll significantly reduce clogging and extend the life of your abrasives.
For wet sanding by hand, silicon carbide wet-or-dry sheets are the go-to choice. They’re flexible, waterproof, and available in the fine grits you need for finish work. Wrap them around a rubber sanding block to keep your pressure even and avoid creating low spots.
For larger flat surfaces, some pros use a random orbital sander with wet-or-dry discs, though this requires care to avoid cutting through the finish. Hand sanding gives you more control when you’re working on final coats.
The woodworkers who get the best results are the ones who stop thinking of wet sanding and dry sanding as separate techniques and start treating them as two parts of one complete workflow. Each method does something the other can’t.
Dry sanding preps the wood. Wet sanding perfects the finish. Together, they give you a surface that looks professional because it was built that way, step by step, with the right tool at the right time.
If you’re just starting out, practice wet sanding on a scrap piece with a few coats of polyurethane. Learn how the lubricant feels, how much pressure to use, and when to stop. Once you get comfortable with that process, plug it into your regular finishing workflow and watch the quality of your work improve immediately.
After going through the full picture of wet sanding vs dry sanding, the takeaway is straightforward. Use dry sanding to prep raw wood, and use wet sanding to refine your finish. Neither method is superior on its own; the skill is knowing when to switch between them.
For most woodworking projects, you’ll spend the majority of your sanding time working dry, then shift to wet sanding only in the final finishing stages. That balance keeps your workflow efficient and your results consistent.
If you’re working toward a truly smooth wood surface, one that looks as good as it feels, then building the hybrid method into your process is the single most effective thing you can do.
The most common mistake is skipping grit levels. Many woodworkers jump from 80 grit straight to 220 grit, thinking they’re saving time. What actually happens is that the deep scratches left by the coarser grit don’t get removed by the finer grit, and they show through the finish. Always move through grits in order, typically no more than one step at a time.
Sand with the grain, not against it. Cross-grain scratches are very difficult to remove and become highly visible once a finish is applied. On flat surfaces, keep your strokes parallel to the wood grain. On curved or shaped surfaces, use flexible sandpaper and follow the contour as closely as possible.
For raw wood, this isn’t usually a concern unless the wood has been recently treated or exposed to moisture. If you’ve applied a water-based finish or sealer, allow it to dry fully, typically 2 to 4 hours, before sanding. Oil-based finishes take longer and may need 24 hours or more. Always check the manufacturer’s guidance for the specific product you’re using.
WD-40 is sometimes used as a lubricant for wet sanding on painted or automotive surfaces, but it’s not a good choice for woodworking finishes. It can leave an oily residue that interferes with additional finish coats and affects adhesion. For wood finishing, stick with water and a small drop of dish soap. It lubricates the sandpaper effectively and wipes away cleanly without leaving any residue behind.
The main advantages of dry sanding are speed, versatility, and compatibility with power tools and dust extraction. It works on all wood types, at any stage of prep, and doesn’t require drying time afterward. The downsides are that sandpaper can clog faster, especially on resinous woods, it generates a lot of fine dust, and it’s not suitable for leveling cured finish coats where you need finer control.
Dry sanding uses no liquid and is designed for removing material and prepping surfaces. Wet sanding uses water or another lubricant to reduce heat, prevent clogging, and provide a finer, more controlled cut. Wet sanding is done at much higher grit levels and is used specifically for smoothing and polishing finish coats, not for working on raw wood.