Physical Address
304 North Cardinal St.
Dorchester Center, MA 02124
Physical Address
304 North Cardinal St.
Dorchester Center, MA 02124
Brick is tough, but it’s also surprisingly easy to crack if you rush the job. One wrong move with the wrong drill bit, and you’ve got a split brick staring back at you. The good news? Learning how to drill into brick without cracking it isn’t complicated once you understand what you’re working with. With the right tools, a steady hand, and a little patience, you can hang shelves, mount a TV, or secure a heavy fixture without damaging your wall.
This guide walks you through everything you need, from picking the best drill and bit to the exact technique that keeps your brick in one piece. We’ll also cover why brick cracks in the first place, how to avoid those cracks, and what to do if something goes wrong.
To drill into brick without cracking it, use a hammer drill with a sharp masonry bit, mark the drilling location carefully, stay at least one inch away from the brick edge, and drill slowly with steady pressure. Avoid forcing the drill, clear dust regularly, and use the correct wall anchor for a secure installation.
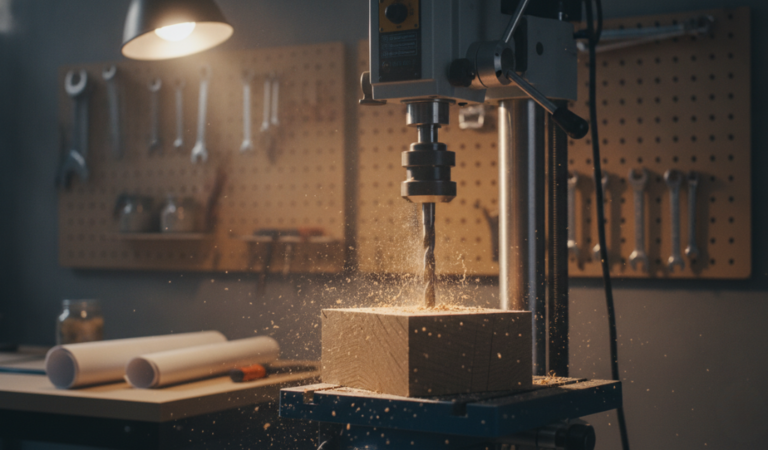
Let’s start with the basics. Brick drilling is simply the process of boring a hole into a brick or masonry surface so you can fix something to it, like a shelf bracket, a handrail, or an outdoor light. Sounds simple enough, but brick behaves very differently from wood or drywall.
Wood gives way easily. Drywall is soft and forgiving. Brick, on the other hand, is hard and brittle. That combination is exactly what makes it tricky. The hardness means you need real power to get through it, while the brittleness means too much force can shatter it. Understanding this balance is the first step to drilling clean, crack-free holes.
Before you pick up a drill, it helps to know why brick cracks in the first place. Most cracks come down to a handful of avoidable mistakes.
The biggest culprit is using the wrong drill bit. A standard twist bit meant for wood or metal simply can’t handle brick. It overheats, slips, and puts uneven stress on the material until it splits. Excessive force is another common problem. People assume that pushing harder helps, but pressing too aggressively often does more harm than good.
Drilling too close to the edge of a brick is a recipe for trouble too, since there’s not enough surrounding material to absorb the pressure. Heat plays a role as well. When a bit gets too hot, it stresses both the bit and the brick around it. Add a dull or damaged bit into the mix, and your chances of cracking go up even further. The takeaway is simple: most cracks aren’t caused by the brick being weak, but by the technique being wrong.
Picking the right drill makes the whole job easier. The best choice depends on how hard your brick is, how big the project is, and how much power you actually need.
For a single picture frame, you don’t need an industrial machine. But for mounting something heavy or drilling through several bricks, you’ll want serious hammering power. Think about whether you have easy access to a power outlet, how long you’ll be drilling for, and whether portability matters. Once you’ve weighed those factors, choosing between the main types of drills becomes much clearer.
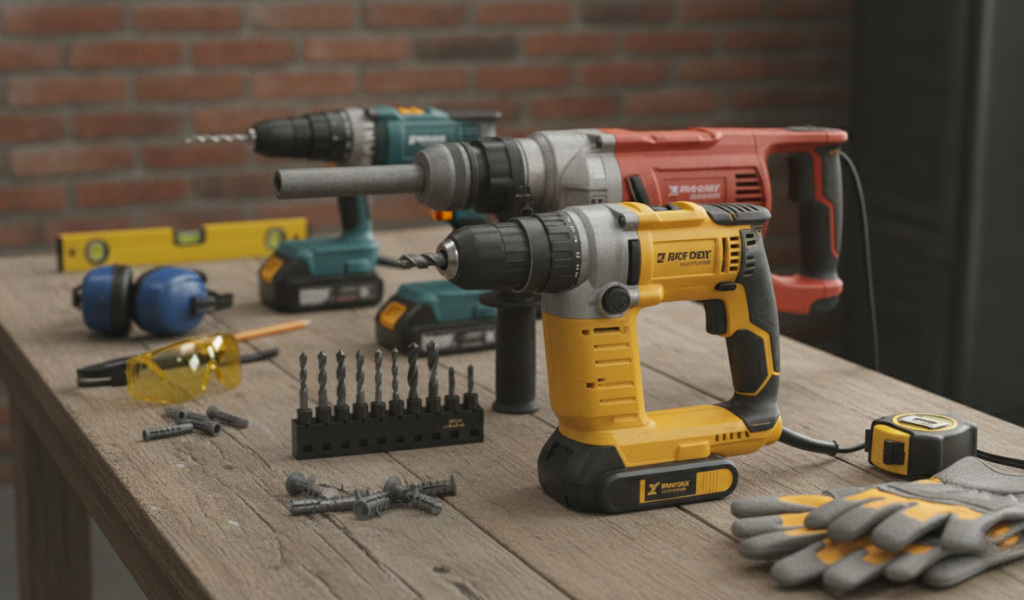
Here are the four drill types worth knowing about when working with brick:
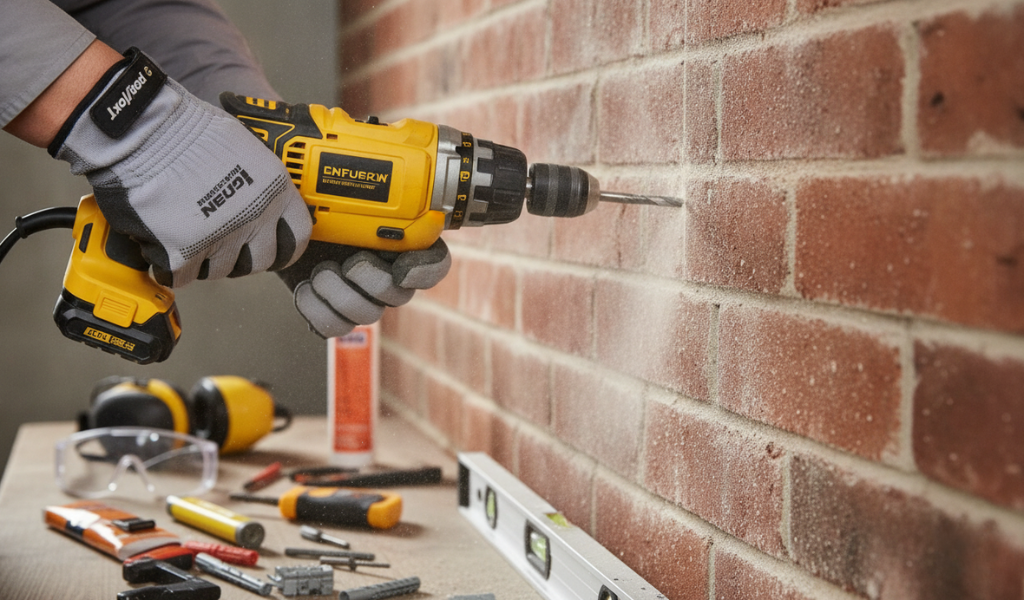
Hammer drills are the everyday hero for brick work. They combine a normal spinning motion with a rapid hammering action, which gives you the punch needed to break through hard surfaces. For most DIY jobs around the home, a hammer drill is all you’ll need.
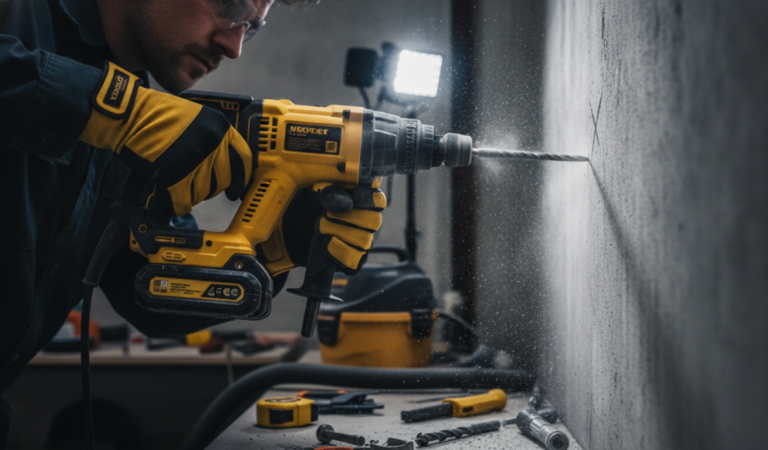
Rotary hammer drills, often called SDS drills, take things up a notch. They deliver a much stronger hammering action and are built for heavy-duty work in concrete, brick, and stone. If you’re tackling a big or demanding project, this is the tool to reach for.
Corded drills give you steady, reliable power with no battery to worry about. They’re great for longer jobs or anytime you have a power outlet nearby.
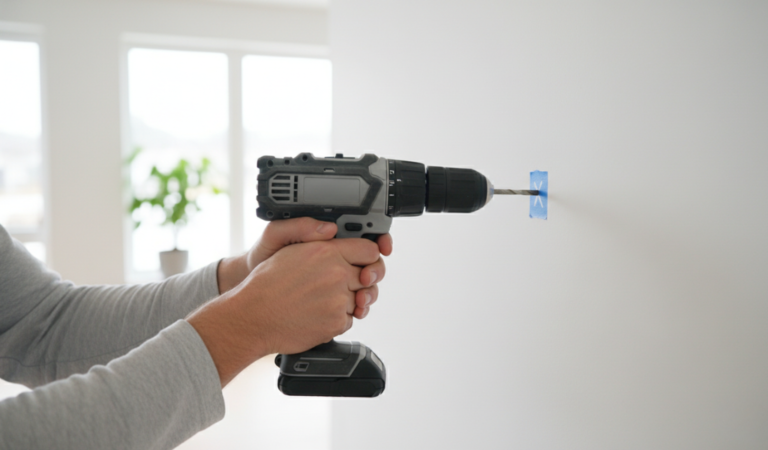
Cordless drills trade some of that consistent power for freedom of movement. They’re perfect for quick tasks or working in spots where plugging in isn’t practical. Just keep an eye on the battery if you’ve got a lot of drilling ahead.
The drill matters, but the bit matters just as much. Get this wrong and even the best drill won’t save your brick.
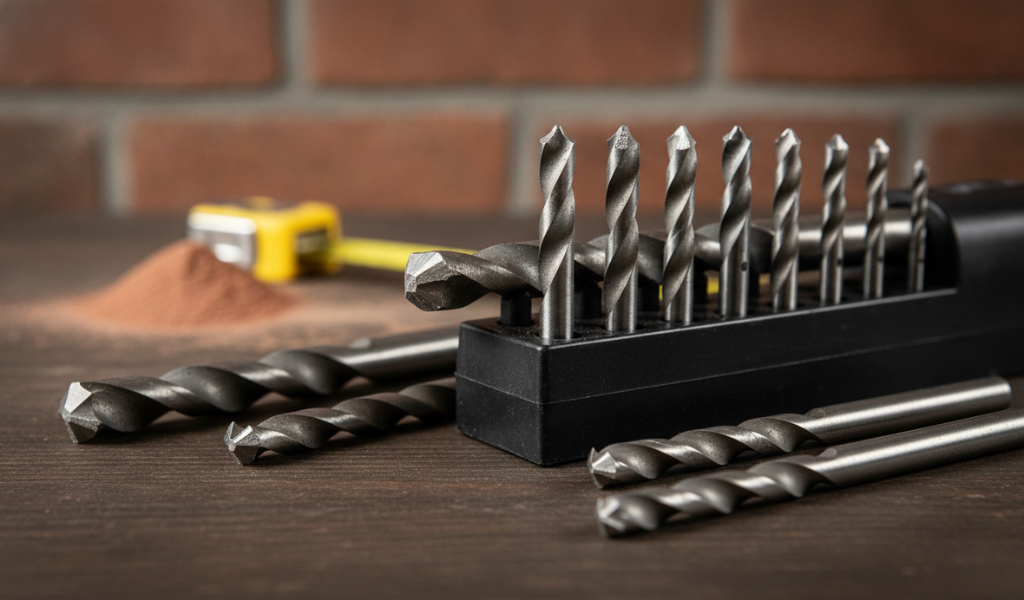
For brick and masonry, you want a masonry bit. These are made specifically for hard, brittle materials and feature a carbide tip that handles the heat and pressure of drilling through brick, concrete, and stone. The carbide tip also resists dulling, so the bit lasts longer and cuts more cleanly.
It’s just as important to know which bits to avoid. Twist drill bits are built for wood, metal, and plastic, not brick, and using one on masonry will likely damage both the bit and the wall. Spade bits and auger bits are designed for boring holes in wood and have no place in a brick wall.
There are a couple of specialty options too. Tile bits, with their diamond or carbide tips, are made for ceramic and porcelain rather than brick. And if you need a larger opening, say for a pipe or cable, a hole saw can cut bigger holes in masonry and other materials. For most home jobs, though, a quality masonry bit is your go-to.
Beyond the drill and bit, a few extra items make the job safer and more accurate:
Drilling brick kicks up sharp dust and loud noise, so don’t skip the safety gear. It only takes a second to put on and saves you a lot of grief.
A little prep goes a long way toward a clean, crack-free hole. Rushing into the wall without thinking it through is how mistakes happen.
Start by choosing your location carefully. Where possible, drill into the brick itself rather than the mortar joints, since the joints are weaker and more likely to crumble. Think about what the fixture needs to support and whether the spot makes sense both visually and structurally. Before you go any further, use a stud finder or detector to check for hidden wires and pipes. This step is easy to skip and dangerous to ignore.
Next, mark your spot with a pencil and use a level to make sure it’s lined up correctly. For very hard bricks, it’s worth creating a small pilot hole first. You can do this with a smaller masonry bit or even a nail and hammer. A pilot hole gives the main bit something to follow, so it won’t wander or slip across the surface.
Now for the main event. Follow these steps and you’ll drill a clean hole without cracking your brick.
Identify your wall type. Figure out whether you’re dealing with a solid brick wall, a cavity wall, or a brick veneer. This tells you what tools and techniques suit the job.
Check for wires and pipes. Run a stud finder or detector over the area one more time. Hitting a live wire or water pipe can cause injury, electric shock, or serious damage, so never skip this.
Mark the drilling point. Use your pencil and level to mark exactly where the hole should go. A clear, accurate mark keeps the bit from drifting on the hard surface.
Drill slowly and steadily. Set your drill to a low speed and apply moderate, even pressure. Don’t force it. Keep the drill perpendicular to the wall so you don’t end up with a slanted or oversized hole. If the bit gets hot, dip it in water to cool it down and protect both the bit and the brick.
Clear the dust. Stop now and then to remove dust from the hole with a vacuum or brush. Built-up debris clogs the bit and slows your progress.
Insert an anchor if needed. For a stronger hold, tap a wall anchor into the finished hole before adding your screw.
Drive the screw. Finally, drive your screw into the hole or anchor to secure your fixture in place.
That’s it. Take your time on step four in particular, because slow and steady really does win this race.
Sometimes drilling into the mortar joint makes more sense, especially if you might want to remove the fixture later and keep the brick untouched. Mortar is softer than brick, so the approach changes a little.
Use a masonry bit, but dial down both your speed and pressure since mortar cracks more easily under force. Start slowly and build up gradually as the bit bites in. Clear the dust regularly to keep things moving smoothly. One important caution: don’t drill too deep. Going too far can weaken the joint and affect the wall’s stability. Mortar is a great option for lighter fixtures, but treat it gently.
If there’s one section to remember, it’s this one. Here’s how to avoid brick cracks when drilling, summed up in a few simple habits.
Always drill at least an inch from the edge of the brick. The extra material around your hole absorbs the stress and keeps the brick intact. Apply steady, moderate pressure rather than leaning on the drill or jerking it around. Sudden changes in force are what cause splits.
For hard bricks, start with a smaller pilot hole to ease the bit in and reduce stress. And never underestimate the value of a sharp, good-quality bit. Dull bits generate extra heat and force, both of which raise your chances of cracking. Stick to these four habits and you’ll dramatically cut the risk of damage.
Drilling the hole is only half the story. To hang something securely, you’ll usually need the right anchor. The best choice depends on the weight of your object, the type of brick, and the size of your hole.
For lighter items like picture frames or small shelves, plastic expansion anchors do the job nicely. They expand as you drive the screw in, gripping the brick. For heavier loads, metal expansion anchors (also called sleeve anchors) offer more strength. When you need serious holding power for heavy-duty fixtures, wedge anchors grip hard as the screw tightens.
A few other options are worth knowing. Tapcon screws are self-tapping masonry screws that cut their own thread, so you don’t need a separate anchor. Screw anchors suit lighter fixtures. And for structural or high-strength jobs, chemical anchors use injected resin that hardens into an incredibly strong bond. Match the anchor to the weight you’re hanging, and your fixture will stay put for years.
Even careful work can throw up the odd hiccup. Here’s how to handle the most common ones.
If you end up with a cracked brick, don’t panic. Minor cracks can often be repaired with epoxy or a suitable filler. To avoid cracks next time, keep steady pressure, stay away from the edges, and use sharp bits.
Running into difficult drilling? If the brick is extremely hard, switch to a more powerful drill or start with a pilot hole to reduce stress. If you suddenly hit metal, stop immediately. It could be a wire or pipe, and pushing on could be dangerous.
Two other issues crop up now and then. Drill bit binding happens when dust packs into the hole and stalls the bit. Clear the dust often and use a little water to cool and lubricate. Drill wandering, where the bit skates across the surface, is best fixed with a pilot hole or a drill guide to keep things on track.
Drilling into brick really comes down to three things: the right tools, the right preparation, and a slow, steady hand. Choose a hammer drill paired with a quality masonry bit, keep your hole an inch from the edge, and let the tool do the work instead of forcing it. Do that, and crack-free results become the norm rather than luck.
Whether you’re hanging a single frame or mounting something heavy, the same principles apply every time. So take your time, gear up safely, and tackle that wall with confidence. Got a project lined up? Grab the right drill and bit, and put these tips to work on your next brick job.
What is the best drill for drilling into brick?
A hammer drill is the best choice for most home brick projects because it combines spinning and hammering action to break through hard surfaces. For heavy-duty work in concrete or stone, a rotary hammer drill (SDS drill) gives you even more power.
What drill bit should I use for brick?
Use a masonry bit with a carbide tip. It’s designed to handle the heat and pressure of drilling into hard, brittle materials like brick, concrete, and stone. Avoid twist, spade, and auger bits, as those are made for wood or metal.
Why does my brick keep cracking when I drill?
Brick usually cracks because of the wrong bit, too much force, drilling too close to the edge, or overheating. Use a sharp masonry bit, apply steady pressure, stay at least an inch from the edge, and cool the bit with water if it gets hot.
Should I drill into the brick or the mortar?
Drill into the brick for the strongest hold. Mortar is softer and weaker, but it’s a good option if you want to remove the fixture later and keep the brick undamaged. Just use lower speed and pressure when drilling mortar.
Do I need a hammer drill, or will a regular drill work?
A hammer drill makes brick drilling far easier and reduces the risk of cracking. A regular drill can sometimes manage softer brick with a masonry bit, but it takes longer and puts more strain on both the bit and the wall.
How far from the edge of a brick should I drill?
Aim for at least an inch from the edge. This leaves enough surrounding material to absorb the pressure and keeps the brick from splitting.
Can a cracked brick be fixed after drilling?
Yes. Minor cracks can usually be repaired with epoxy or a masonry filler. For larger or structural cracks, it’s best to consult a professional.