Physical Address
304 North Cardinal St.
Dorchester Center, MA 02124
Physical Address
304 North Cardinal St.
Dorchester Center, MA 02124

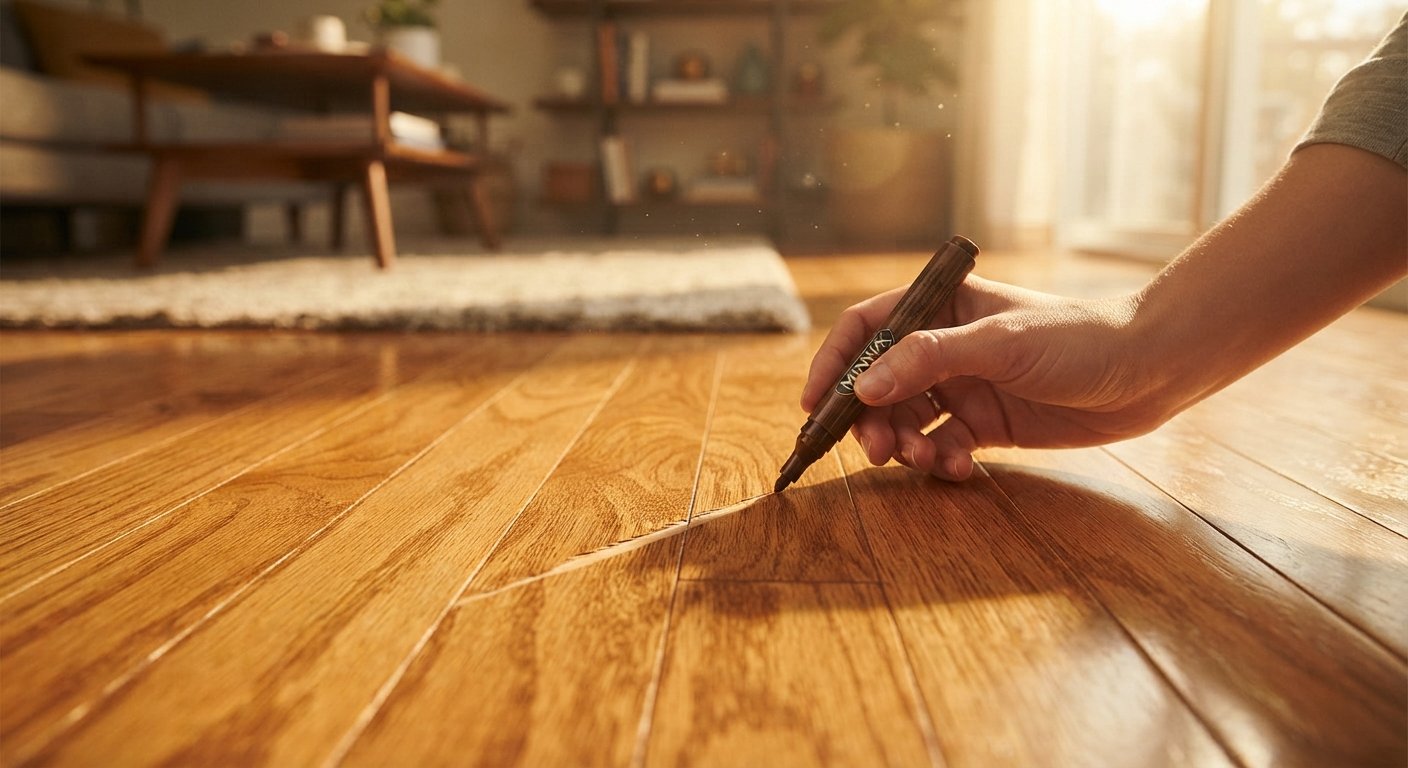
Hardwood floors bring warmth and value to a home, but they’re not invincible. A dragged chair, a dog’s nails, or a stray pebble stuck to a shoe can leave behind scratches that catch the eye the moment sunlight hits the floor. The good news is that most scratches on hardwood floors can be fixed without calling in a professional or spending a fortune.
This guide walks you through everything you need to know about fixing scratches on hardwood floors, from identifying the type of damage to matching your floor’s finish so the repair blends in seamlessly. Whether you’re dealing with a few light surface marks or a deep gouge from moving furniture, you’ll find practical, tested solutions below.
Hardwood floors take a beating every single day, even when we don’t notice it. Foot traffic, furniture legs, pet claws, and tiny grit particles tracked in from outside all contribute to wear over time. Even something as small as sand or dirt on the bottom of your shoes acts like sandpaper against the wood’s surface finish.
High-traffic areas like hallways, kitchens, and living rooms tend to show scratches first because they see the most movement. Homes with pets are especially prone to scuffing, since claws can dig into the finish with every step. Moving furniture without sliders or pads is another common culprit, often leaving behind long, visible drag marks.
Understanding the cause of your floor’s scratches helps you prevent future damage while also giving you a clearer picture of what kind of repair you’re dealing with.
Before grabbing any repair product, take a close look at the scratch. The right fix depends entirely on how deep the damage goes. Run your fingernail across the mark. If your nail catches, it’s deeper than it looks.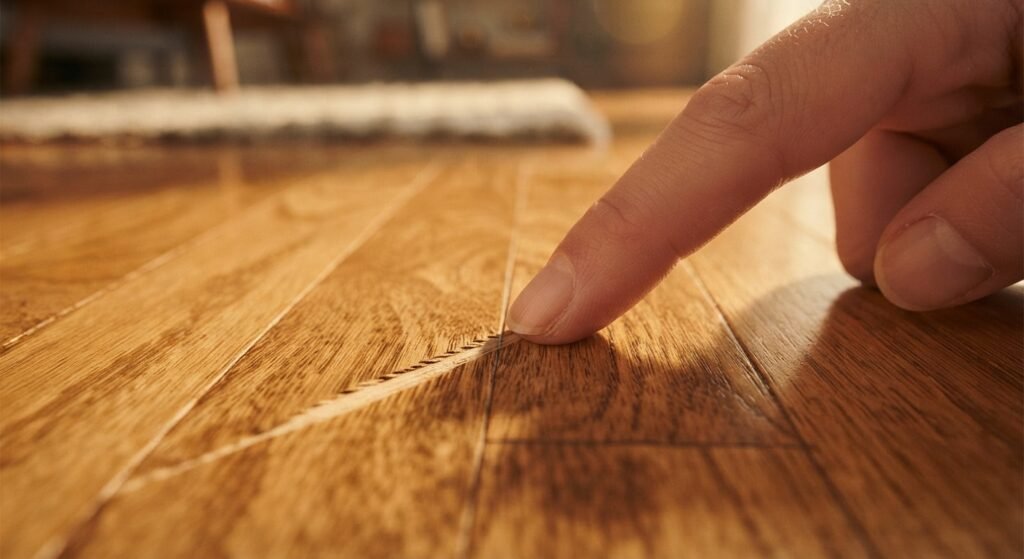
Surface scratches are the mildest form of damage. They typically affect only the floor’s protective topcoat, not the wood itself. These marks often look like faint lines or a slight dulling in the finish, and they’re usually caused by light foot traffic, dust, or minor friction.
Light scratches go a bit deeper than surface marks but still don’t expose the raw wood underneath. You’ll often see these from pet nails, dragging light furniture, or dropped objects. They’re visible but not dramatic, and they respond well to simple at-home treatments.
Deep scratches penetrate through the finish and into the wood itself. These are the gouges, grooves, or splinters you can feel clearly when you run a finger across them. Heavy furniture, high heels, or sharp objects usually cause this type of damage. Deep scratches require more involved repair methods, which we’ll cover shortly.
Light scratches on hardwood floors are the easiest to repair and often take less than 30 minutes. Here’s a step-by-step approach that works for most light surface damage:
Step 1: Clean the area thoroughly. Dust and debris can interfere with the repair, so wipe the scratched area with a soft, dry cloth before starting. Avoid using water at this stage, since moisture can seep into the wood grain.
Step 2: Use a wood touch-up marker or crayon. 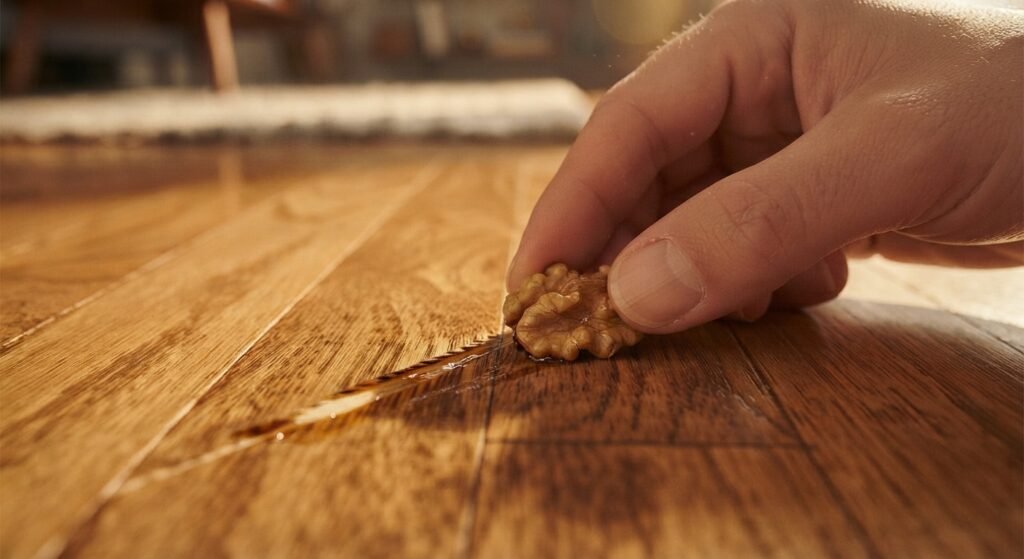 These products, available at most hardware stores, are designed to match common wood tones. Gently color in the scratch, following the direction of the wood grain, then wipe away any excess with a clean cloth.
Step 3: Try walnut for a natural fix. A surprisingly effective trick involves rubbing a raw walnut directly over the scratch. The natural oils in the walnut seep into the wood and darken the scratched area, making it far less noticeable. Buff gently with a soft cloth afterward.
Step 4: Apply a hardwood floor restorer. For slightly more noticeable light scratches, a floor restorer product can fill in minor imperfections and refresh the shine of the surrounding finish, helping the repaired spot blend in.
Step 5: Buff and polish. Once the scratch is treated, buff the area with a microfiber cloth to restore shine and ensure the repair looks uniform with the rest of the floor.
These methods work particularly well for engineered hardwood and solid wood floors with a polyurethane or similar protective finish. If the scratch remains visible after these steps, it may actually be a deep scratch rather than a light one.
Deep scratches require a more hands-on repair process since they’ve penetrated the wood itself. Don’t worry. Even deep gouges can be restored to look nearly invisible with the right technique.
Step 1: Gather your materials. You’ll need wood filler that matches your floor’s color, a putty knife, fine-grit sandpaper (220 grit works well), a tack cloth, and matching stain or finish.
Step 2: Clean and prep the scratch. Remove any dust, splinters, or loose wood fibers from the damaged area. A vacuum with a brush attachment works well for this.
Step 3: Apply wood filler.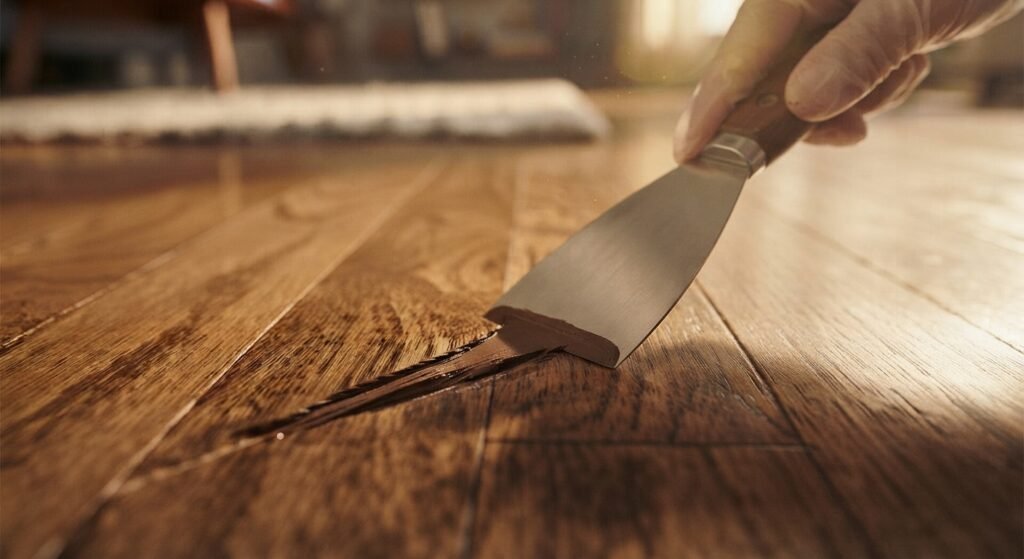 Using the putty knife, press the filler firmly into the scratch, slightly overfilling it since the product will shrink a bit as it dries. Smooth the surface as best you can.
Step 4: Let it dry completely. Follow the manufacturer’s drying time, which usually ranges from 30 minutes to a few hours, depending on the product.
Step 5: Sand the area. Once dry, sand the filled scratch gently with fine-grit sandpaper until it’s flush with the surrounding floor. Wipe away dust with a tack cloth.
Step 6: Stain and seal. Apply a matching wood stain to the repaired area, let it dry, then seal it with a finish that matches your floor’s existing topcoat, whether that’s polyurethane, wax, or oil-based finish.
For particularly deep gouges, you may need two or three thin layers of filler rather than one thick application, since this helps prevent cracking as the material cures.
One of the trickiest parts of fixing scratches on hardwood isn’t the repair itself. It’s making sure the fixed area blends seamlessly with the rest of the floor. A poorly matched repair can actually draw more attention to the damage than the original scratch did.
Start by identifying your floor’s finish type. Most hardwood floors use either oil-based polyurethane, water-based polyurethane, wax, or a penetrating oil finish. Each requires a different product for touch-ups, so check with the flooring manufacturer or a hardware store specialist if you’re unsure.
When selecting a stain or touch-up marker, test it on an inconspicuous area first, such as inside a closet or under a rug. Wood tones can vary even within the same species, and factors like sunlight exposure and age can shift the color of your existing floor over time.
Apply finish products in thin, even coats rather than one thick layer. Thin coats dry more evenly and are less likely to create a noticeable sheen difference between the repaired spot and the surrounding wood. Allow proper drying time between coats, and always finish with a light buff to even out the texture.
If you’re repairing multiple scratches across a large area, consider refinishing the entire room rather than spot-treating each mark. While spot repairs work well for isolated scratches, a full refinish often delivers a more uniform, professional-looking result when damage is widespread.
Repairing scratches on hardwood floors takes time, so preventing them in the first place saves you effort down the road. A few simple habits can dramatically reduce wear and tear.
Use furniture pads. Attach felt pads to the bottom of chair and table legs. These create a buffer between the furniture and the floor, preventing drag marks when items are moved.
Trim your pet’s nails regularly. Keeping nails short reduces the scratching that happens during normal walking and playing.
Place rugs and mats strategically. High-traffic areas like entryways and hallways benefit from rugs that catch dirt and grit before it reaches the hardwood.
Remove shoes indoors. Shoes, especially those with heels or embedded debris, are one of the leading causes of scratched floors. Encouraging a no-shoes policy at home can make a noticeable difference.
Clean regularly with the right tools. Sweep or vacuum with a soft-bristle attachment to remove grit before it gets ground into the finish. Avoid vacuum attachments with hard plastic wheels, which can scratch the surface themselves.
Reapply protective finish periodically. Over time, even the best finish wears down. Recoating your hardwood floors every few years helps maintain a strong protective layer against everyday scratches.
Taking these preventive steps won’t eliminate scratches entirely, since some wear is inevitable with daily living. But they’ll significantly slow the process, keeping your floors looking polished for years longer.
Scratches on hardwood floors are frustrating, but they’re rarely permanent. Light scratches often disappear with a simple touch-up marker or a rub of natural walnut oil, while deeper gouges respond well to wood filler, sanding, and a matching stain. The key is identifying the type of scratch you’re dealing with before choosing a repair method, then taking the time to match your floor’s finish so the fix blends in naturally.
Pair these repair techniques with a few preventive habits, like furniture pads and regular nail trims for pets, and your hardwood floors will stay in great shape for years to come. If you ever run into scratches that seem too extensive for a DIY fix, don’t hesitate to consult a flooring professional who can assess whether a full refinish makes more sense.
Can toothpaste really fix scratches on hardwood floors?
Toothpaste can offer a temporary fix for very light surface scratches by filling in tiny gaps and adding shine. However, it’s not a long-term solution and works best as a quick touch-up rather than a permanent repair.
How much does it cost to fix scratches on hardwood floors?
DIY repairs typically cost between $10 and $50 for materials like wood filler, stain, and finish. Professional refinishing costs significantly more, often ranging from $3 to $8 per square foot depending on the extent of the damage.
Will fixing a deep scratch always match the original floor color exactly?
Not always perfectly, but with careful testing and thin, even coats of stain, you can get very close. Wood tones naturally vary, and sunlight exposure over time can also affect how closely a repair matches.
Can I use olive oil or other household oils to fix scratches?
Natural oils like olive oil can temporarily darken a scratch and make it less visible, but they don’t seal or protect the wood the way a proper finish does. They’re best used as a short-term cosmetic fix rather than a lasting repair.
How do I know if a scratch needs professional refinishing instead of a DIY fix?
If scratches are widespread across a room, extremely deep, or if the wood itself appears splintered or warped, professional refinishing is usually the better option. Isolated, minor scratches are generally safe to repair yourself.
Does the type of hardwood finish affect how I repair scratches?
Yes. Oil-based, water-based, wax, and penetrating oil finishes each require different touch-up products. Identifying your floor’s finish type before starting a repair helps ensure the fix adheres properly and matches in sheen.
How often should I refinish my hardwood floors to prevent scratches?
Most hardwood floors benefit from a fresh coat of protective finish every three to five years, depending on foot traffic. High-traffic homes, especially those with pets or children, may need recoating more frequently.