Physical Address
304 North Cardinal St.
Dorchester Center, MA 02124
Physical Address
304 North Cardinal St.
Dorchester Center, MA 02124

Every piece of furniture tells a story through its color, but sometimes that story includes water stains, dark blotches, or a mismatch between boards that ruins an otherwise beautiful project. Wood bleach solves this problem when sanding alone can’t get the job done.
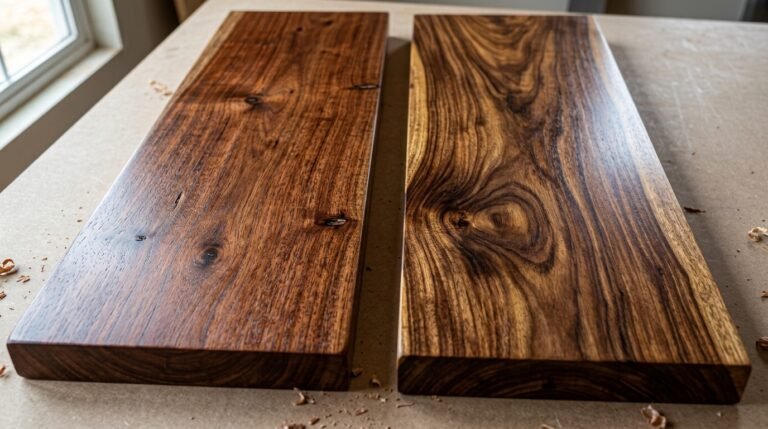
Bleaching wood is a chemical process that goes beyond simple abrasion. While proper sanding prepares a wood surface by smoothing texture and opening the grain, it can’t always remove deep discoloration, dark stains caused by water damage, or the natural color variation between different types of wood. That’s where wood bleach comes in, lifting pigment out of the wood fibers itself rather than just leveling the surface.
If you’re restoring an heirloom dresser, matching mismatched boards on a new build, or trying to lighten mahogany or red oak toward a more neutral tone, this guide walks through everything you need to know. We’ll cover the different types of wood bleach, how each one works, which woods respond best, and the safe step-by-step process for achieving a lighter, more even wood color without damaging your project. We’ll also touch on where sanding fits into the process, since a well-prepared wood surface is often the difference between a clean bleaching job and a blotchy one.
Before grabbing a bottle off the shelf, it helps to understand what wood bleach actually does and how it differs from the bleach sitting under your kitchen sink.
Wood bleach is a chemical solution formulated specifically to lighten the color of wood by breaking down and removing pigment from within the wood fibers. Unlike paint or stain removers, which sit on top of the wood surface, wood bleach penetrates into the wood itself, altering its natural color at a molecular level.
The bleaching process works through oxidation or chemical reduction, depending on the type of bleach used. Some formulas target the natural pigments in the wood grain, while others focus specifically on removing stains or discoloration caused by minerals, tannins, or water damage. Once applied, the bleach breaks down these color compounds, and the wood dries out noticeably lighter than before.
It’s worth understanding that different types of wood bleach are engineered for different jobs. Some are built to lighten the overall color of the wood, while others exist purely to remove stains like the black or gray marks that develop from water damage. Choosing the wrong type of bleach for the wrong problem is one of the most common mistakes woodworkers make.
A frequent point of confusion is whether wood bleach is the same as regular household laundry bleach. It isn’t, and the distinction matters.
Household bleach, or chlorine bleach, contains sodium hypochlorite, the same active ingredient used to whiten laundry. While it can lighten wood to a degree and is effective at killing mold or mildew on a wood surface, it’s fundamentally a mild, general-purpose product. It doesn’t penetrate deeply and won’t produce a dramatic change in wood color.
Two-part wood bleach, by contrast, is significantly stronger than regular bleach. It’s a dedicated wood-lightening product built for situations where you need a substantial, uniform color change. In short, household bleach is a light-duty stain remover, while purpose-built wood bleach is a heavy-duty color-alteration tool. Understanding the different strengths and purposes of each product will save you time and prevent disappointing results.
There isn’t a single “wood bleach” there are three distinct chemical categories, and each one is suited to a specific problem.
Chlorine bleach is the common household laundry bleach most people already have at home. As a type of bleach, it’s mild compared to the other two options, but it has a specific and useful role in wood restoration: removing mildew stains, brightening weathered outdoor wood, and lightly lightening the surface color.
Because chlorine bleach is relatively weak, it’s a reasonable starting point for minor discoloration, but don’t expect it to dramatically lighten a piece of furniture or fully remove dark stains. It works best diluted with water and applied with a sponge, followed by a thorough rinse.
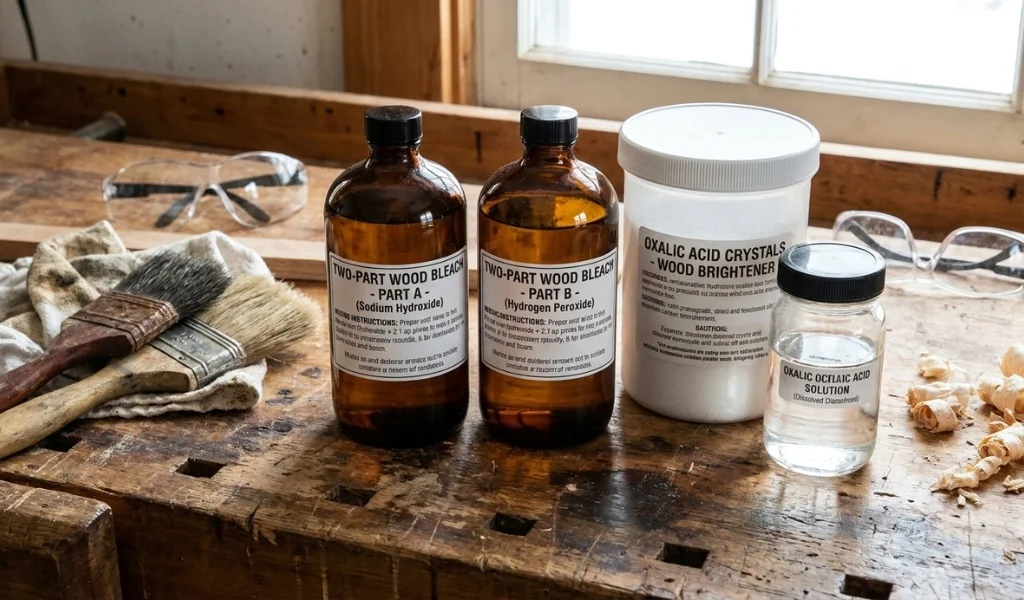
Oxalic acid is the go-to choice when the problem is rust stains or water damage rather than overall wood color. This type of wood bleach excels at removing dark stains caused by iron deposits reacting with wood tannins the classic black or gray marks left behind by water damage, old nail holes, or metal furniture legs left too long on a damp wood surface.
Oxalic acid works by chemically breaking down the iron-tannin compounds responsible for those dark stains, restoring the wood to something closer to its natural, original color. It doesn’t significantly lighten the overall color of wood the way two-part bleach does; it’s a targeted stain remover rather than a general lightening agent. It’s also widely regarded as one of the safer wood bleaches to use, though it still demands care and proper ventilation.
When the goal is dramatic lightening, two-part wood bleach is the strongest tool available. This system uses two separate chemical components: Part A is typically hydrogen peroxide, and Part B is typically sodium hydroxide, also known as lye. Applied one after the other, these two chemicals react within the wood fibers to strip out natural pigment far more aggressively than chlorine bleach or oxalic acid.
Zinsser makes one of the most widely recognized two-part wood bleach products on the market, and it’s frequently used to prep wood for a bleached or “whitewashed” look, or to correct significant color mismatches between boards, such as blending sapwood and heartwood on the same piece of furniture. Because two-part wood bleach is stronger than regular bleach and the other alternatives on this list, it also demands the most caution during application, which we’ll cover in the safety section below.
Not every type of wood responds to bleach the same way. Wood density, grain structure, and natural pigment all affect how dramatically and how evenly a piece lightens.
Hardwoods like red oak generally bleach more evenly because of their consistent grain structure and moderate natural pigment. Oak’s open grain also allows bleach solutions to penetrate deeply, which is why it’s frequently cited as one of the best types of wood for bleaching projects.
Softwoods like pine, poplar, and cedar can be bleached as well, but they tend to be more unpredictable. Pine, in particular, has a mix of resinous and non-resinous areas that can absorb bleach unevenly, sometimes resulting in a blotchy final appearance. Cedar and poplar generally respond a bit more consistently, but all softwoods benefit from a test patch before committing to a full piece.
Denser hardwoods like mahogany present a different challenge. Mahogany’s rich, reddish natural color often requires two-part wood bleach to meaningfully lighten, since chlorine bleach and oxalic acid typically aren’t strong enough to cut through its deep natural pigment. If your goal is to lighten mahogany toward a neutral tone, plan on the two-part system and expect to need more than one application.
Wood bleach isn’t something you reach for on every project. It’s specifically useful in a handful of situations: removing dark stains from water damage, correcting mismatched color between different boards on the same piece of furniture, lightening a natural wood color before applying a lighter stain or dye, or preparing a piece for a whitewashed or bleached-look finish.
If you’re simply trying to remove an old stain or varnish to reveal the natural wood underneath, you likely don’t need bleach at all stripping and sanding may be enough. Bleach is for situations where the color problem lives within the wood fibers themselves, not just on the surface.
Once you’ve identified the right type of bleach for your project, the actual bleaching process follows a consistent sequence. Skipping steps or rushing through them is the most common cause of disappointing, uneven results.
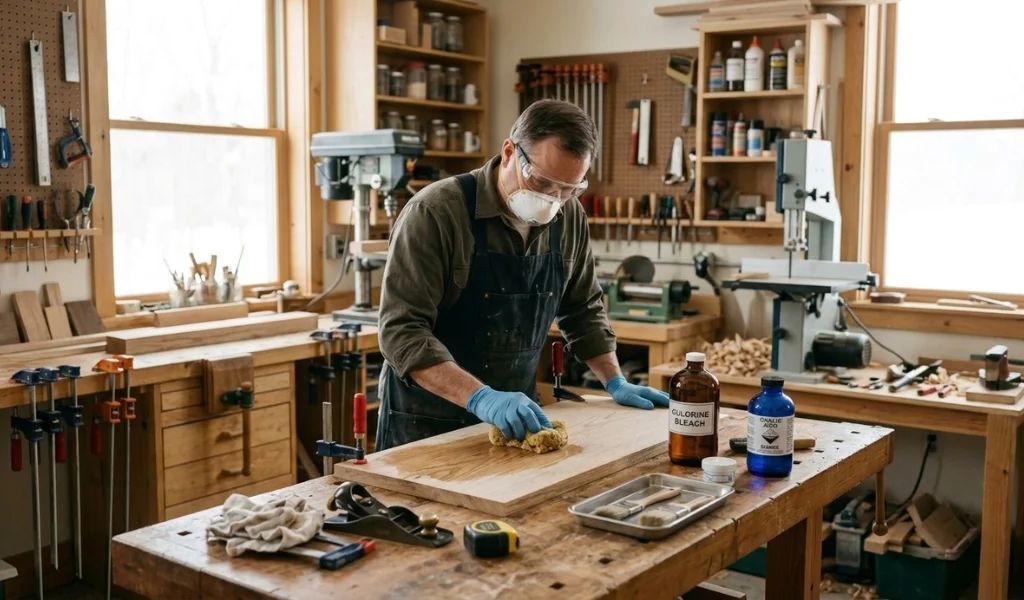
Gather your materials before you start: the appropriate wood bleach for your project, a plastic or glass container (never metal, since bleach reacts with metal vessels), a synthetic-bristle brush or sponge, rubber gloves, safety goggles, and a well-ventilated workspace, ideally outdoors or in a garage with the door open.
Lay down plastic sheeting to protect your work surface, and make sure the piece of furniture or wood you’re bleaching is fully supported and stable. If you’re working on an assembled piece, consider removing hardware first to avoid uneven exposure.
Before applying any bleach, the wood surface needs to be clean, bare, and free of old finish. Strip off any existing varnish, paint, or wax, since bleach cannot penetrate through a sealed surface.
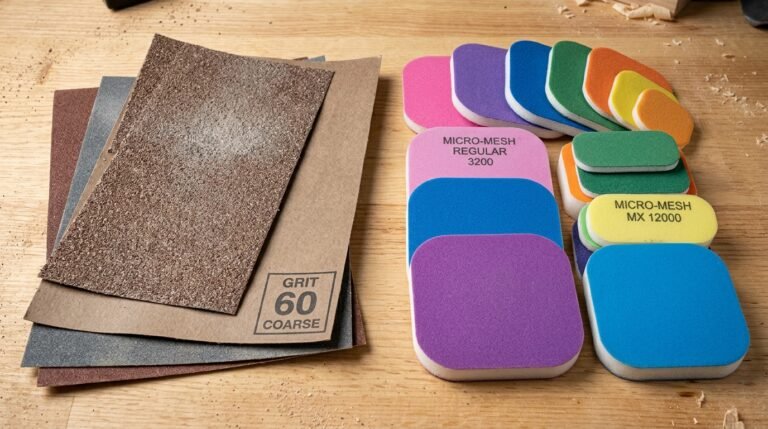
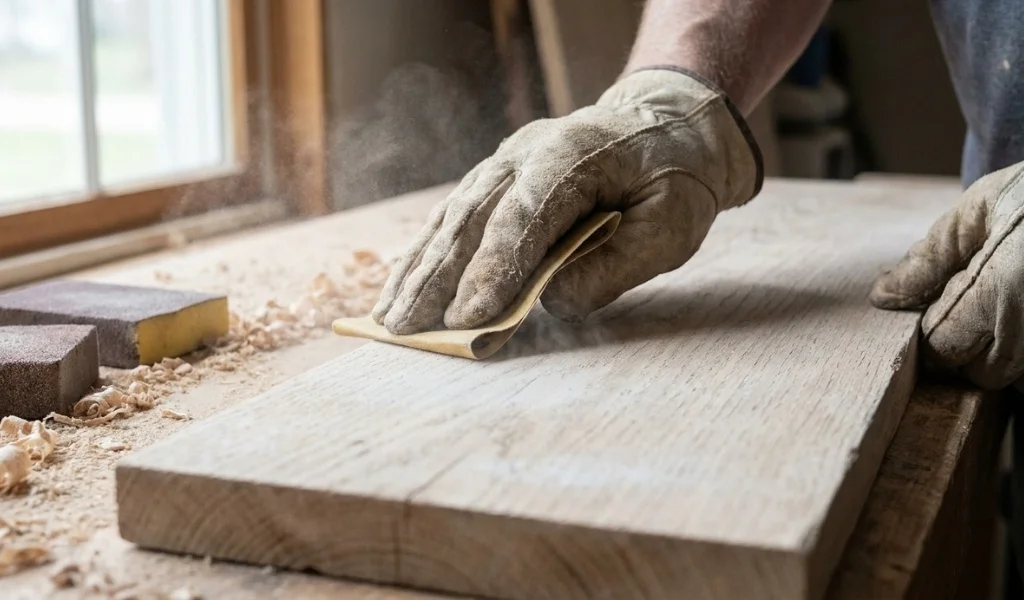
Once stripped, sand the wood surface with progressively finer grits to remove old finish residue and open up the wood grain. This step matters more than people expect: bleach penetrates raw, sanded wood far more evenly than a rough or unevenly prepared surface. For guidance on getting this stage right, our detailed breakdown on sanding techniques and grit progression covers exactly how to prep bare wood before finishing or bleaching it.
Always follow the product instructions on your specific wood bleach, since concentration and mixing ratios vary between chlorine bleach, oxalic acid, and two-part systems. Never mix your bleach solution ahead of time and let it sit; mix only what you need immediately before application, since many wood bleach formulas lose potency quickly once combined.
Apply the bleach evenly along the wood grain using a sponge or brush, working in manageable sections to keep the application consistent. For two-part bleach, apply Part A first, let it sit for the recommended time, and then apply Part B. Avoid oversaturating one area more than another, as this leads to blotchy, uneven lightening across the piece.
After the bleach has had time to work, most formulas require neutralizing to stop the chemical reaction. This typically involves rinsing the wood surface thoroughly with water, or in some cases, applying a mild vinegar and water solution to neutralize residual alkalinity from sodium hydroxide.
Let the wood dry completely before evaluating the results. This step is often overlooked, but wood can look significantly different once fully dry versus while still damp. Once dry, lightly sand the surface with fine-grit sandpaper to smooth any raised wood fibers and prepare the surface for stain, dye, or a clear topcoat.
Working with chemicals as potent as wood bleach demands respect for the process. A few consistent habits separate a safe, successful bleaching job from a frustrating or hazardous one.
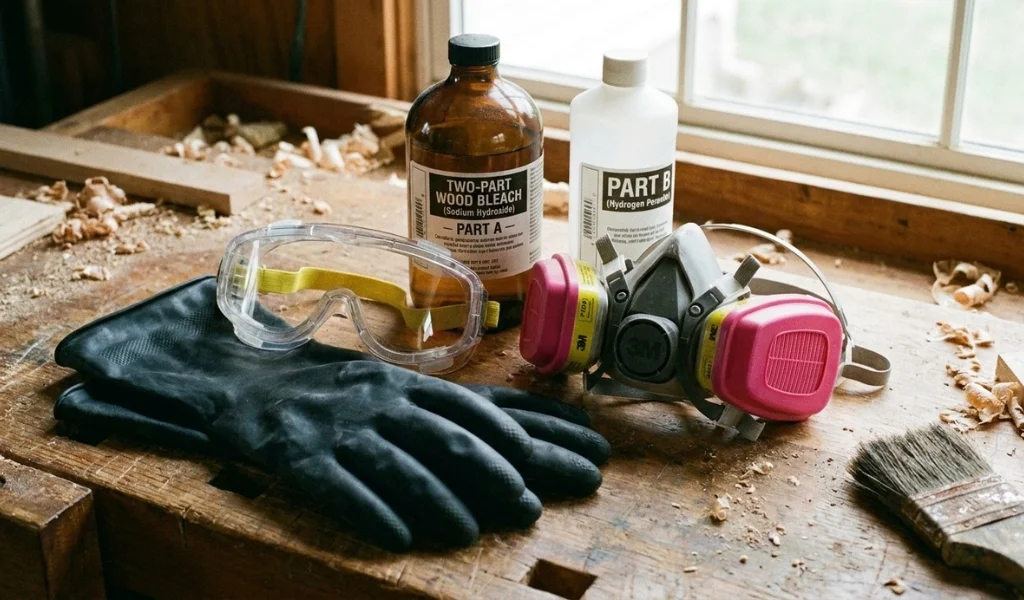
Always work in a well-ventilated area, since the fumes from chlorine bleach, oxalic acid, and especially two-part bleach systems can irritate the respiratory system. Wear rubber gloves and safety goggles at all times during mixing and application, as these chemicals can cause serious harm to skin and eyes on contact.
Keep a supply of clean water nearby in case of accidental contact, and rinse thoroughly with water immediately if bleach touches your skin or splashes toward your eyes. Follow all safety precautions listed on the product packaging, and never combine different types of wood bleach together, since mixing chemical categories can create dangerous reactions.
A few mistakes come up again and again among woodworkers new to bleaching:
Yes, wood bleach works effectively when matched to the right problem and applied correctly. Oxalic acid reliably removes dark stains from water damage and rust, while two-part wood bleach can dramatically lighten the natural color of wood, including dense hardwoods like mahogany. Results depend heavily on the type of wood, the type of bleach used, and how carefully the process is followed.
No. Regular household bleach, or chlorine bleach, is a mild formula mainly useful for removing mildew stains and lightly brightening a wood surface. Dedicated wood bleach products, particularly two-part A/B systems, are significantly stronger than regular bleach and designed specifically to alter the wood’s natural color at a deeper level.
Hydrogen peroxide can lighten wood, but it’s most effective as part of a two-part wood bleach system, where it’s paired with sodium hydroxide. Household-strength hydrogen peroxide is too weak on its own to produce dramatic lightening, though higher-concentration versions are one half of the professional two-part bleaching process.
The three main products used to bleach wood are chlorine bleach for light surface brightening and mildew removal, oxalic acid for removing rust and water stains, and two-part A/B wood bleach for dramatically lightening the overall wood color. The right choice depends on whether you’re removing a stain or lightening the wood itself.
Two-part wood bleach is the most effective option for genuinely lightening the color of the wood itself, rather than just removing a stain. Oxalic acid focuses on removing rust and water stains rather than overall color, and chlorine bleach offers only mild lightening for surface-level discoloration.
Hardwoods with consistent, open grain like red oak tend to bleach most evenly. Denser woods like mahogany can be lightened but usually require the stronger two-part bleach system. Softwoods such as pine, poplar, and cedar can be bleached too, though they’re more prone to blotchy results due to uneven resin content and grain structure.
Start by stripping any old finish and sanding the wood surface to bare, clean wood. Mix the bleach solution immediately before use, following the product instructions for your specific type of bleach. Apply it evenly along the wood grain with a sponge or brush, let it sit for the recommended time, then neutralize with water or a vinegar-water rinse. Let the wood dry completely before sanding lightly and applying stain, dye, or a topcoat.
Bleaching wood rewards patience more than speed. Rushing through stripping, skipping a thorough sanding pass, or mixing bleach ahead of time are the fastest ways to end up with blotchy, disappointing results on a piece you were hoping to restore or transform.
Take the time to match the right type of bleach to your actual problem, whether that’s a coastal oak table with water stains, a mismatched set of drawer fronts, or a mahogany dresser you’re hoping to lighten toward something more neutral. Test on a hidden section first, follow the neutralizing and drying steps carefully, and don’t rush the final sanding pass before you commit to a stain or finish. Get those fundamentals right, and the color of the wood you’re left with will be worth the extra care.