Physical Address
304 North Cardinal St.
Dorchester Center, MA 02124
Physical Address
304 North Cardinal St.
Dorchester Center, MA 02124

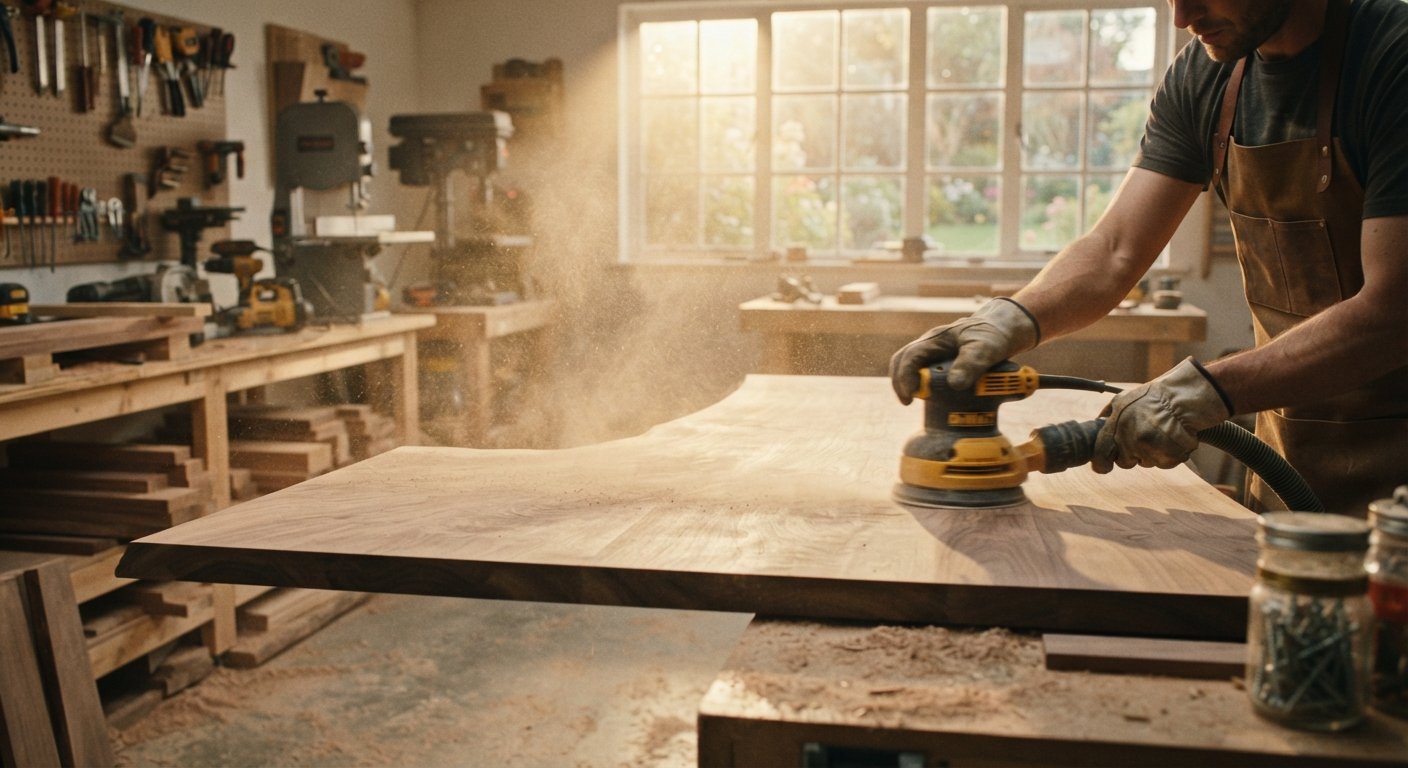
Sanding wood is one of those jobs that can turn a quick weekend project into an all-day grind. If you have ever stood over a workbench for hours trying to smooth out a single tabletop, you already know how frustrating slow sanding can be. The good news is that with the right approach, you can cut your sanding time significantly while still getting a clean, professional finish.
In this guide, we will walk through 10 tips for sanding wood faster, covering everything from sandpaper grit selection to dust collection methods. Whether you are a hobbyist working on a small furniture piece or a contractor handling larger projects, these tips will help you work smarter instead of harder.
Before jumping into the tips, it helps to understand why sanding often takes longer than expected. Many woodworkers run into slow progress because of avoidable mistakes rather than the wood itself being difficult to work with.
One of the biggest culprits is using the wrong grit for the job. Starting with sandpaper that is too fine means you will spend extra time trying to smooth out rough spots that a coarser grit could have handled in a fraction of the time. Another common issue is worn-out sandpaper. Once the abrasive grains dull, sanding becomes a slow, inefficient process no matter how much pressure you apply.
Dust buildup is another overlooked factor. When sawdust clogs the sandpaper or covers the wood surface, it reduces contact between the abrasive and the material, which slows everything down. Add in poor technique, such as sanding against the grain or applying uneven pressure, and it is easy to see why a simple project can stretch into hours of extra work.
Understanding these pitfalls is the first step toward sanding wood faster and more efficiently.
Sandpaper grit plays a bigger role in sanding speed than most people realize. Choosing the correct grit for each stage of the project can save you significant time and effort.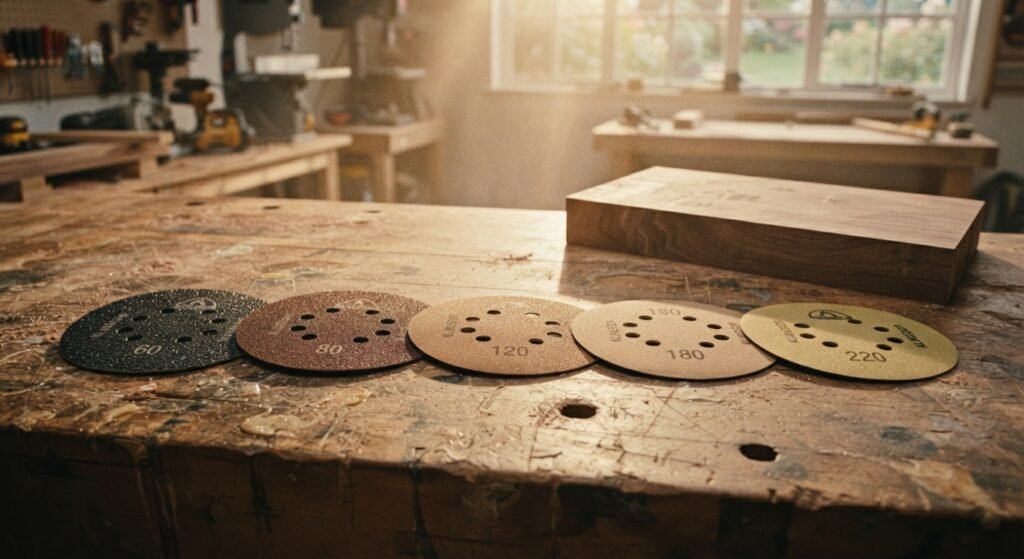
For rough or uneven wood, start with a lower grit like 60 or 80. This coarse sandpaper removes material quickly, smoothing out imperfections, old finishes, or deep scratches. Once the surface feels mostly even, move up to a medium grit such as 120 or 150 to refine it further.
If the wood is already fairly smooth, there is no need to start with a coarse grit. Jumping straight to 120 or 150 grit can save time by skipping unnecessary steps. On the other hand, heavily damaged or old wood often requires starting as low as 40 or 60 grit to remove material efficiently.
Choosing the right starting point based on the wood’s condition, rather than guessing, is one of the simplest ways to speed up the entire sanding process.
Hand sanding has its place, but power tools can dramatically cut down sanding time for most projects. The key is selecting the right type of sander based on the task at hand.
A random orbital sander is one of the most versatile tools for woodworking projects. It moves in small circular and oscillating patterns, which helps prevent visible swirl marks while still removing material quickly. This makes it a solid choice for furniture, cabinets, and tabletops.
When you need to remove a lot of material fast, such as leveling an uneven board or stripping old paint, a belt sander is the better option. These tools use a continuous loop of sandpaper that moves at high speed, making them ideal for rough or large surfaces. However, they can be aggressive, so caution is needed to avoid gouging the wood.
For corners, edges, and intricate areas that larger sanders cannot reach, a detail sander or sanding sponge works best. While these tools are not meant for large surfaces, they save time by preventing you from having to hand sand tricky spots later.
Skipping preparation is a common mistake that often leads to slower sanding later on. Taking a few extra minutes before you start can save a lot of time overall.
If the wood has an old finish, paint, or varnish, consider using a chemical stripper or scraper first. This removes the bulk of the old coating before sanding, which means your sandpaper will not clog as quickly or wear out prematurely.
Metal hardware hidden in the wood can tear through sandpaper almost instantly. Run your hand over the surface or use a metal detector if you are working with reclaimed wood to catch any hidden nails or screws before sanding begins.
An unstable workpiece can slow you down significantly since you have to constantly readjust it. Use clamps or a vise to hold the wood firmly in place so you can focus on sanding instead of wrestling with movement.
Sanding direction matters more than many woodworkers realize, especially when the goal is speed combined with a smooth finish.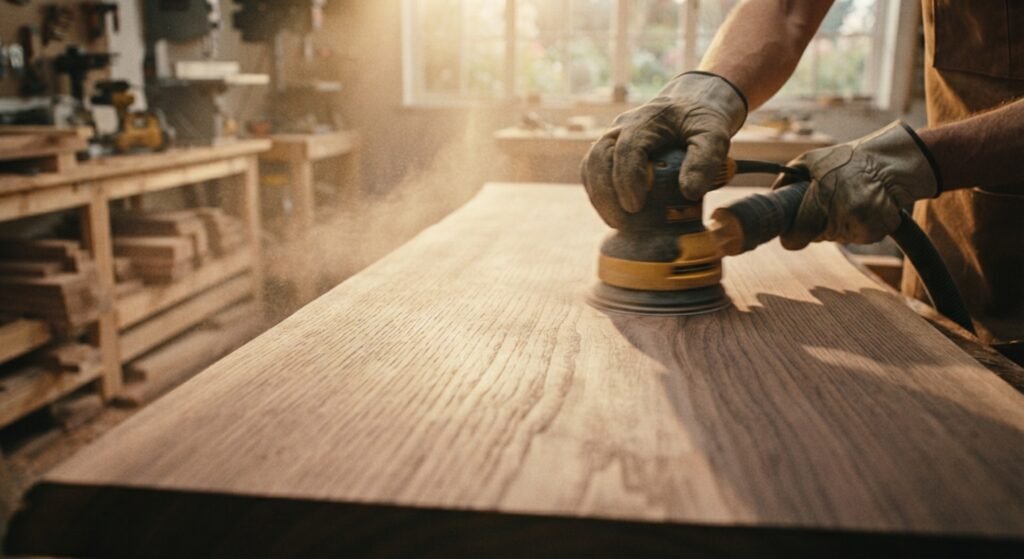
Wood grain refers to the natural lines and fibers running through the material. Sanding against the grain can tear these fibers, creating scratches that require additional sanding to fix. Sanding with the grain, on the other hand, smooths the fibers down rather than against them, which produces a cleaner result in fewer passes.
Look closely at the wood surface for visible lines or streaks. These usually indicate the direction the grain runs. If you are unsure, a quick test pass with fine sandpaper in different directions can reveal which way feels smoother and which creates resistance or visible marks.
It might seem logical that pressing harder on the sander will speed up the process, but this often backfires.
Applying too much pressure can cause sandpaper to clog faster, especially on softer woods. It also increases the risk of creating uneven surfaces, gouges, or swirl marks that require extra sanding to correct. Power sanders are designed to do the work through their motion and abrasive action, not through brute force.
Instead of pressing down hard, guide the sander with light, even pressure and let its speed and motion handle material removal. This approach not only speeds up the process but also extends the life of your sandpaper and reduces fatigue during longer projects.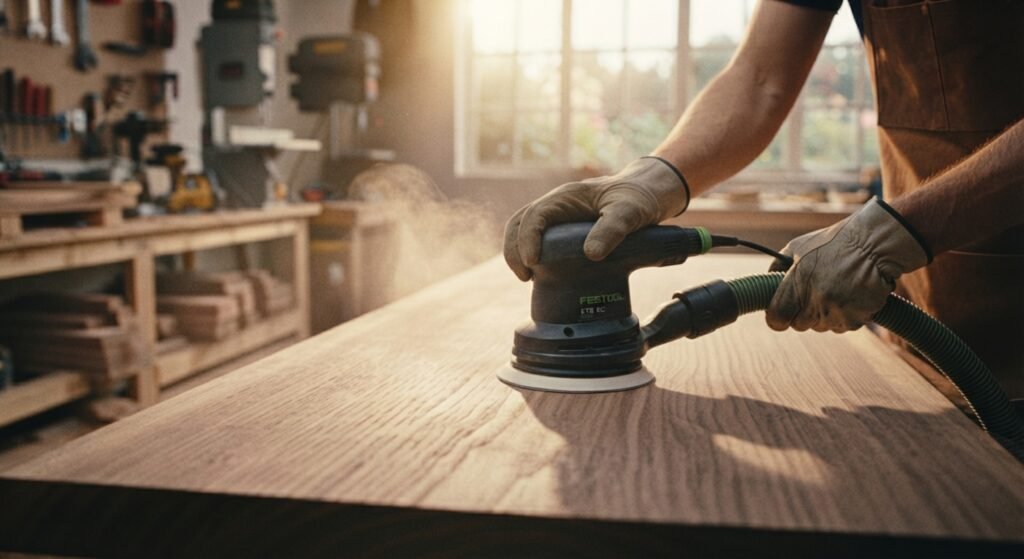
Continuing to use dull sandpaper is one of the most common reasons sanding takes longer than it should.
If the sandpaper feels smooth to the touch instead of gritty, or if it no longer removes material efficiently, it is time for a replacement. Clogged sandpaper filled with sawdust also loses effectiveness, even if the abrasive grains themselves are not fully worn out.
Running out of fresh sandpaper mid-project can bring your momentum to a halt. Stock up on a range of grits before starting so you are not stopping to search for replacements or settling for worn sheets that slow down your progress.
Skipping grits or jumping around randomly can actually slow down the sanding process rather than speeding it up.
A proper grit sequence typically moves from coarse to medium to fine, such as 60, then 120, then 220. Each grit removes the scratches left by the previous one, gradually creating a smoother surface. Skipping too many steps, such as going from 60 grit straight to 220, often means the finer paper struggles to remove the deeper scratches left behind, requiring you to backtrack.
While following a sequence is important, sanding longer than necessary at each stage wastes time. Once the scratches from the previous grit are gone, move on to the next one rather than continuing to sand the same spot.
A dusty, debris-covered workpiece can slow down sanding more than people expect.
After finishing one grit level, wipe the surface with a clean cloth or brush to remove dust before moving to the next grit. This prevents larger particles from scratching the wood as you switch to finer sandpaper.
Sandpaper can become clogged with fine wood dust, especially when working with softer woods like pine. Tapping the sandpaper against a hard surface or using a rubber sanding belt cleaning stick can help dislodge trapped particles and keep the abrasive working efficiently for longer.
Dust collection is often overlooked, but it plays a significant role in sanding speed and overall efficiency.
As sawdust accumulates on the wood surface or within the sandpaper, it reduces direct contact between the abrasive grains and the material. This means more passes are needed to achieve the same result, which adds unnecessary time to the project.
Many modern sanders come with built-in dust collection ports that connect to a shop vacuum or dust bag. Using this feature keeps the sanding surface clear in real time, allowing the sandpaper to work at full efficiency. For larger projects, a dedicated dust collection system can make an even bigger difference, especially when sanding for extended periods.
Sanding wood faster does not mean cutting corners. It means working with better technique, the right tools, and a clear understanding of how grit, pressure, and preparation all affect the final result. By choosing the correct sandpaper grit, using the right sander for the job, and following a proper grit sequence, you can significantly reduce the time spent on each project without compromising the quality of your finish.
The next time you start a woodworking project, try applying even a few of these tips for sanding wood faster. Small changes, like sanding with the grain or keeping your workspace free of dust, can add up to noticeable time savings. With some practice, efficient sanding will become second nature, leaving you more time to enjoy the finished piece rather than the process of getting there.
The fastest way to hand sand wood is to start with a coarse grit, such as 60 or 80, to remove material quickly, then move up to finer grits in sequence. Sanding with the grain and using a sanding block to maintain even pressure also helps speed up the process while avoiding uneven spots.
No, higher grit sandpaper is finer and removes less material, which makes it slower for rough or uneven surfaces. Lower grit sandpaper, such as 40 to 80 grit, removes material faster but leaves a rougher surface that needs to be refined with higher grits afterward.
You should switch to the next grit once the scratches or marks from the previous grit are no longer visible. Continuing to sand with the same grit after this point wastes time and does not improve the surface quality any further.
Most power sanders work well on various wood types, but softer woods like pine can sand down quickly and may require lighter pressure to avoid gouging. Harder woods like oak or maple can typically handle more aggressive sanding without as much risk of damage.
Sandpaper often clogs due to sawdust buildup, especially when sanding softer or resinous woods. Using dust collection, cleaning the sandpaper regularly, and working with properly dried wood can help reduce clogging and keep the sandpaper working efficiently for longer.
Dry sanding is standard for most woodworking projects since it works well with power tools and dust collection systems. Wet sanding is typically reserved for specific finishing techniques, such as sanding between coats of finish, and is not commonly used for initial wood shaping.
Light to moderate pressure is generally best, allowing the sandpaper or sander to do the work rather than forcing it. Applying too much pressure can clog the sandpaper faster, cause uneven sanding, and in some cases damage the wood surface.